
A crochet fur tote bag pairs a firm, stand-up body with a deep cuff of soft faux fur, so a practical carryall ends up looking like a winter accessory you would happily keep on show.
The Crochet Fur Tote Bag
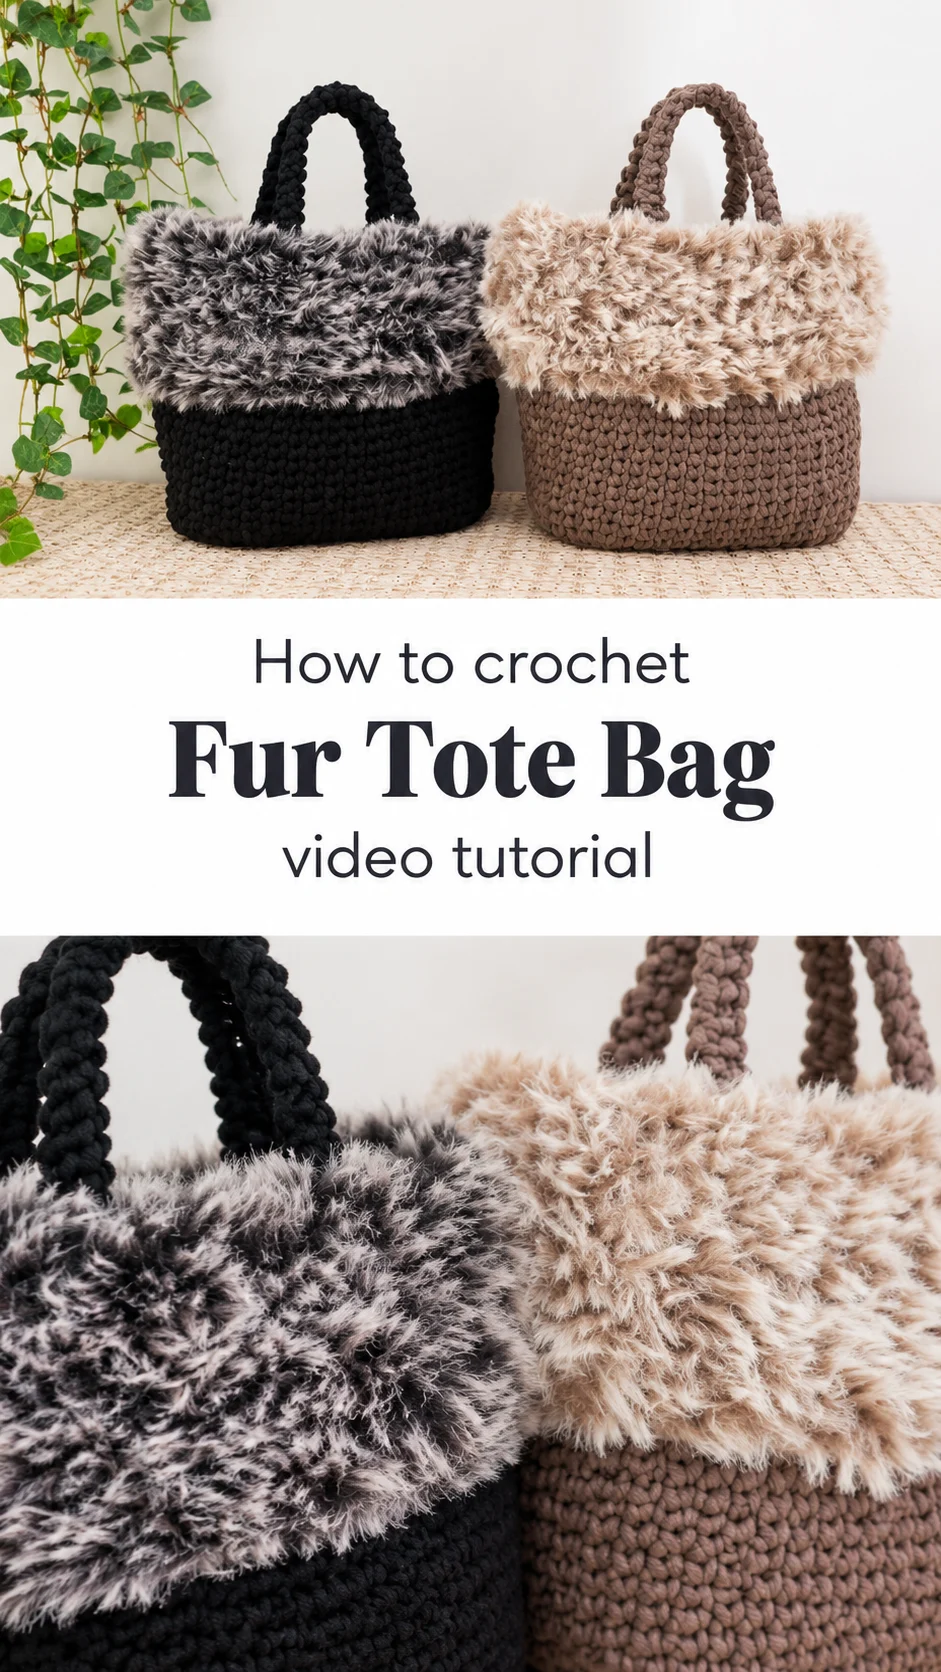
The crochet fur tote bag is built from two very different textures. The lower body is dense and smooth, worked in a chunky cord with tight stitches that hold a rounded oval shape. The upper band is a shaggy, fluffy collar of faux fur yarn that folds softly over the rim. Two slim, sturdy handles rise from the cord section and give the piece a neat, structured finish. The sample bags come in a deep black with a charcoal and cream fur, and in a warm taupe with a sandy, frosted fur. The contrast between the flat, grainy base and the plush top is what makes the design feel so rich. It suits cold-weather outfits, but it also works as a small statement bag for dinners and weekend trips.
Because the fur trim hides so much, the bag also forgives small irregularities in the top rows. The cord body does the visible work, and the fur adds drama without demanding complex stitches. It makes a good gift project, and a rewarding step for anyone ready to move from flat baskets to shaped bags. The fur is the part everyone notices first.
Tote Bag Related Posts:
- Crochet Paw Motif Join: A Sweet and Playful Touch
- Crochet Prada Style Bag: A Chic and Trendy Accessory
- Crochet Mini Heart: A Sweet and Charming Keepsake
- Crochet Flower Granny Square Bag: A Charming Boho Treasure
Materials
For a crochet fur tote bag you need two yarns: a thick cotton-style tube or ribbon cord for the body and handles, and a faux fur yarn for the top band. The body in the photos looks firm and slightly matte, which points to a tight, knit-tube cord rather than a soft, loose cotton. That firmness matters, because the bag holds its oval shape without a lining or stiffener. Choose a hook that feels a little small for the cord, since tight stitches give the stand-up structure. The fur band calls for a larger hook, as the fluffy fibres need room to move and puff. Keep a stitch marker for tracking rounds, scissors, and a tapestry needle for the ends. A strong sewing needle and thread help if you decide to add a lining or a magnetic closure, though neither appears in the photos.
Understanding the Structure
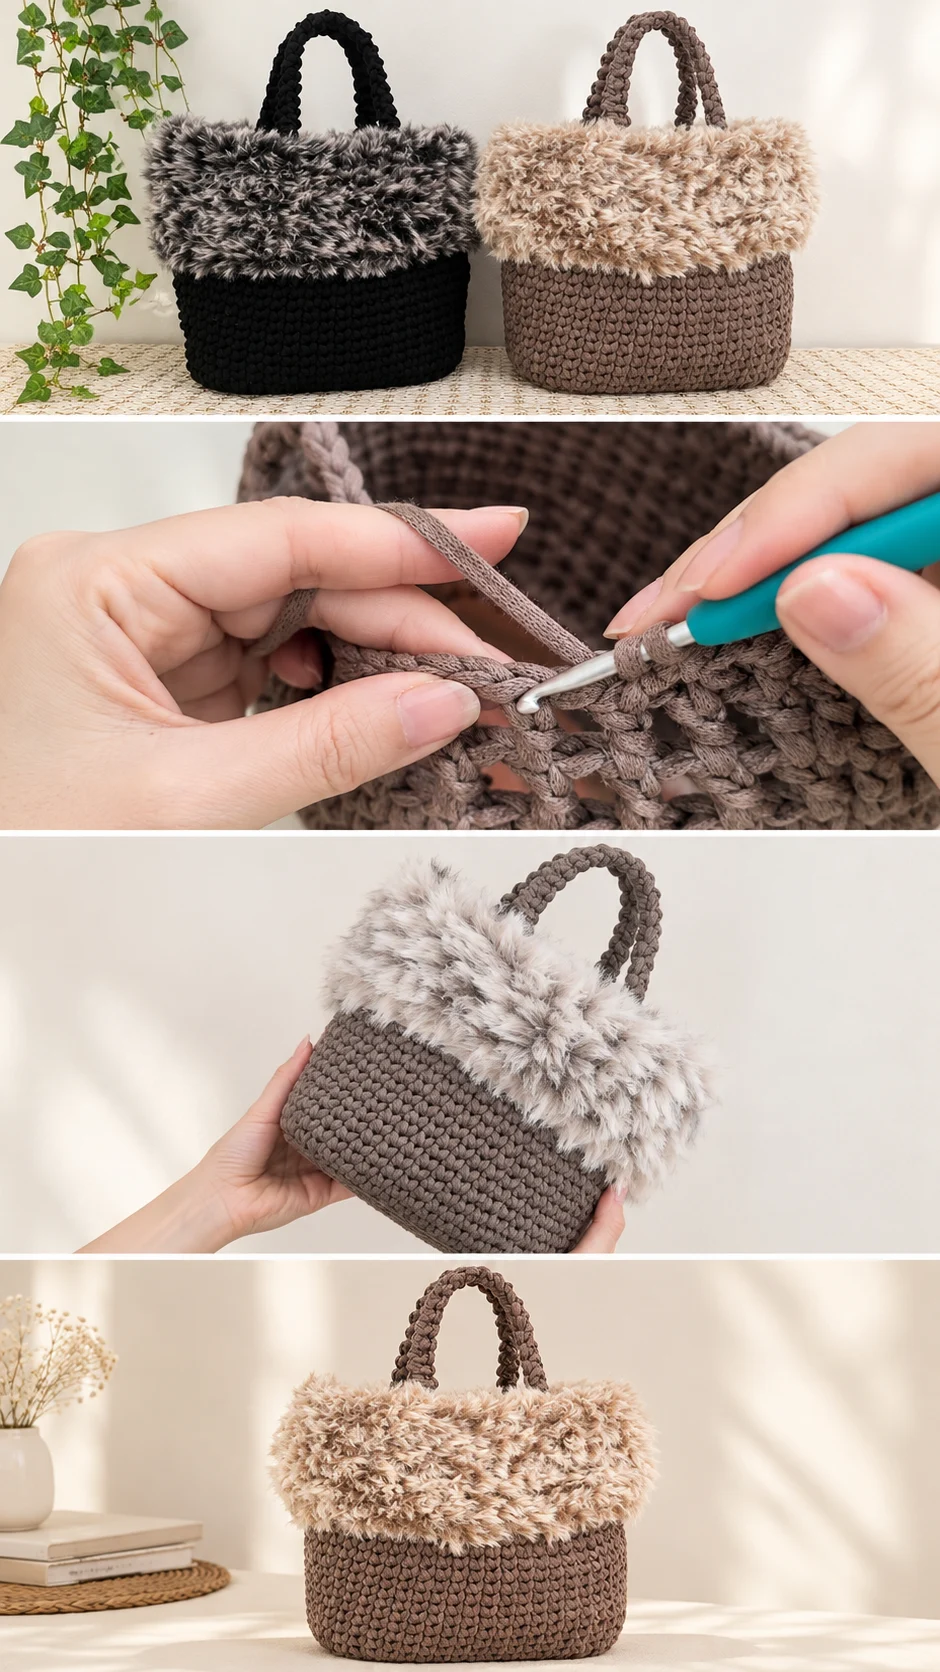
The bag looks like it is worked in the round from an oval base upward. The base rounds grow outward, then the sides rise straight, giving the soft, wide oval silhouette seen in both colours. There are no visible seams on the body, which suggests one continuous piece of fabric.
Near the top, the fabric changes. The tutorial shows a round of double crochet followed by a chain, repeated, which creates a row of small openings. This eyelet round acts as a gateway between the dense body and the fur section, giving the fur yarn a stable row to attach to or work through.
The fur band comes next and sits as a wide collar on top of the cord body. It stands upright and then flops outward, forming a cuff rather than a rigid wall. The handles are separate rope-like pieces that join to the cord section, rising through or beside the fur.
Work out the order before you start: base, body, eyelet round, fur band, then handles. Knowing where each piece sits keeps you from rushing the shaping at the base, where the oval is decided.
Best Stitches for a Firm Body
The body fabric in the close-up shows small, slanted, closely packed stitches that look like single crochet worked into the back or top loops. The result is a dense, ribbed-looking texture with tiny leaf shapes that march up the bag. This kind of fabric is much sturdier than a looser stitch and is the reason the bag stands on its own.
Tension makes the difference. If the fabric feels floppy, go down a hook size and pull each stitch snug. If your fingers cramp from fighting the thick cord, switch to a slightly larger hook and compensate by working more evenly, because wide gaps will show against the dark cord.
Work into the same loop every round so the texture stays aligned. A misplaced stitch shows as a crooked column in a dense fabric like this. Count your stitches at the end of the first few rounds to catch drift early.
Keeping the Oval Base Flat
An oval base ruffles or cups when increases are uneven. If the bottom bowls upward, you have increased too little, so add a stitch at each curve on the next round. If it ripples like a frill, you have increased too much, and it is worth pulling back a round. Lay the piece on a table after every round to check.
The Fur Band: The Detail That Defines the Bag
The fur band is the signature of this bag. The yarn is a long-pile faux fur with mixed tones, so the cuff looks flecked in charcoal and cream on the black bag and in sand and ivory on the taupe one. It covers the entire upper third and turns the rim into a soft collar.
Fur yarn is awkward because the fibres hide the stitches. Work slowly and use your fingers to feel where the loops are. The tutorial is worth pausing here, since the hand position and the way the hook enters the eyelet round are hard to guess from a description.
Choosing the colour of the fur is the biggest style decision. A fur with a tone close to the body yarn looks quiet and elegant, like the taupe bag. A fur that contrasts, like the pale flecks on black, looks bolder. Avoid very long, silky furs if you want the collar to stand up, because they flatten and drape instead.
If the fur sheds onto your clothes or looks matted, brush it gently with a wide-tooth comb and trim any stray long strands. If the band flops too much, add one extra round in a firmer yarn behind it.
Handles and Strength
The handles are slim, rounded and made from the same cord as the body. They look braided or tightly worked, with a ropey texture that is stronger than a flat strip. They stand upright in the photos, so they hold their own shape rather than collapsing.
Handles carry the whole weight of the bag, so attachment matters most. Sew the ends back and forth through several body stitches rather than one, and anchor them below the eyelet round so the load is spread over solid fabric. If you plan to carry heavy items, consider reinforcing the inside with a small rectangle of stitching where each handle joins.
Handle length decides how the bag is carried. The short loops in the photos suit a hand or forearm carry. For shoulder wear, lengthen the handles and test the drop on your coat first, because thick winter layers need more room.
How to Style a Crochet Fur Tote Bag
In the photos the two bags sit side by side as a neutral pair, black and taupe, and both read as winter accessories. The black one goes with a camel coat or a charcoal knit. The taupe one suits cream, olive and chocolate tones.
For daily use, carry it with a wool coat and boots, where the fur cuff echoes collar trims and hats. For evenings, pair the black version with a simple dark dress and let the fluffy top be the only texture. On casual days, it works with a cream cable sweater and jeans.
It also works as an at-home accessory. Set it by the door for scarves and gloves, or use it as a soft storage basket for yarn, since the shape stays open and the handles make it easy to move.
Tips for a Neat Finish
Weave ends into the dense cord fabric rather than the fur, where they would drift out. Use the needle to run the tail through several stitches in two directions. If the join between cord and fur looks bumpy, steam the cord section lightly from a distance, avoiding the fur, which can melt if heated.
If the bag leans to one side, check that both handles sit at the same height and the same distance from the sides. If the walls bulge, the stitches are loose and the fabric needs a smaller hook next time. If the fur band looks patchy, fluff it with your fingers and fill gaps by gently pulling hidden loops outward.
A lining is optional but useful. A simple fabric lining stops small items from poking through the stitches and protects the cord from lipstick or ink. Choose a sturdy cotton in a matching shade.
Following the Tutorial
The video is split into parts, and this first part sets up the foundation. Watch the base and the increase placement closely, because the oval shape is decided here. Pause when the on-screen text names the eyelet round, as the dc1, ch1 repeat is easy to misjudge on a thick cord.
Work along with the video rather than watching first, and replay any stretch where the hook enters the fur or the cord. A sensible order is to finish the body completely, then add the fur, then make the handles last.
A Soft, Sturdy Handmade Companion
This crochet fur tote bag succeeds because of its contrast: a firm, smooth body below and a plush collar above. Three things decide the result. Keep your tension tight so the body stands up. Shape the oval base carefully so it sits flat. Choose a fur yarn that matches the mood you want, then attach the handles with plenty of anchoring stitches.
Make it once in black for the city and once in taupe for the weekend.
Video tutorial for the crochet fur tote bag by the original creator, linked below.
VIDEO
Follow us on Pinterest and subscribe to the Newsletter so you don’t miss a thing!
Tutorial and photos of this fur tote bag by: AmiaMikancl Crochet.