
A crochet lace beret is a small, airy hat that drapes softly over the crown and lets daylight show through its fine openwork. It looks delicate on the head and takes surprisingly little yarn to make.
The Crochet Lace Beret
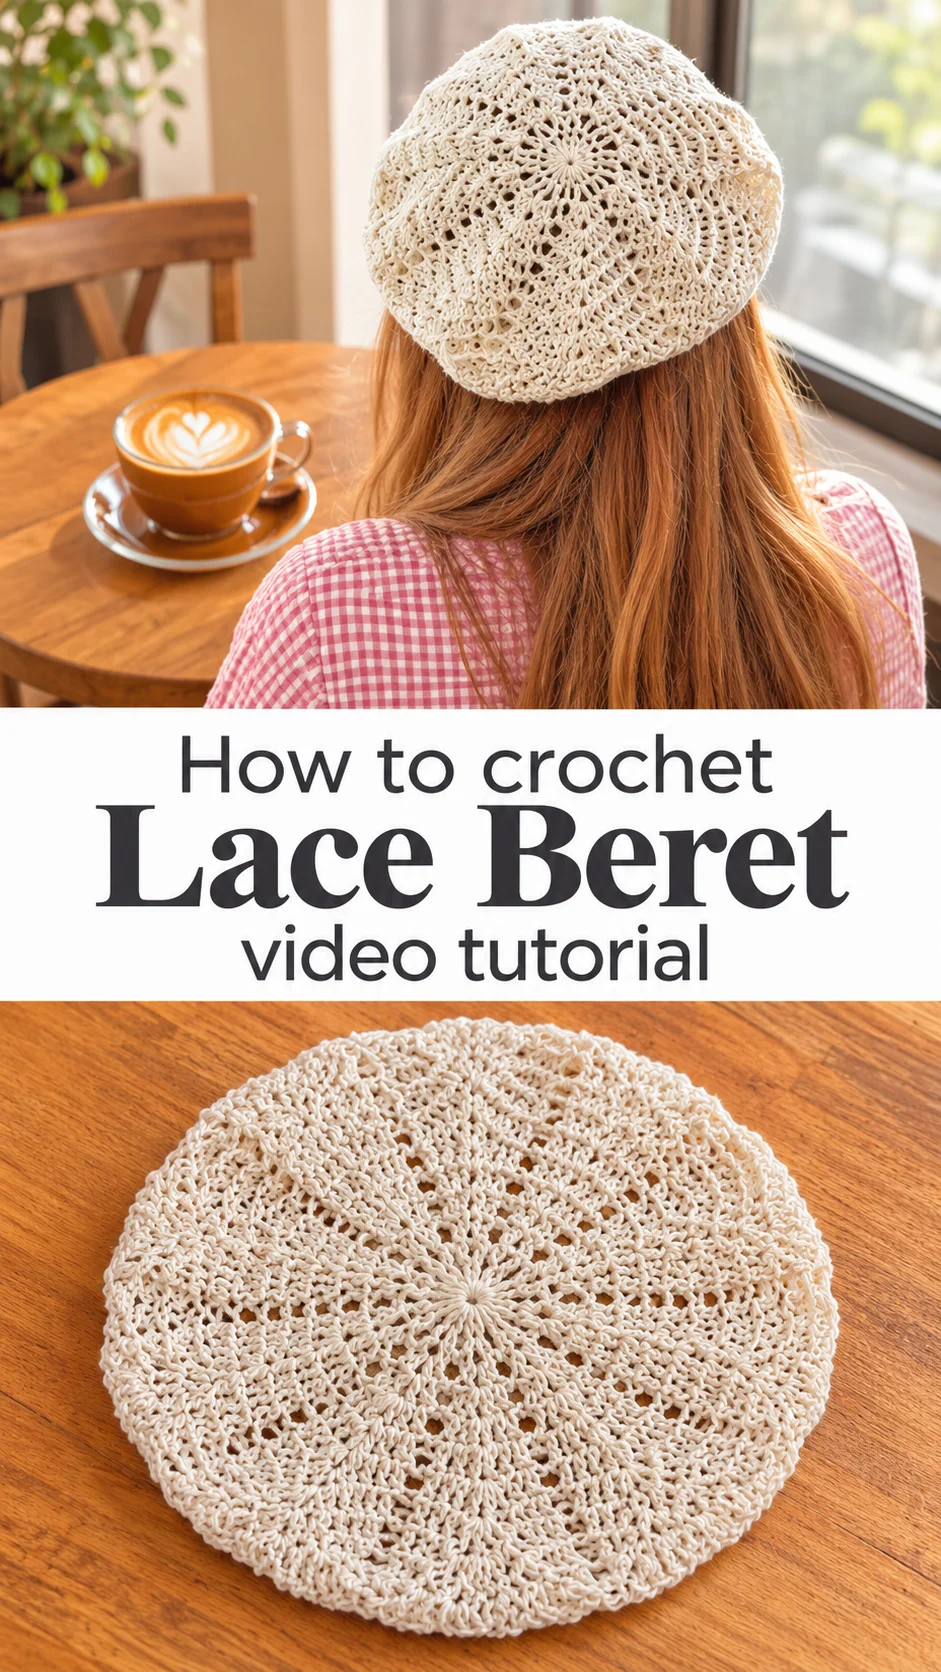
This crochet lace beret is worked from the top down as a flat disc that spreads outward like a doily. Fans and shells radiate from the centre, and small gaps between them create a lattice of tiny holes. The yarn is a matte, creamy cotton in a soft oatmeal tone, which keeps the whole piece quiet and elegant. Nothing about it feels heavy. It sits slouched slightly to one side, the way a classic beret should, and the lace lets the hat breathe on warm days. Wear it with loose hair, a gingham shirt, or a simple linen dress. It is the kind of accessory that turns a plain outfit into a considered one.
This beret suits spring and summer best, when a wool hat would be far too warm. It also makes a thoughtful gift, because one hat uses only a modest amount of yarn and the lace looks far more complicated than it is. Along the way you practise working increases in a steady rhythm and keeping a repeat tidy across many rounds. Quick to love. Slow to forget.
Lace Beret Related Posts:
- Crochet Bear Bag: A Cute and Whimsical Accessory
- Crochet Peplum Cardigan: A Timeless Autumn Essential
- Crochet Heart Bookmark: A Charming Handcrafted Keepsake
- Crochet Zig Zag Tote Bag: A Chic Everyday Essential
Materials
For a crochet lace beret like this one, choose a smooth, lightweight cotton yarn in a fine to light weight, because cotton holds the lace pattern crisply and stays cool against the skin. A slightly twisted, mercerised cotton shows the stitch definition best, while a fuzzy yarn would blur the small holes that make the design. Pair it with a hook of about 3 to 4 mm, adjusting to your yarn label, and go down half a size if your first swatch feels floppy. You will also need a tapestry needle for weaving in ends, a stitch marker to track the start of each round, and a flat surface with pins or a towel for blocking at the end.
Understanding the Construction
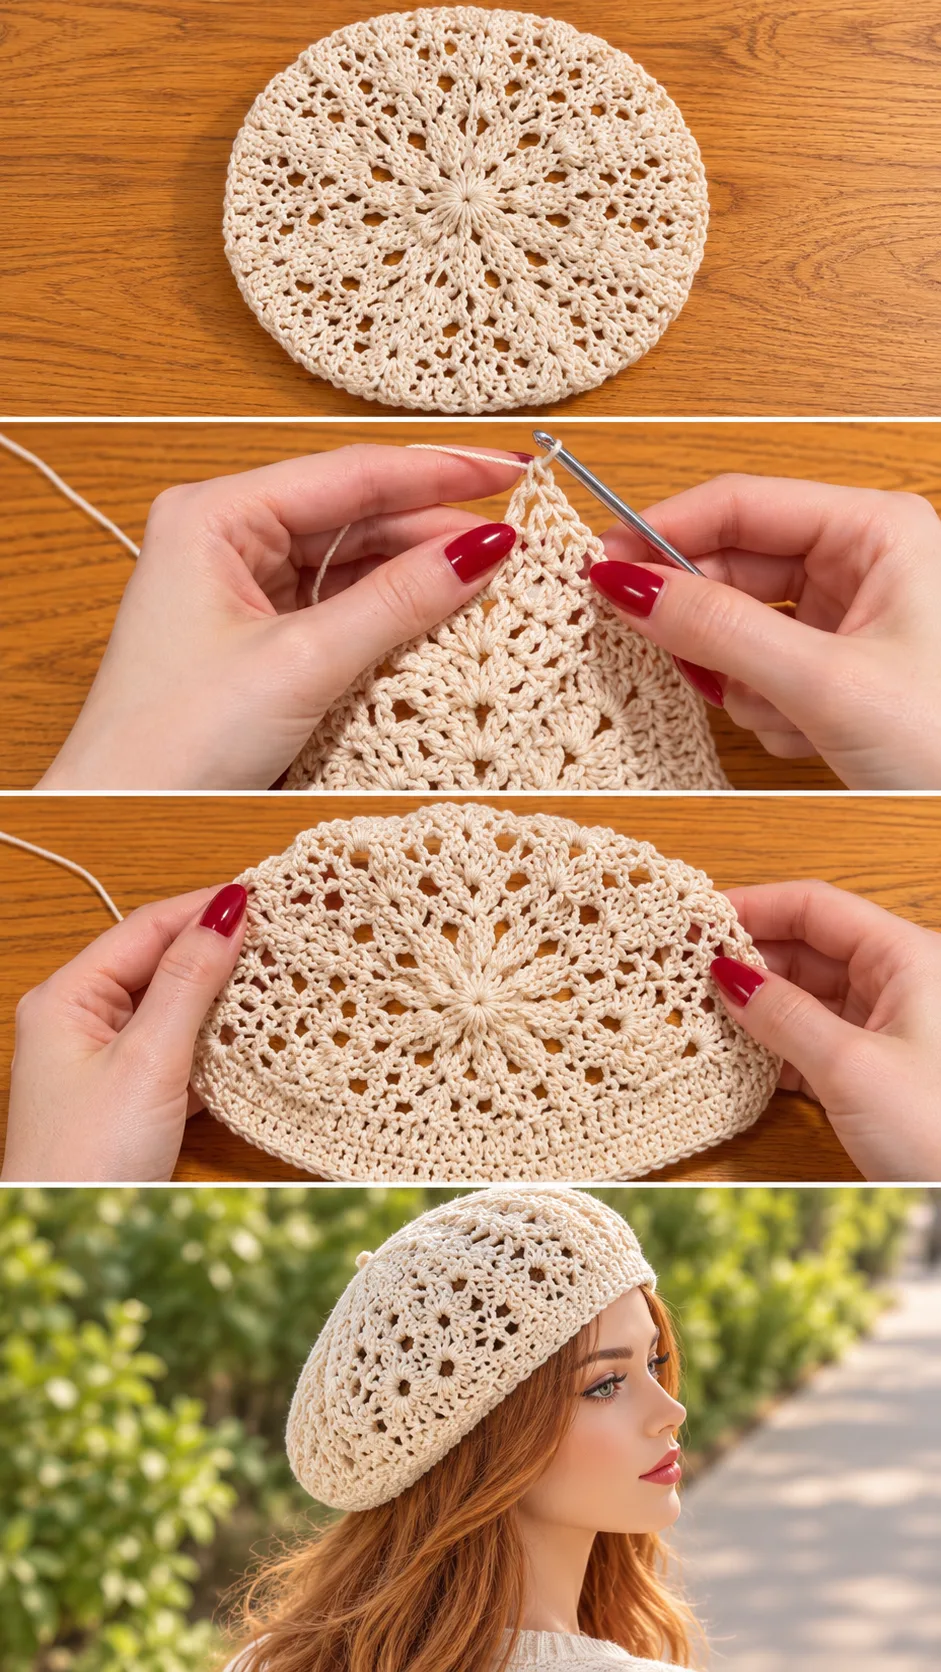
The beret begins at the very centre of the crown and grows outward in a circle. Because the fabric is lace, the circle is divided into equal wedges, and you can see the spoke-like lines running from the middle to the edge. Each wedge is built from the same repeat, so once the first round makes sense, the rest follows the same logic.
Shaping happens through increases placed at the centre of each wedge. In the close-up of the work, a pair of increases with a single chain between them marks that centre point, and a few double crochets frame it on either side. This is what keeps the disc flat instead of cupping into a bowl.
After the disc reaches its full width, the work is decreased toward the band. The band is what pulls the wide circle in and gives the beret its slouch. Watch the video carefully at this transition, because the way the rounds tighten decides how the hat sits on your head.
Keep a stitch marker at the first stitch of every round. In lace with repeated wedges, losing your place is the most common reason the spokes drift out of line.
The Lace Repeat: The Detail That Defines the Beret
The signature of this design is its repeating wedge of double crochets, with a skipped stitch that opens a small gap and a pair of increases that open a fan. Together they produce the diamond-shaped holes you can see scattered across the crown. The pattern reads as a soft sunburst rather than a heavy openwork.
The maker’s choice here is tension. Work loosely and the holes stretch into large, sloppy gaps that sag. Work too tightly and the lace turns stiff and the crown refuses to lie flat. Aim for even, relaxed stitches, and test on a swatch first.
If the disc starts to ruffle at the edge, you have too many stitches for the diameter, so check that every increase sits at the centre of its wedge. If it cups upward, you have too few, and a missed increase is usually the cause. Pull back to the last correct round rather than hoping blocking will rescue it.
The skipped stitches matter just as much as the increases. Pause the video each time the instruction says to skip, and confirm where your hook lands, because an extra or missing double crochet shifts the whole spoke.
Choosing the Best Yarn for a Lace Beret
Mercerised cotton is the safest choice. It gives a gentle sheen, crisp holes and a drape that falls naturally into a slouch. The beret in the photos looks matte and slightly soft, which suggests an unmercerised or lightly finished cotton, and that texture is lovely against the skin.
A cotton and linen blend is a second option. Linen adds a relaxed, slightly rustic character and gets softer with each wash, though it can feel a little rough at first. A bamboo or viscose blend drapes even more fluidly, but it can stretch with wear, so keep your tension snug.
Avoid wool or fuzzy mohair for this particular design. Fibre halos fill the small openings, and the lace turns into a solid, hazy fabric that hides the pattern you worked so hard to make.
For colour, the creamy oatmeal in the photos is hard to beat, as it flatters most hair colours and goes with everything. Soft sage, dusty rose and pale butter also suit lace well. Very dark shades make the holes harder to read, so save them for a denser stitch.
How to Style a Crochet Lace Beret
In the photos the beret sits slightly back and to one side, worn over long loose hair and paired with a pink gingham shirt. That relaxed placement shows off the crown pattern from behind and keeps the look casual. Tilt it a little for a French feel.
For a summer day, wear it with a white linen shirt and wide-leg trousers. The cream lace echoes the pale fabric, and the open stitches keep your head cool. On a cooler evening, it also works over a low bun with a knit cardigan and a long skirt.
For a more polished outfit, pair the beret with a slip dress and simple sandals. The lace adds texture without competing with the fabric. A pearl hairclip tucked beside it adds a quiet finishing touch.
Tips for a Neat Finish
Blocking is the step that turns a good beret into a great one. Wet the finished hat gently, then lay it flat over a plate or a dinner-sized dish so the crown dries in a rounded, even shape. Cotton relaxes beautifully under water, and the lace pattern opens and settles into place. Skip this step and the holes may look cramped and uneven.
Weave in your ends along the edge of a wedge rather than across the open holes, where a loose tail would show. Work each tail in two directions so it cannot slip free when the hat is stretched over your head.
If the band feels too tight, go up a hook size for the final rounds only. If it feels loose and the beret slides off, work the band half a size smaller or add a round of single crochet. Try the hat on before you fasten off.
Caring for Your Beret
Cotton lace is easy to care for. Wash it by hand in cool water with a mild soap, press out the water in a towel without wringing, and reshape it on a plate to dry. Wringing stretches the holes, and a hot dryer can shrink the cotton.
Store the beret flat or loosely stacked, not hanging from a hook, which pulls the crown out of shape.
A Delicate Handmade Treasure
This crochet lace beret is a light, wearable piece of openwork that looks refined and takes little yarn. The things that decide how well it turns out are simple. Choose a smooth cotton, keep your tension even, place your increases carefully, and block the finished hat over a plate.
Pause the video at the tricky spots and take your time with the wedges. Soon you will have a hat you want to wear everywhere.
Small stitches. Soft shade. Lasting charm.
Follow us on Pinterest and subscribe to the Newsletter so you don’t miss a thing!
Tutorial and photos of this lace beret by: WONDER NETTING.