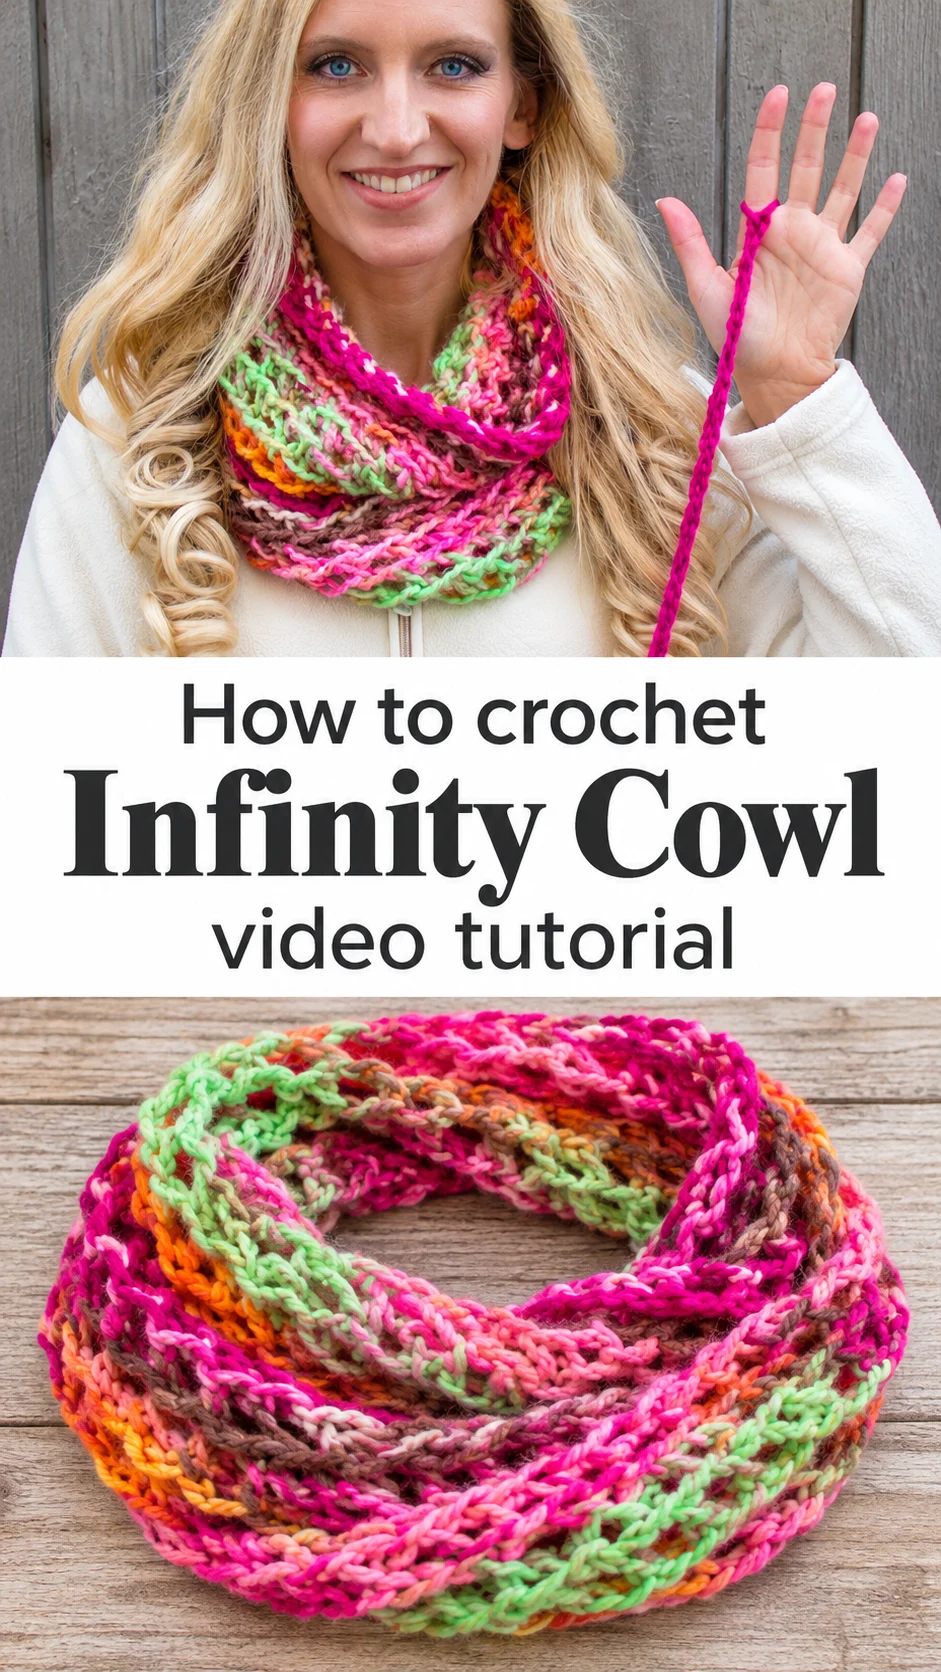
A crochet infinity cowl worked by hand in a rainbow of pink, lime and orange, soft enough to wrap twice around the neck and bold enough to brighten a grey winter coat.
The Crochet Infinity Cowl
This crochet infinity cowl is made without a hook, using only your fingers and a ribbon of chunky yarn. The fabric looks like a ribbed, slanted weave, with each row leaning over its neighbour in a diagonal texture. It is worked in colour-shifting yarn that moves from hot pink to apple green, orange, peach and chocolate brown. The yarn looks thick and slightly fuzzy, so the stitches stay large and the cowl grows quickly. It forms a closed loop, which means there are no ends to flap and no scarf tails to tuck away. Wrap it twice and it sits snug at the throat like a cosy collar. Leave it long and it drapes in soft folds over a white fleece or a plain wool coat. Few projects deliver this much colour for so little time.
Because the loop has no start or finish, it suits anyone who dislikes fussing with scarf ends in the wind. It also makes a fast gift, since the large stitches build height in an evening or two of relaxed work. And it teaches a useful skill: how to control tension with nothing but your hands. That skill carries over into hooked crochet.
Infinity Cowl Related Posts:
- Crochet Phone Bag: A Chic and Practical Accessory
- Crochet Bucket Bag: A Chic and Timeless Accessory
- Crochet Floral Motif: A Timeless and Versatile Classic
- Crochet Basket Weave Scarf: A Timeless Textured Classic
Materials
The crochet infinity cowl needs very little. Choose a bulky or super bulky yarn, ideally a variegated one that shifts through several colours on its own, because the sloped stitches show off every colour change. A wool blend or a soft acrylic gives the squishy, slightly fuzzy look seen here, and either one keeps the loops open enough to see between. Cotton would be a poor choice, since it lacks stretch and makes the fabric heavy and stiff around the neck. Your hands are the only tools required, though a yarn needle is handy for closing the loop and hiding the tail. Scissors finish the list. A second contrasting skein is optional. A single bold magenta skein, like the cord looped over the fingers at the start, would make a strong edge or an alternate stripe.
Choosing the Best Yarn for Colour
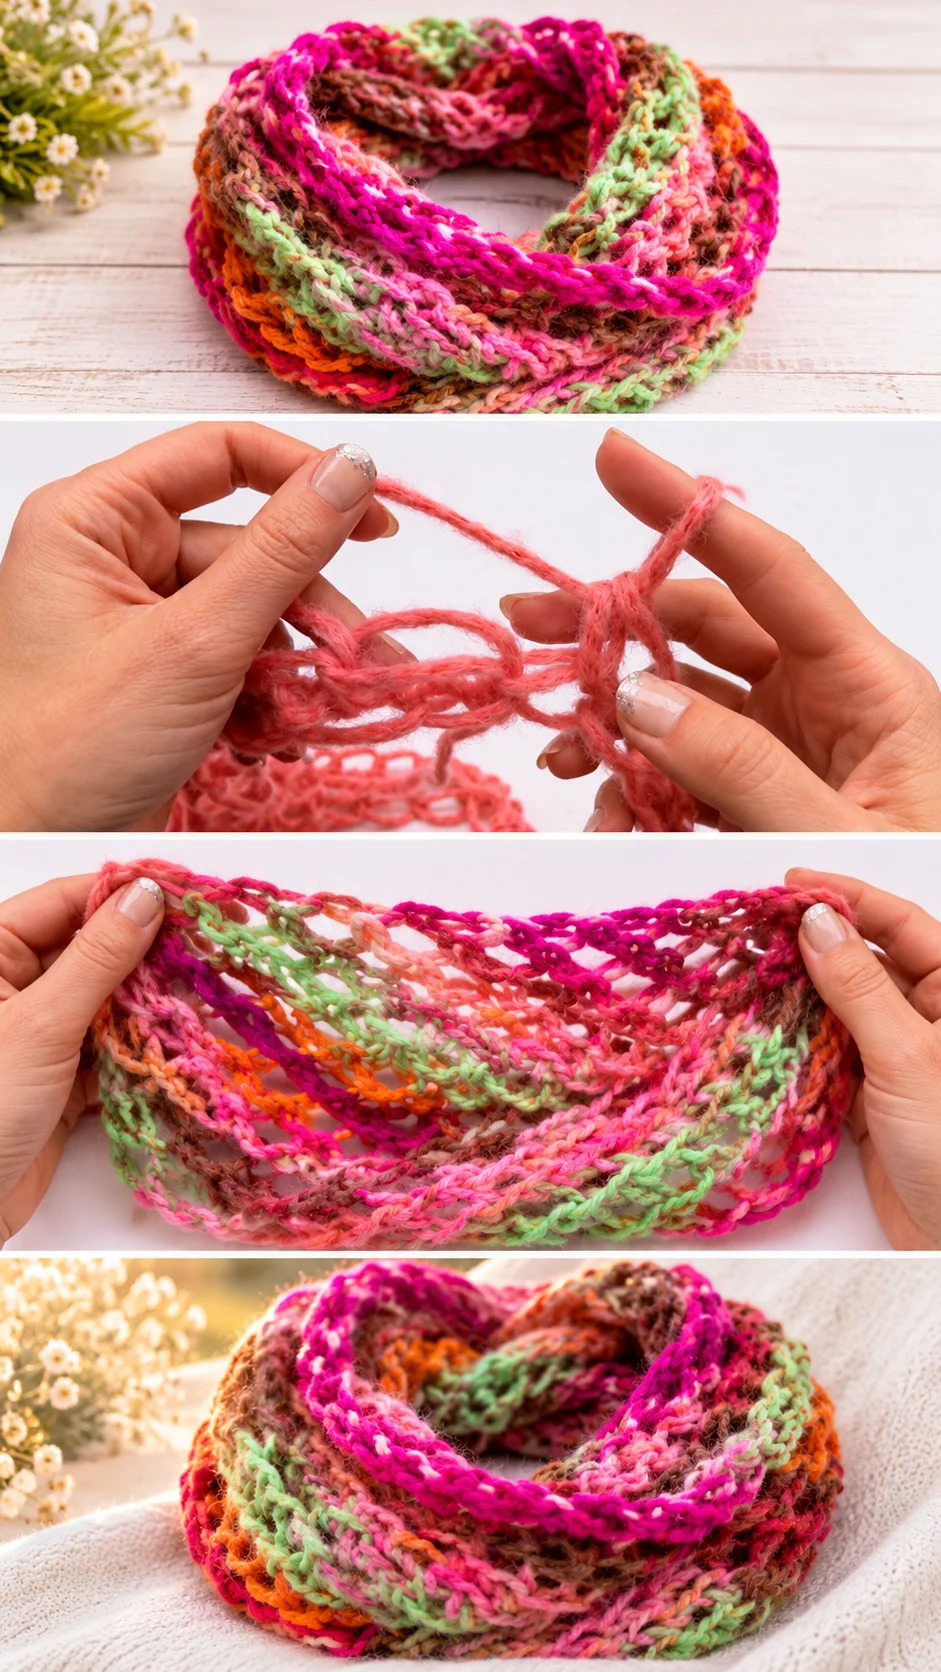
Colour is the whole personality of this cowl. The version here uses a long-repeat yarn with segments of pink, lime, orange and brown, and the fabric turns each segment into a stripe that runs along the length.
Long colour repeats make wide stripes. Short repeats scatter flecks of colour through the rows and create a more speckled look. Decide which you prefer before buying, and check the label for a note on how long each colour section runs.
For a calmer version, pick two neighbouring shades such as oatmeal and soft grey. For a showpiece, stay with the neon pinks and greens. If the colours look muddy as you work, the yarn may be pooling, so stop and check that the yarn is not twisting around itself as it feeds from the ball.
Avoid a very thin yarn doubled up to imitate chunky. It splits easily on bare fingers and produces a flat, tight fabric instead of the airy, ribbed texture you see here.
The Slanted Rib Stitch
The signature of this piece is its diagonal rib. Stitches lean in one direction, and each new row sits against the last like a row of tiny braids. The result looks woven, yet it is simply a tidy repeated stitch made loop by loop.
On the flat view, the ridges run lengthwise, which tells you the rows travel along the cowl rather than around it. That direction matters. It means the stripes of colour run in long bands, and the stretch of the fabric goes across the width, giving a flexible, springy fit around the neck.
The most common mistake is pulling each loop too tight. Tight loops make the fabric stiff and narrow, and the slant disappears. Keep every loop roughly the size of your finger when you take it off your hand, and the ridges stay soft and plump.
Watch the creator’s video closely at the point where the yarn is passed through the loops. Pause and replay that moment until your fingers can copy the angle, because the slant of the finished fabric depends on it.
Working With Your Hands as Tools
Finger crochet starts with a simple slipknot and a chain made around the fingers. The opening image shows the first few chain loops draped across the open palm, with the long tail of yarn falling toward the floor.
Your fingers act like a hook, so their spacing controls the size of the stitches. Hold them slightly apart and the loops come out generous. Squeeze them together and the stitches shrink. Keep that spacing consistent from the first row to the last for an even fabric.
Sore fingertips are the usual complaint. Work in short sessions, rest your hands, and let the yarn glide rather than gripping it. If the yarn feels rough, a smoother wool blend is kinder than a scratchy one.
If a loop slips off, do not panic. Slide it back on and tug the stitch below gently to even it out. Dropped loops are easy to catch because the yarn is so thick.
Shape and Closing the Loop
The cowl is a long rectangle that becomes a loop. After the last row, bring the two short ends together and join them so the ridges line up. A neat join keeps the stripes continuous, with no visible break where the loop closes.
Before joining, lay the piece flat and check that the rows are not twisted. A single twist would give a Möbius-style cowl, which can look charming but changes how it sits. For a classic tube, make sure the edges run parallel from end to end.
Use a yarn needle and the tail to sew the ends together, weaving through the matching loops on each side. Work gently so the seam keeps the same stretch as the rest of the fabric. A tight seam can pinch the cowl at the join and make it hang awkwardly.
Skill Level and Patience
This is a friendly project for beginners. There is no hook to learn and no stitch chart to decode. The stitch repeats in the same motion, so after a few rows the rhythm settles in.
The part that takes patience is the very beginning, when the loops feel loose and unruly. Stick with it for the first handful of rows, because the fabric looks messy until the ridges start to stack. Then the pattern appears and everything clicks into place.
How to Style a Crochet Infinity Cowl
In the photos, the cowl is doubled around the neck over a cream fleece jacket, so the pink and lime stripes pop against the pale fabric. That pairing works because the neutral base lets the colours do the talking.
Try it over a charcoal wool coat, where the bright bands act like a scarf and brooch in one. Wear it with a denim jacket in spring for a pop of colour at the collar. Or leave it long and loose over a simple black turtleneck for a relaxed weekend look.
As a gift, it suits teenagers and adults who like bold accessories. Roll it into a loose coil and tie it with ribbon for an easy present that needs no sizing.
Tips for a Neat Finish
Weave in the tail along a ridge rather than across it, so the end disappears into the rib. Trim it only after tugging the fabric gently in both directions, since stretching can pull the end back out.
If the edges ripple, your loops were probably uneven at the sides. Tug the edge stitches softly to even them, and steam the cowl lightly from a distance to relax the yarn. Never press an iron onto acrylic, because it flattens and can melt.
If the finished cowl feels stiff, you worked the loops too small. Gently stretch it over your knees or a rolled towel, hold it for a minute, and repeat. If it is too short to wrap twice, add more rows before joining, because it is far easier to lengthen it while it is still open.
Check the care label on your yarn before washing. Most chunky acrylic blends are fine on a gentle cycle, but wool should be washed by hand and dried flat so the ridges keep their shape.
A Bright Handmade Wrap
This crochet infinity cowl is a quick, colourful loop made with nothing but your hands and a ball of chunky variegated yarn. Its slanted rib gives it a woven look, and its closed shape makes it easy to wear.
Four things decide whether it turns out well: a bulky yarn with generous colour changes, loops kept loose and even, a flat untwisted join, and patience through the first few rows.
Wrap it twice and enjoy the warmth.
Video tutorial for this crochet infinity cowl by Naztazia (NAZTAZIA.COM).
Follow us on Pinterest and subscribe to the Newsletter so you don’t miss a thing!
Tutorial and photos of this infinity cowl by: naztazia.