
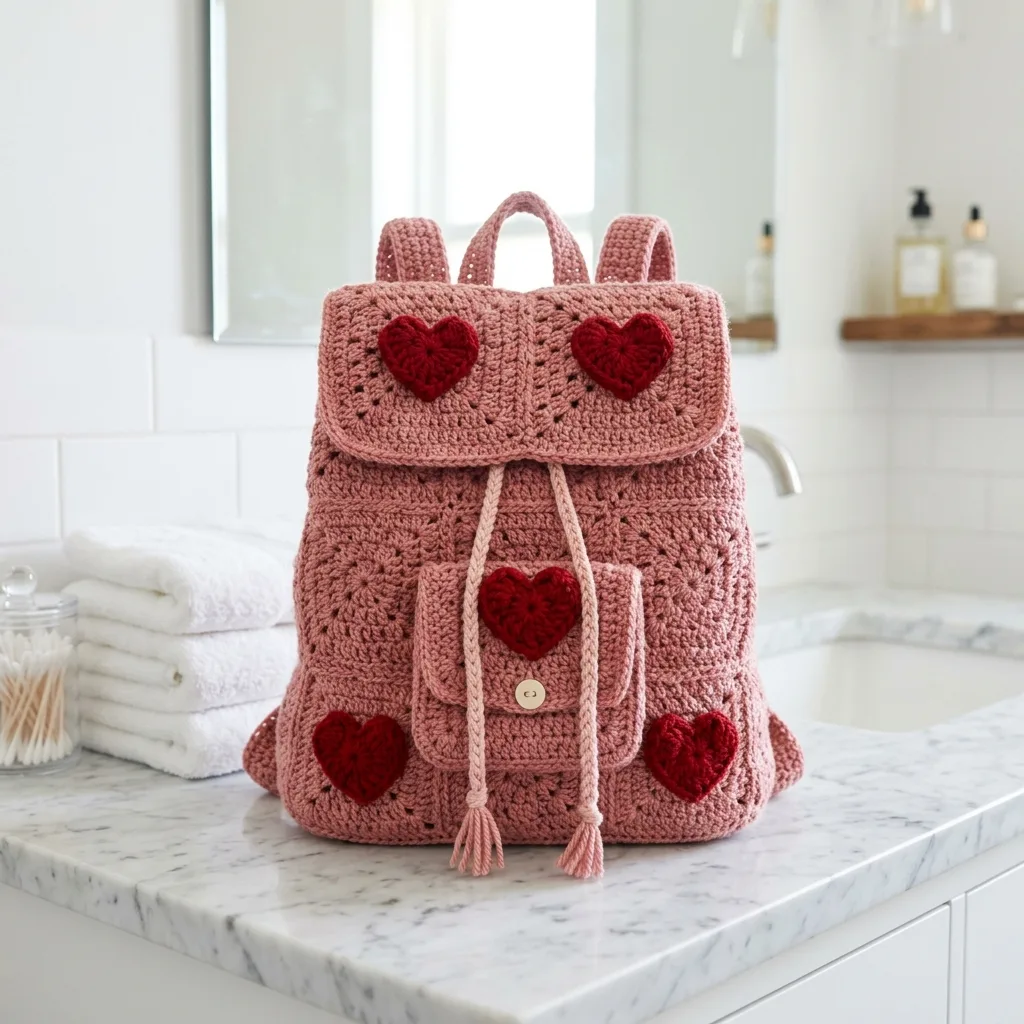
This is a granny square backpack made from 16 joined motifs, decorated with deep red heart appliqués. It uses basic stitches, a 3.5mm hook, and DK weight cotton yarn. If you can make a granny square and sew pieces together, you can absolutely make this bag.
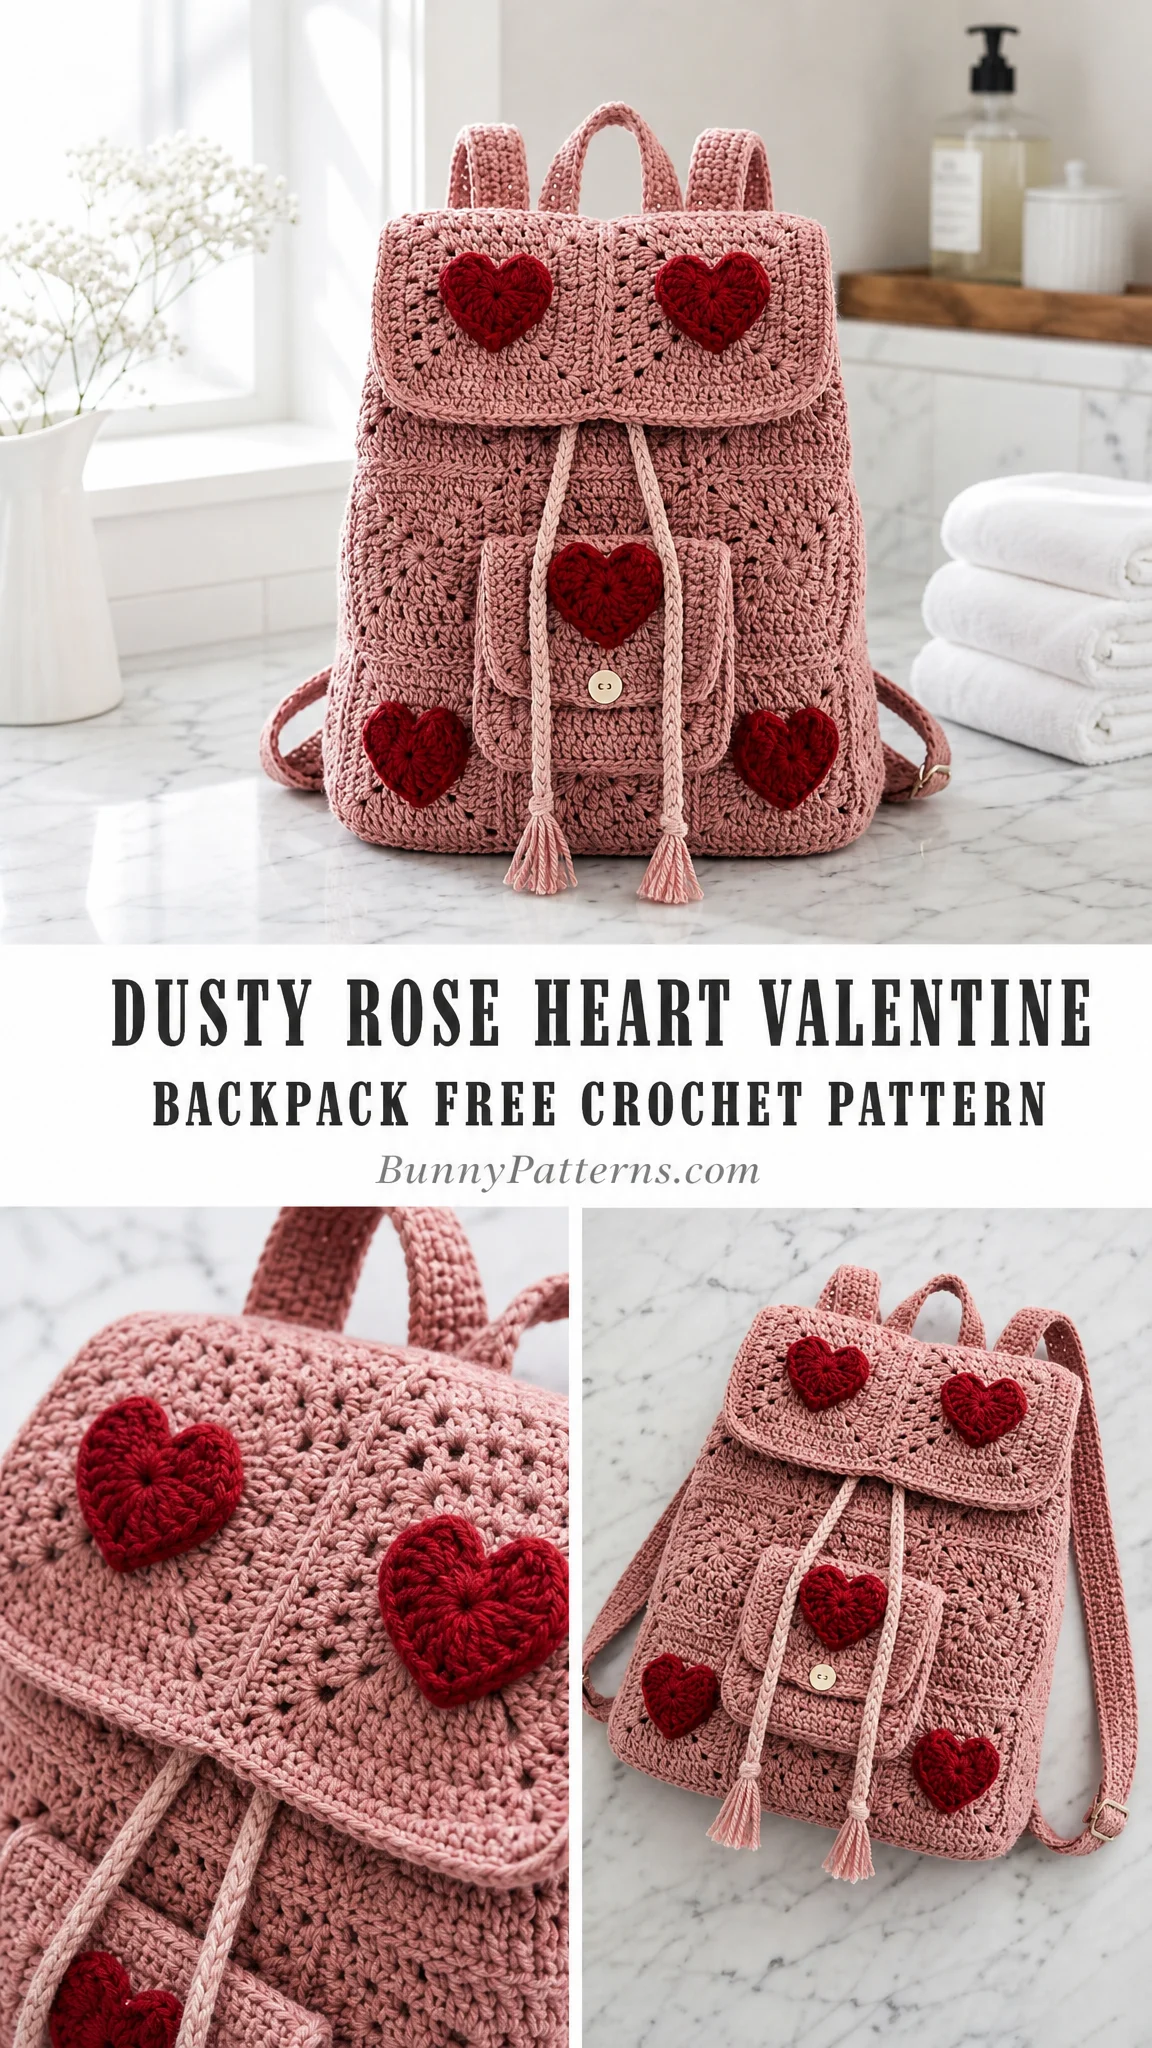
I have been eyeing this dusty rose color for months, waiting for the right project. A backpack felt perfect because it combines that vintage granny square charm with something genuinely useful. The hearts add a sweet Valentine’s Day touch, but honestly, this bag works year round. Swap the red hearts for any color you love, and you have got yourself a go anywhere accessory.
The construction is straightforward. You make individual squares, join them into panels, add edging, then assemble everything with simple seaming. The straps, handle, pocket, and flap are all crocheted separately and attached at the end. It sounds like a lot of pieces, but each one is small and manageable. Think of it as a series of mini projects that come together into something really impressive.
Pattern Overview and Skill Level
Skill Level: Intermediate
Estimated Time: 10 to 14 hours
This backpack is perfect for confident beginners ready to level up or intermediate crocheters looking for a satisfying project. The individual squares work up quickly, which keeps you motivated. The assembly requires some patience, but nothing complicated.
Finished Dimensions:
These measurements give you a mid-sized backpack, great for everyday essentials, books, a small tablet, or craft supplies on the go.
Materials You Will Need
Gathering your supplies before you start makes the whole process smoother. Here is everything you need for this crochet backpack pattern:
Yarn:
Hook:
Notions:
Why Cotton? Cotton yarn gives this bag structure and durability. It holds its shape beautifully and gets softer with washing. Acrylic would work in a pinch, but cotton truly shines here.
Gauge
Getting your gauge right matters for this project since you want all 16 squares to match up perfectly.
Gauge: 16 single crochet (sc) stitches x 16 rows = 4 inches (10 cm)
Finished Motif Size: Approximately 2.5 inches square
Take time to make a test square before diving in. If your square measures larger than 2.5 inches, try going down a hook size. If it measures smaller, go up a hook size. This step saves frustration later when you are joining panels.
Abbreviations
Let me break down every stitch abbreviation you will encounter in this pattern:
Square Motif Instructions
You will make 16 of these granny-style floral squares. They work up quickly once you get the rhythm, and watching your stack grow is incredibly satisfying.
Round 1: Make a magic ring (MR). Chain 3 (counts as first dc), work 15 dc into the ring. Join with sl st to top of beginning ch-3. Pull ring closed. (16 dc)
Round 2: *(2 dc, ch 1) in next stitch; repeat from * around. Join with sl st. (32 dc, 16 ch-1 spaces)
Round 3: Work shell groups around to form the floral texture. This creates that beautiful layered look you see in the photos. Follow the shell pattern evenly around, working into the chain-1 spaces from the previous round.
Round 4: This is your square-off round. Work corners of (2 dc, ch 2, 2 dc) at each of the 4 corner points, with dc groups along each side between corners. This transforms your circle into a tidy square.
Fasten off and weave in ends. Your finished motif should measure approximately 2.5 inches.
Tips for Consistent Squares:
Backpack Construction
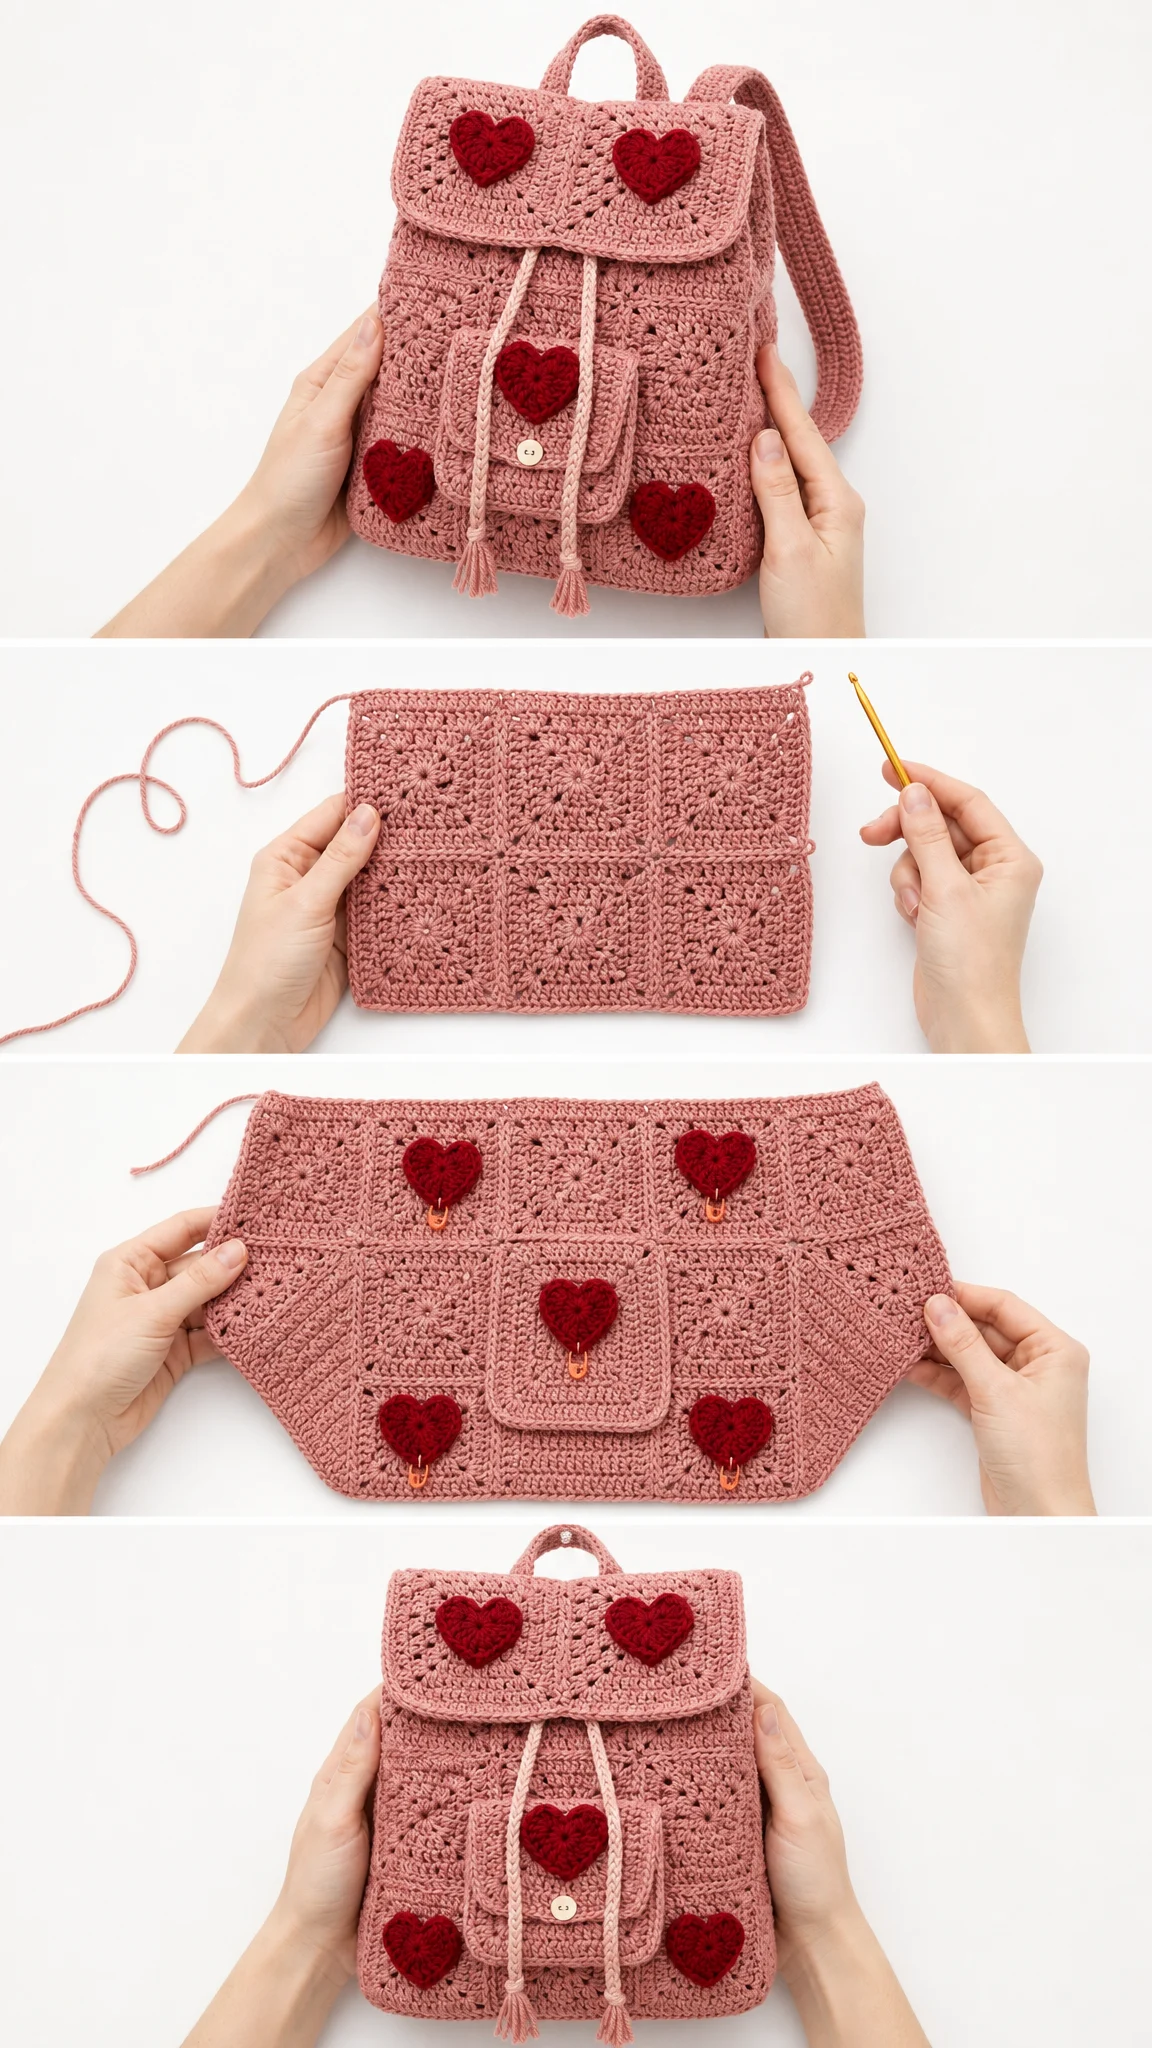
Now comes the fun part: turning those 16 squares into an actual backpack. The assembly diagram shows exactly how the panels fit together.
Step 1: Create Your Panels
Front Panel: Join 4 squares in a 2×2 arrangement
Back Panel: Join 4 squares in a 2×2 arrangement
Side Gussets: Join remaining squares to create side panels (2 squares each side, plus bottom)
Use your preferred joining method. Whip stitch or mattress stitch both work beautifully. Work on the wrong side for invisible seams, or join on the right side for a decorative ridge.
Step 2: Add Edging
Work single crochet (sc) edging around all panels. This creates a clean, uniform edge and makes final assembly much easier. Work 1 sc per stitch along sides and 2 to 3 sc in each corner to keep edges flat.
Step 3: Assemble the Body
Sew side panels to front and back panels, creating a boxy bag shape. Work from the bottom up, matching your squares at each seam. Take your time here. Neat seaming makes a professional-looking finished piece.
Step 4: Add the Flap
The flap is crocheted separately using the same shell/cluster stitch pattern as your squares. It should reach the top third of the backpack front when folded over. Attach it securely to the top edge of the back panel.
Step 5: Create the Front Pocket
The pocket sits centered on the front panel and features a functional button closure. Crochet a small square or rectangle in the main color, add a buttonhole, and sew it in place. This little pocket is perfect for keys or small items you need to grab quickly.
Step 6: Add the Drawstring Casing
Work a row of stitches around the top interior of the bag, creating channels for the drawstring cord to weave through. This gives your backpack that classic cinched closure.
Step 7: Make the Drawstring Cord
Crochet a simple cord long enough to thread through the casing with extra length for the tasseled ends. Add small tassels to each end for that finishing touch.
Step 8: Create Straps and Top Handle
The straps need to be sturdy since they carry the weight of the bag. Work them in rows using sc or hdc for a dense, strong fabric. Make two shoulder straps long enough to wear comfortably, plus one shorter top handle for grabbing.
Attach straps securely to the back panel, spacing them evenly. The top handle attaches at the center top.
Heart Appliqués
The deep red hearts are what make this backpack special. You will need approximately 7 hearts: 2 for the flap, 1 for the pocket, and 4 scattered across the bag body (adjust based on your preference).
Crochet each heart using your deep red yarn and the same 3.5mm hook. Work in rounds, shaping the top lobes and bottom point. Leave a long yarn tail for sewing.
Position hearts on your assembled backpack, spacing them attractively. Use the photos as a guide. Pin in place before sewing to make sure you love the arrangement. Sew hearts securely using your tapestry needle and matching yarn tail.
Assembly Checkpoints
Before you call this project finished, run through these checkpoints:
Finishing and Blocking
Blocking: Block your finished backpack lightly using steam or wet blocking. This evens out your stitches and gives the bag a polished look. Stuff with tissue paper or a towel to hold the shape while drying.
Structure: If you want a stiffer bag, you can add plastic canvas or cardboard to the bottom interior. Some crocheters also line their bags with fabric for extra durability and to prevent small items from poking through the stitches.
Care Instructions
Your finished crochet Valentine backpack deserves proper care to stay beautiful:
Cotton yarn gets softer and more comfortable with each gentle wash.
Customization Ideas
This step by step crochet tutorial gives you a solid foundation, but feel free to make it your own:
Troubleshooting Common Issues
Squares are different sizes: Check your tension and block aggressively. Even small differences add up across 16 squares.
Bag is floppy: Cotton yarn helps, but you can also add a fabric lining or interfacing for more structure.
Straps twist: Make sure you are not turning your work mid-row. Work with RS facing consistently.
Hearts curl: Block hearts flat before attaching. A light steam works wonders.
This crochet backpack pattern makes a wonderful gift for Valentine’s Day, but it is honestly perfect anytime. The granny square construction feels nostalgic and handmade in the best possible way, while the modern shape keeps it practical and wearable.
I hope you enjoy making this dusty rose heart backpack as much as I enjoyed designing it. Thank you so much for choosing this pattern. If you make one, I would absolutely love to see it! Share your finished backpack on Instagram or Facebook and tag me so I can admire your work.
Save this pattern to your Pinterest boards so you can find it whenever you are ready to start. And please drop a comment below if you make this backpack. I love hearing how projects turn out and seeing what colors you choose!
You Might Also Like
- Terracotta Desert Shell Purse Free Crochet Pattern
- Ocean Breeze Ombre Braided Purse Free Crochet Pattern
- Lavender Dream Bow Crochet Vest Free Crochet Pattern
- Teal Ocean Wave Crochet Robe Free Pattern