
Last Valentine’s Day, my daughter asked me to make something "really, really fancy" for her favorite doll. She wanted roses. Lots of roses. And a big twirly skirt that would spin when she danced the doll around the living room. I laughed at first, thinking she had no idea what she was asking for. But then I started sketching, and honestly? I got completely obsessed with the idea. What started as a simple request turned into one of the most stunning doll gowns I have ever crocheted. This crimson rose ball gown took my breath away when I finished it, and I think it will do the same for you.
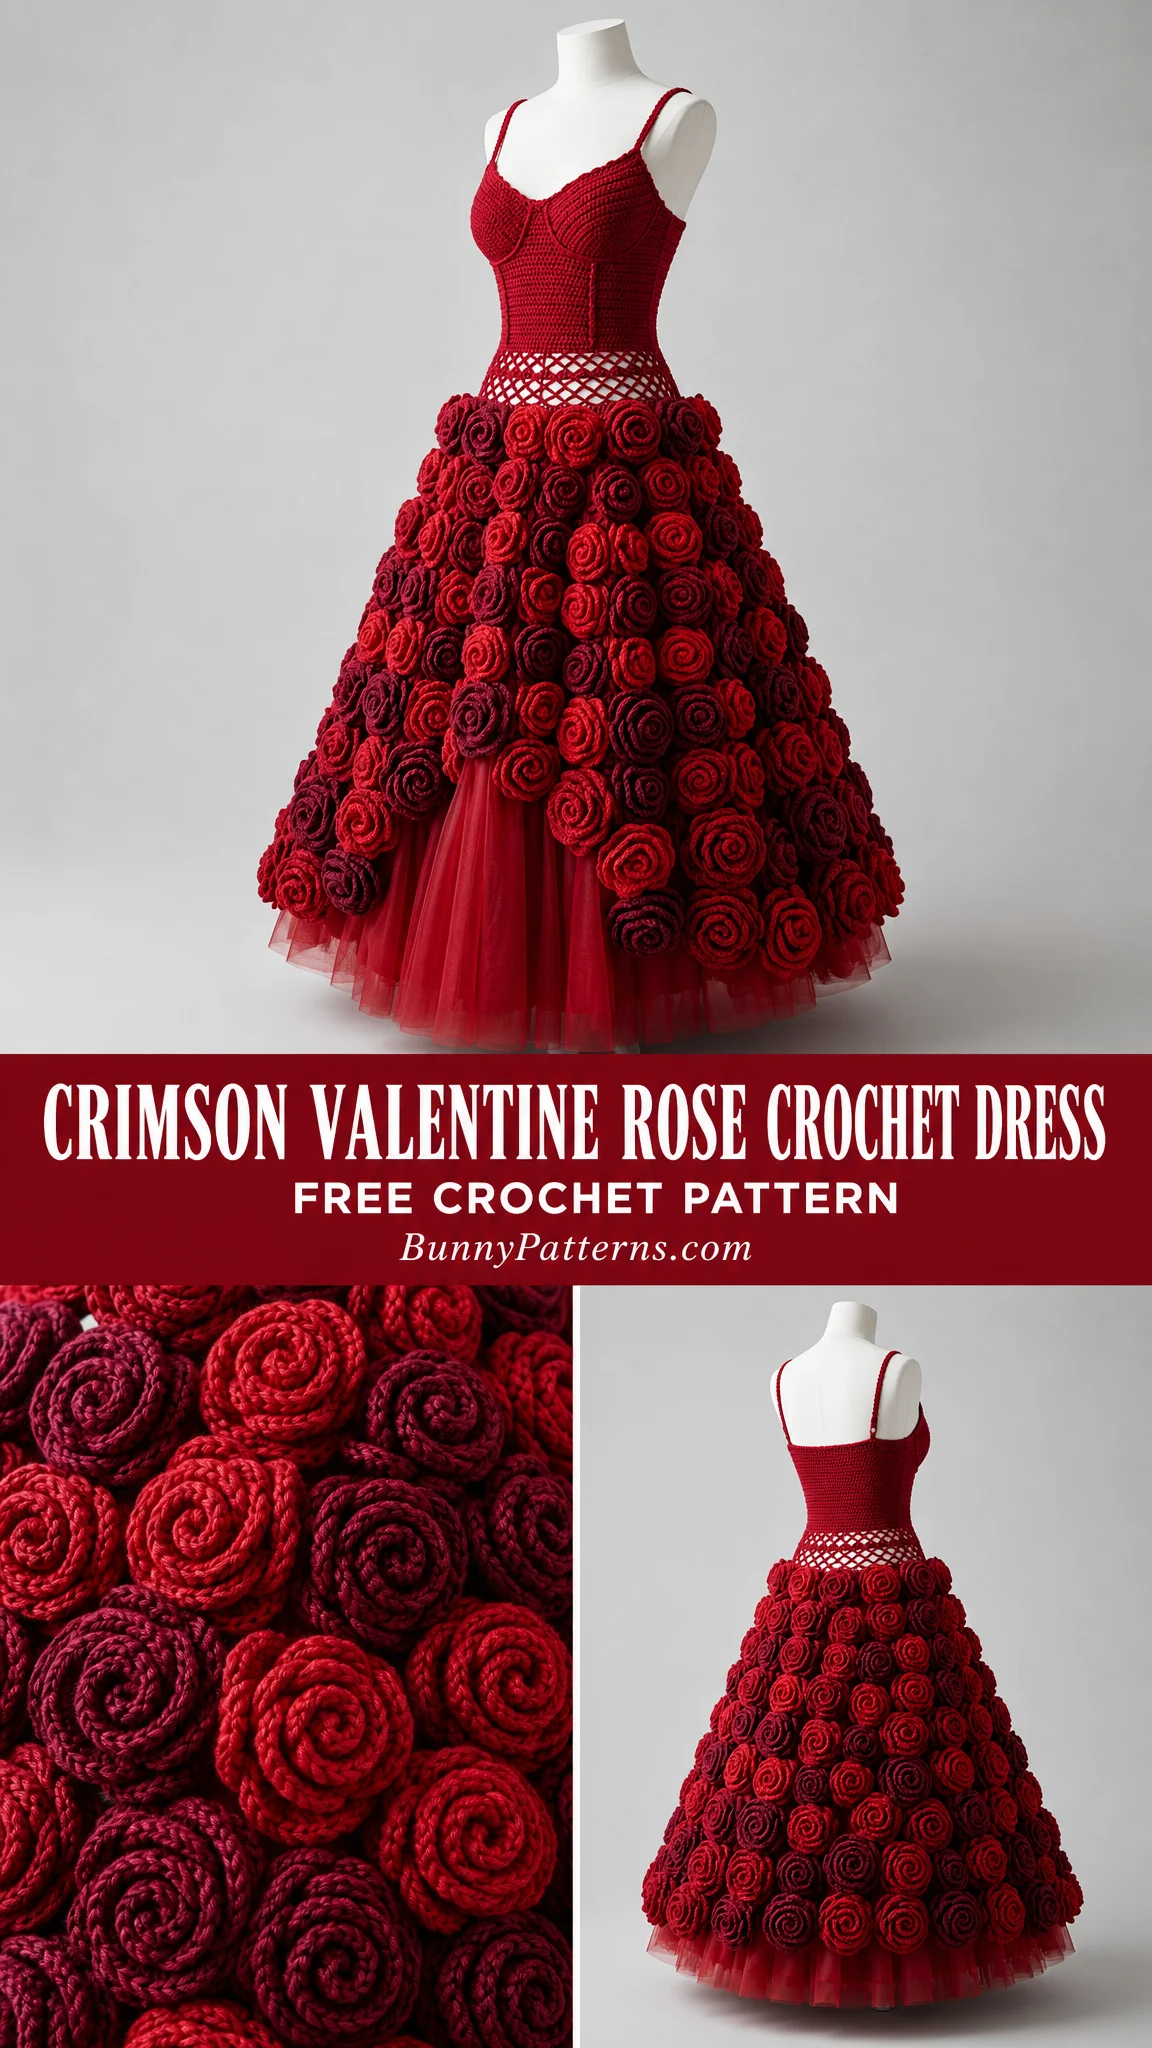
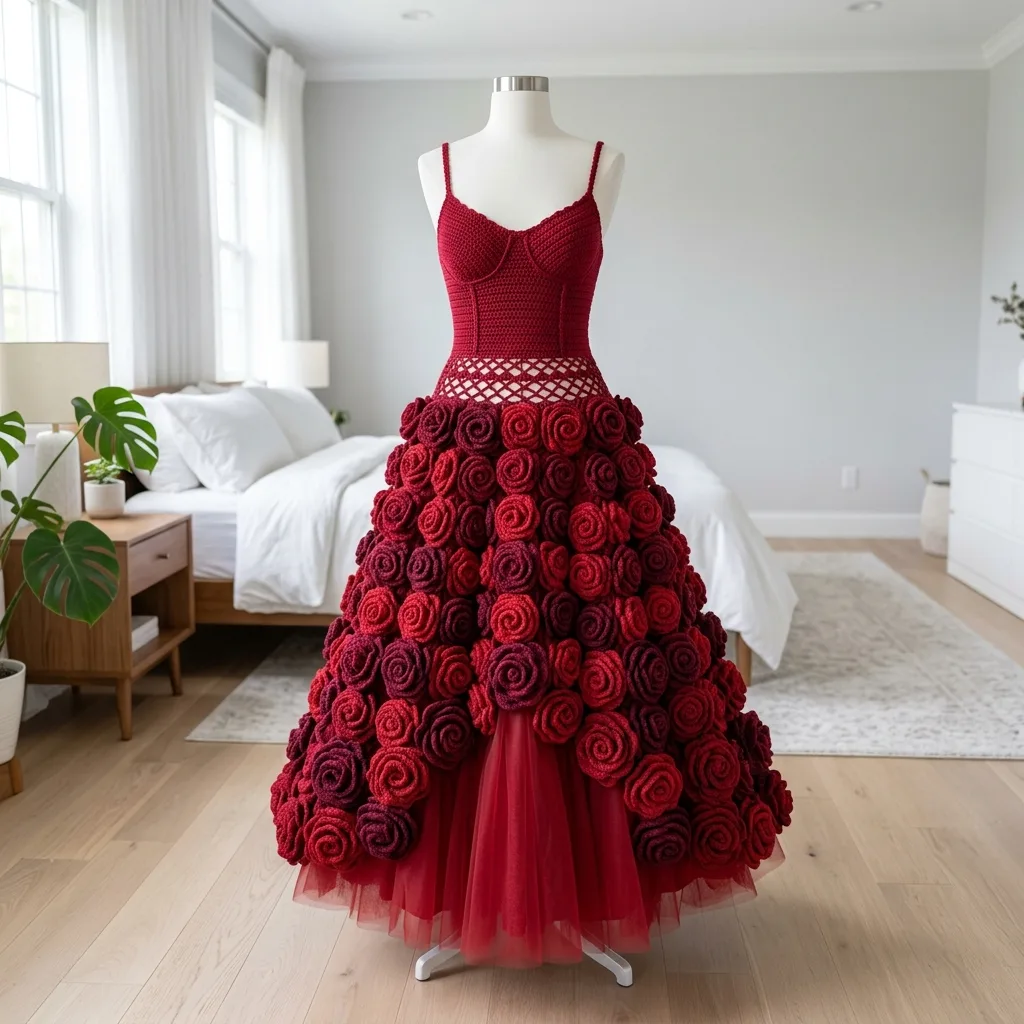
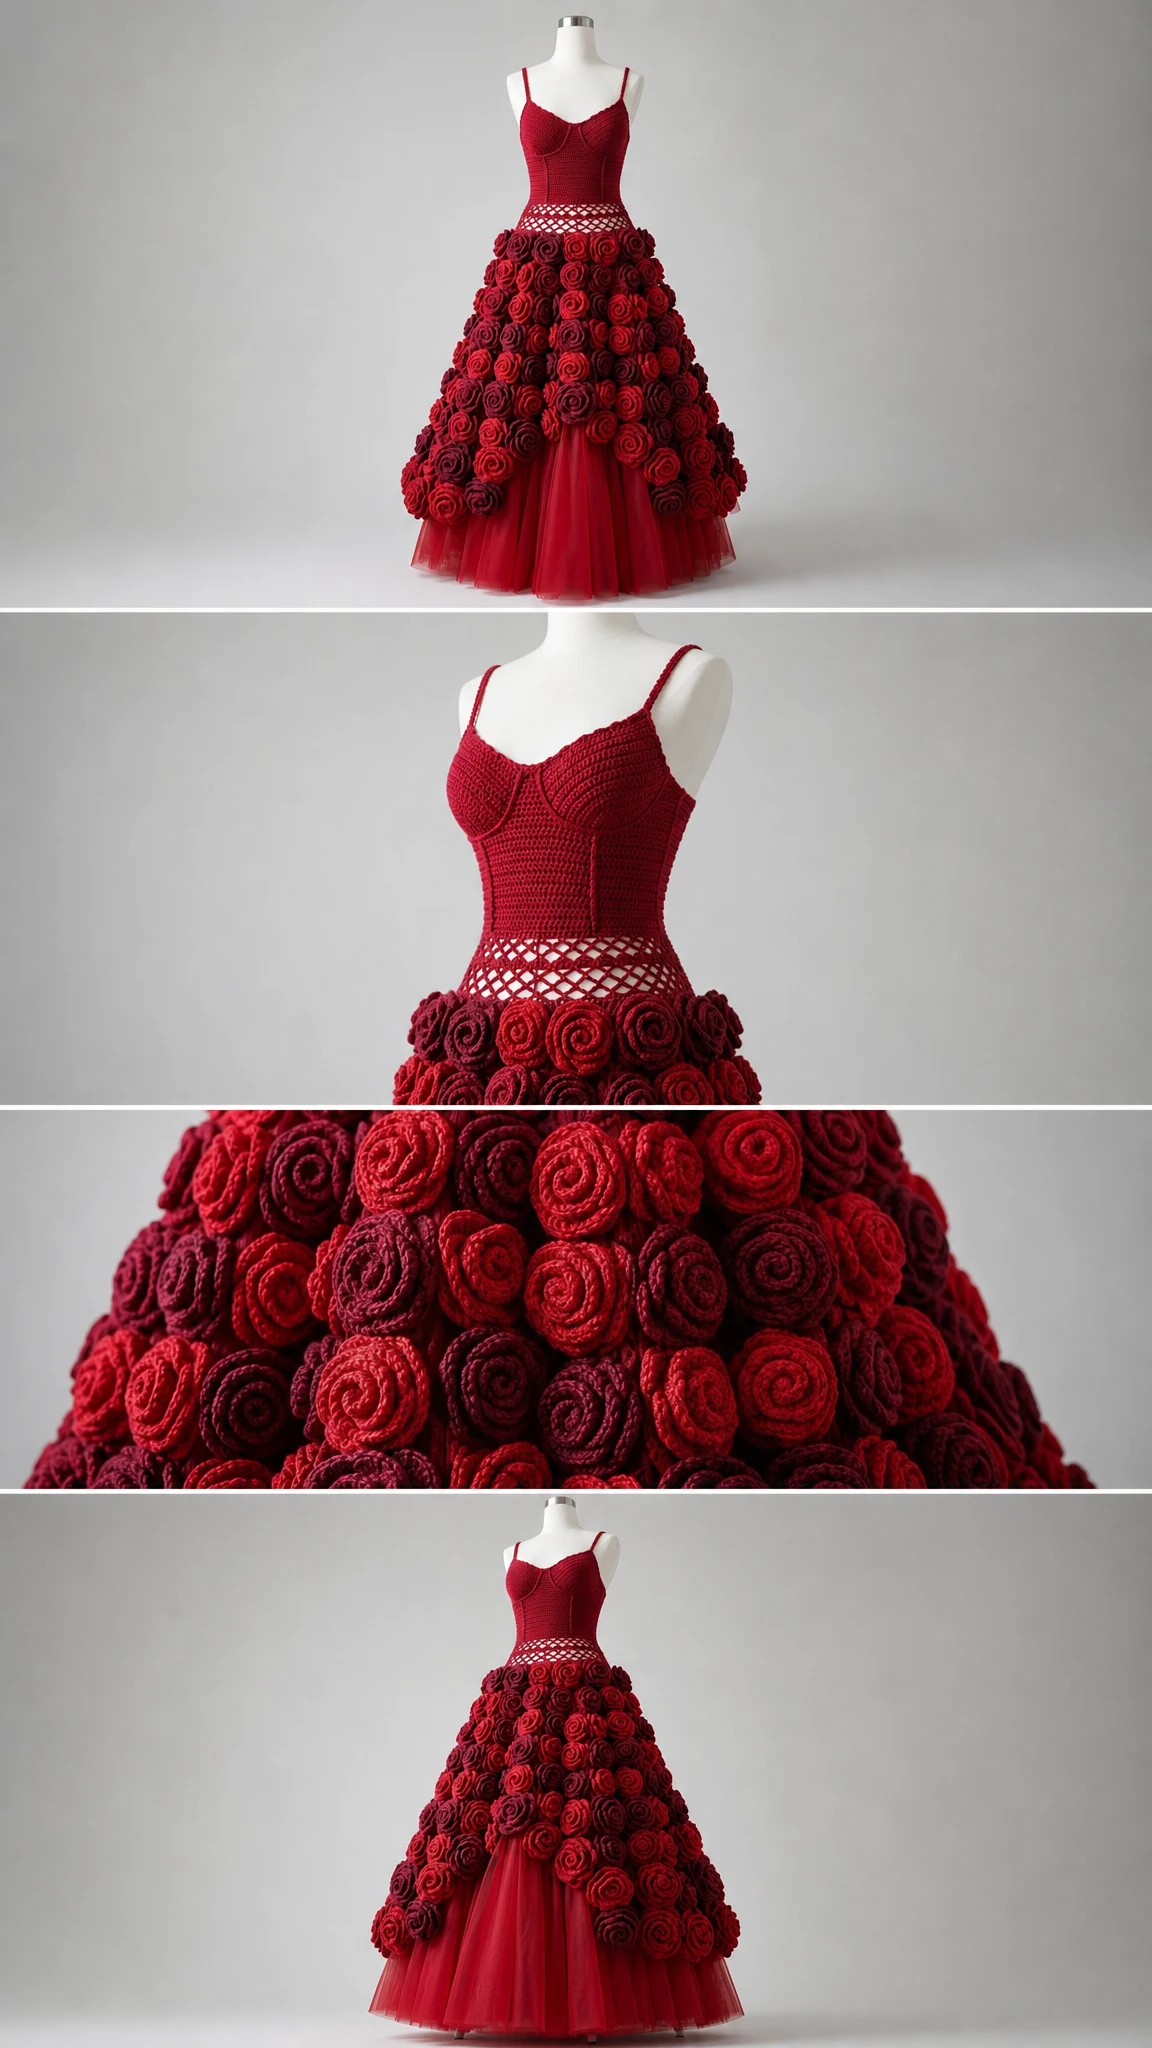
This intermediate crochet pattern creates a 13 inch (33 cm) doll wearing an absolutely showstopping crimson gown. The fitted bodice features delicate straps and a gorgeous lattice waist detail, while the dramatic ball gown skirt is covered in approximately 85 to 95 individual spiral roses. A gathered tulle underskirt adds volume and a peek of softness at the hem. If you have been wanting to level up your amigurumi skills with something truly special, this is the project that will get you there.
Why This Rose Gown Pattern Stands Out
This is not your typical doll dress pattern. The construction combines several techniques that make the finished piece look incredibly professional and detailed. You will use amigurumi shaping for the doll body, create dozens of spiral roses using a simple rolled technique, work a lattice stitch waist panel, and construct a layered skirt that gives the gown its dramatic silhouette.
The roses are the real showstopper here. Each one is crocheted as a flat strip and then rolled into a dimensional flower. When you sew them densely onto the skirt base in staggered rows, they create that lush, romantic look you see in the photos. The effect is absolutely magical, but the technique itself is surprisingly approachable once you get into a rhythm.
Materials You Will Need
Before you start, gather everything on this list. Having all your supplies ready makes the process so much smoother, especially for a project with this many components.
Yarn:
– Skin (Light Beige) for the doll body
– Hair (Dark Brown) for the hair
– Rose Main (Deep Red) for the primary roses and bodice
– Rose Light (Cherry Red) for accent roses
– Rose Dark (Burgundy) for accent roses
– Tulle (Wine Red) or coordinating tulle fabric
Cotton yarn works best for this project because it holds the shape of the roses beautifully and gives the bodice a crisp, fitted look. I recommend using a smooth, tightly spun cotton rather than a soft or loosely plied one.
Tools:
Gauge Information
Getting your gauge right matters for this pattern, especially for the fitted bodice and the doll body proportions.
Gauge: 28 single crochet stitches x 30 rounds = 4 inches (10 cm) in continuous rounds
I always recommend making a small swatch before diving into the project. If your swatch is too big, go down a hook size. If it is too small, go up a hook size. Taking ten minutes to check gauge will save you hours of frustration later.
Skill Level and Techniques
This pattern is rated intermediate. You should be comfortable with basic amigurumi construction, working in continuous rounds, and increasing and decreasing smoothly. The individual techniques are not difficult on their own, but bringing them all together requires patience and attention to detail.
Techniques used in this pattern:
If any of these techniques are new to you, I recommend practicing them on a small sample before starting the main project. The spiral roses especially benefit from a practice run so you can get comfortable with the rolling and securing process.
Abbreviations and Stitch Definitions
Let me walk you through every abbreviation used in this pattern. Understanding these terms will make following the instructions much easier.
MR stands for magic ring, also called a magic circle or adjustable ring. This is a technique for starting rounds that creates a tight, closed center with no hole. You wrap yarn around your fingers, pull up a loop, and work your first stitches into the ring before pulling it closed.
ch stands for chain. This is the most basic crochet stitch where you yarn over and pull through the loop on your hook. For example, "ch 5" means make 5 chain stitches in a row.
sl st stands for slip stitch. Insert your hook, yarn over, and pull through both the stitch and the loop on your hook in one motion. This creates a very flat, almost invisible stitch used for joining or surface details.
sc stands for single crochet. Insert hook, yarn over and pull up a loop (2 loops on hook), yarn over and pull through both loops. This is the workhorse stitch of amigurumi because it creates a tight, sturdy fabric.
inc stands for increase. Work 2 single crochet stitches into the same stitch. This adds one stitch to your round and makes the piece wider.
dec stands for decrease, also called an invisible decrease in amigurumi. Insert hook through the front loops only of the next 2 stitches, yarn over, pull through both front loops, yarn over, pull through both loops on hook. This removes one stitch and makes the piece narrower.
BLO stands for back loop only. Instead of inserting your hook under both loops of the V at the top of a stitch, you insert it under only the back loop (the one furthest from you). This creates a ridge on the front of your work.
FLO stands for front loop only. Insert your hook under only the front loop (the one closest to you). This creates a ridge on the back of your work and is often used to create a turning ridge for adding edgings later.
hdc stands for half double crochet. Yarn over, insert hook, yarn over and pull up a loop (3 loops on hook), yarn over and pull through all 3 loops. This stitch is slightly taller than single crochet.
dc stands for double crochet. Yarn over, insert hook, yarn over and pull up a loop (3 loops on hook), yarn over and pull through 2 loops (2 loops remain), yarn over and pull through remaining 2 loops. This creates a taller stitch often used for the rose petals.
Pattern Overview and Construction Order
This doll and gown are constructed in separate pieces and then assembled. Here is the order I recommend working in:
1. Head (worked from the top down)
2. Hair (can be worked separately or attached as you go)
3. Arms (2 pieces)
4. Body (worked from neck down)
5. Waist Lattice Panel
6. Rose Skirt Base
7. Tulle Underskirt
8. Spiral Roses (approximately 85 to 95 individual roses)
9. Final Assembly
All doll parts are worked separately and sewn together during assembly. The pattern uses continuous rounds for most pieces, which means you do not join at the end of each round. Use a stitch marker to keep track of where your rounds begin.
Condensed Construction Instructions
Head
Start with a magic ring and work 6 single crochet into the ring. Continue working in continuous rounds, increasing evenly until you reach 48 stitches at the widest point. Shape the head by working even rounds, then decrease back down to close. Stuff firmly with fiberfill as you go, adding more stuffing before the opening gets too small.
Checkpoint: Your finished head diameter should measure approximately 3.25 inches (8.25 cm).
Body
Begin with 36 stitches and work down toward the waist, shaping as indicated in the pattern. The body should have a slight narrowing at the waist where the lattice panel and skirt will attach.
Bodice
The fitted red bodice is worked directly onto or attached to the body. It features a sweetheart neckline shaping and delicate straps that go over the shoulders. Work the bodice tightly to maintain its structured appearance.
Waist Lattice Panel
This decorative band sits at the natural waist, creating a beautiful transition between the fitted bodice and the full skirt. The lattice pattern is created using chain spaces and single crochet stitches in an openwork arrangement.
Skirt Base
The skirt base is worked in rounds, increasing to create the bell shape of the ball gown. This piece serves as the foundation fabric onto which you will sew all of the spiral roses.
Checkpoint: Your finished skirt circumference should measure approximately 16 to 18 inches at the lower edge.
Tulle Underskirt
Cut and gather tulle fabric to create the underskirt that peeks out beneath the roses. The gathered tulle is attached inside the skirt before the roses are sewn on. This adds volume and gives that gorgeous peek of soft fabric at the hem.
How to Make the Spiral Roses
The roses are what make this gown extraordinary, and I want to walk you through the technique carefully.
Rose Assembly Steps
Step 1: Chain a starting strip. Create a foundation chain of the length specified for your rose size. Larger roses near the bottom of the skirt use longer chains than smaller roses near the waist.
Step 2: Work along the strip. Work a combination of single crochet, half double crochet, and double crochet stitches along the chain, creating a ruffled strip that naturally wants to curl.
Step 3: Twist strip. Give the strip a gentle twist to help it spiral naturally when rolled.
Step 4: Roll tightly. Starting from one end, roll the strip tightly to form the rose center. Continue rolling more loosely as you work outward to create the layered petal effect.
Step 5: Secure the base. Use your tapestry needle and matching yarn to sew through the base of the rolled rose several times, securing all the layers together.
You will make approximately 85 to 95 roses in varying sizes and shades. The pattern calls for a mix of Deep Red, Cherry Red, and Burgundy roses to create visual depth and interest.
Rose Sewing Tips
Block roses lightly before attaching them. A light steam or spray blocking helps the petals relax and look more natural.
Sew densely to conceal the base fabric. You should not be able to see the skirt base fabric between the roses when you are finished. Overlap the roses slightly and stagger them in rows like bricks in a wall.
Use graduated rows. Place larger roses toward the bottom of the skirt and smaller roses toward the waist. This creates a natural, organic look.
Work from the bottom up. Start sewing roses at the hem and work your way up. This allows each row to slightly overlap the row below.
Final Measurements and Checkpoints
Before you finish, double check these measurements:
If your measurements are significantly different, check your gauge and consider whether you need to adjust your hook size for future projects.
Finishing Details
Attach the straps securely to the bodice. Add small roses to the hair as decorative accents if desired. Weave in all ends carefully, hiding them inside the stuffed pieces whenever possible.
Take your time with the finishing. This is a project worth doing well, and those final details make all the difference in the finished appearance.
Care Instructions
Your finished doll gown should be spot cleaned or hand washed in cold water. The many roses and the tulle underskirt are delicate, so avoid machine washing or wringing.
After washing, reshape the roses gently and lay the doll flat to air dry. Avoid hanging, which can stretch the body. With proper care, this gown will stay beautiful for years.
Pattern Notes and Tips
Use a smaller hook for tighter amigurumi. If you can see stuffing through your stitches, go down a hook size.
Make extra roses. I always recommend making about 10 percent more roses than you think you need. You will be glad to have extras when you are filling in gaps.
Take breaks. Making 85 or more roses is a lot of repetitive work. Break it up over several days to avoid hand fatigue.
Enjoy the process. This is not a quick project, but the result is absolutely worth the time investment.
You Can Absolutely Make This
I know this pattern might look intimidating at first glance. All those roses, the fitted bodice, the multiple techniques. But here is what I want you to remember: each individual component is completely achievable. You are not making one complicated thing. You are making many simple things and putting them together beautifully.
If you can single crochet and roll up a strip of fabric, you can make these roses. If you can work in rounds and increase evenly, you can make this doll. Take it one piece at a time, celebrate each finished component, and before you know it, you will have an absolutely stunning crimson rose gown doll that looks like it belongs in a museum.
This gown makes an incredible gift for a special child, a beautiful display piece for your craft room, or a showstopper for craft fairs. It is the kind of project people remember and talk about.
I hope you love making this pattern as much as I loved designing it. If you give it a try, I would absolutely love to see your finished dolls. Tag me on Instagram or share in our Facebook group so I can celebrate your beautiful work with you.
Thank you so much for choosing this pattern and trusting me to guide you through it. Happy crocheting, friend.
If you enjoyed this pattern, I would be so grateful if you saved it to your Pinterest boards so you can find it easily later and share it with fellow crocheters who might love it too. And please, drop a comment below if you make this gown. I read every single one and they absolutely make my day!
You Might Also Like
- Blush Pink Spiral Envelope Clutch Free Crochet Pattern
- Lavender Sunflower Granny Square Tote Free Crochet Pattern
- Midnight Blue Floral Bell Sleeve Top Free Crochet Pattern
- Lavender Purple Dreamy Peplum Crochet Top Pattern