
Let me guess. You took one look at this gorgeous basketweave backpack and thought, "There is no way I can make that." The structured shape, the professional hardware, the intricate woven texture. It looks like something you would find in a high-end boutique, right? Well, here is the truth. If you can work front post and back post double crochet, you can absolutely make this bag. The basketweave stitch looks incredibly impressive, but it is really just alternating blocks of post stitches every four rows. Once you get the rhythm going, it practically works itself. Whether you are an intermediate crocheter ready to tackle your first bag project or an experienced maker looking for something stunning, this pattern breaks everything down into manageable pieces. Literally. You will make flat panels, seam them together, and suddenly you have a designer-worthy accessory.
Get the Ad-Free PDF Pattern
You can find the free pattern below, or you can purchase the ad-free printable PDF from my shop.
Get the Printable PDF →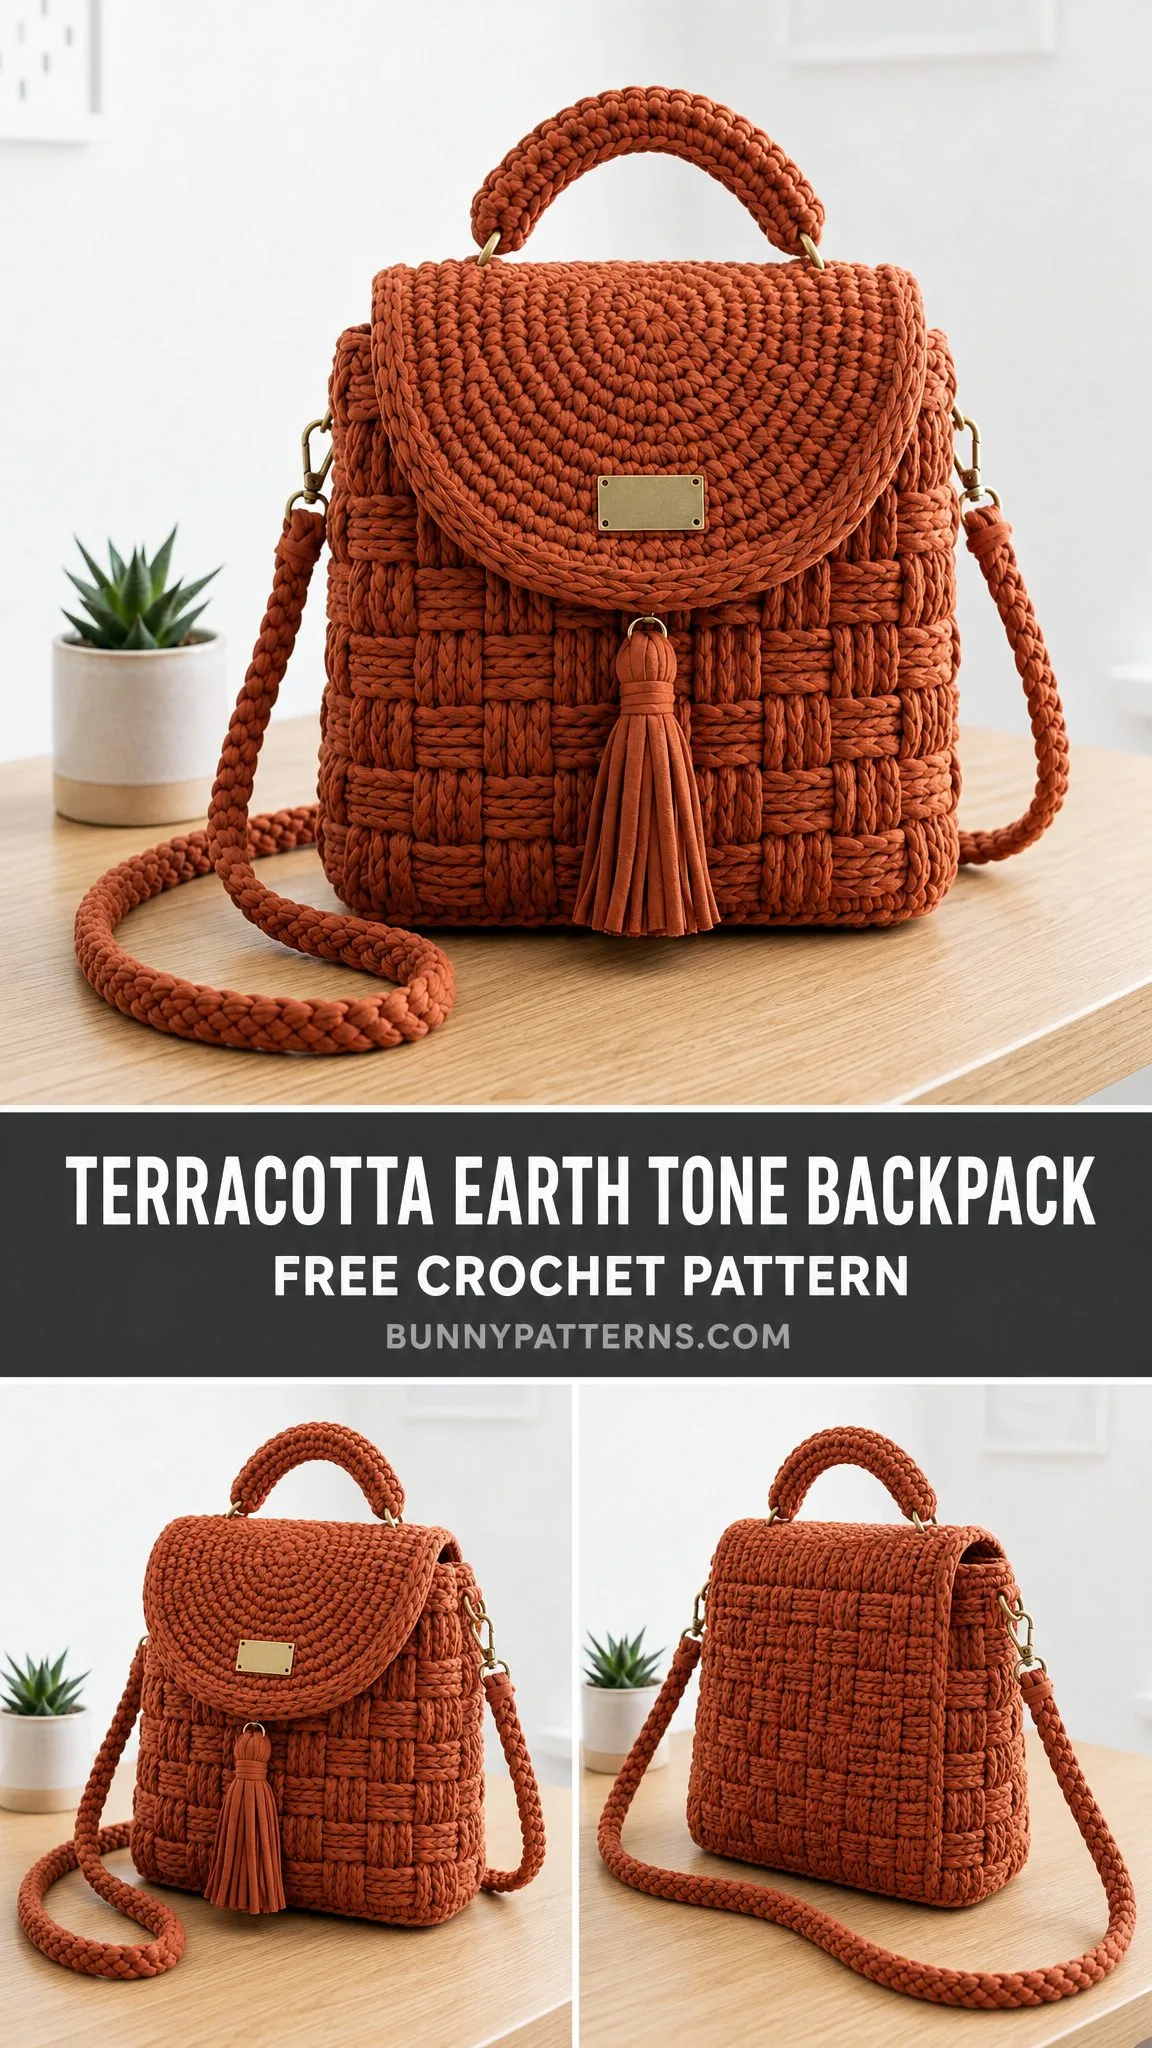
About This Terracotta Backpack Crochet Pattern
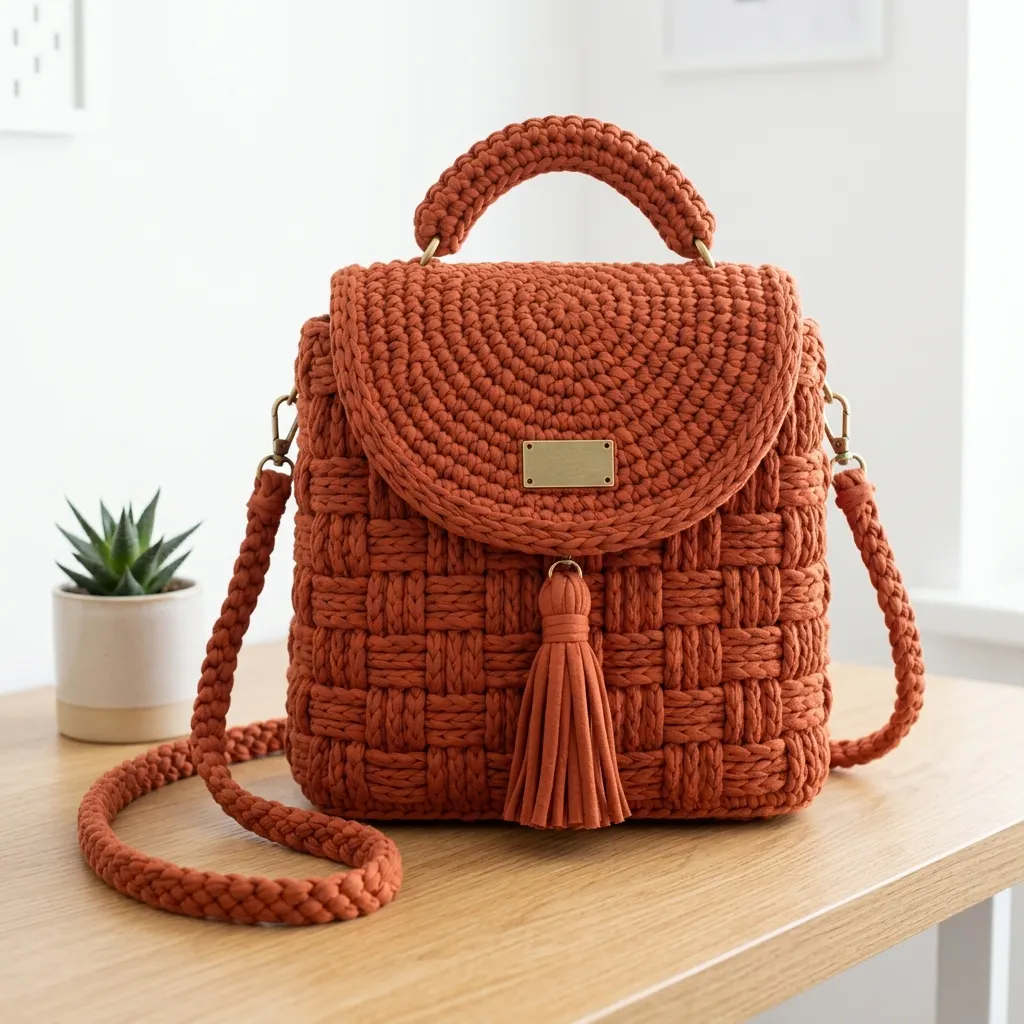
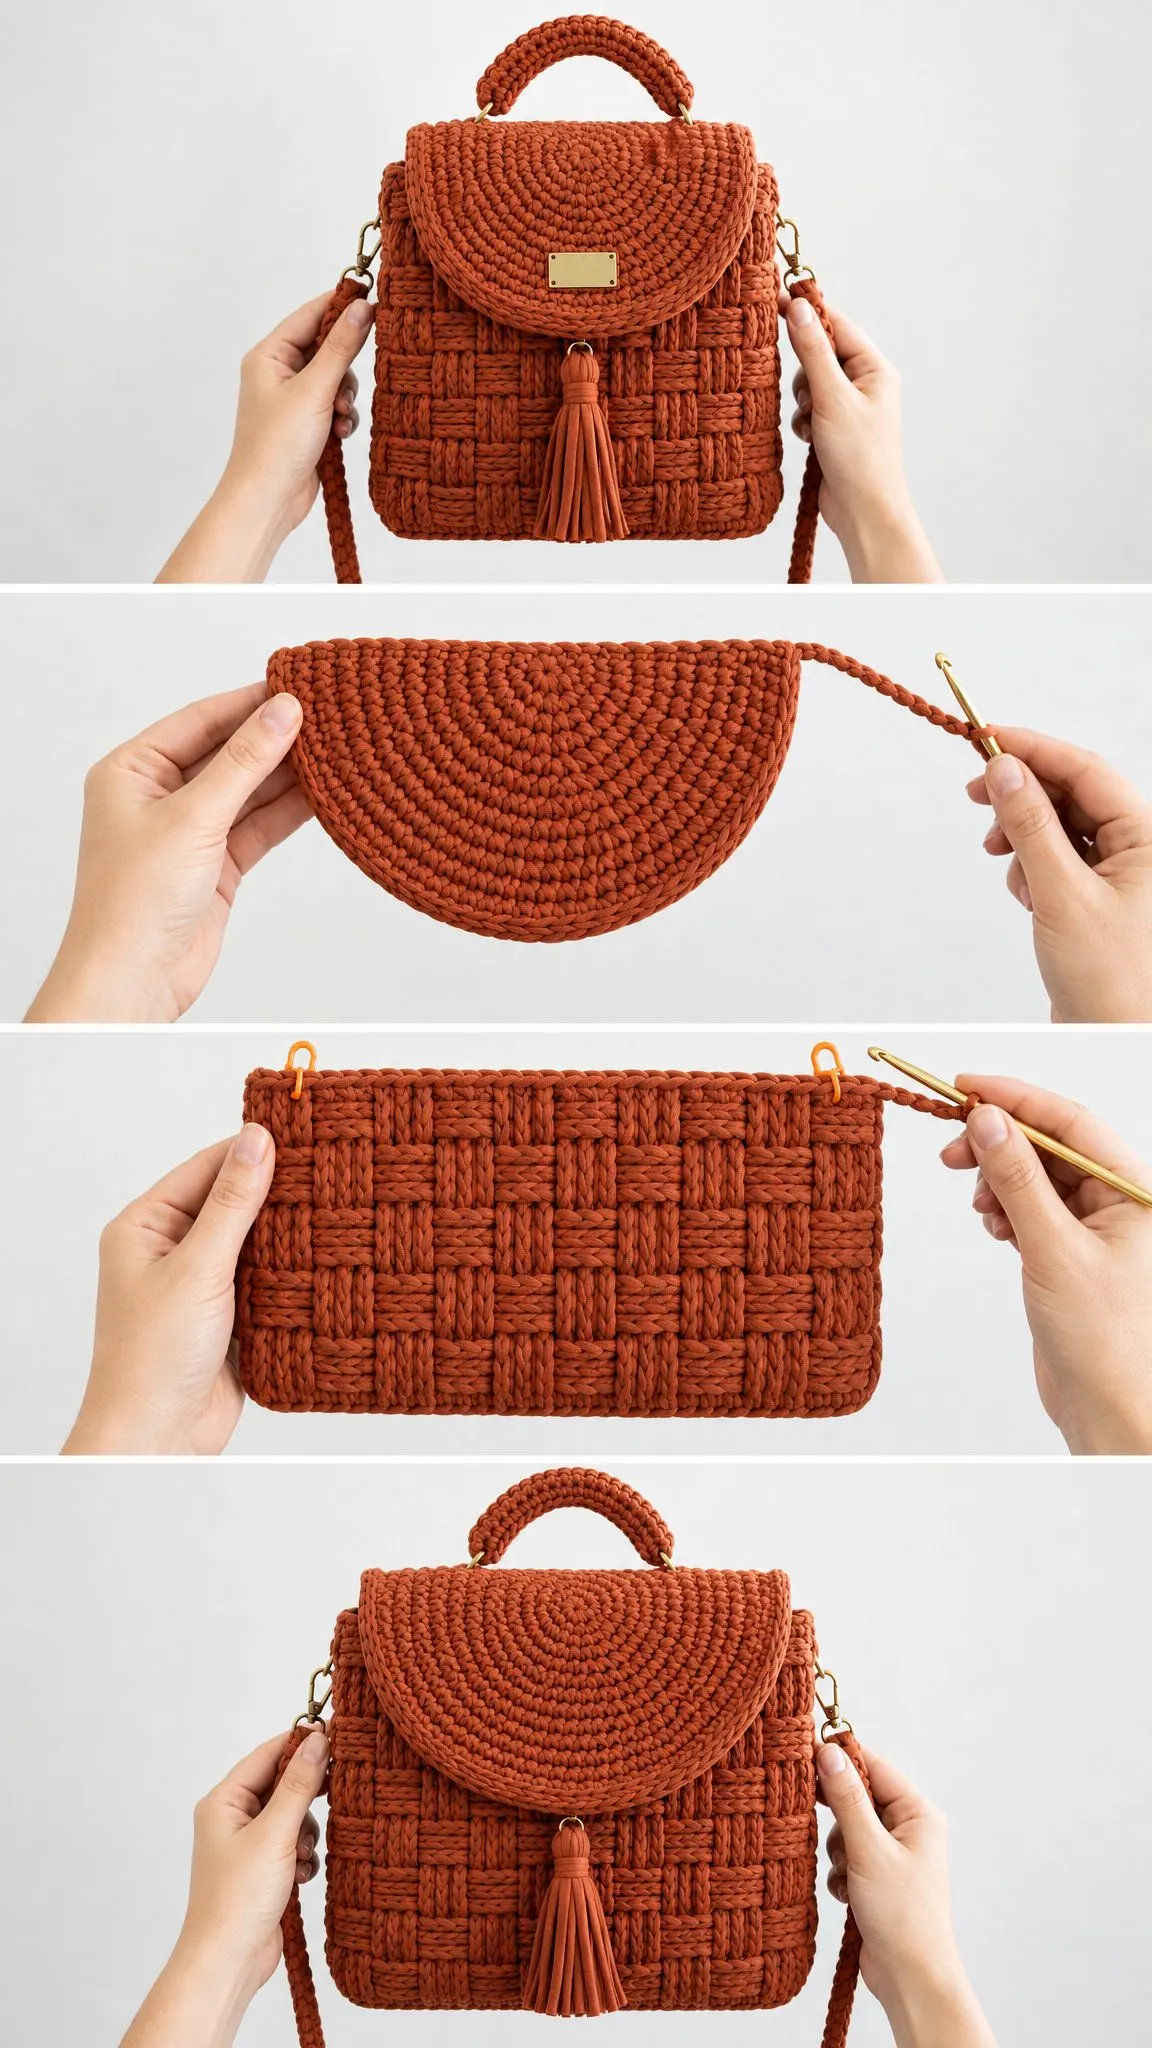
This compact crochet backpack is worked in sturdy cotton cord with a bold basketweave front and back, a narrow side gusset, a rounded flap, braided straps, and polished metal accents. The bag is constructed in separate pieces, then seamed for a crisp square shape.
The finished look features a structured mini backpack with basketweave texture, a rounded flap, braided handle, long cord straps, brass-tone hardware, and a soft tassel accent. The warm terracotta color makes it perfect for fall styling, but you could easily adapt this to any earth tone or neutral that catches your eye.
Skill Level: Intermediate. You will need comfort with post stitches, maintaining firm gauge, tidy seaming, and hardware attachment.
Estimated Time: 8 to 12 hours
Finished Size: Approximately 8.75 inches wide x 9 inches tall x 3 inches deep (22 x 23 x 7.5 cm)
Terms: This pattern uses US crochet terminology. UK crocheters please note that US single crochet (sc) equals UK double crochet (dc), and US double crochet (dc) equals UK treble (tr).
Materials You Will Need
Gathering your supplies before you start makes the whole process smoother. Here is everything you need:
Yarn:
Yarn Suggestions:
Substitution Note: Choose a smooth, firm cord that holds post-stitch texture well. Avoid stretchy yarns unless you plan to add lining and a firm base insert.
Hook:
Notions:
Optional:
Gauge Information
Getting your gauge right is essential for this project since you want the bag to hold its shape beautifully.
Basketweave gauge: 11 stitches and 10 rows = 4 inches (10 cm) after light steam blocking
Plain single crochet gauge: 11 stitches and 10 rows = 4 inches (10 cm)
Please swatch and match gauge before starting. If your swatch is too large, try going down a hook size. If it is too small, go up a hook size.
Finished Checkpoints
These measurements will help you verify your work as you go:
Abbreviations and Stitch Guide
Let me walk you through all the stitches and terms you will encounter:
Special Stitches Explained
Front Post Double Crochet (FPdc): Yarn over, insert hook from front to back to front around the post of the next stitch, yarn over and pull up a loop, then finish as a regular double crochet. This creates a raised stitch on the front of your work.
Back Post Double Crochet (BPdc): Yarn over, insert hook from back to front to back around the post of the next stitch, yarn over and pull up a loop, then finish as a regular double crochet. This creates a recessed stitch on the front of your work.
Basketweave Block: Work 4 post stitches in one direction for 4 rows, then switch to the opposite direction for the next 4 rows. This creates square woven blocks across a 24-stitch panel. The magic of basketweave is simply alternating between FPdc and BPdc in predictable blocks.
Romanian Cord Strap: Chain 2. Single crochet in 2nd chain from hook. Rotate the work clockwise, insert hook under the side bar, pull up loop, yarn over and pull through both loops. Repeat by rotating and working under the newest side bar until cord reaches desired length. This creates a beautiful rounded cord perfect for straps.
Left-Handed Note
Left-handed crocheters can follow the same stitch counts without any changes. Your post-stitch texture will mirror the photos, which is totally fine. Place markers by counting from your working edge rather than from left or right.
Pattern Notes
Before you begin, keep these tips in mind:
Back Panel Instructions
Make 1. Chain 25.
Row 1: Single crochet in 2nd chain from hook and across. Turn. (24 sc)
Row 2: Chain 2, double crochet in each stitch across. Turn. (24 dc)
Row 3: Chain 2, FPdc around next 4 stitches, BPdc around next 4 stitches; repeat from 3 times. Turn. (24 sts)
Row 4: Chain 2, FPdc around next 4 stitches, BPdc around next 4 stitches; repeat from 3 times. Turn. (24 sts)
Row 5: Chain 2, FPdc around next 4 stitches, BPdc around next 4 stitches; repeat from 3 times. Turn. (24 sts)
Row 6: Chain 2, FPdc around next 4 stitches, BPdc around next 4 stitches; repeat from 3 times. Turn. (24 sts)
Row 7: Chain 2, BPdc around next 4 stitches, FPdc around next 4 stitches; repeat from 3 times. Turn. (24 sts)
Row 8: Chain 2, BPdc around next 4 stitches, FPdc around next 4 stitches; repeat from 3 times. Turn. (24 sts)
Row 9: Chain 2, BPdc around next 4 stitches, FPdc around next 4 stitches; repeat from 3 times. Turn. (24 sts)
Row 10: Chain 2, BPdc around next 4 stitches, FPdc around next 4 stitches; repeat from 3 times. Turn. (24 sts)
Row 11: Chain 2, FPdc around next 4 stitches, BPdc around next 4 stitches; repeat from 3 times. Turn. (24 sts)
Row 12: Chain 2, FPdc around next 4 stitches, BPdc around next 4 stitches; repeat from 3 times. Turn. (24 sts)
Row 13: Chain 2, FPdc around next 4 stitches, BPdc around next 4 stitches; repeat from 3 times. Turn. (24 sts)
Row 14: Chain 2, FPdc around next 4 stitches, BPdc around next 4 stitches; repeat from 3 times. Turn. (24 sts)
Row 15: Chain 2, BPdc around next 4 stitches, FPdc around next 4 stitches; repeat from 3 times. Turn. (24 sts)
Row 16: Chain 2, BPdc around next 4 stitches, FPdc around next 4 stitches; repeat from 3 times. Turn. (24 sts)
Row 17: Chain 2, BPdc around next 4 stitches, FPdc around next 4 stitches; repeat from 3 times. Turn. (24 sts)
Row 18: Chain 2, BPdc around next 4 stitches, FPdc around next 4 stitches; repeat from 3 times. Turn. (24 sts)
Row 19: Chain 2, FPdc around next 4 stitches, BPdc around next 4 stitches; repeat from 3 times. Turn. (24 sts)
Row 20: Chain 2, FPdc around next 4 stitches, BPdc around next 4 stitches; repeat from 3 times. Turn. (24 sts)
Row 21: Chain 2, FPdc around next 4 stitches, BPdc around next 4 stitches; repeat from 3 times. Turn. (24 sts)
Row 22: Chain 2, FPdc around next 4 stitches, BPdc around next 4 stitches; repeat from 3 times. Turn. (24 sts)
Row 23: Chain 1, single crochet in each stitch across. Turn. (24 sc)
Row 24: Chain 1, single crochet in each stitch across. Fasten off. (24 sc)
Checkpoint: Panel measures approximately 8.75 inches wide x 8.8 to 9 inches tall (22 x 22.5 to 23 cm).
Front Panel Instructions
Make 1 exactly as the Back Panel through Row 24, but do not fasten off if you want to add the lower tassel ring while the panel is on your work surface.
Front Hardware Placement
Optional Raised Frame
For a thicker framed look, join yarn at the lower left corner of the front panel and work 1 round of single crochet evenly around the panel: 24 sc across top, 24 sc across bottom, and 24 sc along each side edge, placing 3 sc in each corner. Join with slip stitch. Fasten off. (104 sc)
Checkpoint: Front and back panels must match in width and height before assembly. Steam gently and pin flat if one panel is slightly wider.
Side Gusset and Assembly
Gusset Strip
Make 1. Chain 9.
Row 1: Single crochet in 2nd chain from hook and across. Turn. (8 sc)
Rows 2 through 54: Chain 1, single crochet in each stitch across. Turn after each row. (8 sc per row)
Checkpoint: Gusset measures approximately 3 inches (7.5 cm) wide and 21.5 to 22 inches (55 to 56 cm) long.
Join Bag Body
This is where your backpack really starts to come together:
1. Mark the center bottom of each main panel and the center row of the gusset strip.
2. With wrong sides together, seam gusset to front panel from top left edge, down the side, across bottom, and up the other side. Use mattress stitch or slip stitch through inner loops.
3. Repeat to join the back panel to the remaining gusset edge.
4. Top opening edging: Join yarn at back center top. Round 1: single crochet 24 across back, single crochet 8 across right gusset top, single crochet 24 across front, single crochet 8 across left gusset top; join. (64 sc)
5. Rounds 2 and 3: Chain 1, single crochet in each stitch around; join. (64 sc) Fasten off.
Rounded Flap Instructions
Chain 25. Work flat.
Row 1: Single crochet in 2nd chain from hook and across. Turn. (24 sc)
Row 2: Chain 2, double crochet in each stitch across. Turn. (24 dc)
Rows 3 through 6: Chain 2, FPdc around next 4 stitches, BPdc around next 4 stitches; repeat from 3 times. Turn. (24 sts)
Rows 7 and 8: Chain 1, sc2tog, single crochet across to last 2 stitches, sc2tog. Turn. (22 sc, then 20 sc)
Rows 9 and 10: Repeat Row 7. (18 sc, then 16 sc)
Row 11: Chain 1, single crochet in each stitch across. Fasten off. (16 sc)
Border: Single crochet evenly around flap, placing 2 sc in each lower curve corner and keeping the top edge flat. Sew top edge of flap to back top rim, centered over 24 back stitches.
Handle and Straps
Handle: Make a Romanian cord 12 inches (30 cm) long. Sew ends to the top back rim with D-rings or directly through the top edging.
Straps: Make 2 Romanian cords, each 34 inches (86 cm) long. Attach upper ends to D-rings near the handle base and lower ends to side D-rings or swivel clasps.
Tip: Adjust strap length before weaving in ends. For a crossbody option, make one 44 to 48 inch (112 to 122 cm) cord instead.
Tassel Instructions
1. Cut 16 strands, each 8 inches (20 cm) long.
2. Thread strands through a small O-ring and fold evenly.
3. Wrap a separate 12 inch (30 cm) strand around the bundle 0.75 inches (2 cm) below the ring. Knot firmly and hide ends inside tassel.
4. Trim tassel to 3.5 to 4 inches (9 to 10 cm) and attach to center front.
Finishing Your Backpack
Take your time with these final steps. They make a huge difference in the professional look of your finished bag:
Care Instructions
Spot clean with cool water and mild soap. Do not machine wash with metal hardware attached. Reshape while damp and dry flat away from direct heat.
Troubleshooting Common Issues
Panel wider than gauge: Go down a hook size or tighten your post stitches.
Panel curls: Loosen your post stitches and block lightly. The basketweave relaxes after edging.
Flap flares: Reduce border stitches along the curve or use a smaller hook for the border.
Bag lacks structure: Add lining, base insert, or an extra round of single crochet around the opening.
Size Customization Options
Want to adjust the size? Here is how:
Final Thoughts on This Terracotta Backpack Pattern
I hope this pattern has shown you that a structured, professional-looking crochet bag is absolutely within your reach. The basketweave stitch creates such stunning visual impact, and once you understand the simple four-row rhythm, you will find it almost meditative to work. This backpack makes an incredible gift, a statement accessory for yourself, or even a potential bestseller if you sell your handmade items.
Thank you so much for choosing this pattern for your next project. I genuinely appreciate you being here and trusting me to guide you through this make. If you create this terracotta backpack, I would absolutely love to see it! Share your finished photos on Instagram or Facebook and tag me so I can celebrate your beautiful work.
If this pattern caught your eye today, go ahead and save it to your Pinterest boards so you can find it easily when you are ready to start. And please drop a comment below if you make this backpack. I love hearing how projects turn out and seeing the color variations you all choose!
Want a Quick & Easy Printable Version?
Get a clean, beautifully formatted PDF of this pattern — easy to follow step by step, ready to print or save on any device. No scrolling, no distractions, just the pattern.
Get the Printable PDF →You Might Also Like
- Midnight Navy Elegant Braided Clutch Free Crochet Pattern
- Mustard Yellow Boho Tote with Brown Leather Tassels Pattern
- Pastel Daisy Crochet Hoodie Free Crochet Pattern
- Cream Boho Tassel Fringe Clutch Free Crochet Pattern