
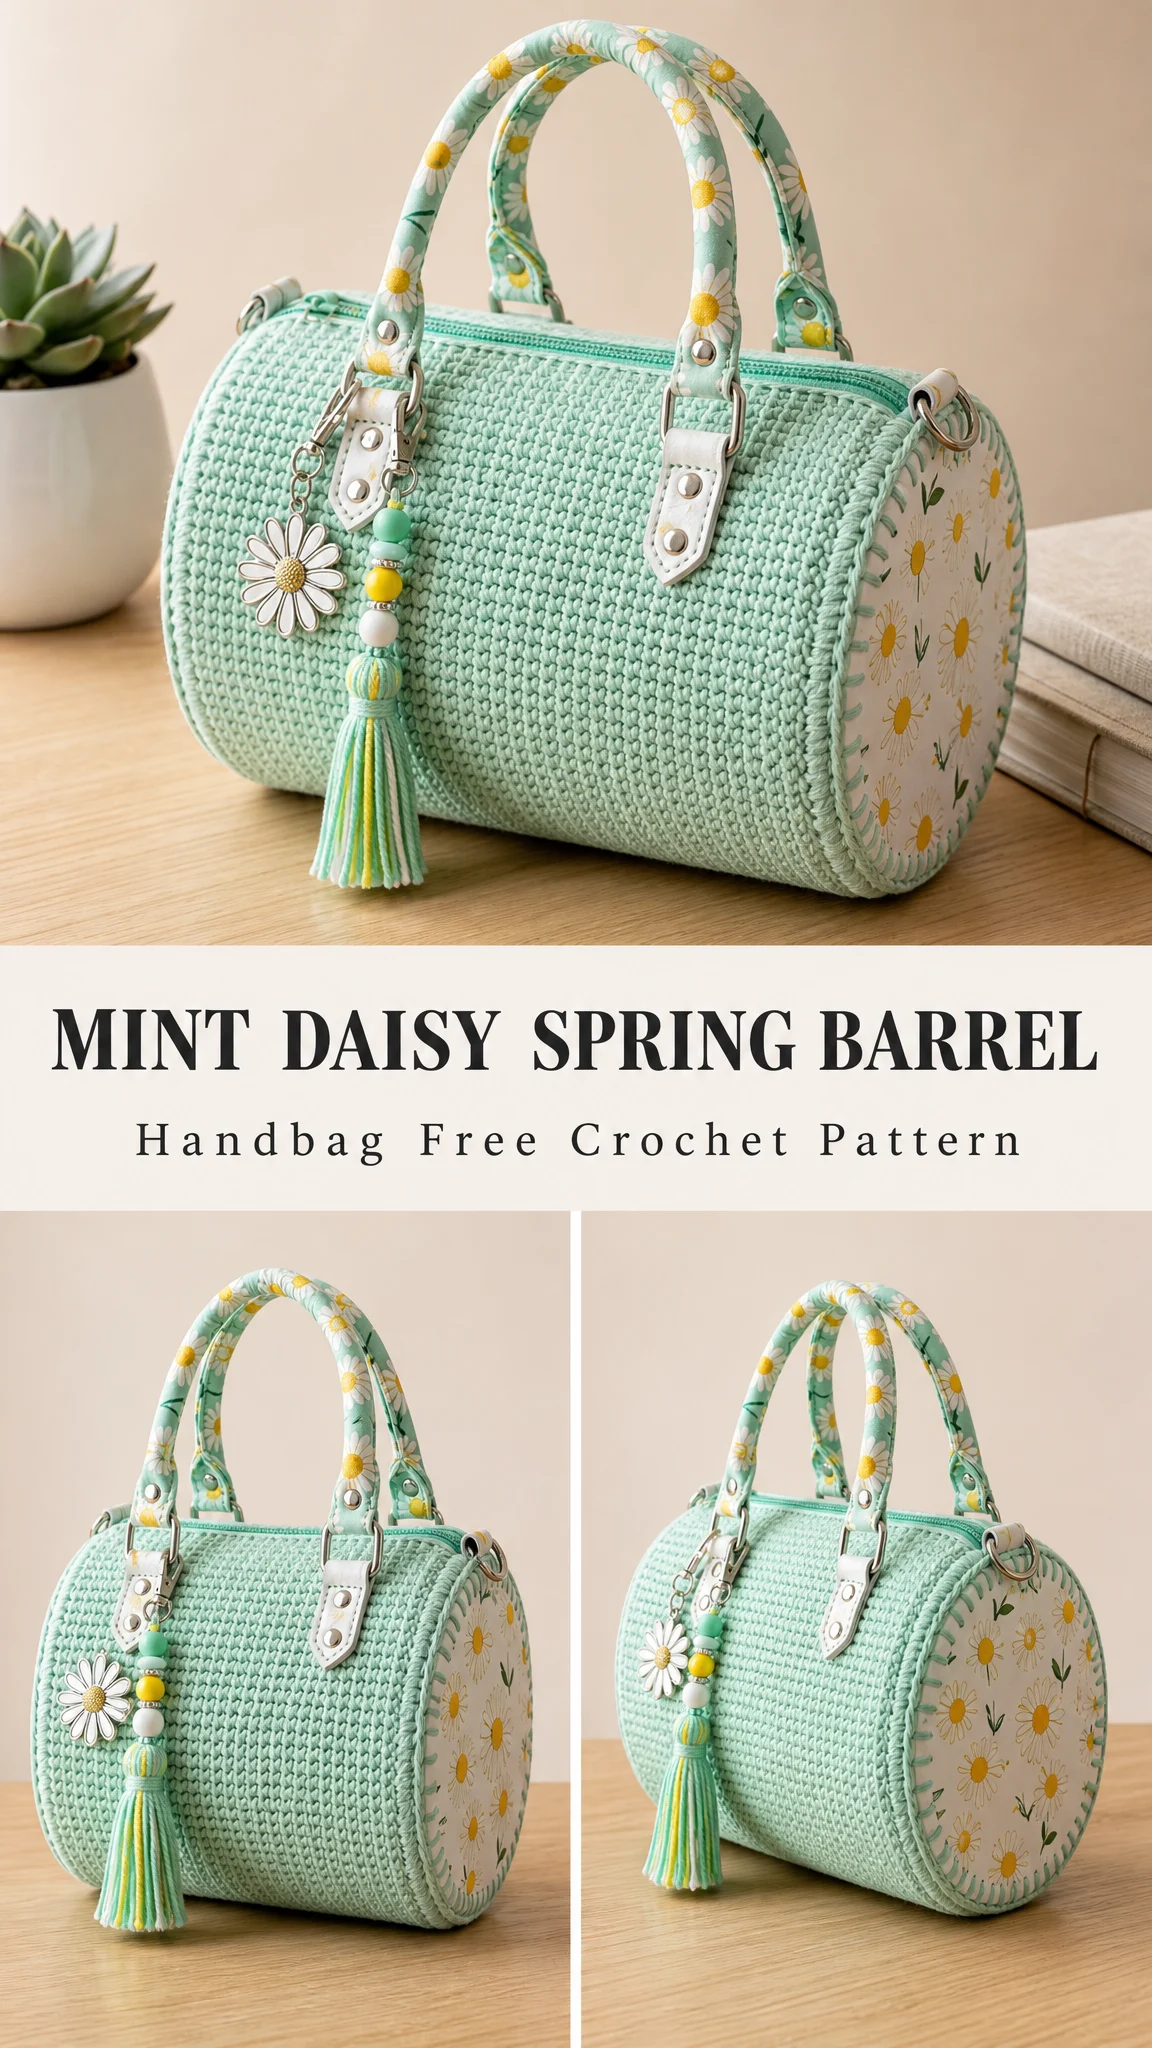
OKAY, can we talk about how SUPER IMPRESSIVE this bag looks while being totally achievable for intermediate crocheters? This Mint Daisy Spring Barrel Handbag is one of those projects that makes people say "you MADE that?!" and you get to nod smugly because yes, you absolutely did. In about 10 to 15 hours of crafting time, you can create a gorgeous structured handbag that looks like it came straight from a boutique. It makes an incredible gift, but honestly? You might want to keep this one for yourself.
Why You’ll Love This Barrel Handbag Crochet Pattern
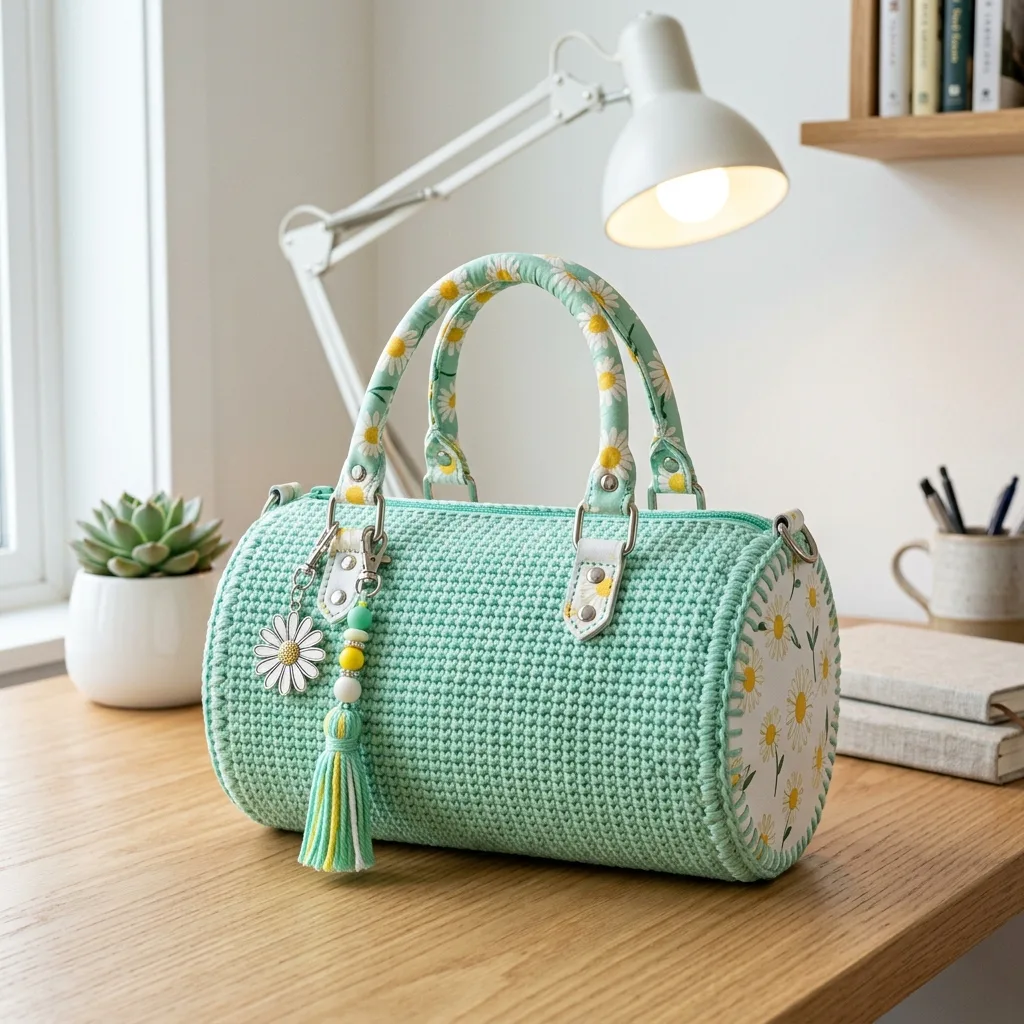
This crochet barrel bag pattern combines a crocheted body with pretty daisy print fabric accents for a polished, professional finish. The cylindrical shape holds its form beautifully, and those fabric end panels add a sweet springtime touch that takes this from "nice craft project" to "wait, where did you buy that?"
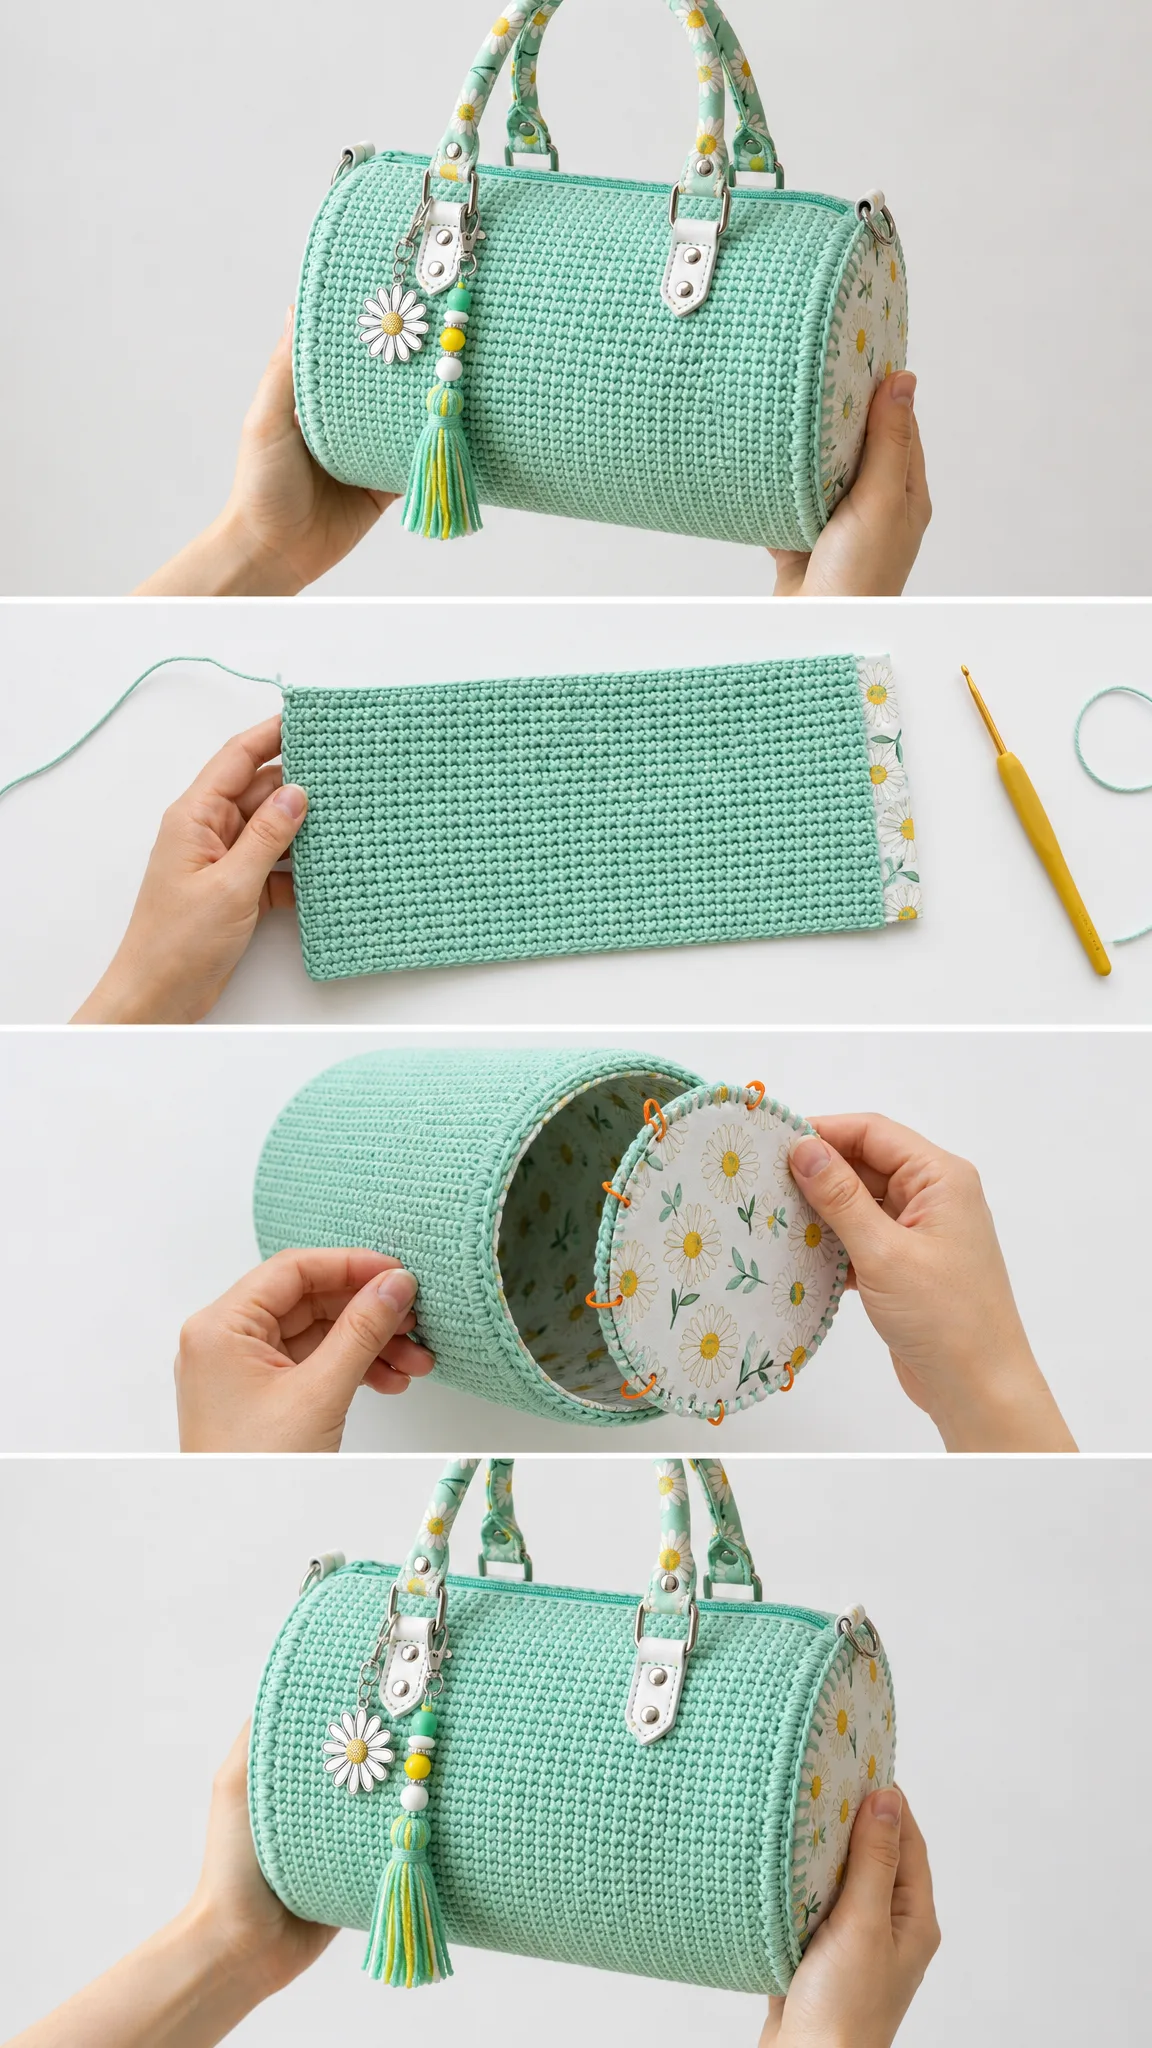
The construction is surprisingly straightforward once you understand the pieces. You’re essentially creating a tube with single crochet stitches, then adding fabric circles to each end and finishing with hardware and handles. The result is a bag measuring approximately 8.7 inches long by 5.5 inches in diameter, which is perfect for carrying your essentials without being bulky.
What I love most is how the mint green yarn paired with the daisy print fabric creates such a fresh, cheerful vibe. This bag just screams spring picnics, farmers markets, and sunny weekend errands.
Materials You’ll Need
Before diving into this crochet handbag tutorial, gather everything on this list. Having all your supplies ready makes the process so much smoother.
Yarn:
Fabric:
Tools:
Hardware and Accessories:
The cotton yarn is important here because it gives the bag structure and body. Acrylic would be too floppy for a handbag that needs to hold its shape. If you can’t find the exact mint shade, any light spring color would work beautifully with a coordinating print fabric.
Stitch Guide and Abbreviations
This pattern uses US crochet terminology throughout. Let me walk you through each stitch you’ll encounter.
ch = chain: Wrap yarn over hook, pull through loop on hook. This creates the foundation.
sl st = slip stitch: Insert hook into stitch, yarn over, pull through both the stitch and the loop on your hook in one motion. Used for joining rounds.
sc = single crochet: Insert hook into stitch, yarn over and pull up a loop (two loops on hook), yarn over and pull through both loops. This is your main stitch for the entire bag body.
inc = increase: Work two single crochet stitches into the same stitch. This adds one stitch to your count.
dec = decrease: Insert hook into first stitch, pull up a loop, insert hook into next stitch, pull up a loop (three loops on hook), yarn over and pull through all three loops. This reduces your count by one stitch.
The entire body of this bag uses single crochet worked in continuous rounds, which creates that lovely dense, textured fabric you see in the photos.
Gauge Information
Getting your gauge right matters for this project because you want the bag to match the intended dimensions.
Gauge: 18 single crochet stitches and 20 rounds = 4 inches (10 cm)
Take time to make a gauge swatch before starting. Chain 22, then work 24 rows of single crochet. Your swatch should measure about 4 inches wide by 4.8 inches tall. If your swatch is too big, try going down a hook size. Too small? Go up a hook size.
Don’t skip this step! A bag that’s significantly larger or smaller than intended won’t work well with the zipper and hardware you’ve purchased.
Finished Dimensions
When complete, your Mint Daisy Spring Barrel Handbag will measure:
These measurements give you a bag that’s roomy enough for a phone, wallet, keys, small makeup bag, and a few extras without being oversized or cumbersome.
Step by Step Crochet Pattern Instructions
Now for the fun part! Let’s build this beautiful barrel bag piece by piece.
Crocheting the Bag Body
The body is worked in continuous rounds. I recommend using a stitch marker to track the beginning of each round, moving it up as you go.
Foundation: Chain 40, join with a slip stitch to form a ring. Be careful not to twist your chain.
Round 1: Single crochet in each chain around. (40 stitches)
Round 2: Increase in every stitch around. This means working 2 single crochet into each stitch. (80 stitches)
Rounds 3 through 28: Single crochet in each stitch around. (80 stitches per round)
That’s 26 rounds of straight single crochet after your increase round. Keep your tension consistent throughout. Not too tight or your hands will hurt and the fabric will be stiff. Not too loose or the bag will be floppy. Aim for a firm but flexible fabric.
When you finish Round 28, slip stitch to join and fasten off. Weave in your end securely.
Creating the End Circles
You’ll need two crocheted circles that match the diameter of your fabric end panels. These provide structure and a clean edge for attaching the fabric.
Work each circle in continuous rounds:
Round 1: Create a magic ring, work 6 single crochet into the ring. Pull tight. (6 stitches)
Round 2: Increase in every stitch. (12 stitches)
Round 3: *Single crochet in next stitch, increase in next stitch* repeat around. (18 stitches)
Round 4: *Single crochet in next 2 stitches, increase in next stitch* repeat around. (24 stitches)
Round 5: *Single crochet in next 3 stitches, increase in next stitch* repeat around. (30 stitches)
Round 6: *Single crochet in next 4 stitches, increase in next stitch* repeat around. (36 stitches)
Round 7: *Single crochet in next 5 stitches, increase in next stitch* repeat around. (48 stitches)
Round 8: *Single crochet in next 6 stitches, increase in next stitch* repeat around. (80 stitches)
Slip stitch to join, fasten off, and weave in ends. Make two identical circles.
These circles should measure approximately 5.5 inches (14 cm) in diameter to match the opening of your bag body. If yours are coming out a different size, adjust your hook size or add/remove rounds as needed.
Assembly and Construction
This is where everything comes together. Take your time with these steps for a professional finish.
Step 1: Attach the End Panels
Cut two circles from your daisy print fabric, each about half an inch larger than your crocheted circles to allow for seam allowance. You can back these with interfacing for extra stability if desired.
Place a crocheted circle against a fabric circle (wrong sides together if your fabric has a distinct right side). Using whip stitch or a sewing machine, join the fabric to the crocheted edge all the way around. Repeat for the second end.
Now position these fabric covered panels at each end of your crocheted tube. Using matching thread and small stitches, sew the edge of the crocheted circle to the edge of the bag body. Work slowly and check your alignment frequently.
Step 2: Insert the Zipper and Lining
Cut a lining piece from your fabric that matches the interior of the bag. Sew the zipper to the top edge of the lining first, then carefully hand stitch the zipper assembly to the top opening of your crocheted body.
The zipper should run along the length of the bag at the top. Take your time here because a neatly installed zipper makes a huge difference in the finished look.
Step 3: Attach the Handles and Hardware
For the handles, you can either purchase premade fabric covered handles or create your own by wrapping the daisy print fabric around cord or batting and stitching closed.
Secure the handles to the bag body using the rivets and D-rings. Position them evenly on either side of the zipper, about 2 to 3 inches from each end of the bag. The rivets punch through the fabric handle tabs and the crocheted body to create a secure attachment.
Step 4: Add the Finishing Touches
Clip your daisy charm and tassel with beads to one of the D-rings. This adds a playful detail that really completes the springtime look.
If you want extra structure, you can lightly stuff the end panels with a small amount of polyester fiberfill before closing everything up.
Helpful Tips for Success
Maintain even tension throughout the body. Uneven stitches will show, especially in single crochet worked in the round.
Stuff lightly if your bag feels too soft. A little fiberfill in the end panels helps the barrel shape hold.
Use fabric glue on inner seams for extra durability. This is optional but adds longevity, especially if you plan to use the bag frequently.
Hand wash only. When your bag needs cleaning, wash in cold water and lay flat to dry. The fabric elements and hardware won’t survive a washing machine.
Block your pieces before assembly. Wet blocking the crocheted body and circles helps even out stitches and makes sewing much easier.
Making This Pattern Your Own
While this pattern calls for mint green yarn and daisy print fabric, you can absolutely customize it for different seasons or personal style. Consider:
The barrel shape works with almost any color combination. Just make sure your yarn and fabric complement each other without competing for attention.
Skill Level and Time Investment
This pattern is rated intermediate because it combines crochet skills with some basic sewing. You should be comfortable with:
If you’ve never worked with rivets before, don’t worry! There are many tutorials online, and most rivet kits come with instructions. Practice on scrap fabric first.
Estimated completion time: 10 to 15 hours total. The crocheted portions work up fairly quickly. Most of the time goes into the assembly, sewing, and hardware installation.
A Note on Variations
Please remember that this pattern is designed to help you create a similar crochet project, but individual results may vary depending on your yarn, tension, hook size, and finishing technique. You may need to make small adjustments to achieve the closest possible result to the finished project shown.
That’s the beauty of handmade items though. Each one is unique, and small variations make your bag truly one of a kind.
I really hope you enjoy making this Mint Daisy Spring Barrel Handbag as much as I enjoyed putting this pattern together. It’s one of those satisfying projects where you can see your progress with each round, and the finished result is something you’ll genuinely want to carry everywhere.
If you make this barrel bag, I would absolutely love to see it! Save this pattern to your Pinterest boards so you can find it when you’re ready to start, and please drop a comment below sharing your color choices or any tips you discover along the way. Happy crocheting!
You Might Also Like
- Lavender Dream Bow Crochet Vest Free Crochet Pattern
- Dusty Rose Floral Lace Bucket Bag Free Crochet Pattern
- Pastel Rainbow Unicorn Granny Square Blanket Free Pattern
- Watermelon Slice Couple Amigurumi Free Crochet Pattern