
Crochet ankle socks bring the softness of a knitted sneaker sock to a single hook, with a dense, smooth fabric flecked in tiny dashes of pink, mustard and slate.
The Crochet Ankle Socks
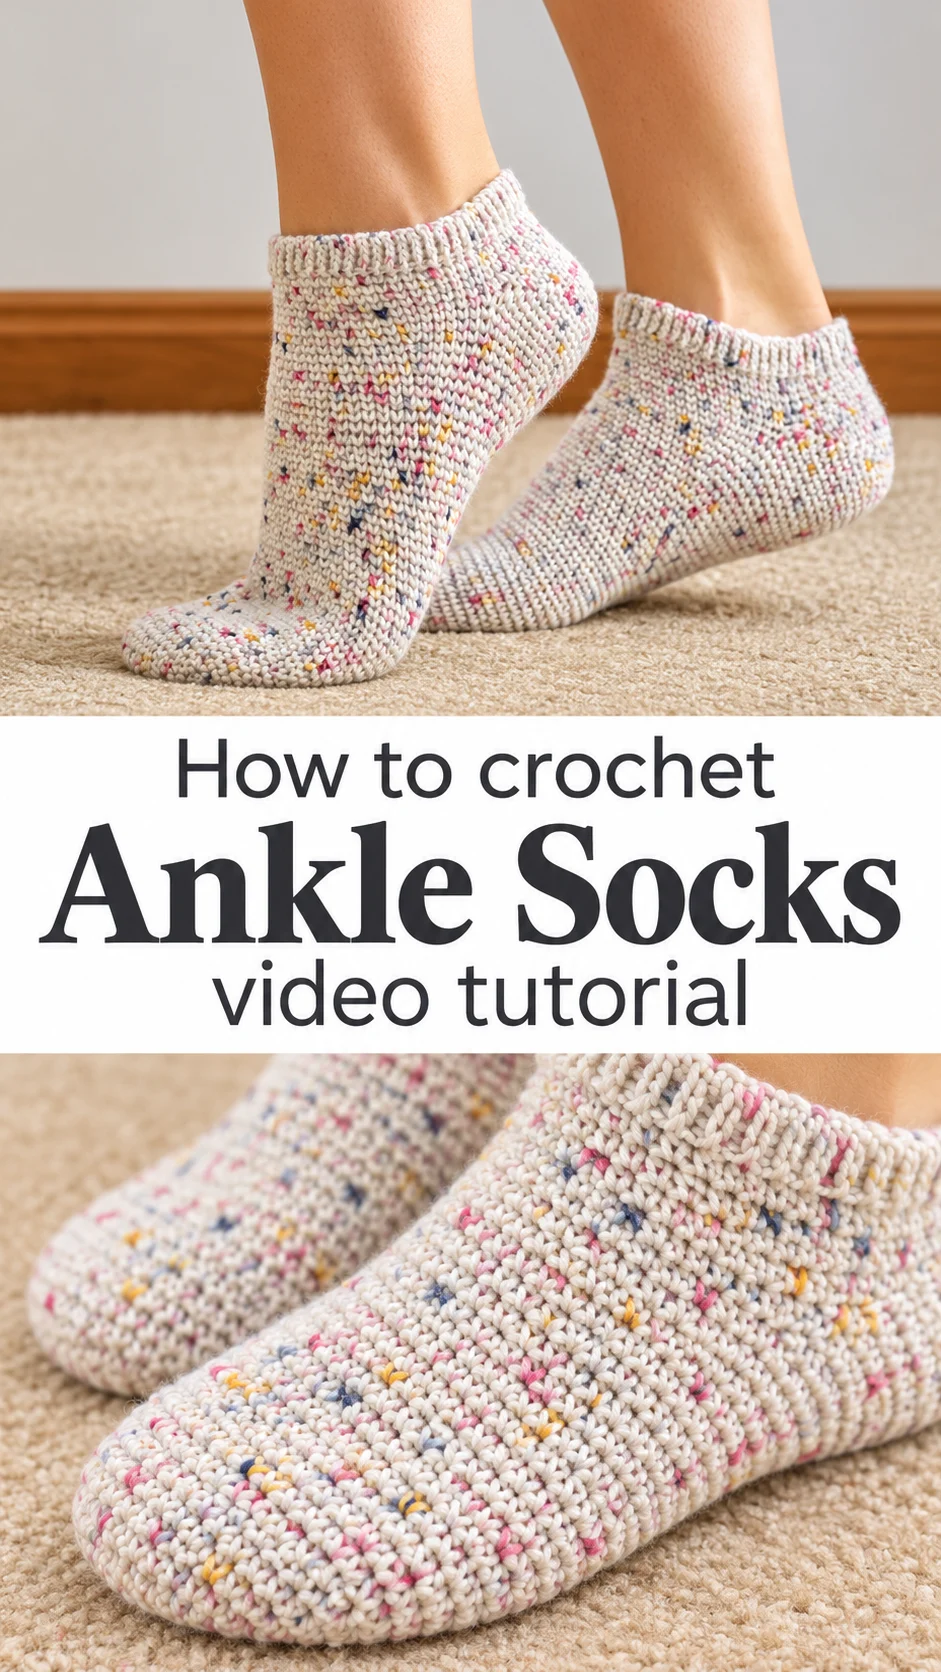
These crochet ankle socks are low-cut, close-fitting and made for everyday wear. The fabric looks tight and even, with a small V-shaped texture that resembles stockinette knitting, which gives the pair a polished, store-bought look. The yarn is a creamy off-white scattered with fine flecks of rose pink, mustard yellow and charcoal grey. The speckles keep the plain fabric lively without any colour work. A ribbed cuff hugs the ankle, and the heel cup curves neatly under the foot. Each sock is shaped to follow the foot, so it sits flat inside a shoe instead of bunching at the toes. They suit sneakers, loafers and slippers, and they feel just as right with bare ankles around the house.
Because the socks are low, they use far less yarn than a crew-length pair. That makes them a good project for one skein, and a satisfying one to repeat in different colours. Handmade socks also make a thoughtful gift. They are small to wrap, easy to post, and they teach shaping without the bulk of a garment. Finish one pair and the next goes faster.
Ankle Socks Related Posts:
- Crochet Zippered Purse: A Chic Handmade Accessory
- Crochet Lace Doily Runner: A Delicate Table Centerpiece
- Crochet Chubby Chick: A Sweet and Charming Keepsake
- Crochet Petal Stitch Wrap: A Delicate Floral Classic
Materials
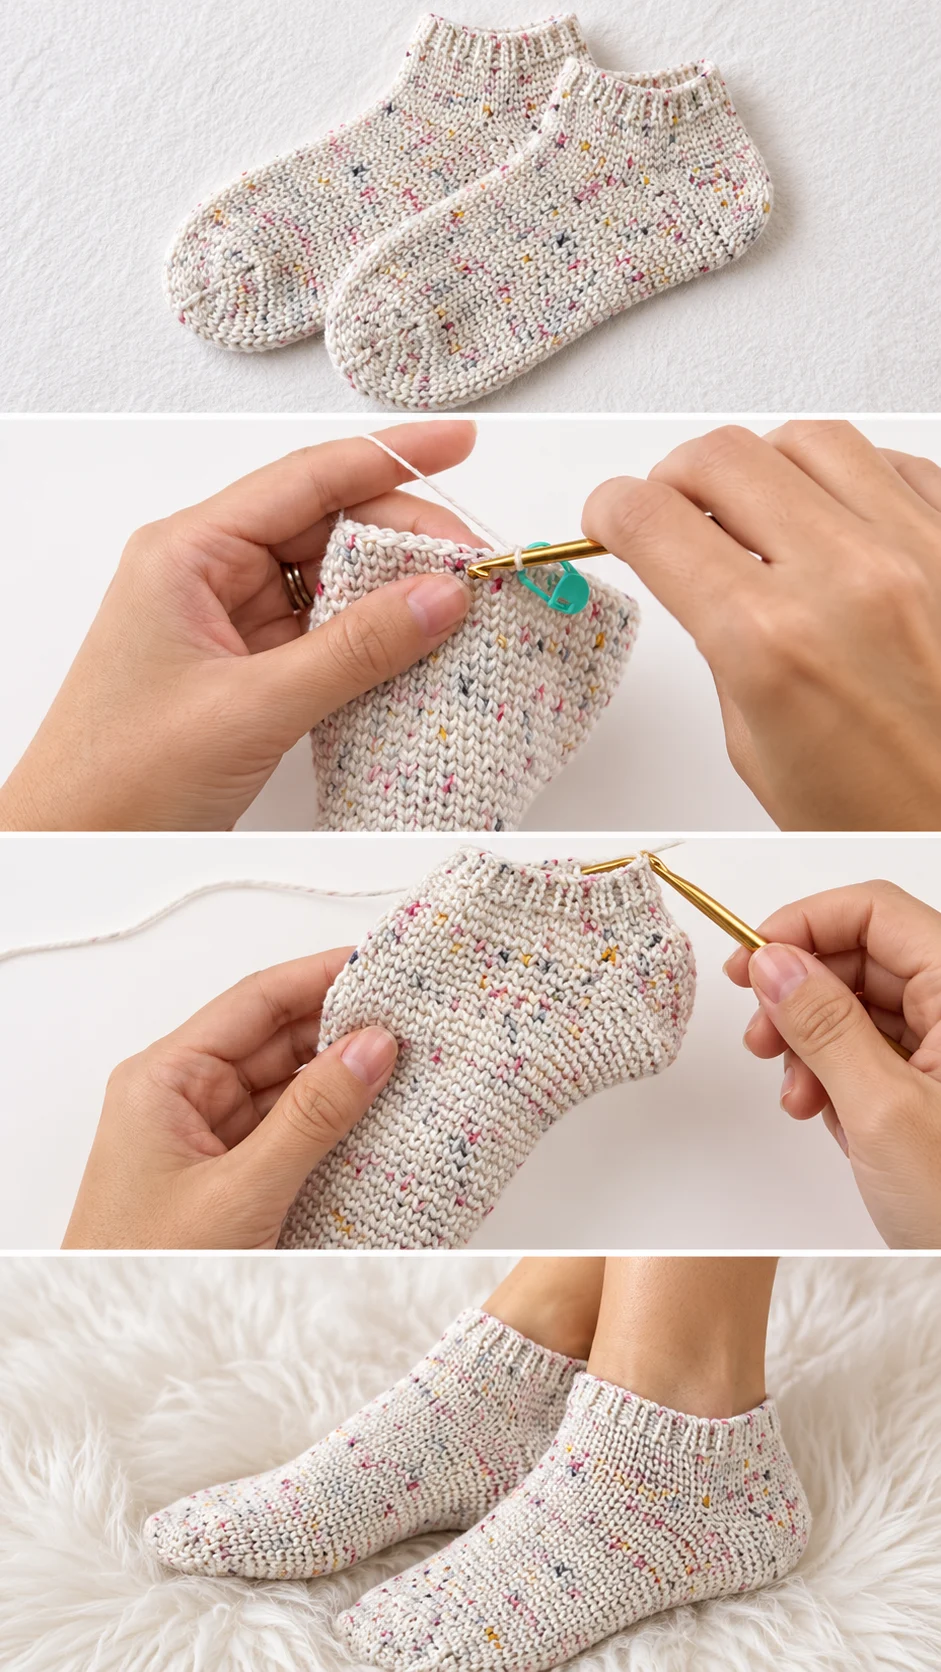
Crochet ankle socks need a smooth, springy sock-weight yarn, and the pair in the photos looks like a fine superwash wool or a wool and nylon blend in a hand-dyed speckled colourway. Choose a fibre with some elasticity and nylon content if you can, because it helps the cuff hold its shape and the soles resist wear. Pure cotton is cooler but has little stretch, so the fit becomes less forgiving. You will also need a small metal hook, since a smooth aluminium hook glides through tight stitches more easily than a grippy bamboo one. Stitch markers are essential for flagging the start of rounds and the heel placement, and the teal locking marker visible in the tutorial is just the right kind. Add a yarn needle for weaving in ends and a tape measure for checking the foot length as you work. A hook a size or two smaller than the yarn label suggests will give the dense fabric these socks need.
Understanding the Construction
Socks like these are built from the top down or the toe up, and the photos hint at a seamless, in-the-round approach. The fabric shows no visible side seam, and the stitches run in clean vertical columns around the leg of the sock.
The ribbed cuff sits at the ankle edge and looks worked sideways or in a stretchy rib. That detail matters because a flat band of ordinary stitches would flare and slip down the heel.
Shaping happens in two places. The heel is turned into a rounded cup, and the toe is closed with a gentle taper that gives a curved tip. Mark both spots with a stitch marker before you begin shaping, so you can count and compare the two socks.
The tutorial shows the hook working along an edge with a marker clipped nearby, which suggests stitches are picked up along a worked section. Watch that moment closely and pause to see where the hook enters each stitch.
Choosing the Best Yarn for Everyday Socks
Sock yarn earns its reputation for good reasons. A wool and nylon blend stretches over the heel, springs back after washing and wears well under the foot. A speckled colourway like the one here hides small irregularities in tension, which is a real mercy on a first pair.
If you prefer plant fibres, a cotton blend with a little elastic content is the better pick over straight cotton. Pure cotton tends to sag after a day of wear and loses its snug grip at the ankle. Acrylic blends are budget friendly and machine washable, though they trap heat and can feel less breathable inside shoes.
For colour, the oatmeal base in the photos is easy to match with almost any outfit. Pale grey, soft sage or dusty blue give the same quiet look. Avoid very dark yarns for a first attempt, since black or navy hides stitch definition and makes mistakes hard to spot.
Avoid a loosely plied, fuzzy yarn too. It splits under the hook, and the fuzz obscures the neat V texture that makes these socks look so crisp.
Getting the Tension Right
Tension makes or breaks a crochet sock. The fabric in the photos is firm, with no gaps between stitches, which tells you the maker worked tightly. If your fabric feels stiff like cardboard, go up half a hook size. If it feels loose and floppy, go down.
Work a small test swatch in the round before committing, and wrap it around your foot. It should stretch slightly and then hold. Socks that fit well at the swatch stage tend to fit at the end too.
Fit and Sizing
Ankle socks have little room for error because the foot length and the heel depth both decide comfort. The pair in the photos fits snugly with a heel that cups the back of the foot, and the cuff sits just below the ankle bone.
Measure the foot from heel to longest toe, then work until the sock reaches about two fingers short of that length before you begin the toe shaping. The toe adds the remaining length, so stopping too late produces a sock that bags at the end.
Keep a gentle negative ease. Crocheted fabric has less stretch than knitting, so a sock made the exact size of the foot will feel loose after the first wash. Aim slightly under, and the fabric will relax into a good fit.
If the finished sock is too tight over the instep, check whether the heel section was worked too narrow. Try the next pair with one extra stitch group in the foot, and compare the two before frowning at the yarn.
How to Style Crochet Ankle Socks
In the photos the socks are worn barefoot on a cream carpet and paired with bare legs, which shows off their curved heel and ribbed edge. That same low profile works well inside white leather sneakers, where only the cuff peeks out.
Try them with canvas slip-ons or ballet flats in summer, and the speckles add a soft touch of colour. For a cosier look, wear them with fuzzy slippers around the house in winter.
They also make a lovely gift set. Roll a pair together with a small skein of leftover yarn and tuck it into a card for someone who loves handmade things. Pick a colour that matches the recipient’s wardrobe, and pale neutrals will suit nearly everyone.
Tips for a Neat Finish
Weave in your ends along the inside of the ribbed cuff and the toe, since those are the zones that rub against skin. Run the needle through the back of several stitches in two directions, so the tail cannot work loose after washing.
If the cuff ripples, the rib was probably worked too loosely. Rework it with a smaller hook, or take out a few rounds and keep the tension firmer. A flared cuff will slip down inside your shoe within minutes.
If the toe looks pointy instead of rounded, the shaping decreases were bunched together. Spread them evenly around the round next time, and close the final stitches with the yarn needle for a flat finish.
Compare the two socks before you weave in the final ends. A quick side-by-side check will show whether one foot is longer, and it is far easier to fix before the ends are hidden.
Caring for Your Handmade Socks
Wash wool blend socks by hand or on a gentle cycle in cool water, because heat and agitation cause the fibres to felt and shrink. A mild detergent keeps the yarn soft and the speckled colours bright.
Lay them flat to dry away from direct heat, and gently reshape the heel and toe while damp. Hanging them by the cuff stretches the ribbing, so avoid it.
Rotate your pairs and trim any loose fuzz instead of pulling it. Socks last far longer when the sole fabric gets a day of rest between wears, and a small darn at the first thin patch saves a whole pair.
Following the Tutorial
Watch the video once straight through before picking up your hook. The first pass shows you how the sock grows, from the cuff to the heel to the toe, and that picture makes each step easier to follow later.
On your second viewing, pause at the heel shaping and at the point where stitches are picked up along an edge. These are the two moments where hand position and hook angle matter most, so replay them as often as you need.
Work the first sock in an easy-to-see yarn colour if you can, and keep markers in place for the whole round. Finish one sock completely before starting the second, and you will remember each trick while it is fresh.
A Cozy Handmade Essential
Crochet ankle socks turn a small amount of speckled yarn into something you will reach for every day. A firm, smooth fabric, a stretchy ribbed cuff and a cupped heel give them their store-bought polish.
Three things decide how the pair turns out: a springy sock yarn, a tight and even tension, and a careful check of foot length before the toe begins. Get those right and the socks will fit snugly and wear well.
Soft, simple and made by hand.
Video tutorial by BHooked Crochet, who walks through every step of these crochet ankle socks.
Follow us on Pinterest and subscribe to the Newsletter so you don’t miss a thing!
Tutorial and photos of this ankle socks by: B.Hooked Crochet.