
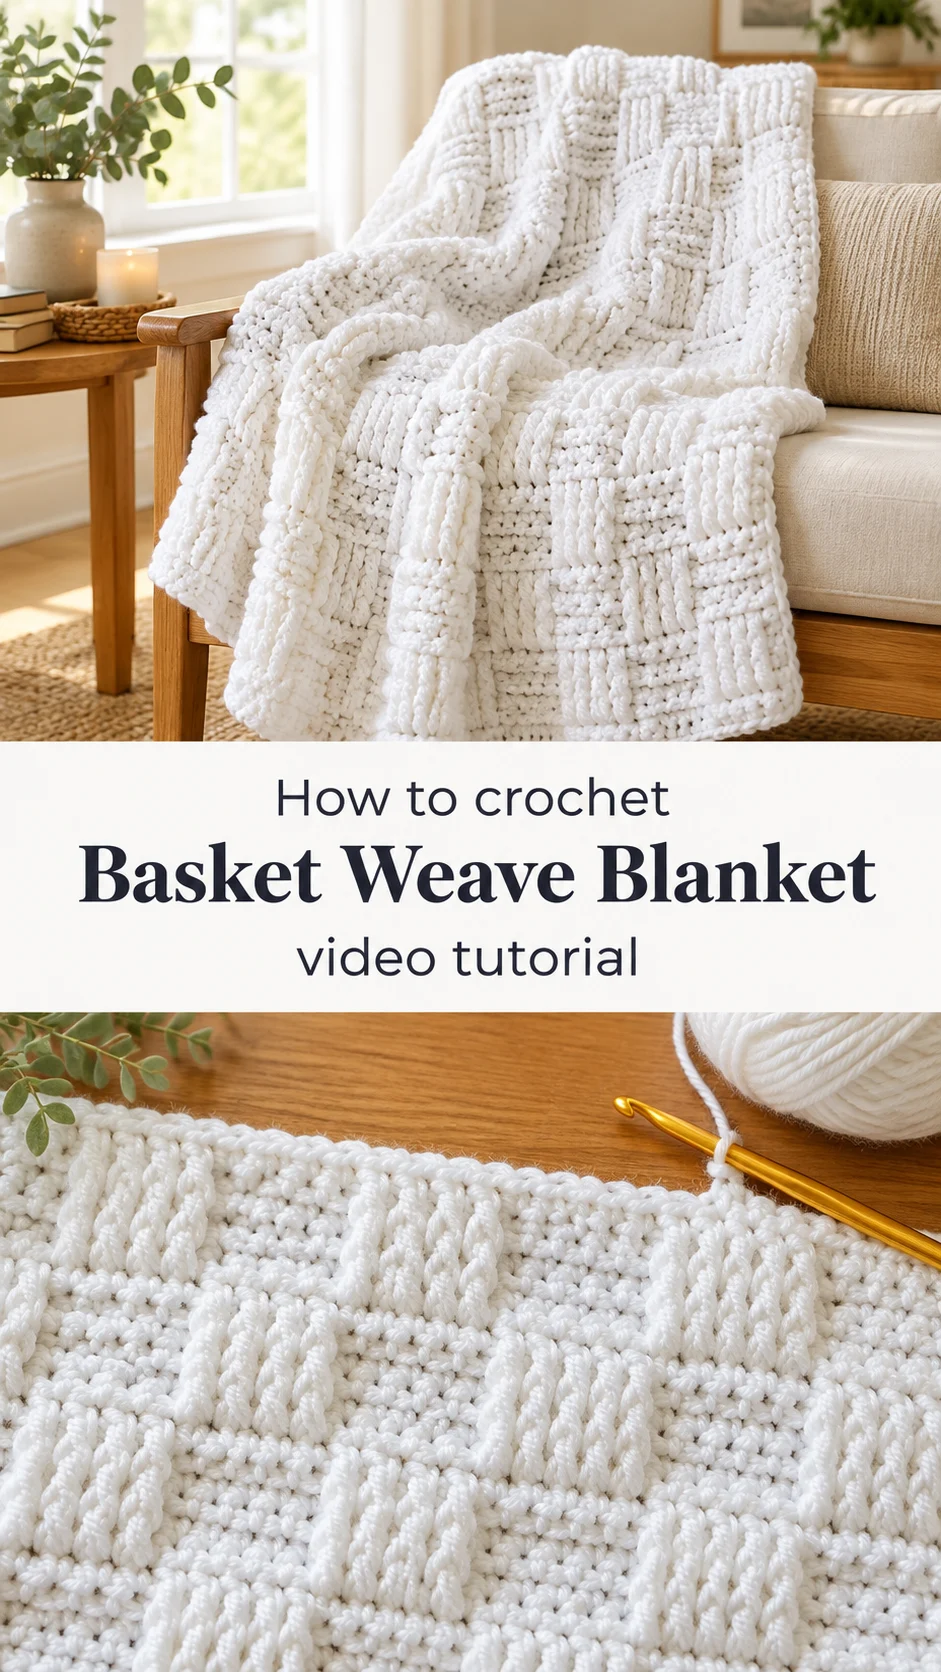
A crochet basket weave blanket turns a plain white baby wrap into a woven-looking surface, with raised ribbed squares framed by flat, tight rows. It feels soft in the hands and looks tailored on the bed.
[IMAGE 1]
The Crochet Basket Weave Blanket
The crochet basket weave blanket is a flat, rectangular piece built from alternating blocks of texture. One block is a set of tall, raised vertical ribs that stand up like little columns. Its neighbour is a patch of flat, dense rows with tiny visible holes between the stitches. Put them side by side in a checkerboard and the eye reads a woven basket. The sample is worked in clean white, so every shadow in the ribbing shows. A narrow, firm border runs along the top edge and keeps the whole piece neat. It suits a crib, a pram, a sofa corner or the foot of a bed. The pattern repeats, so the work becomes steady and calming once you find the rhythm.
This is a design that gives back more than you put in. Plain white lets the texture do all the talking, and it works as a baby gift, a housewarming present or a quiet piece for your own living room. It also teaches a useful skill: how to change texture mid-row without losing your place.
[IMAGE 2]
Weave Blanket Related Posts:
- Crochet Strawberry Tote Bag: A Sweet Summer Essential
- Crochet Love Letter Envelope: A Romantic Handmade Keepsake
- Crochet Table Runner: A Modern Dining Accent
- Crochet Carnation Bouquet: A Timeless Floral Accent
Materials
For a crochet basket weave blanket like this one, choose a smooth, soft yarn with a slight sheen, such as a baby-friendly acrylic or a cotton blend. The stitches in the sample look crisp and well defined, which points to a tightly spun, non-fuzzy yarn. Fuzzy or brushed yarns blur the ribs and hide the very contrast that makes the design work. You will need a hook that suits the yarn, and the one in the sample looks slim for the yarn weight, which gives a dense, firm fabric. Going a little smaller than the label suggests keeps the raised blocks standing upright instead of flopping. Buy all the yarn for the blanket at once and check that the dye lot matches, because white can vary noticeably between batches. A tapestry needle for weaving in ends completes the list.
[IMAGE 3]
Understanding the Basket Weave Structure
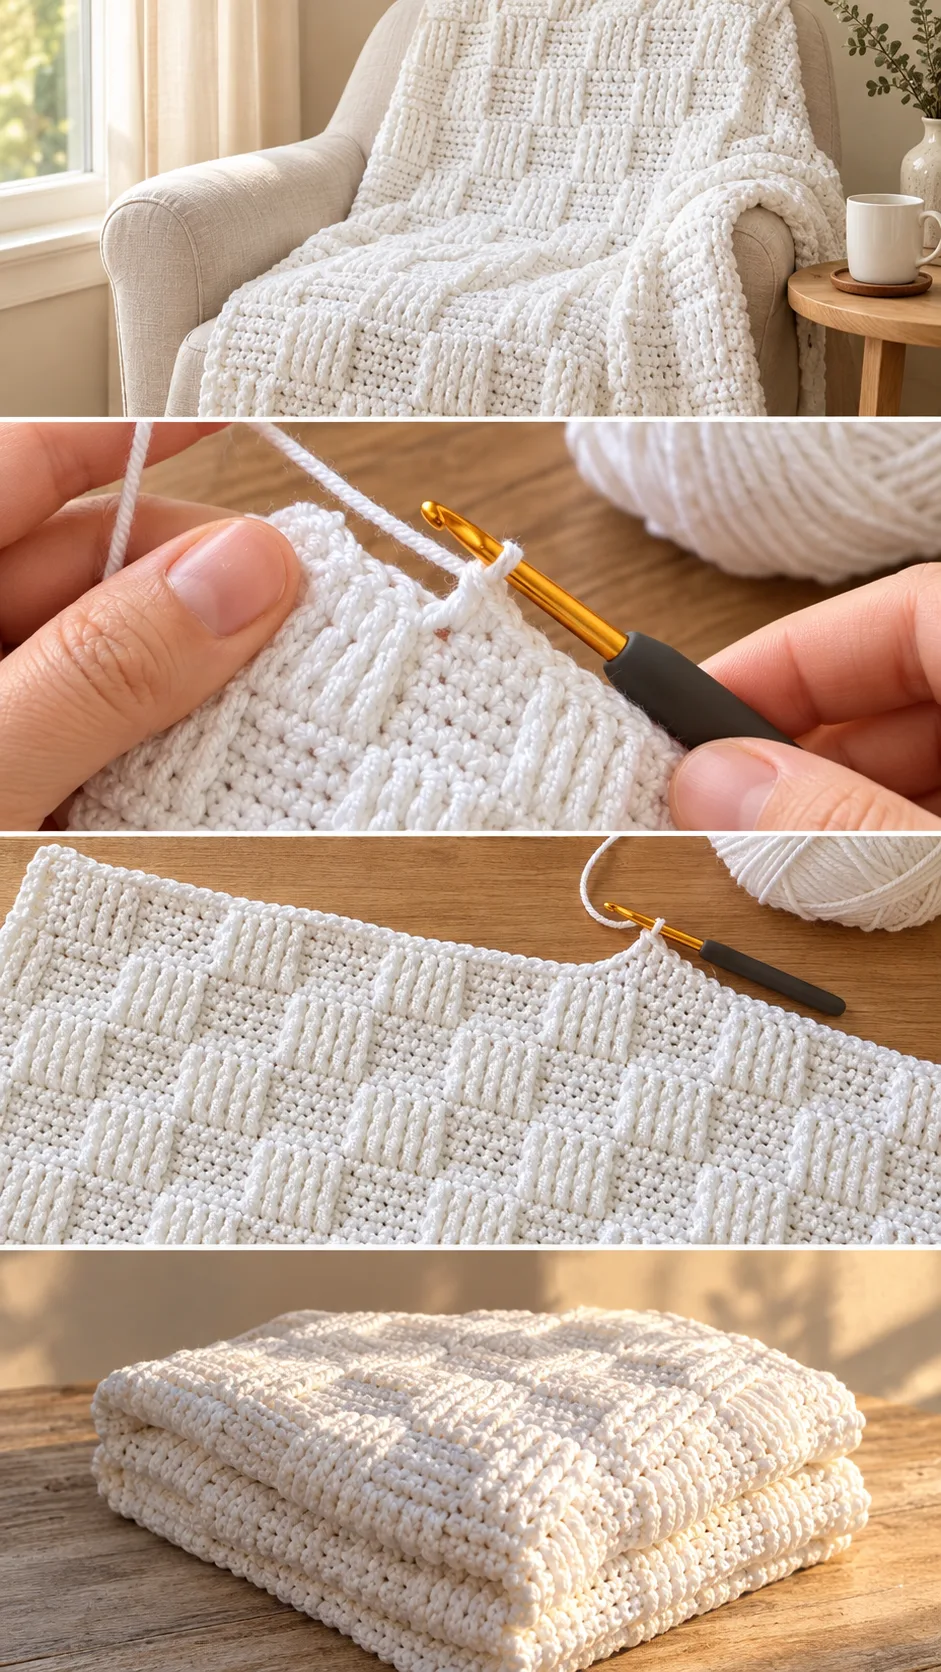
The blanket is worked flat, in rows, as one continuous piece with no seams or joined motifs. The checkerboard comes from the stitch pattern itself. Across each row you switch between two kinds of blocks, and after a set number of rows the blocks swap places.
That swap is what creates the woven look. A raised block in one band sits above a flat block in the next, then the positions reverse. Each square in the sample is taller than it is wide, so the finished surface has a gentle vertical rhythm.
Because the pattern moves in blocks, you work in clear groups. Mark the start of each block with a stitch marker in the first few repeats. Once the pattern is visible in the fabric, you can read it directly and the markers are no longer needed.
The tutorial video shows how the hook enters the stitches for each block type. Pause it at the moment the work changes from flat to raised, since that single motion defines the whole blanket.
The Raised Ribs: The Detail That Defines the Weave
The ribs are the signature of this blanket. In the close view they look like short, twisted vertical ridges, evenly spaced and standing proud of the flat fabric. They resemble a front-post style of working, where the hook goes around the stitch below rather than through the top of it. That pulls the stitch forward and creates the ridge.
The common mistake is uneven tension. If you pull some ribs tight and leave others loose, the squares go wavy and the checkerboard loses its crisp lines. Keep the loops the same size on every pass.
A second mistake is wrapping the wrong stitch from the row below. Check that each rib sits directly above the previous one, so the columns run straight. If a column drifts sideways, undo it right away, because the error multiplies with each row.
The flat blocks need the opposite attention. They are dense, with small gaps visible between stitches, so keep them snug. If they are worked loosely, the raised blocks look sunken instead of lifted.
Choosing the Best Yarn for a Crisp Weave
Yarn decides whether the texture reads clearly. A smooth acrylic gives sharp definition and washes easily, which is ideal for baby use. A mercerized cotton gives even more crispness and a slight cool sheen, but it is heavier and has less stretch, so the blanket will feel more structured and a little weightier.
A cotton and acrylic blend sits between the two, with good stitch definition and a softer hand. Wool can work too, though a fuzzy halo softens the ribs and makes the squares less distinct. If you love wool, pick a smooth, tightly plied one.
Avoid very thin yarn for a full-size blanket. The sample’s fabric looks substantial rather than lacy, and a fine thread would take far longer and produce a floppy result. If your blanket feels stiff, go up a hook size. If it looks gappy or the ribs sag, go down.
Planning Size and Colour
Because the blocks repeat, the width is set by how many full repeats you work across. Decide the finished size first, then choose a starting chain that fits a whole number of repeats plus any edge stitches. Check the tutorial for the exact multiple, since it depends on the creator’s block size.
The sample is a clean, bright white, and it shows the stitch architecture better than any other choice. For a gender-neutral baby gift, soft cream, pale grey or light sage keep that clarity. Darker shades hide the shadow play, so the raised blocks look flatter. Two-tone versions are possible, but they change the effect: the weave then reads through colour as well as texture.
If you choose white, keep your hands clean and store the work in a bag between sessions. Light yarn picks up dust quickly, and a grey cast is hard to fix once it sets.
Keeping the Edges Straight and Neat
The side edges of a block-pattern blanket are where most people struggle. Because the raised and flat sections pull differently, the edges can wave or lean. The sample’s border along the top is flat, firm and even, which frames the pattern cleanly.
If the sides ripple, you are probably adding or losing stitches at the turn. Count your stitches at the end of every few rows and fix the discrepancy early. If the edges curl inward, your raised blocks are pulling the fabric tight, so loosen your tension on those rows.
A simple, dense border, such as a round of single crochet, stabilizes the whole piece. Work it with the same hook or one size smaller so it does not flare. Pin the blanket flat before you start the border to see where it wants to bend.
How to Style a Crochet Basket Weave Blanket
In its white form, the blanket looks best laid flat where its texture catches light. A crib rail, a rocking chair or the end of a bed all show the pattern well. Side lighting from a window deepens the shadows between ribs and makes the blocks pop.
For a nursery with soft neutrals, drape it over a wooden chair next to a cream basket of toys. On a sofa, fold it in thirds along the arm so the checkerboard faces up. It also works as a pram cover on cool days, since the dense flat blocks trap warmth better than an open lace would.
As a gift, roll it and tie it with a ribbon in a pale colour. The structured pattern holds a neat roll without slumping.
Tips for a Smooth Finish
Weave in ends along the flat blocks rather than through the ribs, where the yarn tails can show or distort the ridges. Run the needle diagonally through several stitches, then back, and trim close.
Block the finished blanket gently. Pin it to size on a flat surface, mist it with water, and let it dry. This relaxes the raised blocks and evens any small differences in tension. With acrylic, light steam held above the fabric without touching it works better than wet blocking.
If the finished piece feels stiff, wash it once and let it dry flat. If one section seems tighter than the rest, you probably changed tension partway through. Blocking will soften it, but the best cure is a steady grip from the first row.
Caring for Your Blanket
For baby use, pick a washable yarn and follow the label. Most acrylics tolerate a gentle machine cycle in a mesh bag, which protects the raised ribs from snagging. Cotton also washes well but takes longer to dry and is heavier when wet.
Dry flat or on low heat. High heat can flatten acrylic and take the crispness out of the ribs. Store the blanket folded loosely rather than hung, since the weight of the fabric can stretch the stitches over time.
A Timeless Handmade Classic
The crochet basket weave blanket is a simple idea done with care: raised ribs, flat blocks, one firm border. It looks woven, though every stitch is made with a single hook.
Three things decide whether it turns out well. Choose a smooth yarn, keep your tension even, and watch where each rib lands. Do those, and the checkerboard will come out sharp.
Soft, steady and quietly handsome.
Video tutorial for this crochet basket weave blanket by Ayşenin Örgüleri. Watch the full video on the creator’s channel.
[VIDEO]
Follow us on Pinterest and subscribe to the Newsletter so you don’t miss a thing!
Tutorial and photos of this basket weave blanket by: AYŞENİN ÖRGÜLERİ.