
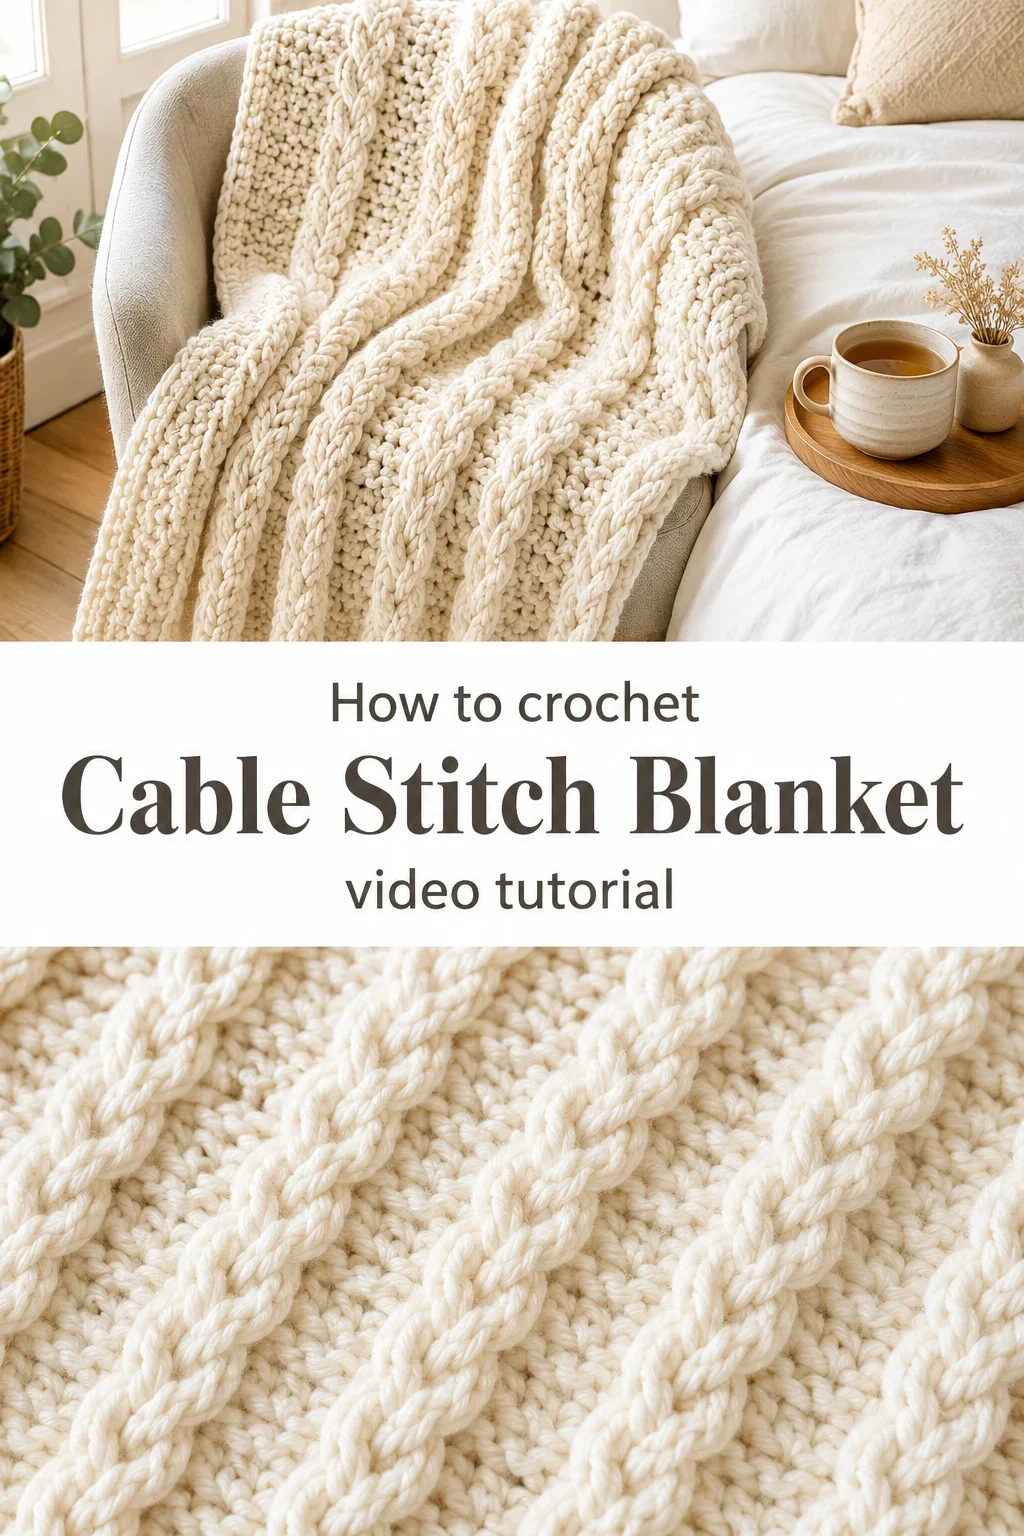
A Crochet Cable Stitch Blanket is warmth made visible, cables rising from the fabric like quiet conversations between rows. It belongs to the kind of afternoon that smells like woodsmoke and wool, unhurried and full.
The Cable Stitch Blanket
This Crochet Cable Stitch Blanket is the sort of piece that earns its place draped across the back of a worn armchair or folded at the foot of a bed where someone reads by lamplight. The twisted cables give the fabric a sculptural quality, airy yet structured, with ridges that beg to be traced by a slow hand. It is equally suited to the seasoned crocheter who wants a satisfying weekend project and the confident beginner who is ready to move beyond flat fabric. What you end up with is something that looks far more intricate than the hours it truly asks of you.
Stitch Blanket Related Posts:
- Crochet Newborn Socks: A Sweet and Tiny Treasure
- Crochet Bow Headband: A Sweet and Charming Accent
- Crochet Granny Square: A Timeless Classic Motif
- Crochet Flower Granny Square: A Charming Floral Classic
Cream and ivory are the most forgiving choices for showing off cable detail, as every twist and cross reads with clarity in pale, undyed yarn. That said, a deep charcoal or a heathered sage can give the same Crochet Cable Stitch Blanket a moodier, more contemporary feel, something that works just as well in a minimalist flat as in a cosy cottage bedroom. Let the room it lives in guide your palette.
Materials and Tools
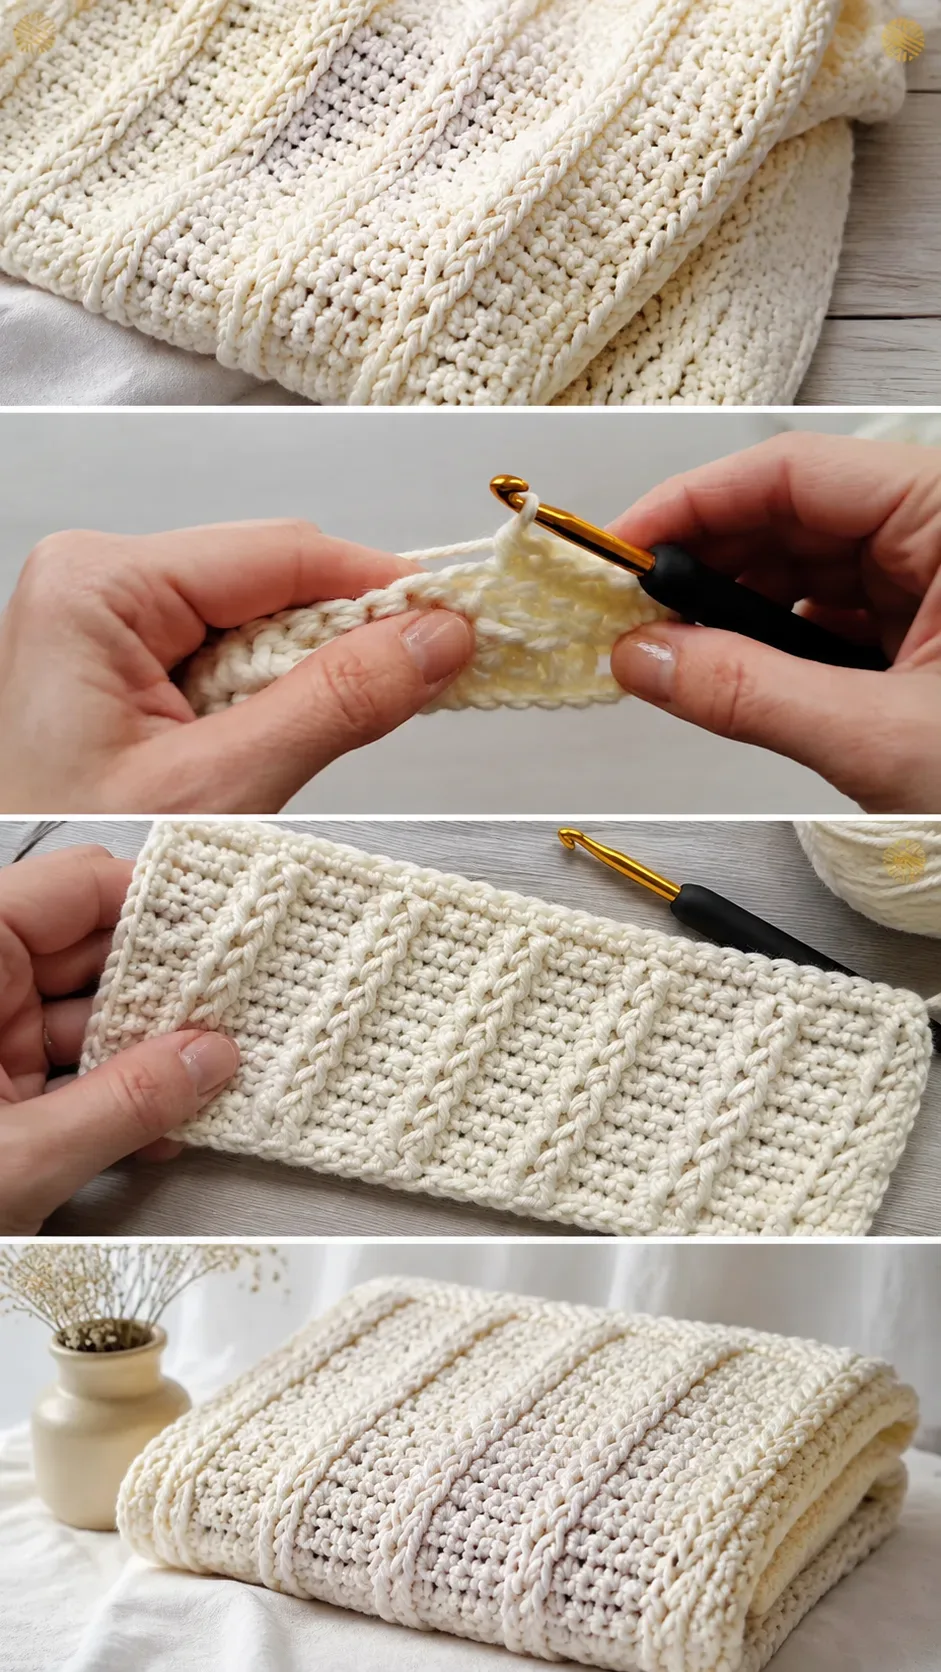
For a blanket with beautiful stitch definition and a softness that holds up through years of use, reach for a bulky weight yarn or a thick worsted weight in a natural fiber blend, ideally merino wool or an acrylic-merino mix that blocks well and resists pilling. The sample shown in the video tutorial uses a creamy, smooth worsted weight that catches the light along each cable ridge in the most satisfying way. A 5mm or 6mm crochet hook is the sweet spot here, giving the stitches enough room to breathe without losing the tight, rope-like definition that makes cables look so architectural. A yarn needle for weaving in ends is the only other tool you will truly need, and it is worth choosing a blunt-tipped one to avoid splitting the plies of your finished fabric.
Stitch by Stitch
This pattern draws on a small but expressive collection of stitches that work together to build the cable effect.
BULLET:SC (Single Crochet) The foundational stitch that forms the flat, dense rows between each raised cable panel, grounding the texture and keeping the fabric even.
BULLET:DC (Double Crochet) The workhorse of the cable itself, worked in groups to create the tall, crossed columns that define each twist.
BULLET:FPdc (Front Post Double Crochet) Worked around the post of the stitch below rather than through the top loops, this is the stitch that pulls the cable forward and gives it its raised, three-dimensional character.
BULLET:BPdc (Back Post Double Crochet) The counterpart to FPdc, pushing stitches to the back of the fabric to create the valley between each cable ridge.
Once you find the meditative rhythm of alternating post stitches, the pattern moves with an almost musical pace, each row rhyming with the last.
Construction
The Crochet Cable Stitch Blanket is worked flat in rows, making it one of the most straightforward constructions you can choose for a large-scale project. You begin with a foundation chain sized to your desired width, then build upward row by row, with the cable panels emerging naturally as you alternate your front and back post stitches in the correct sequence. The full step-by-step guidance, including the exact stitch counts and cable crossing instructions, is laid out in the video tutorial, which walks you through every stage with close-up detail. If you want a narrower lap blanket rather than a full throw, simply reduce your starting chain in multiples that match the cable repeat, and the pattern scales down beautifully.
Wearing Your Cable Stitch Blanket
Once finished, this Crochet Cable Stitch Blanket moves beyond the bed or sofa and into everyday life in the most natural way. Wrap it around your shoulders while you work at your desk on a cold morning, carry it to an outdoor market bundled under your arm, or gift it folded inside a linen bag to someone who needs something handmade and real. The weight and texture of it makes finishing feel genuinely worth celebrating.
Washing and Storing Your Cable Stitch Blanket
If you have worked with a wool or wool-blend yarn, hand washing in cool water with a gentle wool wash is the kindest method, and a light block while the fabric is damp will open up the cables and settle the stitches into their most defined, beautiful shape. Lay it flat to dry on a clean towel, reshaping the edges gently before it sets. Once dry, fold it loosely rather than tightly to avoid creasing the cable ridges, and store it somewhere breathable, a cotton bag or an open shelf, rather than sealed in plastic. A small cedar block nearby will protect any natural fiber content through the seasons.
Every Crochet Cable Stitch Blanket you make carries the particular quiet of the hours you gave it, and that is something no machine can replicate. Save this to your Pinterest boards and share your finished blanket with the hashtag so the community can see what your hands have made.
Follow us on Pinterest and subscribe to the Newsletter so you don’t miss a thing!
Tutorial and photos of this cable stitch blanket by: Massive Crochet.