
A crochet crop top in dusty teal ribbing turns a single skein of yarn into a halter that hugs the body and looks far more expensive than it is.
The Crochet Crop Top
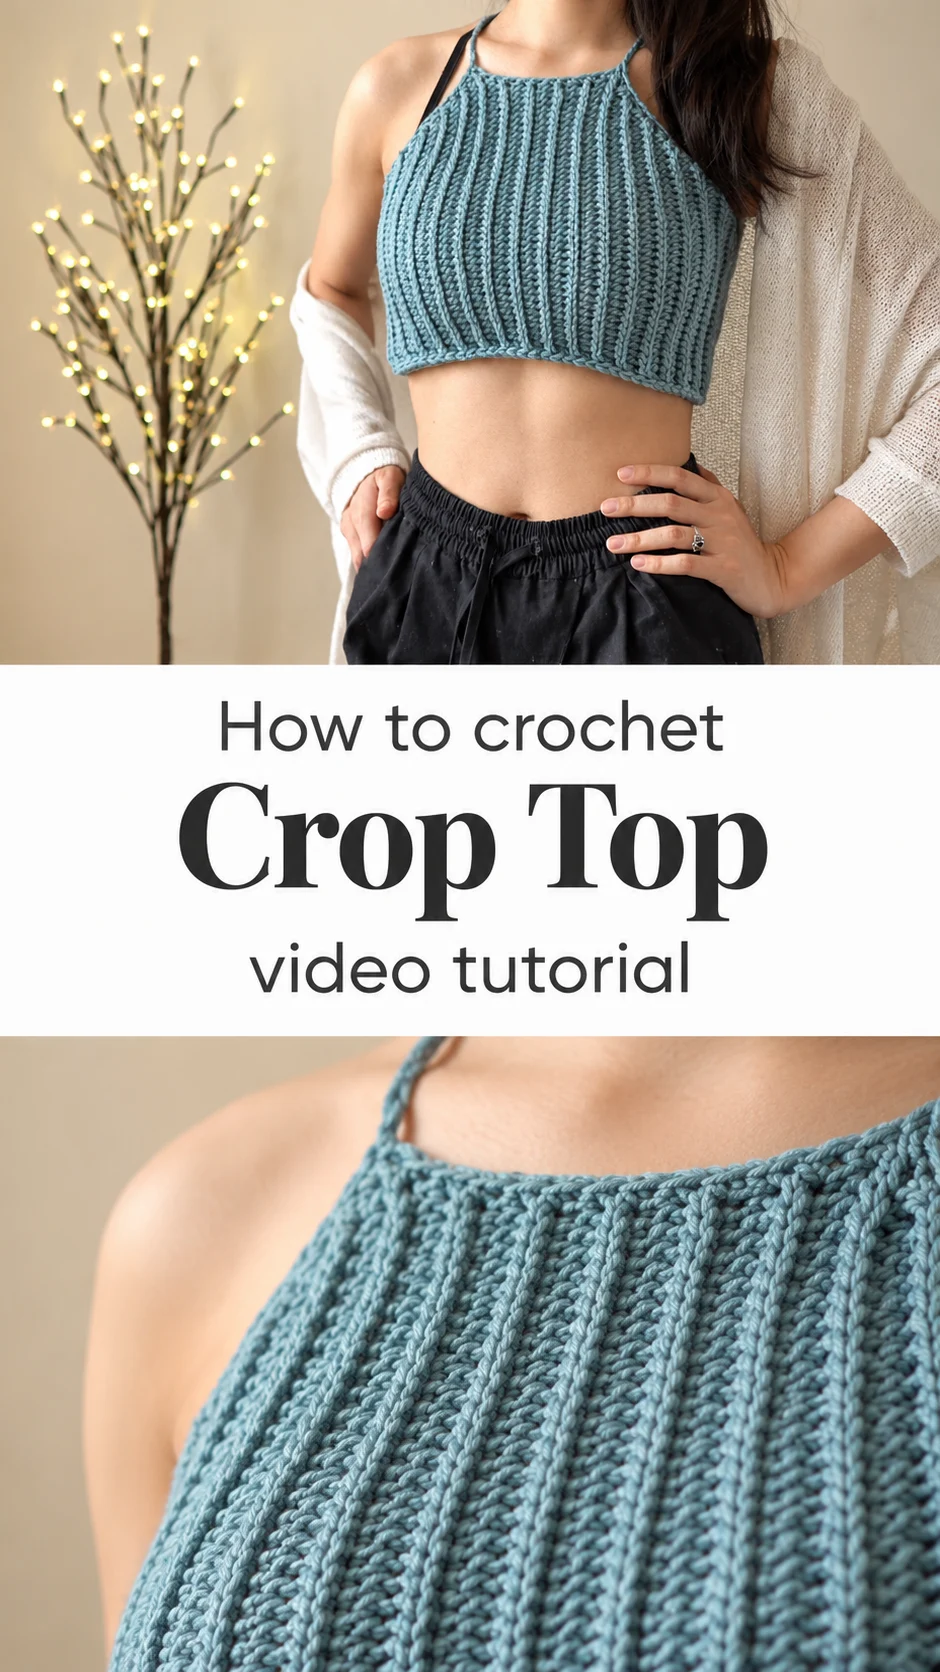
This crochet crop top is a high-neck halter with a cropped hem and two slim ties that fasten behind the neck. It is worked in a dusty teal, a soft blue-green that reads as calm and slightly vintage. The fabric is the star. Tight vertical ridges run from hem to neckline, giving it the look of a knitted rib, though it is all done with a hook. That texture stretches gently, so the top hugs the body instead of hanging off it. The shape is simple: a straight lower edge, sides that taper toward the neck, and a clean finish with no fussy lace or cutouts. It suits warm days, festival layering, and cool evenings under a light cardigan. Few garments give so much wear for so little yarn.
Think of it as a wardrobe basic rather than a statement piece. Pair it with high-waisted trousers, a denim skirt, or a sheer white cardigan, and it fits right in. It also makes a kind gift for a friend who loves handmade clothes but never has the time to make them. And it quietly teaches a useful skill: how a ribbed fabric can be built from plain stitches.
Crop Top Related Posts:
- Crochet Strawberry Bag: A Sweet and Charming Staple
- Crochet Granny Squares Join: A Classic and Timeless Craft
- Crochet Lace Motif Cloth: A Timeless Delicate Treasure
- Crochet Rectangle Table Runner: A Chic Handmade Accent
Materials
For this crochet crop top, choose a smooth, medium-weight yarn with a little give, and match it with a hook sized to make the fabric firm rather than floppy. The ridged texture in the photos looks dense and slightly plump, so a worsted-weight acrylic, cotton blend or soft wool blend all work. Acrylic holds its shape and washes easily. Cotton blends feel cooler in summer but can sag if the stitches are loose, so go down a hook size if you pick one. Avoid very fuzzy yarn, because it hides the clean vertical ribs that define the design. You will also need a pair of small stitch markers, a yarn needle for weaving in ends and sewing seams, scissors, and a tape measure. Markers matter more than you might think here, since they help you keep track of the edges and the neckline. A bamboo hook, like the one in the tutorial, grips the yarn nicely and keeps stitches from slipping.
Understanding the Ribbed Fabric
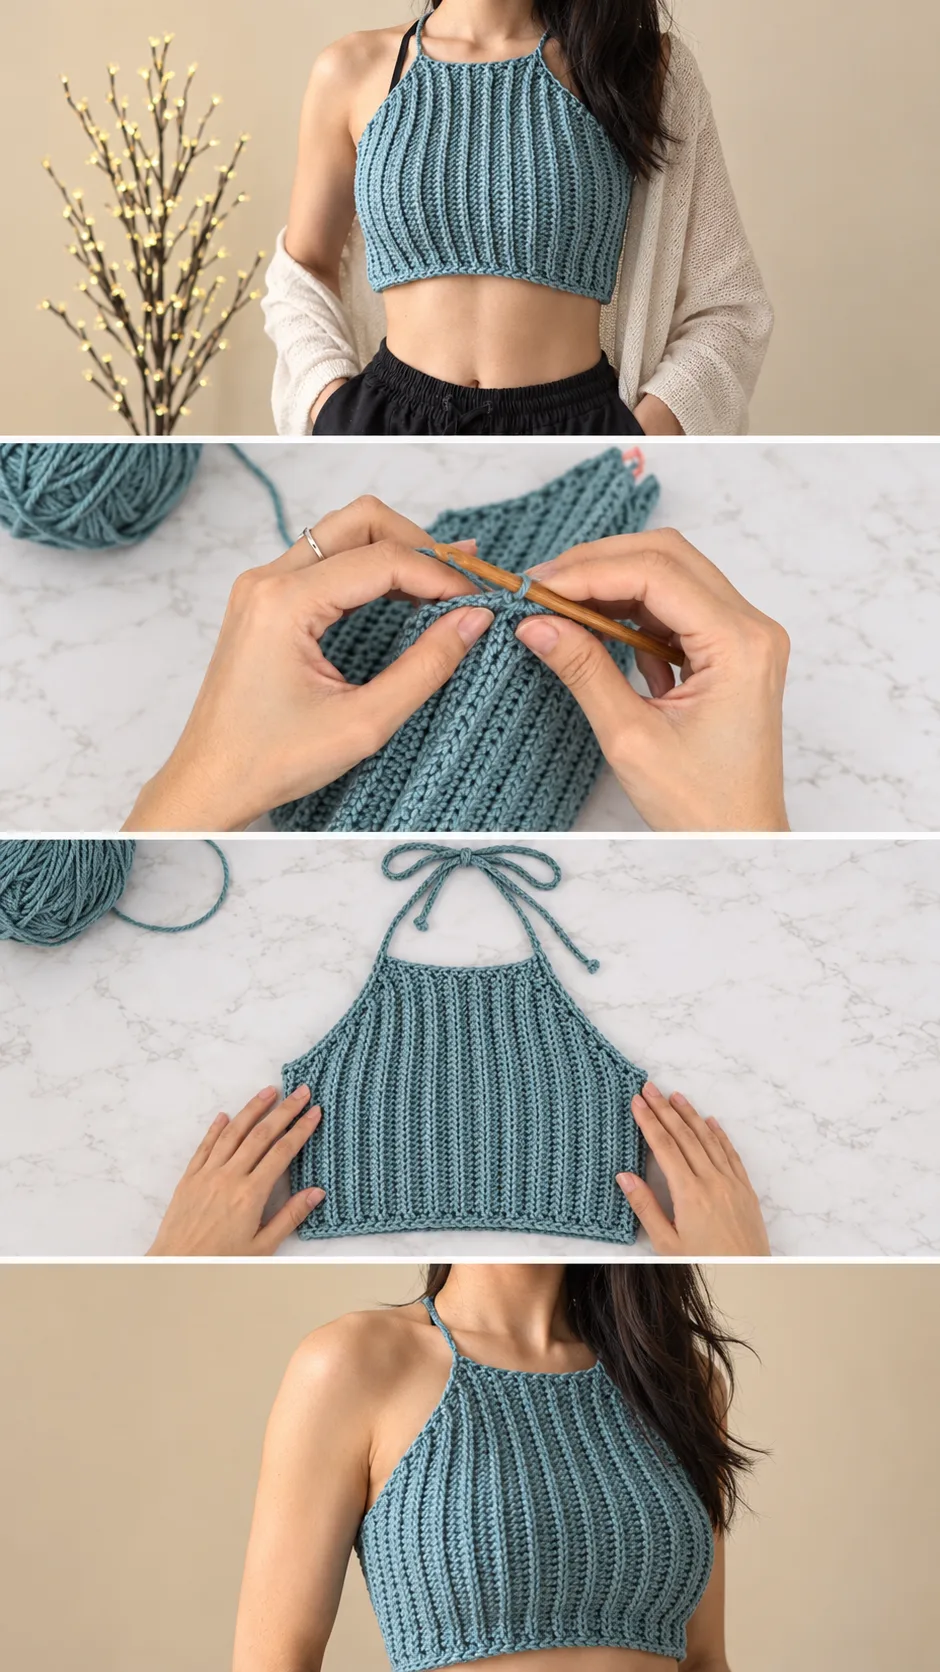
The ribs are what make this top. Each vertical ridge looks like a column of small, tilted stitches, packed closely together, with a shallow groove between neighbours. That pattern points to a technique worked into a single loop, which pushes every stitch slightly forward and creates the raised line.
Fabric like this is stretchy sideways and firmer lengthwise. That is useful for a crop top, because it hugs the bust and ribcage while the hem stays put. The same property makes tension important. Stitches that are too loose give a droopy, see-through result.
Because the ridges run vertically, the piece looks as if it was turned on its side while being made. The rows are most likely worked across the width of the garment, then the work is held upright to wear. This explains why the ridges meet cleanly at the hem and why the edge looks tidy, with a neat finishing line rather than a ruffled one.
If your swatch curls or feels stiff, switch to a hook half a size larger. If it feels floppy and gappy, drop half a size instead. Check the swatch against your wrist before committing, because a loose ribbed fabric will stretch more once worn.
Shape and Construction
The top appears to be one main body with a halter neckline, finished with two thin straps. The sides slope inward as they rise, which creates the high, fitted neck. That shaping happens at the edges, where stitches are gradually reduced as the work grows. Watch this part of the tutorial closely and pause on each decrease.
The ties are slim cords that begin at the top corners of the neckline and extend into long tails. They look like simple chain or narrow-strip finishes, which keeps the look light and avoids bulk around the neck. Crocheted ties like this are comfortable because they distribute weight evenly across the neck instead of pressing in one spot.
Seams, if any, are minimal. In the work-in-progress view of the tutorial the piece looks folded in half, with edges being joined along a straight line by hook. Joining with a slip-stitch seam gives a flat, low-profile join that sits well against skin. A sewn seam works too, but it can add stiffness.
Because the top is cropped, there is no long body to manage. That makes it a forgiving project for a confident beginner, though the neckline shaping will need patience. Work in a well-lit space and keep a marker at the first stitch of every shaping row.
Fit and Measuring
Fit decides whether this top feels flattering or frustrating. Measure around the fullest part of the bust and around the ribcage just underneath. A ribbed fabric hugs best with a little negative ease, meaning the finished piece is slightly smaller than the body. About one to two inches of negative ease keeps it snug without pulling.
Also measure from the base of the neck to where you want the hem to end. In the photos the top ends just above the navel, which gives the cropped line a clean, balanced look. If you prefer more coverage, add length before you start rather than at the end, since the vertical ridges make later changes hard.
Try the piece on as you near the end. Hold it up against your body and check the neckline height. If the halter feels too tight, ease the ties by lengthening them. If it gaps at the side, tighten the fit with a few extra stitches along the seam.
Choosing the Best Yarn for Ribbing
Yarn choice changes the personality of the top. A smooth wool blend gives a soft, slightly elastic ribbed fabric with excellent definition, and it is lovely against the skin if it is a fine, washable merino. Acrylic gives the sharpest ridges and the easiest care, which suits a piece that will be worn often. Cotton gives a cooler, matte result, but it has little stretch, so the top may feel less snug unless you size down.
Avoid slubby or boucle yarns. They hide the ribs and make the stitches hard to read, especially when you are working into a single loop. A smooth, tightly plied yarn lets each ridge cast a small shadow, which is exactly the effect in the photos.
Colour matters too. The dusty teal shown here feels fresh and a little earthy. Oatmeal, sage green, dusty rose and washed denim blue would all keep the quiet, modern look. Bright neon shades would shift the mood completely and show every uneven stitch, so keep those for confident makers.
How to Style a Crochet Crop Top
In the photos, the top sits over black drawstring trousers with a loose white cardigan draped over the shoulders. That pairing works because the soft teal stands out against the darker bottom while the airy cardigan keeps the outfit relaxed. A dark bra strap peeks out at the shoulder, which is a reminder that the halter neckline pairs best with a bra built for halter wear.
For a summer day, try it with a high-waisted linen skirt or wide-leg cotton shorts. The ribbed texture adds interest to plain fabrics. For evenings, layer it under a cropped denim jacket or a longer open shirt in cream, which softens the crop and adds warmth.
It also works over a fitted tank or a thin slip dress if you prefer more coverage. Because the fabric is dense, it does not look see-through, so you can wear it on its own with confidence. Neutral tones with this colour feel natural and easy.
Tips for a Neat Finish
Weave in ends carefully. Ribbed fabric shows loose tails easily, so thread each end along the ridge for a few inches in one direction, then back through in the other. That locks it without making a lump. If a tail pokes out after washing, tuck it back with the hook.
Check the edges. The sides of this top look straight, which means every row ends at the same spot. If your edges wobble, use a marker in the final stitch of each row and count before you turn. Uneven edges are the most common reason a crop top looks homemade rather than polished.
Block lightly. Spray the piece with water, pat it flat, and shape it to your measurements while it dries. This relaxes the stitches and evens out the ridges. If the hem curls inward, pin it straight while damp and leave it overnight.
Finish the neckline with care. The halter ties carry the weight of the garment, so make sure they are firmly attached. If you notice stretching after the first wear, tighten the join and reinforce it with a few extra stitches.
Following the Tutorial
The video shows the work from the first row through to the finished halter. Pay special attention to how the hook goes into each stitch, because that tiny choice creates the ridged look. Pause and replay the moment where the creator joins the edges, since the hand position there is easy to miss.
Work a small swatch first and compare it with the close-up of the ribbing. If your ridges look flatter or wider, adjust your tension or hook size before starting the garment. Watching the shaping section twice is worthwhile, because the decreases happen quickly and reward careful attention.
A Handmade Wardrobe Staple
This crochet crop top proves that simple stitches can produce a polished, wearable garment. The ribbed texture, the clean halter line, and the soft teal colour do most of the work. Success depends on a few things: a smooth yarn with some give, a hook that makes the fabric firm, careful neckline shaping, and a light block at the end. Get those right and the top will fit well and wear for seasons.
Make it once and you will want another in a different shade.
Video tutorial for this crochet crop top by TCDDIY. Watch the full tutorial on their channel.
Video Tutorial
Watch the full video tutorial below and follow along step by step.
Follow us on Pinterest and subscribe to the Newsletter so you don’t miss a thing!
Tutorial and photos of this crop top by: TCDDIY.