
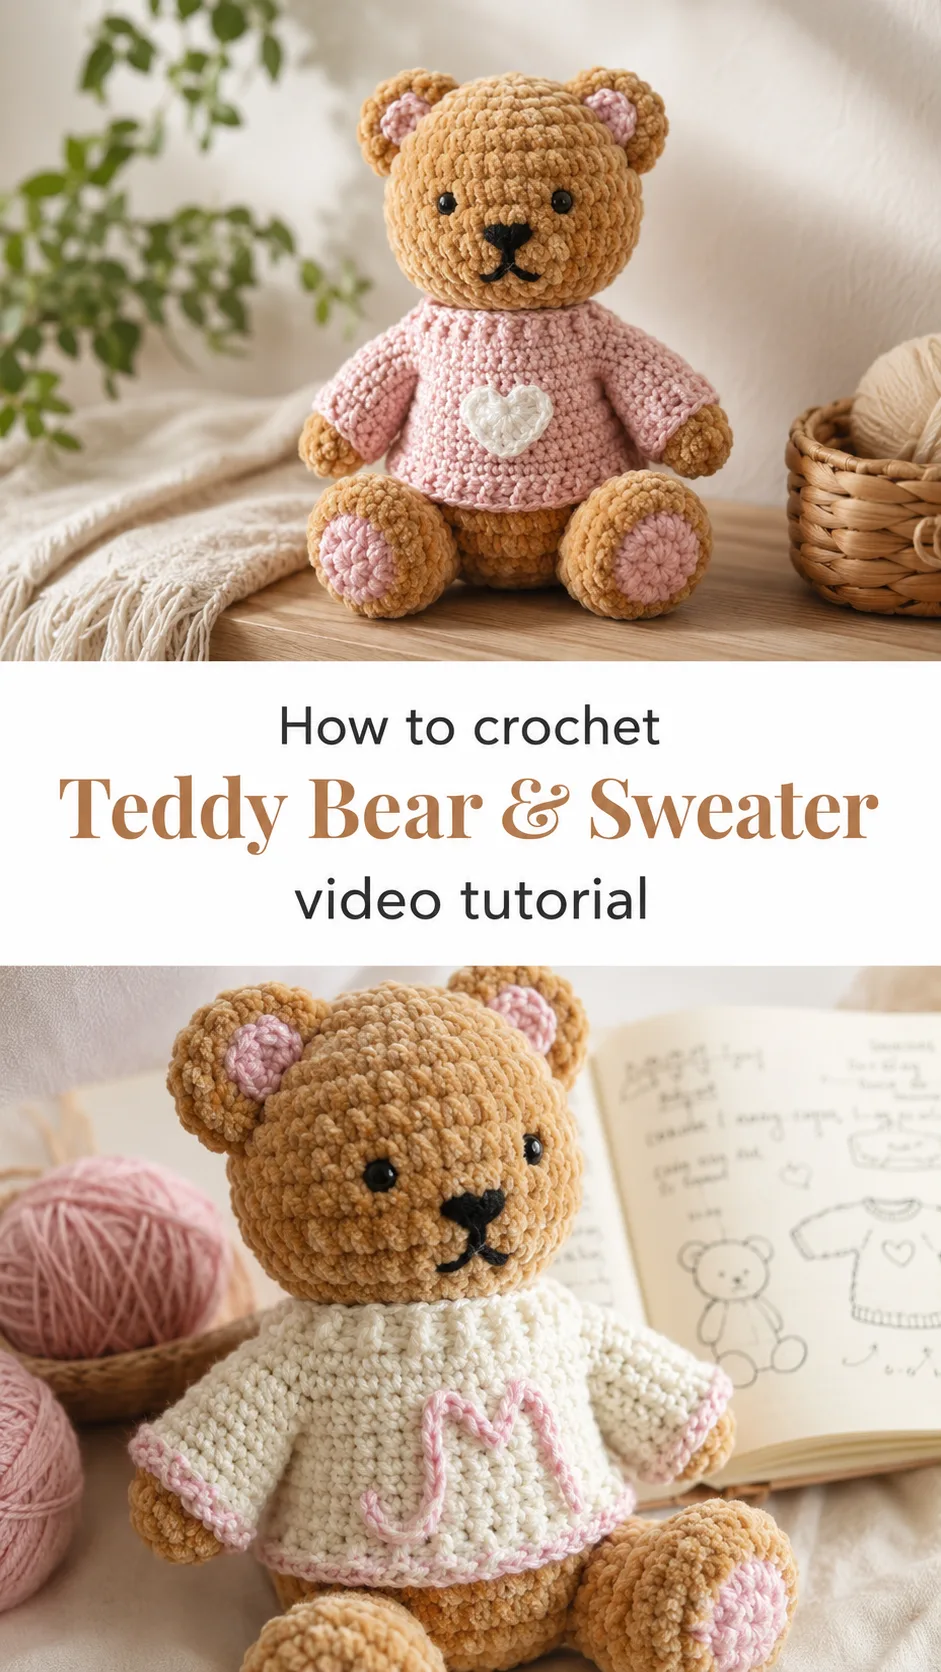
A crochet teddy bear & sweater set is a small wardrobe story in yarn: a plush, honey-tan bear sitting upright in a hand-stitched pullover with a tiny heart on its chest.
The Crochet Teddy Bear & Sweater
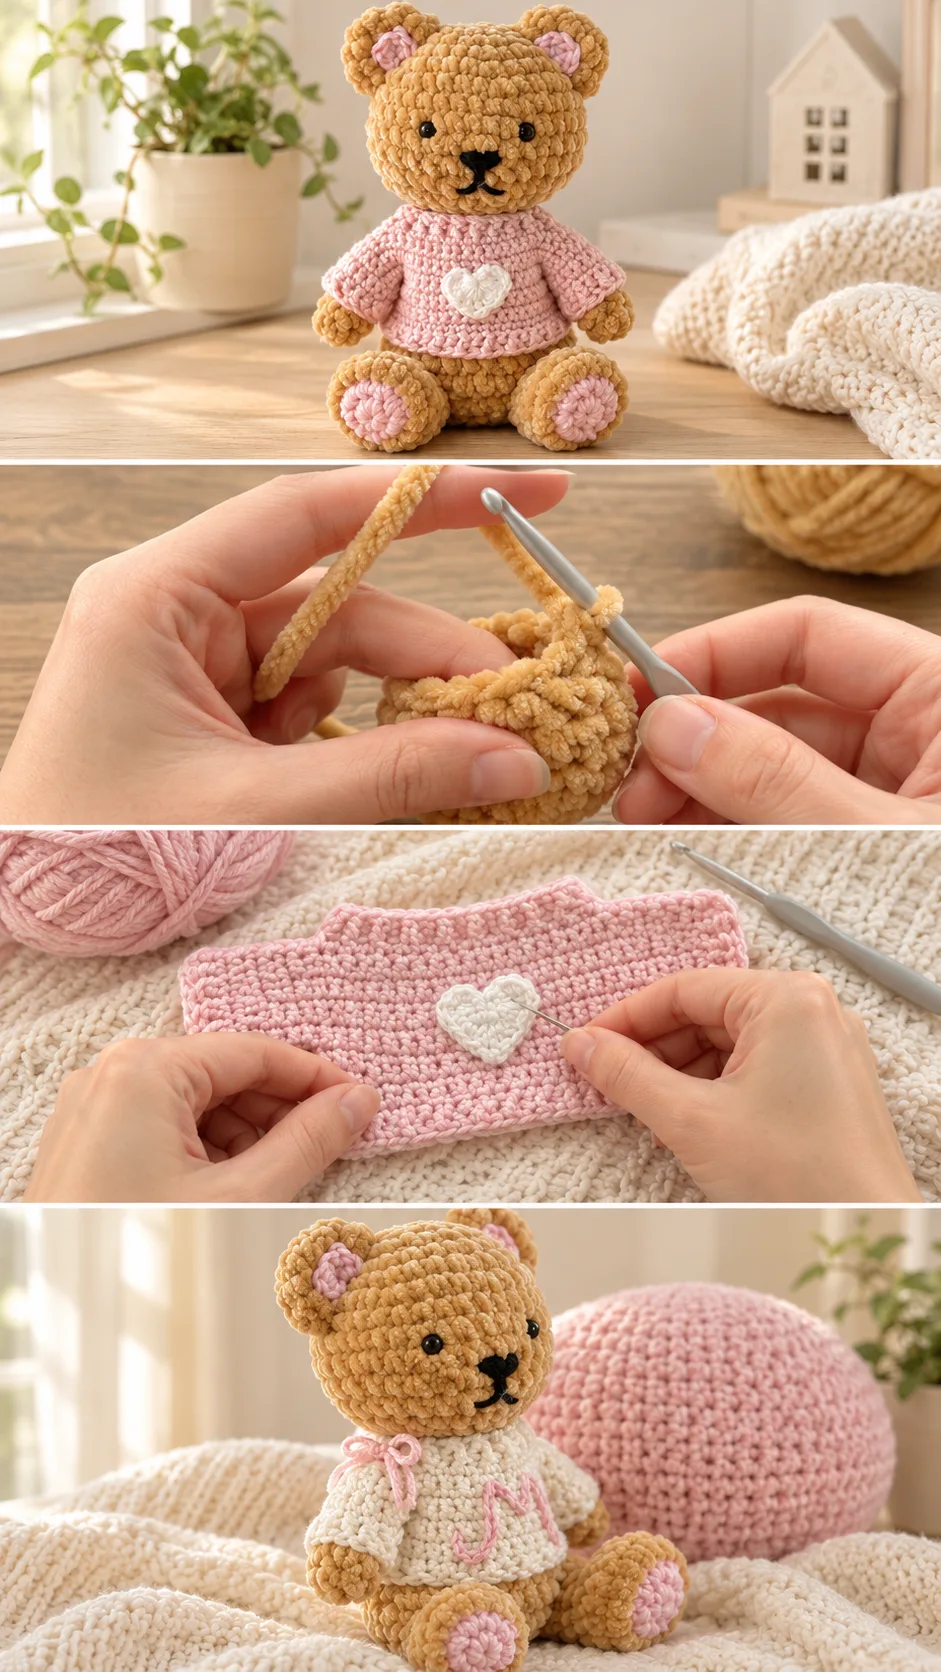
This crochet teddy bear & sweater is a two-part project that gives you a huggable toy and a wardrobe for it. The bear is worked in a plush, velvety chenille yarn in warm caramel tan, with soft pink inner ears and pink footpads. Small black bead eyes and a stitched black nose and mouth give it a gentle, sleepy face. It sits on its own, with rounded limbs and a big head. The sweater is a separate, flat-worked piece in dusty pink, finished with a small white heart appliqué. A second version in cream wool-style yarn carries a pink hand-embroidered letter, so the same shape can become a personalised gift. Both sweaters are made to be put on and taken off again, which turns the bear into something to play with and dress up.
The sweater is the real trick here. It is designed to fit any plushie, not only this bear, so one pattern can dress a whole shelf of toys. That makes it a fine gift, a nursery decoration, or a quiet weekend project that teaches shaping, seaming and appliqué in one go. Expect a cosy, slightly nostalgic result.
& Sweater Related Posts:
- Crochet Animal Phone Pouch: A Playful Daily Companion
- Crochet Waffle Blanket: A Soft and Timeless Classic
- Crochet Bag Strap: A Strong and Versatile Accent
- Crochet Granny Square Coasters: A Charming Handmade Gift
Materials
For the crochet teddy bear & sweater, you need a soft chenille or velvet-style yarn in tan for the body, plus a small amount of light pink for the ears and footpads. The thick, plush texture hides stitches and gives the bear its cuddly look, but it also makes the work harder to read, so a smooth, light-coloured stitch marker is worth having. Choose a hook that works the chenille into a tight, dense fabric; a stuffed toy needs stitches small enough that the filling cannot peek through. For the sweater, pick a smooth, light worsted or cotton-blend yarn in dusty pink or cream, because a flatter yarn shows the stitch texture and drapes better on a small body. Add a little white yarn for the heart, black embroidery thread or yarn for the nose and mouth, black safety eyes or beads, polyester fibrefill, a yarn needle and scissors. If the bear is for a young child, use safety eyes with locking backs or embroider the eyes, since loose beads are a hazard.
Understanding the Bear’s Construction
The bear is built from separate pieces: a round head, a body, two arms, two legs with flat footpads, and two small ears. Each piece is worked in the round, starting from a small ring and growing outward before shaping inward again. In the video, the head section shows visible decrease rounds, where stitches are drawn together to close the shape around the stuffing.
Chenille yarn is easy to lose track of, so mark the start of every round. Count your stitches after each decrease round, because an extra or missing stitch is hard to spot in the fluffy fabric until the piece is nearly finished. If the count is off, pull back to the last correct round and redo it. Frogging chenille is slower than smooth yarn, but it is better than a lopsided head.
The footpads and inner ears are worked in light pink and stand out against the tan body. They are small circles, which makes them good for practising a clean, even disc. Sew them on with the pink side facing the viewer and keep the stitches hidden between fibres of the plush yarn.
Choosing the Best Yarn for a Plush Bear
The caramel colour and velvety nap of the bear come from chenille yarn, and it is the main reason the toy feels so soft. It also stretches slightly, which helps the stuffed shapes look smooth. The trade-off is that chenille can be slippery on a metal hook and harder to unpick, so go slowly and keep your tension even.
If chenille is not to your taste, a thick, soft acrylic or a fuzzy brushed yarn gives a similar cuddly feel, though the stitches will be more visible. Avoid thin cotton for the body: it gives a firm, flat look and shows the filling through the stitches unless you use a very small hook. Whichever yarn you pick, test the fabric before starting. It should feel dense, with no gaps when you gently stretch it.
For colour, the tan and pink pairing in the photos feels classic and gentle. Cream with light brown ears makes a more vintage bear, while grey with white gives a modern, neutral look. Keep the footpads and inner ears in a lighter tone than the body so the details still read from across a room.
The Sweater: A Flat Piece That Fits Any Plushie
The sweater is the signature detail of this project. It is worked flat as one rectangular piece with a T-shaped outline: a wide body with sleeve sections extending from each side and a small opening at the neck. The finished fabric looks like dense single crochet, firm and even, with a neat ribbed look along the cuffs and hem. In the pink version, the heart sits right in the centre of the chest.
Once the flat piece is complete, it is folded and sewn along the sides and under the sleeves, so the shape turns into a small pullover. This is why the pattern works for any plushie: you adjust the width and length by working more or fewer rows, then seam it to fit. Hold the piece against your bear as you go and check the shoulders and sleeve length before closing the seams.
Pay attention to the neckline. A bear’s head is large compared with its neck, so the opening must stretch over the head without gaping on the shoulders. The cream version has a thick, turtleneck-style collar, which handles this nicely because it folds and gives room. If the neck feels tight, add a few extra rows of ribbing or leave the last seam open for a button or snap.
Adding the Heart and Personal Touches
The white heart is a small, separate motif crocheted in a few quick rounds and sewn on after the sweater is finished. The cream sweater swaps the heart for an embroidered letter in pink yarn, plus a tiny bow near the collar. Both are good ways to make the project feel personal, especially for a gift.
Pin the heart in place before sewing, because a crooked motif is hard to ignore on such a small chest. Use a matching thread and small stitches around the edge so the appliqué lies flat rather than cupping. For a stitched letter, draw it lightly on the fabric with a fading pen first, then follow the guideline with a chain-style embroidery stitch.
Skill Level and Where to Slow Down
This project suits a confident beginner or an advancing intermediate maker. The stitches are basic: single crochet, decreases and slip stitches. The challenge is in working with a plush yarn, shaping several small parts, and assembling everything neatly.
The slowest section is assembly. Attaching the head, arms and legs so the bear sits upright and looks balanced takes patience. Pin each limb in place and check the pose from the front and side before sewing. If the bear leans or the head flops, add more stuffing to the neck area and sew the head on with a slightly firmer ring of stitches.
The sweater is quicker, but the seams and the neck opening can be fiddly. Watch the video closely when the creator folds and joins the flat piece, and pause to see which edges meet. Replaying that part once or twice saves frogging later.
How to Style a Crochet Teddy Bear & Sweater
In the photos, the bear sits upright against a pink book on a wooden shelf, its pink sweater matching the book’s soft tones. That kind of casual shelf display suits a bedroom, a nursery or a reading corner. The bear works well as a seated decoration because its legs are short and its footpads are flat.
For a gift, pair the bear with a few extra sweaters in different colours, or wrap it in a folded blanket for a baby shower. A cream sweater with a monogram suits a personalised present, while the pink heart version feels sweet and simple for a child. On a bed, the bear looks charming leaning against a pillow in a matching shade.
If you plan to hand the bear to a baby, skip small hand-sewn extras like loose bows and buttons, and embroider the face with yarn instead. Older children, collectors and adults will enjoy the full set of details.
Tips for a Neat Finish
Stuff each piece firmly but evenly, working small pieces of fibrefill into the corners first. Under-stuffed limbs look floppy, while overstuffed ones stretch the stitches and show gaps. If you can see white filling through the yarn, stuff less or use a smaller hook next time.
Weave in ends before closing each piece, since plush yarn hides them easily but also lets them work loose. For the sweater, press the flat piece lightly or steam it from a distance before seaming so the edges lie straight. If the cuffs or hem curl, work a few extra rows of ribbing or use a slightly larger hook for the edging.
Use a thinner yarn or thread to sew the bear’s pieces together, matching the colour to the body so the seams disappear. If the face looks uneven, unpick the stitched mouth and redo it rather than leaving it. A small change in the line of the nose can shift the whole expression.
Caring for Your Handmade Bear
Chenille can mat if it is rubbed or washed roughly, so spot clean with a damp cloth and mild soap whenever possible. If a full wash is needed, place the bear in a mesh bag and use a gentle, cool cycle, then reshape it and air dry away from direct heat. The sweater can be washed separately by hand in cool water. Lay it flat to dry so the shape stays even and the heart does not distort.
A Sweet Handmade Treasure
This crochet teddy bear & sweater combines a soft, plush toy with a small wardrobe project that can be repeated for any plushie. The tan chenille body, pink details and dusty-pink or cream pullover give it a warm, old-fashioned charm.
Three things decide how it turns out: a dense, even stitch so the stuffing stays hidden, careful assembly so the bear sits upright, and a sweater sized to fit the head and body. Take your time with each one.
A finished set is something to keep, give or pass down.
Follow us on Pinterest and subscribe to the Newsletter so you don’t miss a thing!
Tutorial and photos of this teddy bear & sweater by: mahum 🎀.