
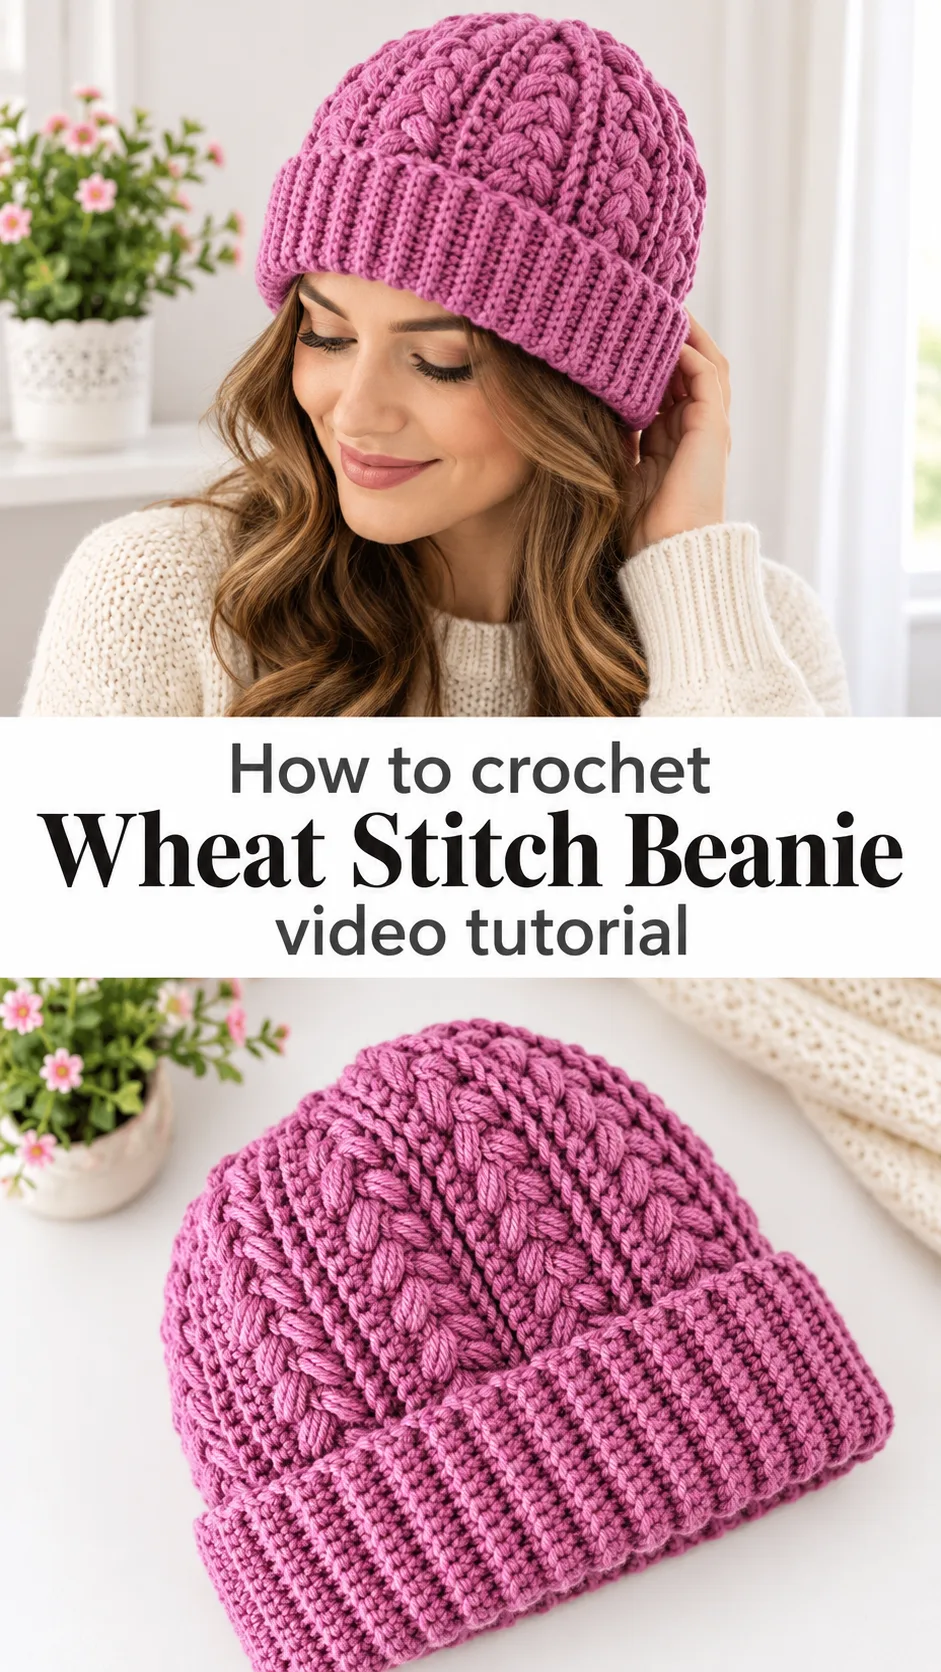
A crochet wheat stitch beanie wraps your head in a ridged, braided texture that looks far more complicated than it feels to make, finished with a deep ribbed brim that folds up snug against the cold.
The Crochet Wheat Stitch Beanie
The crochet wheat stitch beanie is a close-fitting winter hat in a rich orchid pink, and its crown is the star. Slim puff stitches lean against each other in tidy columns, much like ears of wheat on a stalk. Between those columns, narrow raised ribs run from the brim toward the top and keep the fabric looking structured rather than lumpy. The brim is a wide ribbed band, folded up into a thick cuff that sits over the ears. Together the two textures give the hat body, warmth and a little sculptural character. It suits cold commutes, weekend walks and any coat in a neutral shade that lets the colour stand out. Small, quick and rewarding, it is a project that rewards a little patience.
The hat also works well as a gift, since one skein-sized project produces something that looks bought rather than homemade. If you want to learn how puff stitches behave when they are worked into a skipped stitch, it is a good teacher. The pattern repeats are short. Once the rhythm settles, the rounds go quickly.
Stitch Beanie Related Posts:
- Crochet Zigzag Stitch Trim: A Bold and Vibrant Detail
- Crochet Clutch Bag: A Chic and Timeless Accessory
- Crochet Striped Blanket: A Timeless Comfort Classic
- Crochet Ballerina Doll: A Whimsical Handmade Treasure
Materials
The crochet wheat stitch beanie calls for a smooth, medium-weight yarn with a soft twist, such as an acrylic-wool blend or a merino with some nylon in it. The stitches in the photos are plump and clearly defined, which suggests a worsted-type yarn that has enough spring to make the puffs stand up. A hook around 4 to 5 mm is a sensible starting range, though you should let your swatch decide, because the puff columns tighten the fabric. Choose a plain, solid colour like the orchid pink shown, since variegated yarn would hide the braided effect that makes this hat special. Avoid very fuzzy mohair or brushed yarns for the same reason. You will also need a yarn needle for weaving in ends, a stitch marker to mark the start of each round, and a pair of scissors. Wool blends add warmth and bounce. Pure acrylic is cheaper, washes easily and still holds the texture well.
Understanding the Wheat Stitch
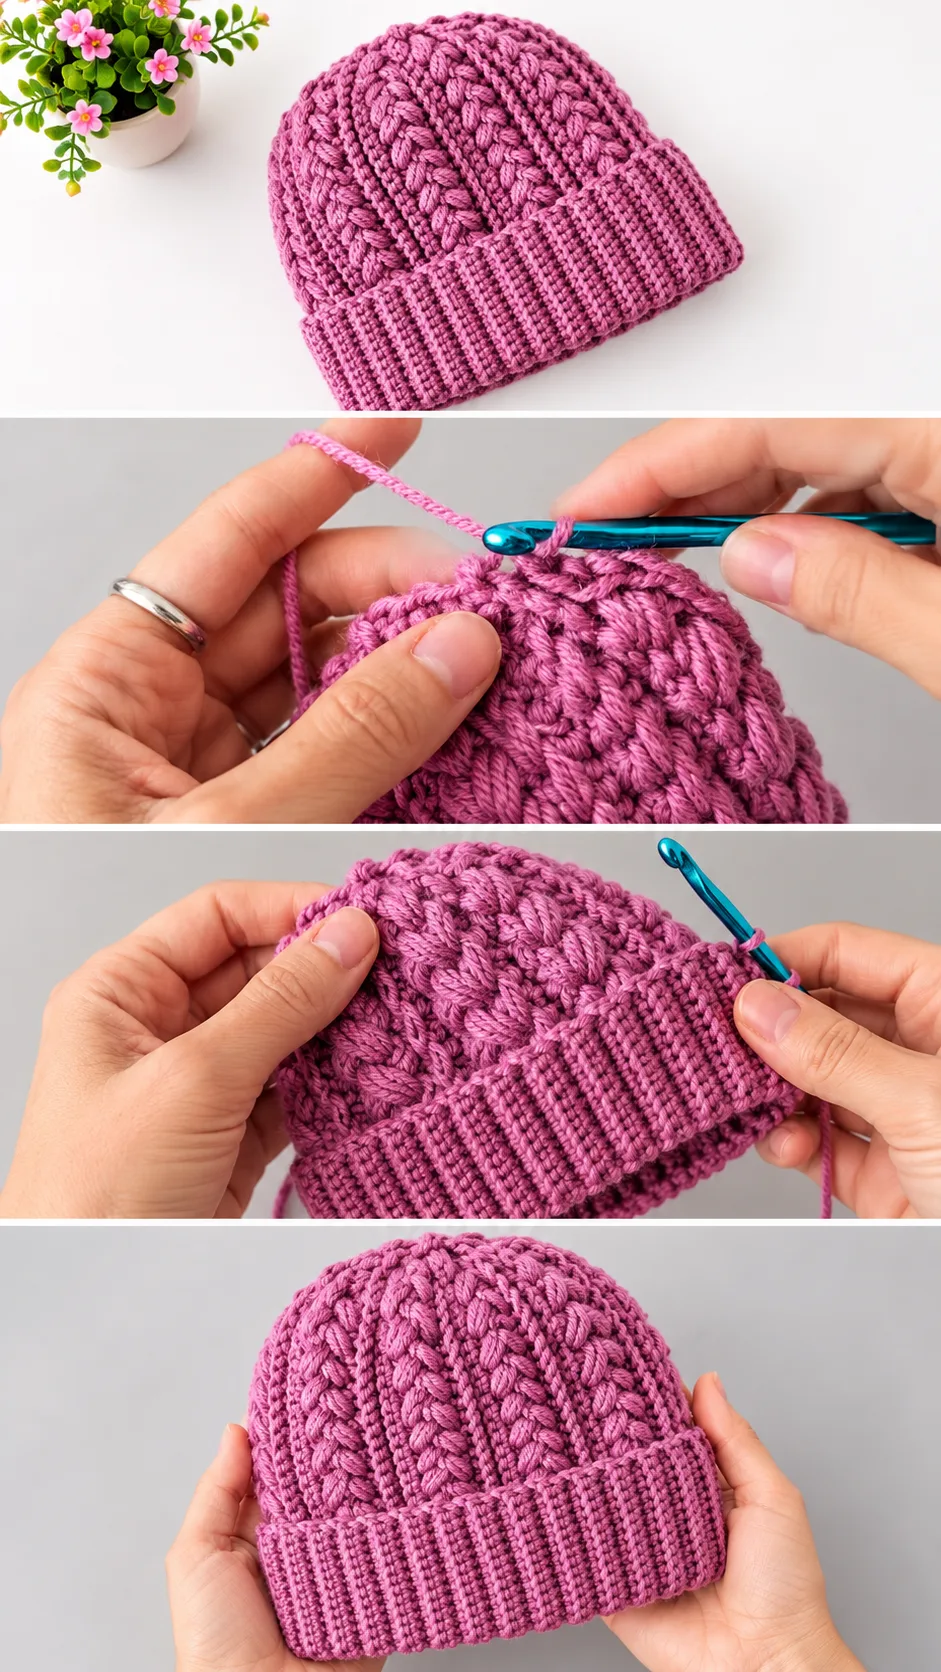
The wheat stitch is built from two moves that alternate: a plain single crochet and a puff stitch worked back into the stitch that was skipped. Because the puff reaches backward, it tilts, and that tilt is what creates the diagonal, braided look.
Each puff is a cluster of loops pulled up on the hook and closed together. The loops should be pulled to a similar height so every puff has the same plump shape. Uneven loops give a lopsided column.
Between the puff rounds, the hat shows flat ridges of dense stitches. These ridges frame the puffs and stop the texture from looking busy. They also make the fabric firmer, which helps the hat keep its shape on the head.
Watch the video closely at the moment the hook goes into the skipped stitch. The hand position there decides whether the puff sits neatly or sinks into the fabric, so pause and replay it until your movement matches.
Shape and Construction
The hat is worked in the round from the top down or from the brim up, and the photos show a fabric with no visible seam, which points to continuous rounds. The crown is a simple dome, with the texture columns running straight down from the top, so the shaping must happen inside the repeats rather than in separate decrease rows.
The brim is a different kind of fabric. Its fine vertical ribs look like single crochet worked into the back loop only, which gives a stretchy, knit-like band. This band appears to be made as its own piece and joined to the body, since the ribs run in a different direction from the crown columns.
That difference matters when you plan the fit. A ribbed band stretches sideways, so it grips the head, while the puff section has less give. If the band is too loose, the hat slides. If it is too tight, the cuff will not fold neatly.
Keep a stitch marker in the first stitch of every round. With a texture like this, losing your place means the puffs drift out of line, and the error shows from across a room.
Choosing the Best Yarn for Crisp Puffs
Yarn decides whether the wheat columns look sharp or soft. A firmly plied wool blend gives the cleanest puffs and a springy fabric that resists stretching out. Cotton makes the stitches very crisp but has no elasticity, so a cotton hat can sag around the ears after a few wears. Pure acrylic sits in the middle: it is light, it washes well, and it keeps the stitch definition.
Avoid a loosely spun yarn that splits easily. When you pull several loops through at once, a splitty strand snags on itself and the puff turns messy. If the strand splits, switch to a smoother yarn rather than fighting it.
For colour, the orchid pink in the photos suits a classic beanie, but deep wine, mustard, forest green or oatmeal all show the braid just as well. Mid-tone colours are best, because very dark shades swallow the shadows between puffs and very pale ones can look flat.
Getting the Gauge Right
A hat is one of the few projects where a swatch pays for itself quickly. Work a small piece of the pattern and check how snug it feels over a bent hand. If it feels stiff as a board, go up a hook size. If it looks loose and open, go down. If the fabric curls at the edges, that is normal for a swatch and not a sign of a fault.
How to Style a Crochet Wheat Stitch Beanie
In the photos the hat is shown with the brim folded up into a thick cuff, which is the most flattering way to wear it. The cuff frames the face and adds a second layer over the ears. Fold it once for a sleek line, or twice for a chunkier, slouch-free look.
Pair the pink with a camel or grey wool coat for a soft, muted winter palette. It also lifts a black puffer jacket, where the texture reads clearly against the flat, shiny fabric.
For a weekend outfit, wear it with a denim jacket and a chunky scarf in cream. The scarf echoes the raised texture without competing with it. If you crochet a second skein in a neutral shade, a matching cowl turns the hat into a set.
Worn unfolded, the beanie sits a little taller and gives a relaxed, slouchier shape. That works well for people with long hair, who may prefer the extra room at the back.
Tips for a Neat Finish
Weave in the ends along the ridges between puff columns, where the yarn tails can hide inside the dense stitches. Ends woven through puffs tend to work loose and poke out.
If the finished hat looks slightly uneven, a light steam press over a damp cloth helps. Do not press down on the puffs, because flattening them removes the texture you worked to build. Hold the iron just above the fabric and let the steam relax the stitches.
If the brim flares outward instead of hugging the head, the band is too loose. Work the next one with a smaller hook, or take out a few stitches from the foundation length. If the crown puckers where it meets the brim, the join was pulled too tight, so ease the stitches slightly when you attach the two parts.
Keep your tension relaxed on the puff loops. Tight loops are hard to pull through, make your hand ache, and create a stiff, boardy fabric that will not drape over the head.
Caring for Your Beanie
A wool-blend hat is best washed by hand in cool water with a gentle detergent, because heat and agitation make wool felt and shrink. Press the water out with a towel instead of wringing, since twisting distorts the puffs.
Dry the hat flat, reshaping the cuff with your hands. Hanging a wet hat stretches the crown and pulls the columns out of line. Acrylic versions can usually go in a gentle machine cycle, but air drying still protects the texture.
A Cosy Handmade Winter Hat
The crochet wheat stitch beanie is a small project with a big payoff: a braided, ridged crown, a deep ribbed cuff and a colour that brightens grey days.
Four things decide how it turns out. Choose a smooth, springy yarn, swatch before you start, keep the puff loops even, and make the brim snug enough to hold the cuff.
Make one for yourself, then make another as a gift.
Video tutorial by Vasilya Knits, who shows every step of this crochet wheat stitch beanie in the video below.
Follow us on Pinterest and subscribe to the Newsletter so you don’t miss a thing!
Tutorial and photos of this wheat stitch beanie by: Vasilya Knits – Вяжем крючком.