
Last summer, I watched my favorite paperback get absolutely destroyed at the bottom of my beach bag. Sand in the spine, sunscreen smeared across the cover, pages bent every which way. I sat there thinking, "Why don’t I just make something to protect my books?" And honestly, that moment of frustration turned into one of my favorite designs yet. This romantic padded book sleeve has become my go-to gift for every book lover in my life, and I’m so excited to share it with you today.
Get the Ad-Free PDF Pattern
You can find the free pattern below, or you can purchase the ad-free printable PDF from my shop.
Get the Printable PDF →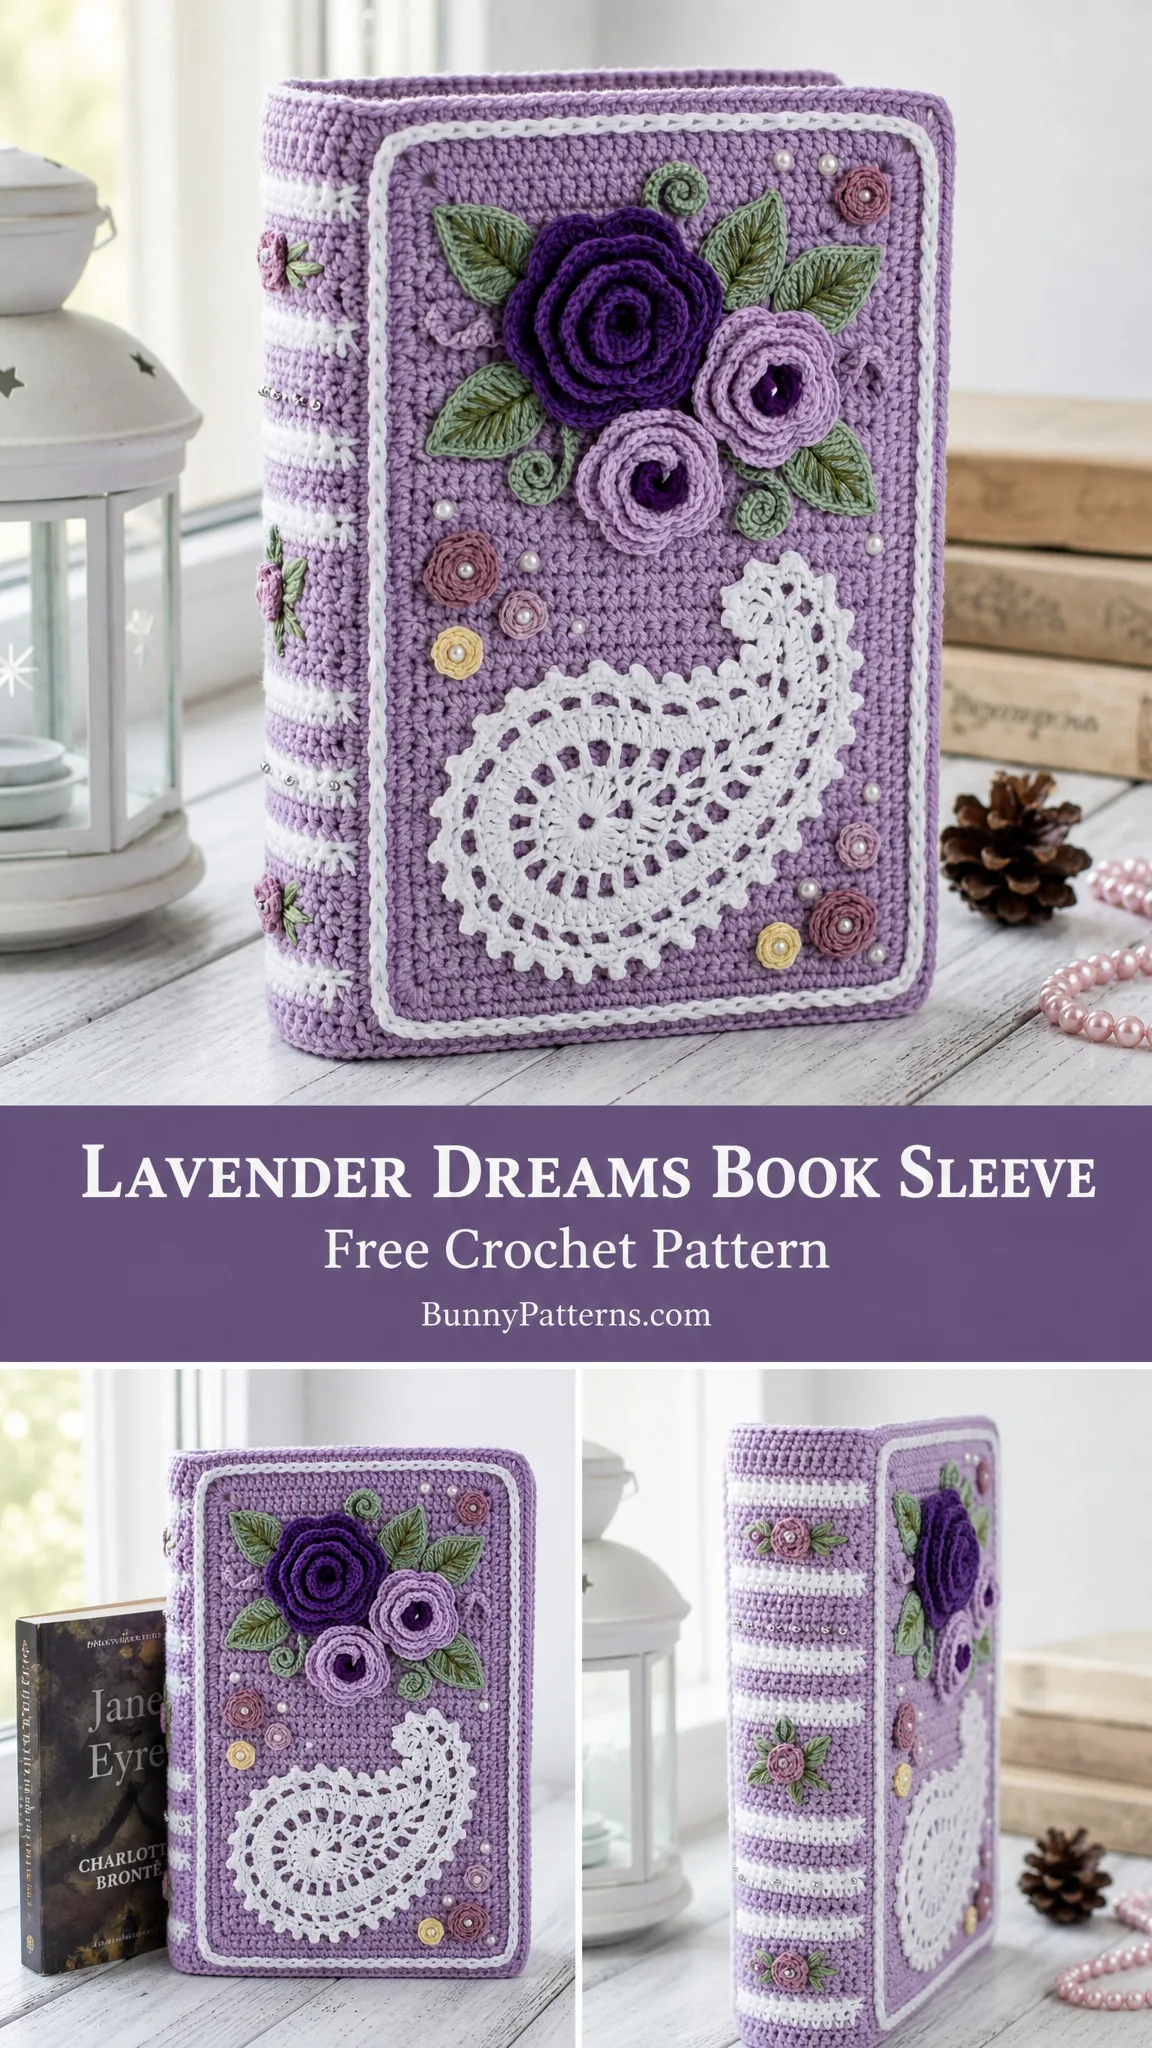
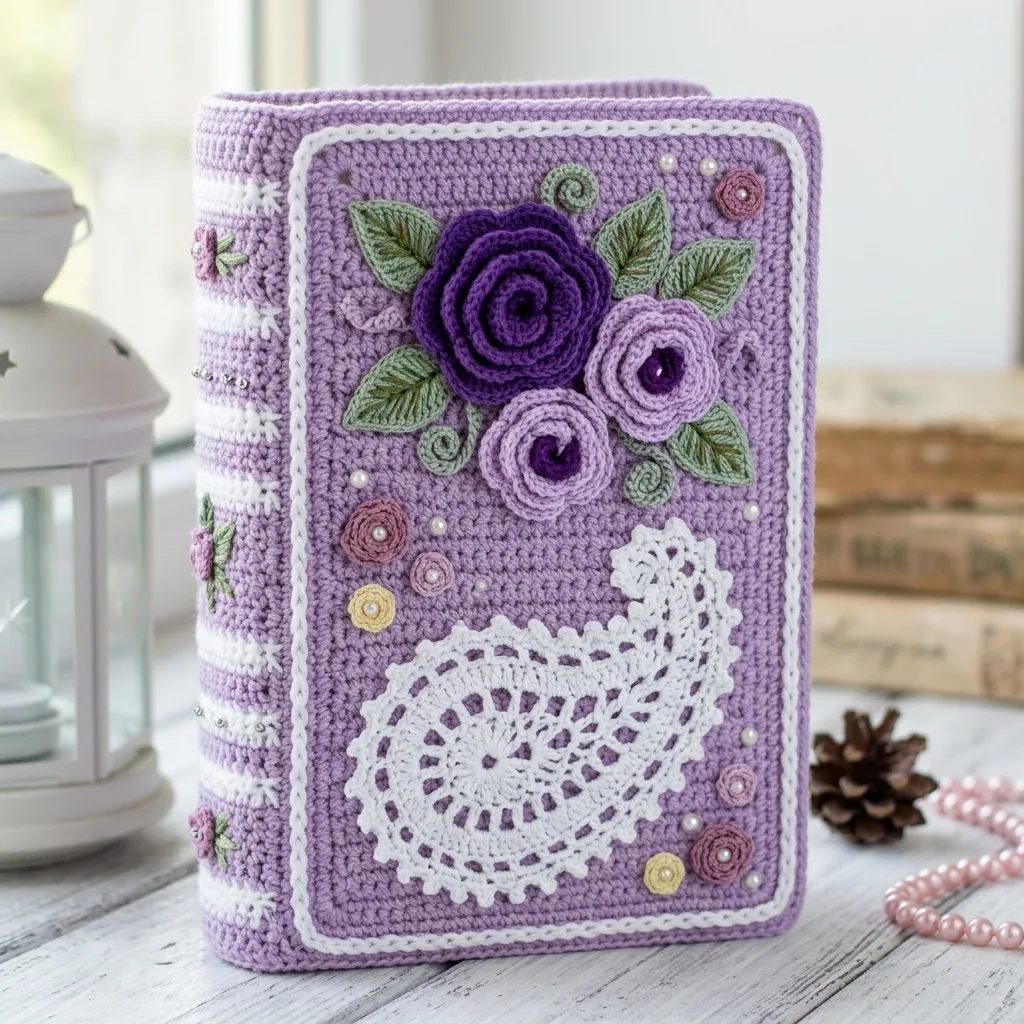
The Lavender Dreams Book Sleeve combines a smooth single crochet (sc) body with a striped side gusset, raised spiral roses, stitched leaves, pearl accents, and a delicate lacy paisley applique. It’s designed for paperbacks, planners, and treasured journals. The construction is more straightforward than it looks, I promise. We’re building a simple pouch foundation first, then adding all those gorgeous decorative elements on top.
Pattern Details and Finished Size
This crochet pattern creates a book sleeve measuring approximately 6 3/4 inches wide x 8 3/4 inches tall x 1 1/2 inches deep (17 x 22 x 4 cm) after light blocking. It fits many standard paperbacks up to about 5 1/2 x 8 inches (14 x 20 cm), depending on book thickness.
Skill Level: Confident intermediate
Don’t let that label scare you off if you’re a motivated beginner. This design uses a simple pouch foundation, then adds decorative surface work including spiral flowers, small applique pieces, seaming around a gusset, and careful motif placement. A newer crocheter can absolutely succeed by following the stitch counts and blocking notes carefully.
Time Estimate: 10 to 14 relaxed hours
Materials You’ll Need
Yarn:
DK or light worsted cotton or cotton-acrylic blend, approximately 465 yards (425 m) total:
Yarn Suggestions:
For substitutions, choose a smooth DK yarn that creates a firm fabric. Avoid very stretchy yarns unless you plan to add lining.
Hook: US E-4 / 3.5 mm, or size needed to match gauge
Additional Supplies:
Gauge
26 sc x 28 rows = 4 inches (10 cm) in single crochet, blocked lightly.
Please swatch and match gauge before starting. A firm fabric helps the sleeve protect the book properly.
Gauge Checkpoints:
Abbreviations and Special Stitches
Let me walk you through all the stitches you’ll need. Even if some sound unfamiliar, I’ll explain exactly how to work them.
Standard Abbreviations:
Special Stitches:
Reverse single crochet (also called crab stitch): Working left to right instead of the usual right to left, insert hook in previous stitch, yarn over and pull up a loop, yarn over and pull through both loops. Keep your tension relaxed. This creates a lovely rope-like edge.
Picot: Chain 3, slip stitch in the front loop and left side bar of the stitch at the base of the chain. This creates a tiny decorative bump.
Surface slip stitch: Hold yarn on wrong side, insert hook from right side to wrong side, pull loop to right side, then insert hook in next spot and pull new loop through loop on hook. This lets you "draw" lines on your finished fabric.
Invisible join: Cut yarn, pull tail through last stitch, thread needle, insert under both loops of first stitch, then back into top of last stitch. This creates a seamless finish.
Note for Left-Handed Crocheters: Work the written rows as usual. For surface stitching and motif placement, mirror the placement diagram horizontally if that feels more natural. The finished sleeve will look the same.
UK Terminology Note: This pattern uses US terms. US sc = UK dc, US hdc = UK htr, and US dc = UK tr.
Main Panels Instructions
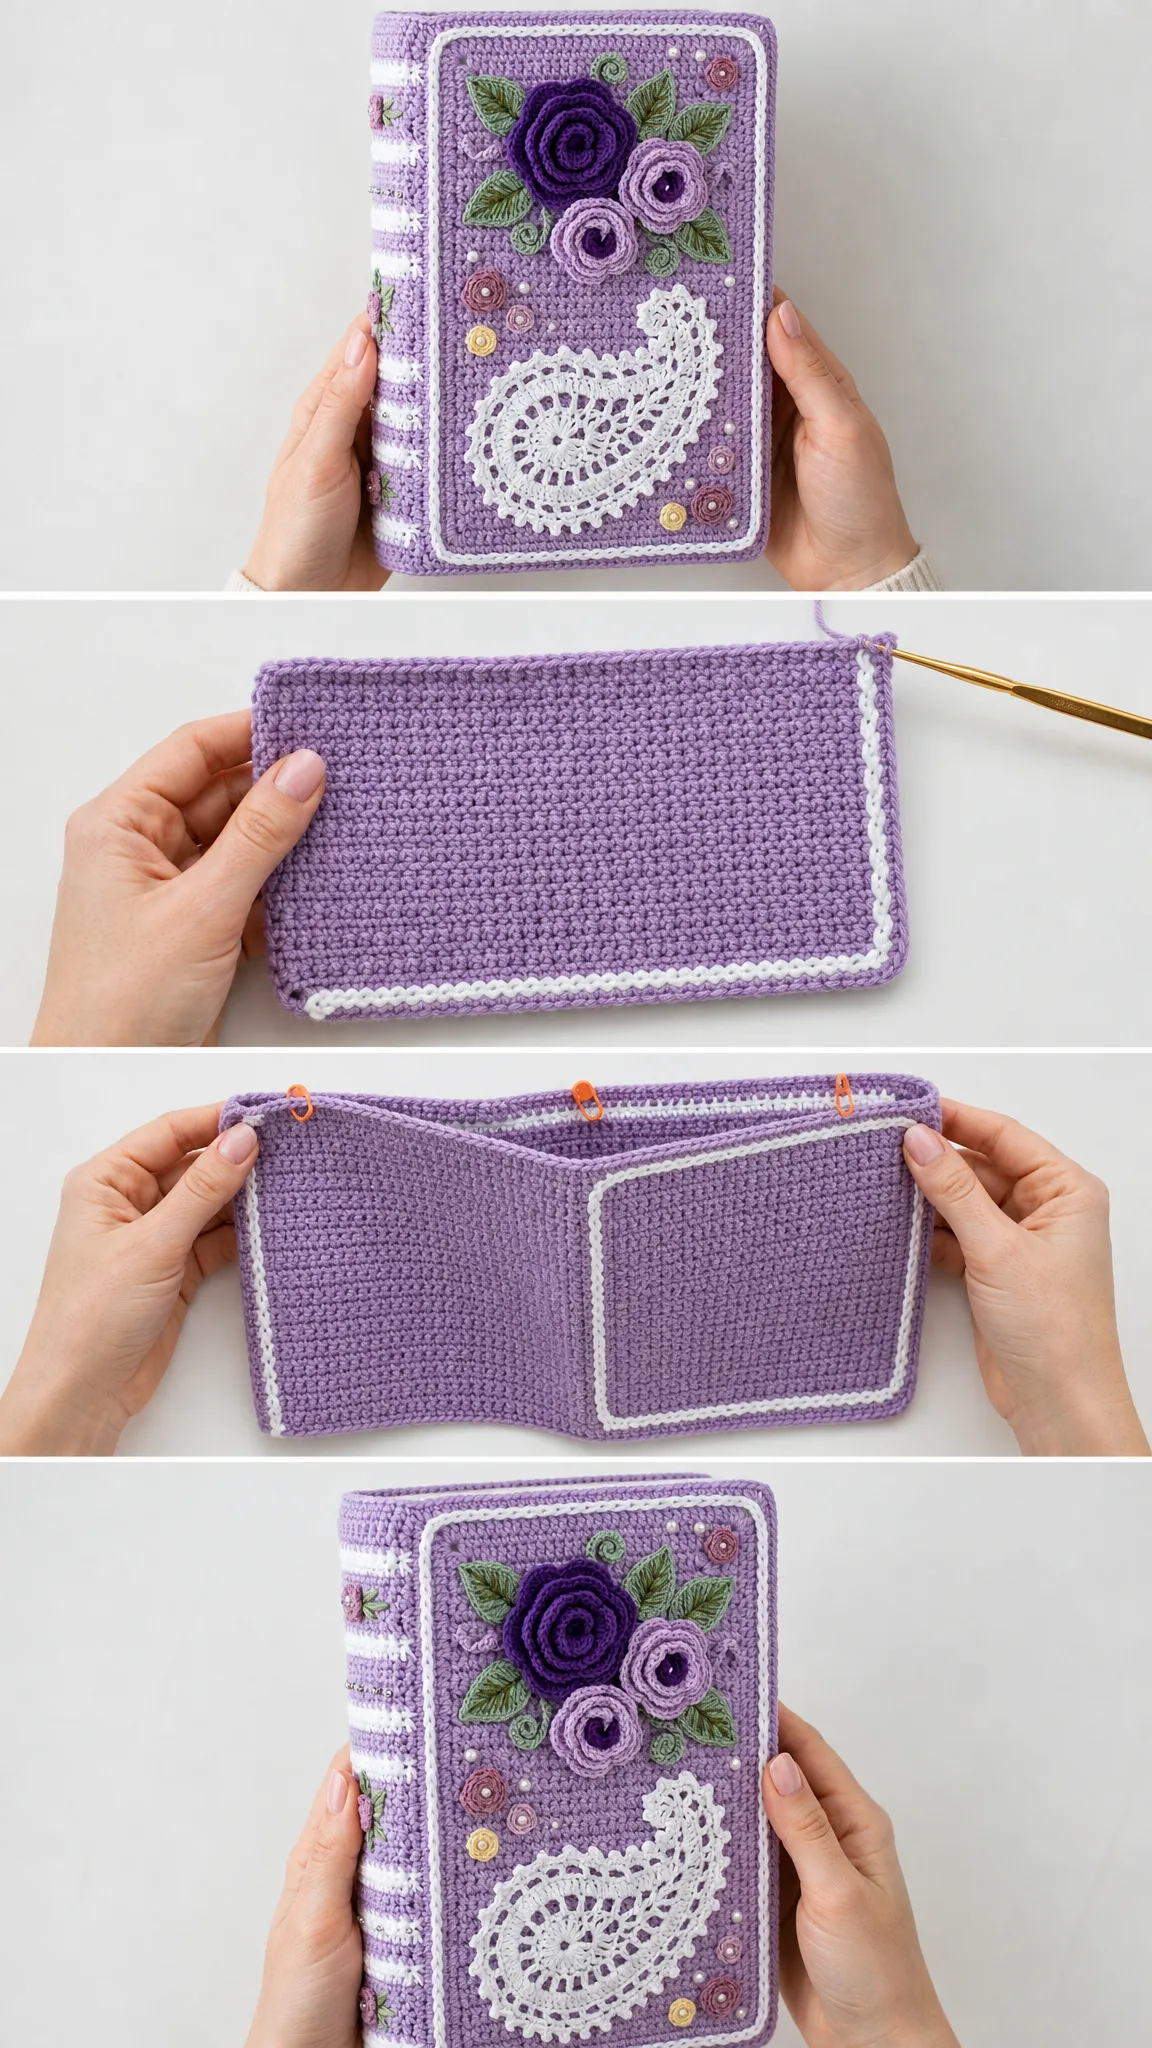
Make 2 panels: one front panel and one back panel in lavender.
Foundation: Ch 45.
| Row | Instruction | Stitch Count |
|---|---|---|
| 1 | Sc in 2nd ch from hook and in each ch across. Ch 1, turn. | 44 sc |
| 2-60 | Sc in each st across. Ch 1, turn after Rows 2-59; fasten off after Row 60. | 44 sc each row |
Panel Border
Round 1: Join lavender in top right corner. Sc across top 44 sts, 3 sc in corner, sc in 58 row-end spaces down side, 3 sc in corner, sc across foundation edge 44 sts, 3 sc in corner, sc in 58 row-end spaces up side, 3 sc in corner. Join. (216 sc)
Round 2: With white, reverse sc in each st around. Join invisibly. (216 reverse sc)
Front Panel Only: Work one inner surface slip-stitch rectangle about 1/4 inch (6 mm) inside the white border. This creates that beautiful framed effect you see in the photos.
Checkpoint: Each bordered panel should measure approximately 7 x 9 inches (18 x 23 cm).
Striped Gusset and Assembly
The gusset forms the left side, bottom, and right side of the sleeve. Leave the top open for inserting your book.
| Rows | Color / Instruction | Stitch Count |
|---|---|---|
| Foundation | With lavender, ch 12. | |
| 1 | Sc in 2nd ch from hook and in each ch across. Ch 1, turn. | 11 sc |
| 2-5 | Sc in each st across. Ch 1, turn. | 11 sc |
| 6-7 | Change to white; sc in each st across. Ch 1, turn. | 11 sc |
| 8-12 | Change to lavender; sc in each st across. Ch 1, turn. | 11 sc |
| 13-156 | Repeat Rows 1-12 stripe rhythm 12 more times. | 11 sc each row |
| 157-164 | Lavender; sc in each st across. Fasten off. | 11 sc each row |
Joining the Sleeve
This is where your sleeve comes together. Take your time with pinning, it makes the seaming so much easier.
Assembly Checkpoint: The top edge remains open. The sleeve should stand softly with a book inside and measure about 1 1/2 inches (4 cm) deep at the side gusset.
Raised Roses and Leaves
Now for the really fun part. These dimensional flowers bring the whole sleeve to life.
Make 1 large dark purple rose, 2 medium lilac roses, 5 leaves, and 6 small accent flowers in dusty rose or yellow.
| Motif | Foundation | Row 1 | Row 2 |
|---|---|---|---|
| Large rose | Ch 52 | Dc in 4th ch from hook and in each ch across. (50 dc) | Ch 3, 2 dc in same st, 3 dc in each st across. (150 dc) |
| Medium rose | Ch 42 | Dc in 4th ch from hook and in each ch across. (40 dc) | Ch 3, 2 dc in same st, 3 dc in each st across. (120 dc) |
| Small accent | Ch 22 | Dc in 4th ch from hook and in each ch across. (20 dc) | Ch 3, 2 dc in same st, 3 dc in each st across. (60 dc) |
To shape each rose: Roll from the small starting end into a spiral. Stitch through the base several times so the petals hold their raised shape. Think of it like rolling up a ribbon rose.
Leaf (Make 5)
Ch 10. Working in back bumps: sc in 2nd ch from hook, hdc in next ch, dc in next 5 ch, hdc in next ch, 3 sc in last ch; rotate to work along unused loops of the foundation, hdc in next ch, dc in next 5 ch, hdc in next ch, sc in last ch. Join and fasten off. (19 sts)
Embroider a center vein and short diagonal veins using darker green thread or yarn.
Lace Paisley and Motif Placement
The paisley applique adds such an elegant vintage touch to this design.
Paisley Applique in White
| Part | Instruction | Count |
|---|---|---|
| Rnd 1 | Ch 12. Sc in 2nd ch and next ch, hdc in next 2 ch, dc in next 5 ch, 5 dc in last ch; working along opposite side: dc in next 5 ch, hdc in next 2 ch, sc in next 2 ch, 3 sc in first ch. Join. | 26 sts |
| Rnd 2 | Ch 3, dc in same st, 2 dc in next 2 sts, dc in next 8 sts, 2 dc in next 5 sts, dc in next 8 sts, 2 dc in last 2 sts. Join. | 36 dc |
| Rnd 3 | Ch 1, sc in same st, *ch 3, skip 1 st, sc in next st; repeat from * around. Join. | 18 ch-3 loops |
| Rnd 4 | Sl st into first loop, ch 1, *(sc, hdc, 3 dc, hdc, sc) in next loop; repeat from * around. Join and fasten off. | 18 shells |
| Curved tip | Join at upper right shell. Ch 18; sc in 2nd ch and next 3 ch, hdc in next 4 ch, dc in next 6 ch, hdc in next 3 ch, sc in last ch. Fasten off and curl into a paisley hook as you sew. | 17 sts |
Placement Guide
Finishing, Blocking, and Care
Finishing Steps
Care Instructions
Spot clean when possible. For full washing, place in a mesh bag and hand wash in cool water with mild soap. Press in a towel, reshape, and dry flat. Avoid heavy wringing because the raised decorations can distort.
Size Customization Tips
Troubleshooting Common Issues
Panel leans: Count 44 sc every row and place a marker in the first and last stitch. This catches any accidental increases or decreases right away.
Border ripples: Use fewer side stitches or a smaller hook for the border. The border should frame the panel without waving.
Gusset is short: Add lavender rows at the end before seaming. It is easier to hide extra lavender rows at the upper corners.
Roses feel floppy: Stitch across the base several more times, then tack the outer petal to the panel after placement. A few extra securing stitches make all the difference.
Paisley will not curve: Pin the tip into shape before sewing and use small hidden stitches to hold the curl.
Final Thoughts on This Book Sleeve Crochet Pattern
This Lavender Dreams Book Sleeve has become one of my most-requested patterns, and I think you’ll see why once you make your first one. The combination of simple construction with those stunning decorative elements creates something that looks far more complicated than it actually is. It makes a gorgeous gift for book club friends, journal keepers, or anyone who treasures their reading time.
Thank you so much for choosing this pattern. I truly hope you enjoy making it as much as I enjoyed designing it. If you create your own Lavender Dreams Book Sleeve, I would absolutely love to see it. Tag me on Instagram or share a photo in my Facebook group. Seeing your finished projects is genuinely the best part of my day.
If you loved this pattern, go ahead and save it to your Pinterest boards so you can find it whenever you’re ready to start stitching. And please drop a comment below if you make one. I’d love to hear which color palette you chose or who you’re making it for. Happy crocheting, friend!
Want a Quick & Easy Printable Version?
Get a clean, beautifully formatted PDF of this pattern — easy to follow step by step, ready to print or save on any device. No scrolling, no distractions, just the pattern.
Get the Printable PDF →You Might Also Like
- Sky Blue Dragon Amigurumi Plush Free Crochet Pattern
- Mint Green Popcorn Stitch Baby Jumpsuit Free Crochet Pattern
- Blush Pink Round Chain Bag Free Crochet Pattern
- Dusty Rose Mesh Crochet Sneaker Boots Free Pattern