
This is a rainbow granny square tote bag. It uses basic granny squares, single crochet, and simple seaming. You will make 12 large squares, join them into panels, add a gusset for structure, and finish with sturdy handles. The whole project takes about 8 to 12 hours depending on your pace.
Get the Ad-Free PDF Pattern
You can find the free pattern below, or you can purchase the ad-free printable PDF from my shop.
Get the Printable PDF →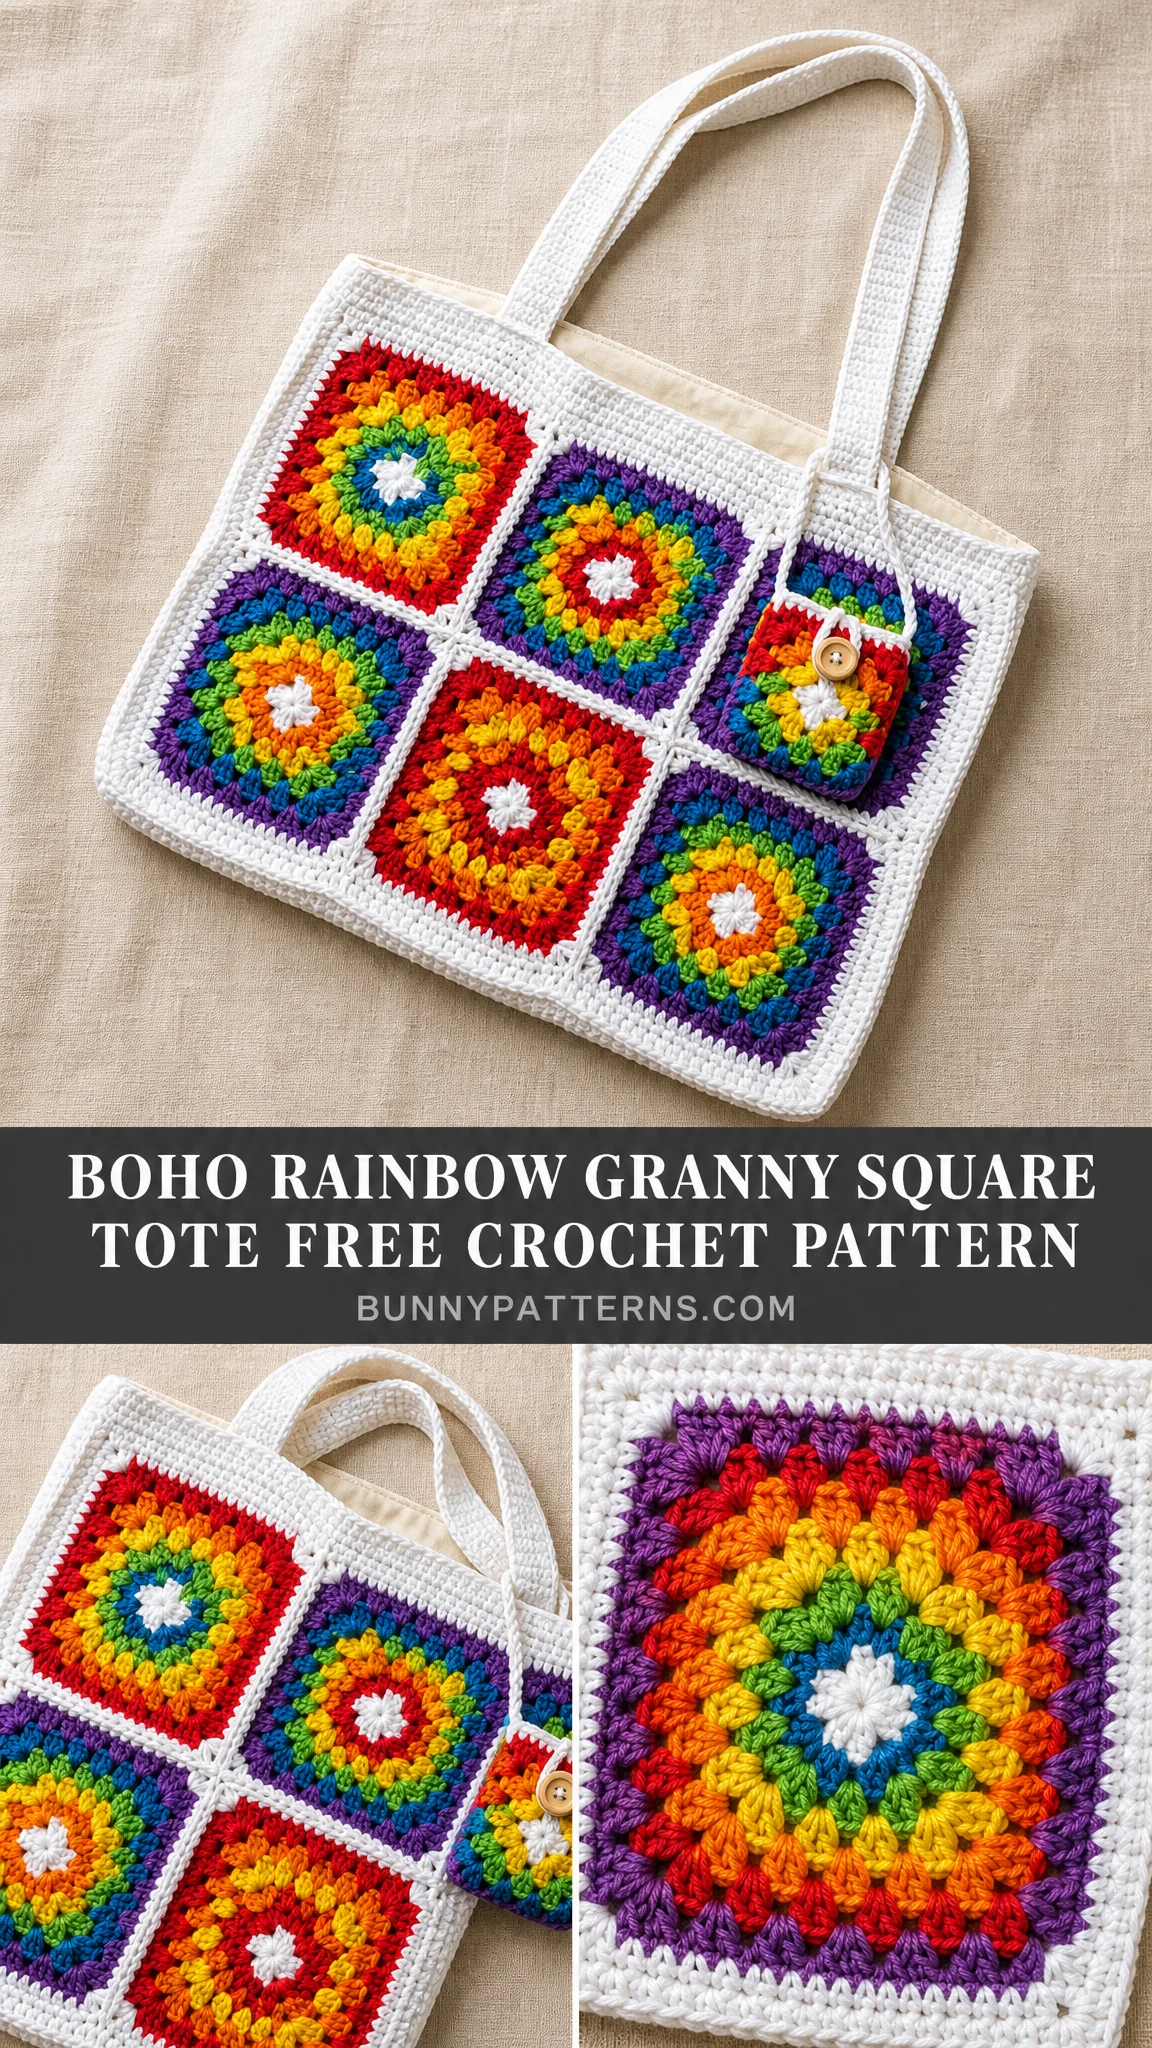
I love how the white borders make every color pop. The construction is straightforward, and the mini pocket charm on the front adds a sweet finishing touch. If you have been wanting to try a modular bag project, this one hits all the right notes.
Why This Tote Works So Well
The beauty of this bag lies in its modular construction. You are essentially making the same square twelve times, then assembling everything like building blocks. Each granny square uses classic techniques that most crocheters already know. The rainbow color palette gives you creative freedom while the consistent white border ties everything together beautifully.
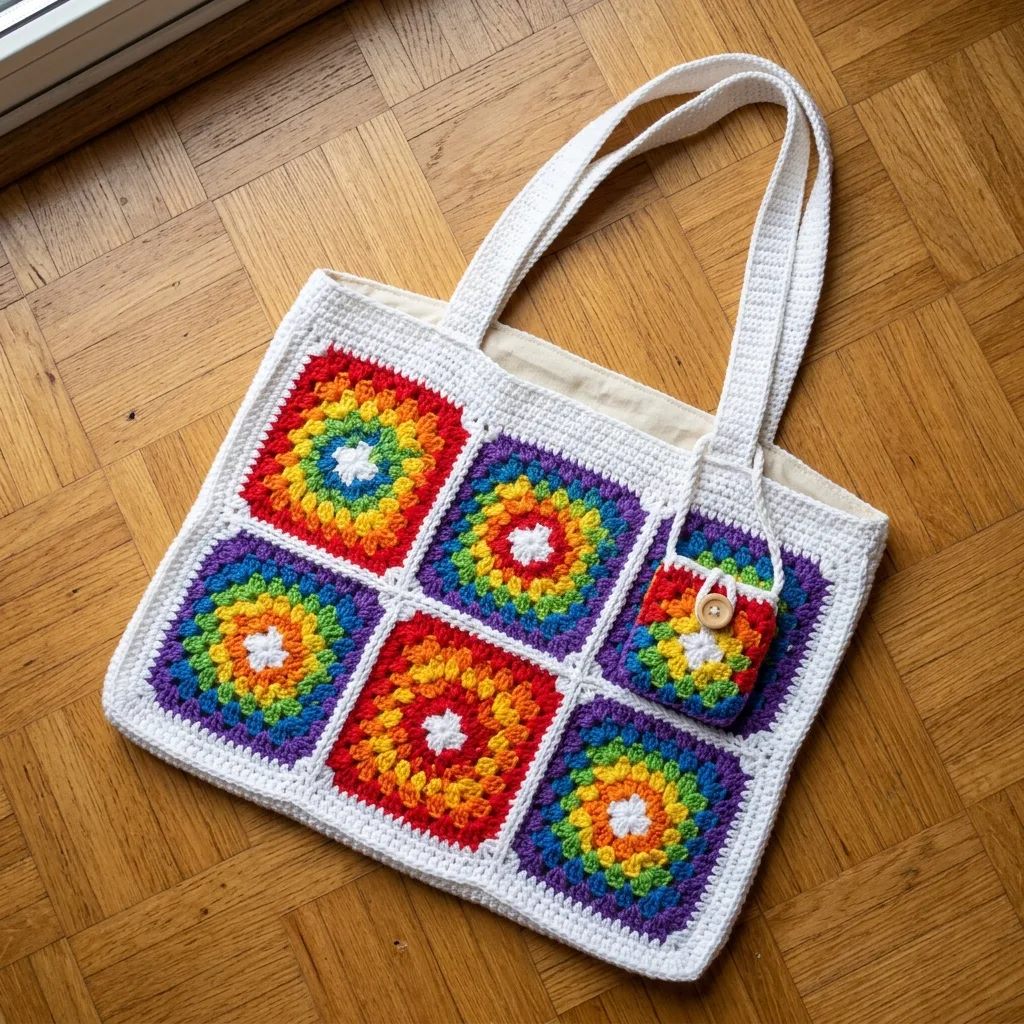
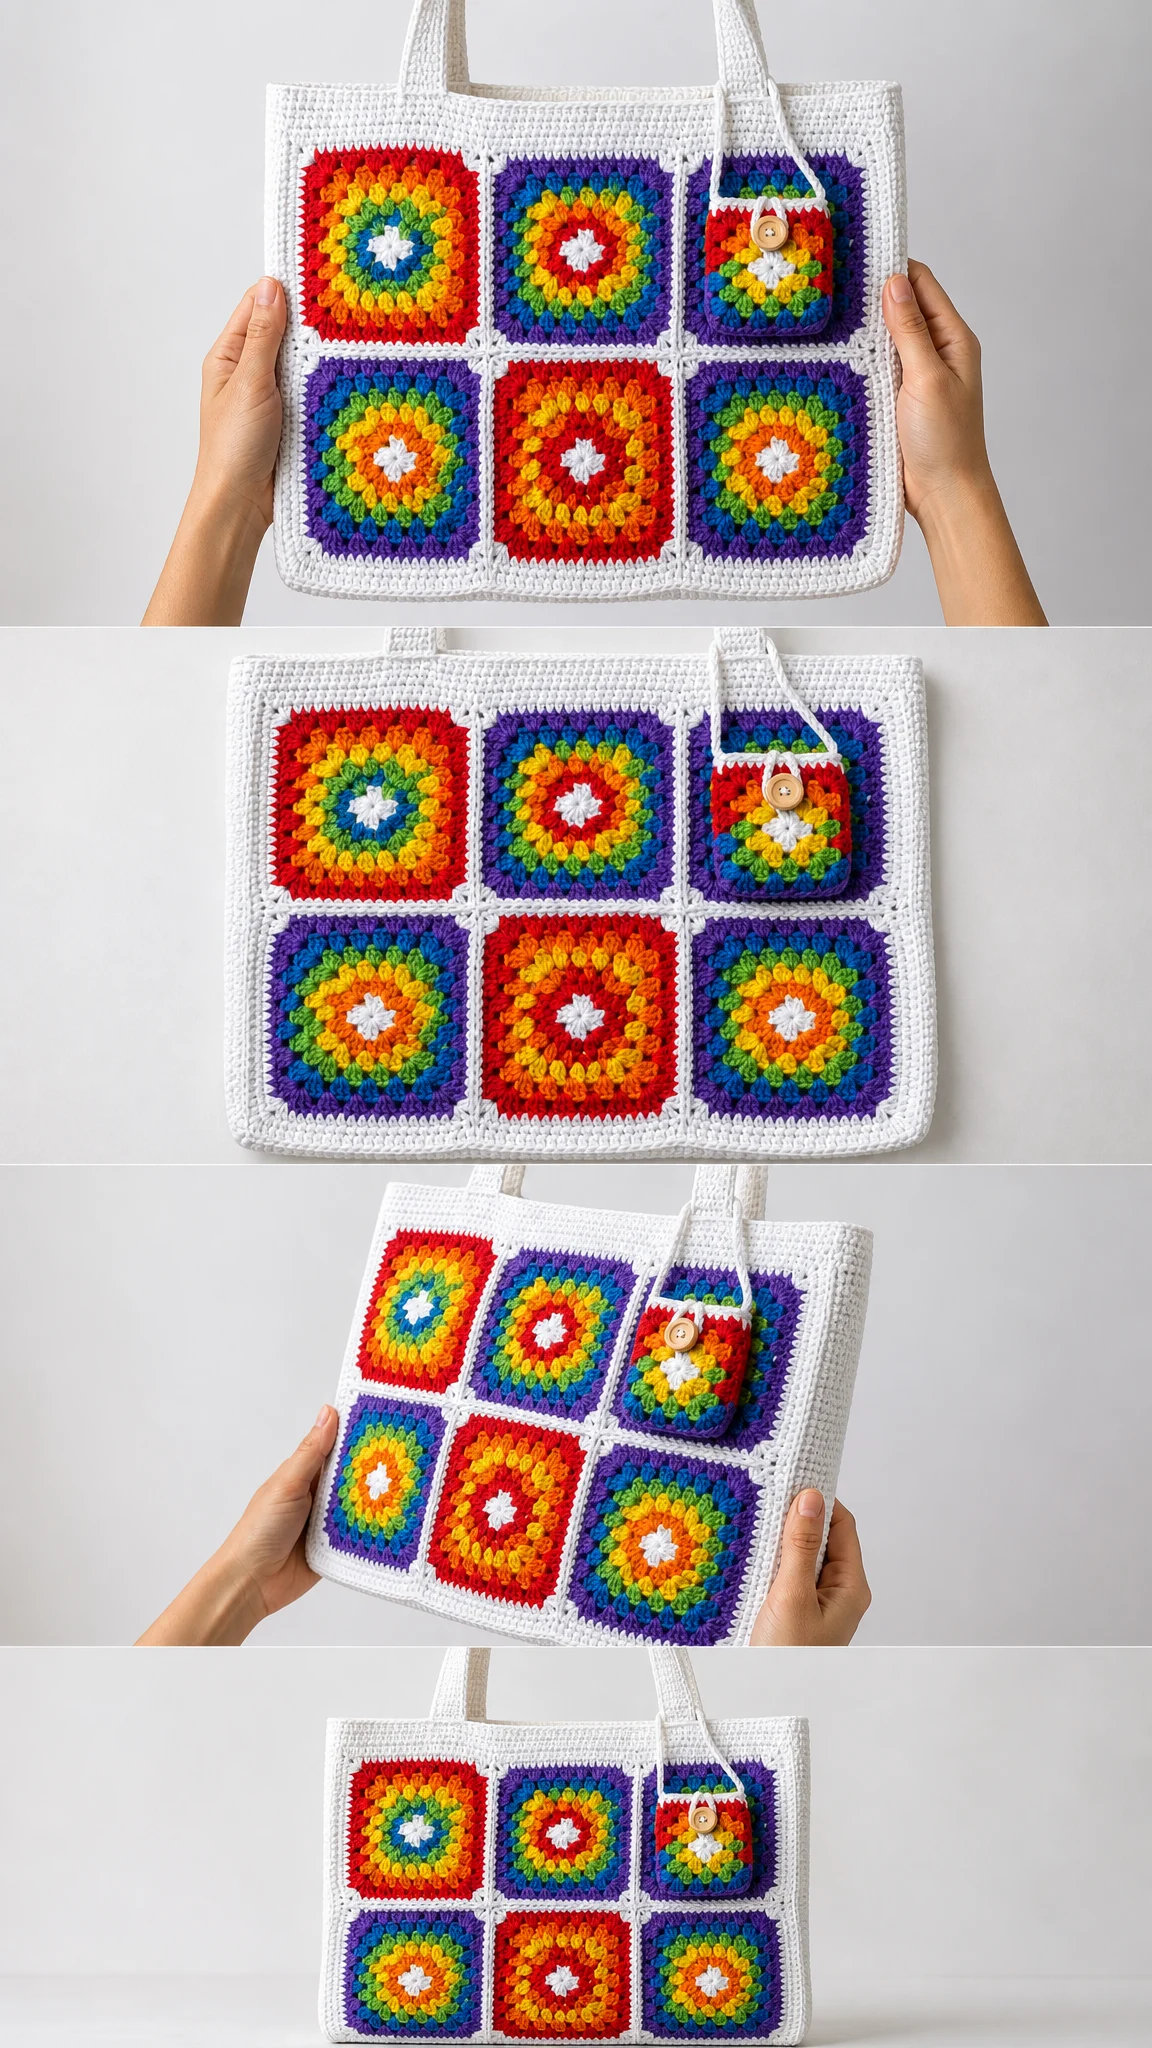
The finished tote measures about 13.5 inches wide by 10.5 inches tall by 3 inches deep. That is roomy enough for books, market finds, or everyday essentials without being bulky. The 10 inch handle drop sits comfortably on your shoulder.
What makes this bag practical for real life is the firm cotton construction and optional fabric lining. Cotton yarn holds its shape, washes well, and gets softer with use. The structured gusset gives the bag depth so items stay organized instead of jumbling together at the bottom.
Materials You Will Need
Yarn: Worsted weight cotton or cotton blend yarn, approximately 700 to 820 yards total. You will need white or cream for the borders, gusset, and handles. For the rainbow colors, gather red, orange, yellow, green, blue, and purple.
Recommended yarns:
Hook: US H/8 (5 mm) crochet hook, or size needed to match gauge
Notions: Yarn needle, stitch markers, scissors, measuring tape, blocking pins and mat. Optional but recommended: cotton fabric for lining, sewing needle or machine, thread, and a 0.75 inch button for the pocket charm.
A Note on Yarn Choice
Cotton is your best friend for this project. It gives you clean square shapes, strong handles that will not stretch under weight, and a bag that can actually go in the washing machine. Acrylic will work for a softer decorative tote, but if you plan to carry anything heavier than your phone, stick with cotton.
Gauge
Blocked large motif: 4.25 inches square after Round 6
Gusset gauge: 20 single crochet stitches by 18 rows equals 4 inches
Handle gauge: 20 single crochet stitches equals 4 inches
Make a test square and block it before starting. Structured bags depend on consistent, firm gauge. If your squares come out too loose, the bag will be floppy. Too tight, and you will fight to seam everything together.
Abbreviations and Stitch Guide
Before we dive in, here are all the abbreviations you will see in this pattern:
UK crocheters: US single crochet equals UK double crochet. US double crochet equals UK treble crochet.
Special Stitches
Puff Stitch: This creates a puffy, textured cluster. Yarn over, insert hook in indicated space, yarn over and pull up a loop to double crochet height. Repeat this action 3 more times in the same space. You will have 9 loops on your hook. Yarn over and pull through all loops. Chain 1 to close the puff unless instructed otherwise.
3-dc cluster (granny group): Work 3 double crochet stitches in the same chain space. This is the building block of every granny square. Corner groups are written as (3 dc, ch 2, 3 dc).
Joining method: Use whipstitch through back loops for a soft, flat seam. Alternatively, slip stitch through back loops for a raised crochet seam. Keep your tension relaxed so panels stay flat.
Large Rainbow Granny Square
Make 12 squares total. Change color at the end of each round. Join each round with a slip stitch to the top of the beginning chain or first stitch. Chain 3 counts as 1 double crochet throughout.
Round 1: With your center color, make a magic ring. Chain 3, work 2 dc in ring, chain 2. *Work 3 dc in ring, chain 2.* Repeat from * three more times. Join with slip stitch. (4 granny groups, 4 corner ch-2 spaces)
Round 2: In each corner ch-2 space work (3 dc, ch 2, 3 dc). Chain 1 between corners. Join. (8 groups, 4 corner ch-2 spaces, 4 side ch-1 spaces)
Round 3: Slip stitch to corner. In each corner work (3 dc, ch 2, 3 dc). In each side ch-1 space work 3 dc. Chain 1 between groups. Join. (12 groups, 4 corners, 8 side ch-1 spaces)
Round 4: Repeat Round 3, working 3 dc in each side ch-1 space. Join. (16 groups, 4 corners, 12 side ch-1 spaces)
Round 5: Repeat Round 3, working 3 dc in each side ch-1 space. Join. (20 groups, 4 corners, 16 side ch-1 spaces)
Round 6: With white, chain 1. Work 1 sc in each dc and each side ch-1 space. Work 3 sc in each corner ch-2 space. Join. (88 sc total)
Motif Checkpoint
After blocking, each square should measure about 4.25 inches with 22 single crochet stitches along each edge including corner shaping. Block all 12 squares to the exact same size before joining. This step is not optional. Mismatched squares make seaming frustrating and the finished bag uneven.
Color Sequence Ideas
The pattern suggests using a white center pop, then working rainbow rings outward. Try starting with yellow, then orange, red, purple, blue or green, and finishing with white border. Vary the color order across your 12 squares for that playful boho look while keeping the final border white on every square.
For balanced color distribution, make 4 red-dominant squares, 4 purple-dominant squares, 2 yellow or orange-dominant squares, and 2 green or blue-dominant squares.
Joining the Front and Back Panels
Arrange 6 squares for the front panel in 3 columns by 2 rows. Repeat for the back panel. Balance your colors so matching outer rounds are not clustered together.
Step 1: Place squares right side up. Join squares into two horizontal strips of 3 squares each. Each square edge has 22 sc, so match them stitch for stitch.
Step 2: Join the two strips together to make one panel. Match seam intersections carefully.
Step 3: Repeat Steps 1 and 2 for the second panel.
Step 4: Work one panel border round in white: 66 sc across top, 44 sc down side, 66 sc across bottom, 44 sc up side. Work 3 sc at each outer corner if needed to keep corners square. (about 220 to 232 sc depending on seam method)
Panel Checkpoint
Each panel should measure about 13 inches wide by 9 inches tall before the gusset and top rim. If your panel is off by more than 0.75 inches, reblock or adjust your hook size for the remaining pieces.
Seam Tip
For clean grid lines, use white yarn and seam through back loops only. At seam crossings where four corners meet, take an extra small stitch through the corner loops of all touching squares. This closes any gaps and strengthens the intersection.
Side and Bottom Gusset
The gusset is a firm white single crochet strip that wraps down one side, across the bottom, and up the other side. This gives your bag structure and depth.
Foundation: Chain 15.
Row 1: Sc in 2nd chain from hook and in each chain across. Turn. (14 sc)
Rows 2 through 156: Chain 1, sc in each stitch across. Turn. (14 sc)
Edging: Chain 1. Work 1 round sc evenly around strip, placing 3 sc in each corner. Join and fasten off.
Gusset Checkpoint
Your finished strip should measure about 3 inches wide and 34 to 35 inches long after light blocking. It needs to reach from one top side edge, around the bottom, and up to the opposite top side edge without stretching.
Attaching the Gusset
Pin the strip around the first panel with right side facing out. Start at the top left side edge, continue down the side, across the bottom, and up the other side. Whipstitch or slip stitch the gusset to the first panel, easing evenly at the two bottom corners.
Attach the second panel to the remaining edge of the gusset the same way. Check that the top opening is even and both panels sit at the same height.
Top Rim
The rim adds a finished edge and extra structure to the bag opening.
Round 1: Join white at a side seam. Chain 1, sc evenly around top opening: 66 sc across front, 14 sc across side gusset, 66 sc across back, 14 sc across other side. Join. (160 sc)
Rounds 2 through 4: Chain 1, sc in each stitch around. Join. (160 sc)
Round 5: Slip stitch loosely in each stitch around for a firm finished edge. Fasten off. (160 sl sts)
Handles
Make 2 straps. For stronger handles that will not stretch, crochet firmly. Consider sewing a strip of cotton webbing or lining fabric to the underside for heavy-duty use.
Foundation: Chain 91.
Row 1: Sc in 2nd chain from hook and in each chain across. Turn. (90 sc)
Rows 2 through 5: Chain 1, sc in each stitch across. Turn. (90 sc)
Border: Chain 1. Sc evenly around the strap, placing 3 sc in each corner. Join and fasten off.
Handle Placement
Pin one handle to the front panel. Place each strap end about 3 inches from the nearest side seam and 2 inches down inside the bag. Repeat on the back panel.
Sew each end securely in a rectangle shape with an X through the center. This distributes weight and prevents the handles from pulling loose. Finished handle drop is about 10 inches.
Mini Pocket Charm
This adorable little pocket adds personality to your tote. Make 1 small square using Rounds 1 through 3 of the large motif instructions, then add the border below.
Border: With white, chain 1. Work 1 sc in each dc and each side ch-1 space. Work 3 sc in each corner ch-2 space. Join. (56 sc)
Loop: At top center, join white. Chain 8, slip stitch in same stitch to form button loop. Fasten off.
Attach: Sew the pocket to the upper front through the side and bottom edges only. Leave the top edge open so it functions as an actual pocket. Sew your button to the bag front aligned with the loop.
Pocket Checkpoint
Your pocket charm should measure about 3 inches square. Place it over the upper right front motif so it overlaps the grid like a playful charm.
Finishing, Blocking, and Lining
Weave in all ends securely. Pay special attention to motif color changes and handle seams where tension is greatest.
Steam or wet block the bag lightly over a folded towel. Shape the corners by hand and allow to dry completely before using.
Optional lining: Cut two fabric rectangles plus a gusset strip using the finished bag as a template. Add 0.5 inch seam allowance all around. Sew the lining pieces together, turn the top edge under, and hand stitch it just below the crochet rim.
For extra base support, slip a plastic canvas rectangle into the lining base. This keeps the bottom flat and prevents sagging when the bag is loaded.
Size Customization
Wider bag: Add one more square per row to each panel. Increase gusset length to fit the new bottom width.
Taller bag: Add a third row of squares. Increase gusset length to fit the taller side edges.
Longer handles: Add chains in multiples of 2. Every 10 extra chains adds about 2 inches to strap length at gauge.
Deeper bag: Begin gusset with more chains. Add 5 chains for about 1 inch extra depth.
Troubleshooting Common Issues
Squares cup or ruffle: Block first. If still distorted, loosen or tighten corner ch-2 spaces and keep Round 6 relaxed.
Panel seams pucker: Seam through matching stitches one for one. Do not pull the joining yarn tight.
Gusset too short: Add more sc rows before attaching. It should fit the side-bottom-side path without stretching.
Handles stretch: Use cotton yarn, crochet firmly, and sew the ends deeply inside the bag. Add fabric backing for heavy use.
Opening flares: Work rim rounds firmly or go down 0.5 mm in hook size for the rim.
Care Instructions
Hand wash cold or machine wash gentle in a mesh bag if your yarn label allows. Reshape flat and air dry. Avoid hanging the wet tote by the handles, as the weight of water can stretch them out.
I hope you love making this colorful tote as much as I loved designing it. The modular construction makes it perfect for carrying around, and watching all those rainbow squares come together is so satisfying. Save this pattern to your Pinterest boards so you can find it when you are ready to start, and please leave a comment below if you make one. I would love to see your color combinations!
Want a Quick & Easy Printable Version?
Get a clean, beautifully formatted PDF of this pattern — easy to follow step by step, ready to print or save on any device. No scrolling, no distractions, just the pattern.
Get the Printable PDF →You Might Also Like
- Lavender Dream Mesh Crochet High Tops Free Pattern
- Berry Purple Magenta Crochet Platform Wedge Sandals Pattern
- Tropical Octopus Baby Blanket Free Crochet Pattern
- Tinkerbell Green Fairy Baby Dress Free Crochet Pattern