
This is a top-down raglan baby cardigan with an adorable amigurumi teddy bear sewn onto the front. The main body uses half double crochet worked flat. The bear is a separate three-dimensional piece you stuff and attach at the end. If you can work basic stitches and follow a raglan construction, you can absolutely make this.
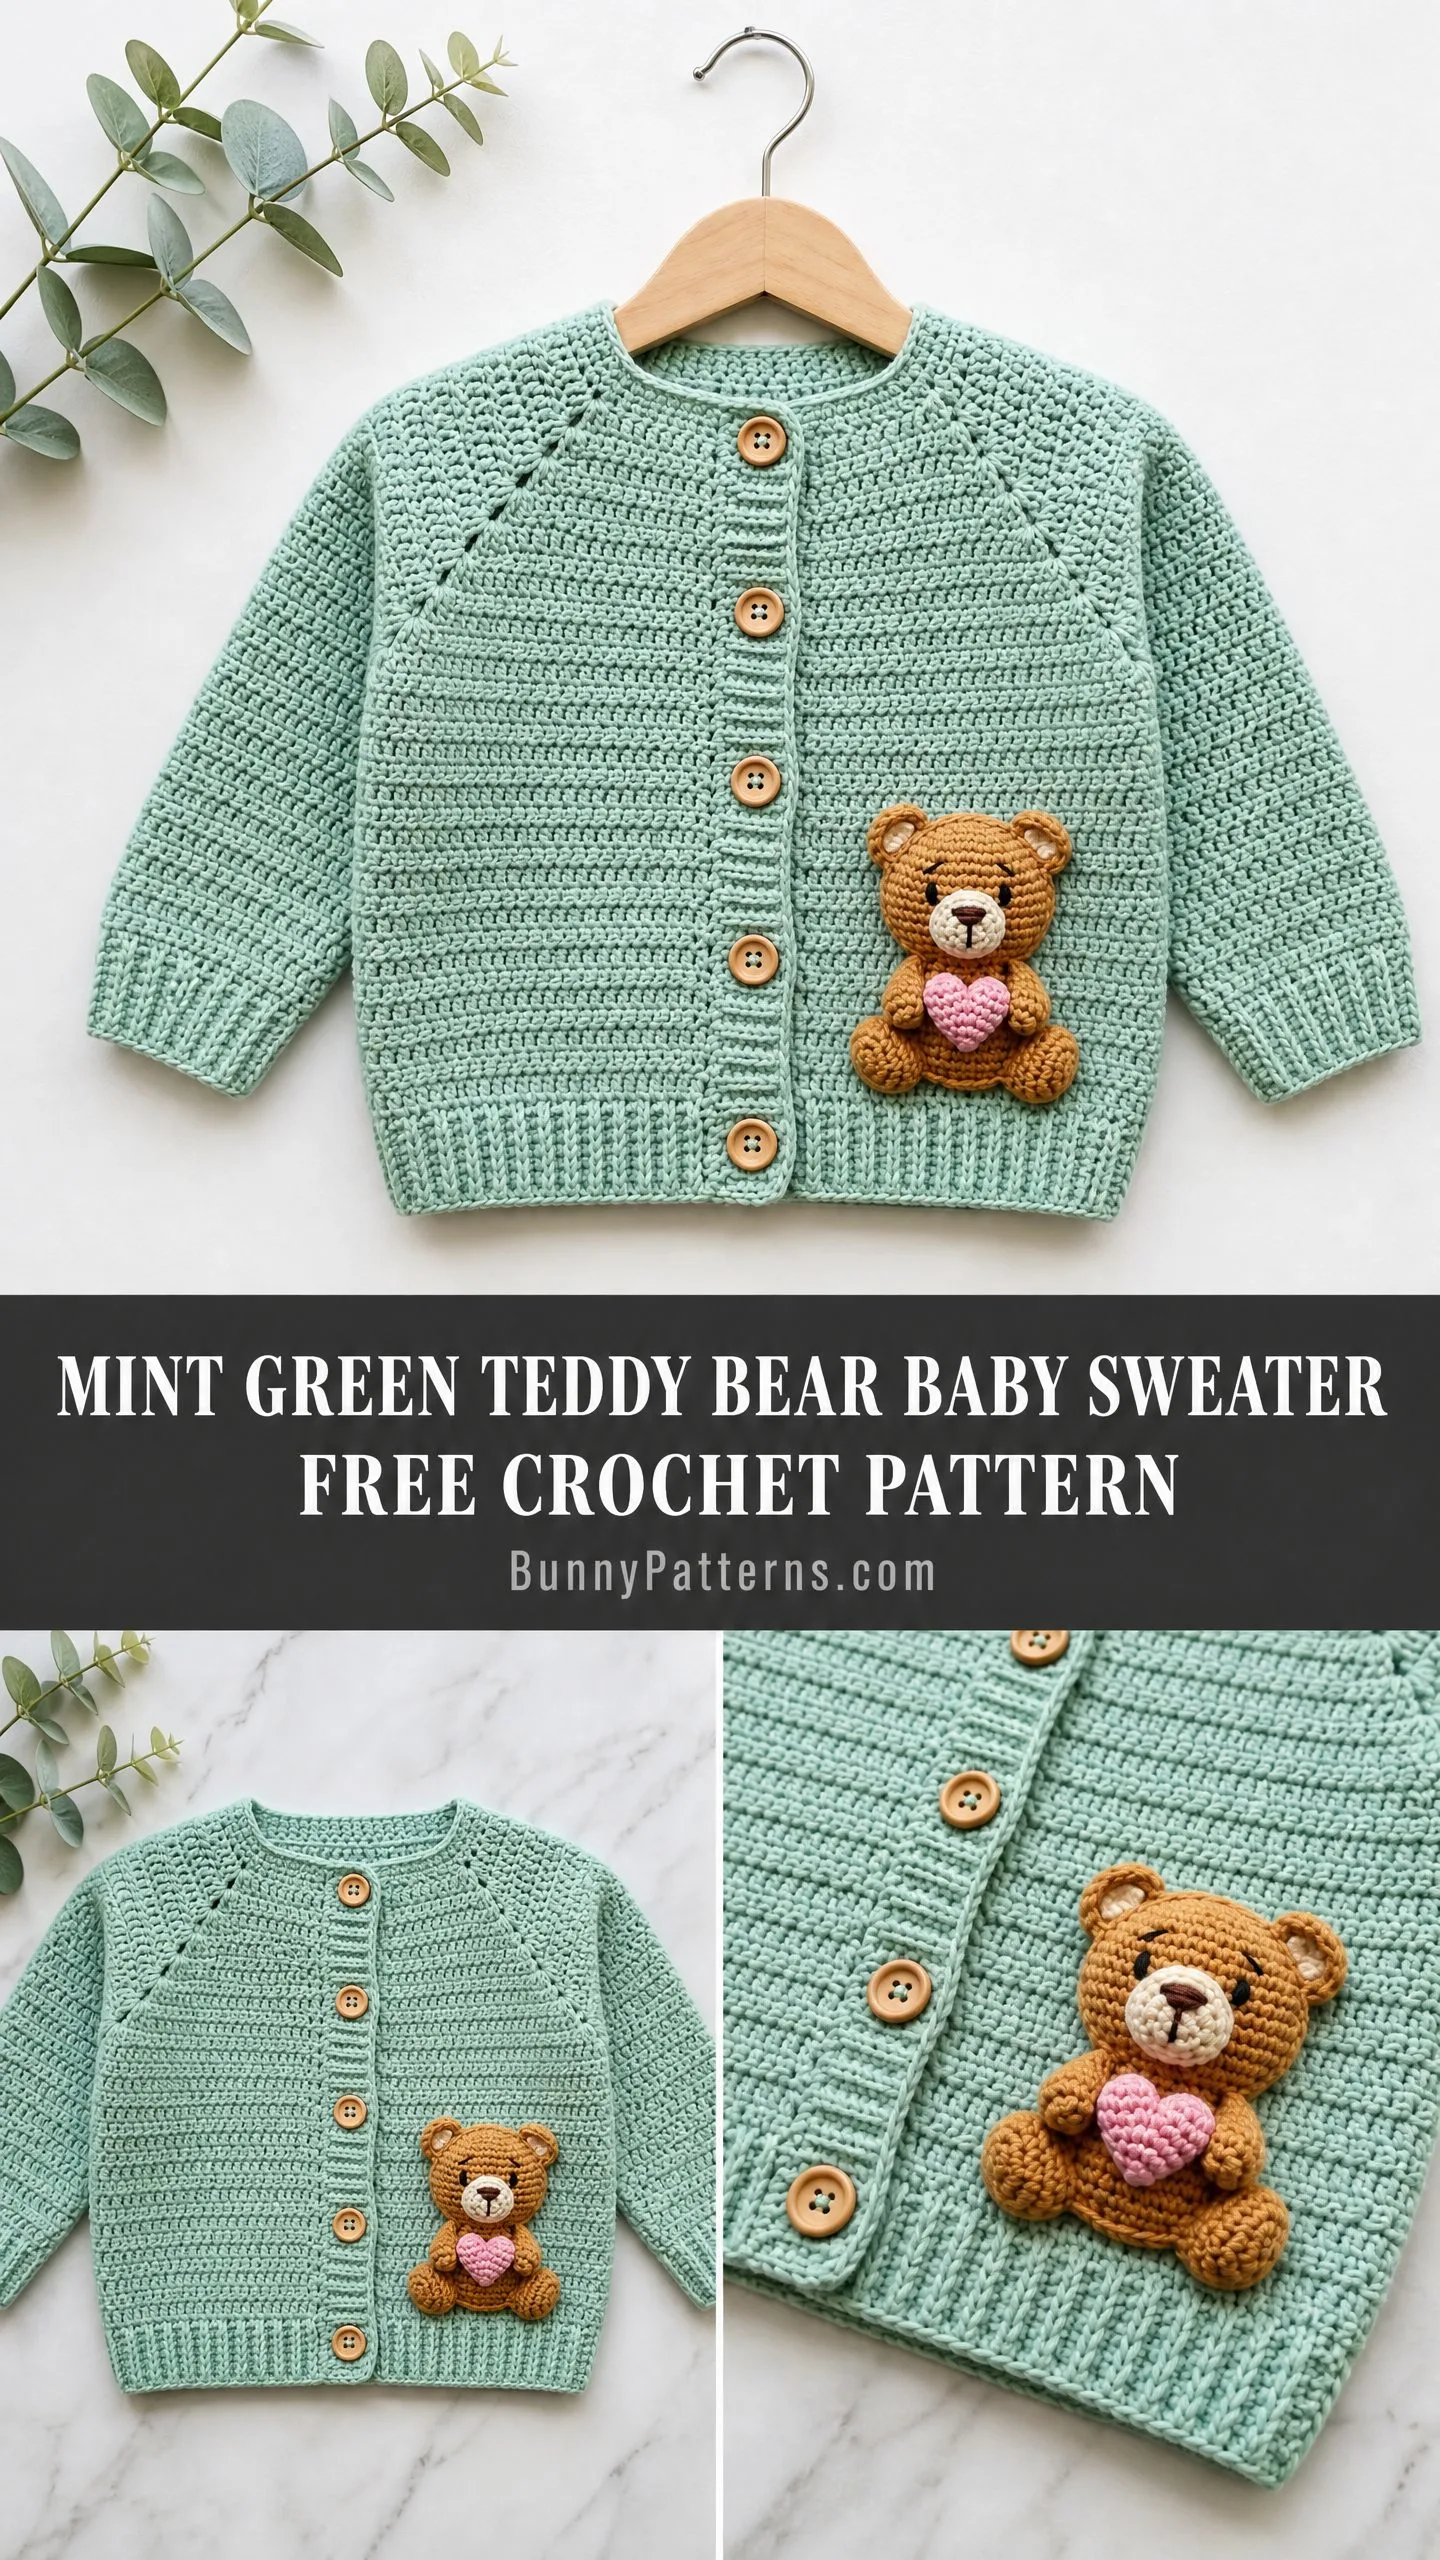
The cardigan fits a 3 to 6 month old baby and features a sweet mint green color with natural wooden buttons. That little bear holding a pink heart? It turns a simple sweater into a keepsake gift. Parents go crazy for this kind of detail.
I am going to walk you through every single step, from the neckline down to the cuffs, including the full teddy bear applique instructions. Let’s get started.
Why This Baby Cardigan Pattern Works So Well
The top-down raglan construction means you work the yoke first, then separate the sleeves and continue down the body. No seaming the main pieces together. The sleeves get worked in the round after you finish the body, so everything flows naturally.
The half double crochet (hdc) stitch creates a dense, squishy fabric that drapes beautifully on little ones. It is thicker than single crochet but faster to work than double crochet. Perfect middle ground for baby garments.
The ribbed cuffs and hem band use back loop only single crochet worked sideways. This technique creates that stretchy, textured ribbing you see in store-bought sweaters. It looks professional and feels comfortable against baby skin.
Skill Level
This pattern is intermediate level. You need to track four raglan increase points at once, work sleeves in the round, and complete a stuffed amigurumi bear. If you have finished at least one garment project or one amigurumi before, you will be comfortable here.
Total time estimate: 15 to 23 hours. The cardigan body takes 12 to 18 hours. The teddy bear adds another 3 to 5 hours.
Finished Measurements
Size: 3 to 6 months
Materials You Will Need
Yarn:
Yarn suggestions: Lion Brand Pound of Love, Paintbox Yarns Simply DK in Spearmint Green, or Drops Safran for a cotton option. Choose any smooth DK weight yarn that achieves gauge. Avoid fluffy or textured yarns.
Hooks:
Notions:
Gauge
With G-6 / 4.0 mm hook in half double crochet worked flat:
16 hdc x 12 rows = 4 inches x 4 inches / 10 cm x 10 cm
Gauge matters here. A difference of even one stitch per inch will significantly change the finished chest measurement. Swatch, block your swatch, and adjust hook size if needed.
Abbreviations
Let me define every stitch abbreviation before we begin:
Special Stitches
Raglan Increase Point (RIP): At each of the four raglan markers on every right side yoke row, work: hdc in the stitch before the marker, ch 1, move the marker up, hdc in the stitch after the marker. This creates a decorative eyelet at each raglan line and adds 2 hdc per increase point (8 hdc total per RS row). The ch 1 is not counted as a stitch.
Sideways Ribbing: Chain perpendicular to the garment edge, work rows in BLO sc, then seam the short edge of the ribbing strip to the garment. Each row of ribbing corresponds to one stitch along the garment edge.
Magic Ring: Form a loop with the yarn tail, insert hook through the loop, pull up a loop, ch 1 to secure. Work stitches into the ring, then pull the tail to close the center.
Pattern Notes Before You Begin
1. The cardigan is worked flat from the neckline down. Sleeves are worked in the round after separating from the body.
2. At the start of every row, ch 2. This ch 2 does NOT count as a stitch. Work your first hdc into the first stitch.
3. Place markers at the four raglan points after Row 1. Move them up every row.
4. The bear is crocheted separately and sewn on at the end.
5. Five buttons are placed approximately 1.5 inches / 3.8 cm apart along the center front.
Baby Cardigan Crochet Pattern Instructions
Yoke
The yoke establishes five sections: left front, left sleeve, back, right sleeve, right front.
Setup Chain: Ch 47.
Row 1 (RS): Hdc in the 3rd ch from hook and in each ch across. (45 hdc)
Place markers to divide into sections:
Row 2 (WS): Ch 2, turn. Hdc in each st across. (45 hdc)
Row 3 (RS, Increase Row): Ch 2, turn. Hdc to 1 st before first marker (5 hdc), work RIP at marker (hdc, ch 1, hdc), hdc to 1 st before next marker (4 hdc), work RIP, hdc to 1 st before next marker (19 hdc), work RIP, hdc to 1 st before next marker (4 hdc), work RIP, hdc in remaining sts (5 hdc). (53 hdc)
Row 4 (WS): Ch 2, turn. Hdc in each st across, skipping the ch 1 spaces. (53 hdc)
Row 5 (RS, Increase Row): Work RIP at each of the 4 markers as before. (61 hdc)
Row 6 (WS): Ch 2, turn. Hdc across. (61 hdc)
Row 7 (RS, Increase Row): Work RIP at each marker. (69 hdc)
Row 8 (WS): Ch 2, turn. Hdc across. (69 hdc)
Row 9 (RS, Increase Row): Work RIP at each marker. (77 hdc)
Row 10 (WS): Ch 2, turn. Hdc across. (77 hdc)
Row 11 (RS, Increase Row): Work RIP at each marker. (85 hdc)
Row 12 (WS): Ch 2, turn. Hdc across. (85 hdc)
Row 13 (RS, Increase Row): Work RIP at each marker. (93 hdc)
Row 14 (WS): Ch 2, turn. Hdc across. (93 hdc)
Checkpoint: Your yoke should measure approximately 3 inches / 7.5 cm from the foundation chain. You have 93 stitches total.
Divide Sleeves from Body
Row 15 (RS): Ch 2, turn. Hdc across 12 sts (left front). Ch 2 (underarm chain), skip the 18 sleeve sts, hdc across 33 sts (back). Ch 2 (underarm chain), skip the 18 sleeve sts, hdc across 12 sts (right front). (61 working sts)
Body
Row 16 (WS): Ch 2, turn. Hdc in each st across including into each ch of the underarm chains. (61 hdc)
Rows 17 through 33: Ch 2, turn. Hdc in each st across. (61 hdc)
Checkpoint: After Row 33, the body should measure approximately 5.5 inches / 14 cm from the underarm.
Hem Ribbing
Switch to the smaller hook. Ch 7.
Ribbing Row 1: Sc in 2nd ch from hook and in each ch across. (6 sc)
Ribbing Row 2: Ch 1, turn. Sc in BLO across. (6 sc)
Repeat Row 2 until the ribbing strip matches the lower edge of the body (approximately 61 rows).
Fasten off with a long tail. Seam the short end of the ribbing to the lower body edge using whip stitch, one ribbing row per body stitch.
Sleeves (Make 2)
Place the 18 held sleeve sts back onto your G-6 hook. Join Color A at the center underarm.
Round 1: Ch 2, hdc in each of the 18 sleeve sts. Pick up and hdc in each of the 2 ch from the underarm chain. Join with sl st. (20 hdc)
Rounds 2 and 3: Ch 2, hdc in each st around. Join. (20 hdc)
Round 4 (Decrease): Ch 2, hdc2tog, hdc to last 2 sts, hdc2tog. Join. (18 hdc)
Rounds 5 through 7: Ch 2, hdc in each st around. Join. (18 hdc)
Round 8 (Decrease): Ch 2, hdc2tog, hdc to last 2 sts, hdc2tog. Join. (16 hdc)
Rounds 9 through 12: Ch 2, hdc in each st around. Join. (16 hdc)
Round 13 (Decrease): Ch 2, hdc2tog, hdc to last 2 sts, hdc2tog. Join. (14 hdc)
Rounds 14 through 17: Ch 2, hdc in each st around. Join. (14 hdc)
Checkpoint: Sleeve should measure approximately 5.5 inches / 14 cm from underarm. Fasten off.
Cuff Ribbing (Make 2)
With smaller hook, ch 7.
Row 1: Sc in 2nd ch from hook and in each ch across. (6 sc)
Row 2: Ch 1, turn. Sc in BLO across. (6 sc)
Repeat Row 2 until strip measures the circumference of the sleeve opening (approximately 14 rows).
Seam short ends together to form a tube. Seam long edge to sleeve opening.
Button Band (Right Front)
With RS facing, join Color A at lower right corner of right front edge.
Row 1: Ch 1, work 1 sc evenly into each row end from hem to neckline. (38 sc)
Rows 2 and 3: Ch 1, turn. Sc in each st across. (38 sc)
Fasten off. Sew 5 wooden buttons evenly spaced, first button 0.5 inch from top, last 0.5 inch from bottom.
Buttonhole Band (Left Front)
With RS facing, join Color A at upper left corner.
Row 1: Ch 1, sc evenly from neckline to hem. (38 sc)
Row 2 (Buttonhole Row): Ch 1, turn. Sc in first 3 sts. (Ch 2, sk 2 sts, sc in next 6 sts) 4 times. Ch 2, sk 2, sc in last 3 sts.
Row 3: Ch 1, turn. Sc in each st, working 2 sc into each ch 2 sp. (38 sc)
Fasten off.
Neckline Edging
With RS facing, join Color A at upper right corner.
Row 1: Ch 1, sc evenly across neckline. (45 sc)
Row 2: Ch 1, turn. Sc in each st across. (45 sc)
Fasten off.
Teddy Bear Applique Instructions
Use Color B (tan) and the smaller E-4 / 3.5 mm hook unless noted. Work in continuous rounds with a magic ring.
Bear Head
Round 1: 6 sc into magic ring. (6 sc)
Round 2: 2 sc in each st around. (12 sc)
Round 3: (Sc in next st, 2 sc in next st) 6 times. (18 sc)
Round 4: (Sc in next 2 sts, 2 sc in next st) 6 times. (24 sc)
Round 5: (Sc in next 3 sts, 2 sc in next st) 6 times. (30 sc)
Rounds 6 through 9: Sc in each st around. (30 sc)
Round 10: (Sc in next 3 sts, sc2tog) 6 times. (24 sc)
Insert safety eyes between Rounds 6 and 7, about 5 sts apart.
Round 11: (Sc in next 2 sts, sc2tog) 6 times. (18 sc)
Stuff firmly.
Round 12: (Sc in next st, sc2tog) 6 times. (12 sc)
Round 13: (Sc2tog) 6 times. (6 sc)
Fasten off. Close by weaving tail through remaining stitches and pulling tight.
Muzzle
With Color D, make a magic ring.
Round 1: 6 sc into ring. (6 sc)
Round 2: 2 sc in each st. (12 sc)
Round 3: (Sc, 2 sc in next st) 6 times. (18 sc)
Fasten off with long tail. Do not stuff. Sew flat to lower center of head. Embroider nose and mouth in dark brown.
Ears (Make 2)
Round 1: 6 sc into magic ring. (6 sc)
Round 2: 2 sc in each st. (12 sc)
Round 3: (Sc, 2 sc in next st) 6 times. (18 sc)
Fasten off. Flatten and sew to top of head.
Body
Round 1: 6 sc into magic ring. (6 sc)
Round 2: 2 sc in each st. (12 sc)
Round 3: (Sc, 2 sc in next st) 6 times. (18 sc)
Round 4: (Sc in 2 sts, 2 sc in next st) 6 times. (24 sc)
Rounds 5 through 8: Sc around. (24 sc)
Round 9: (Sc in 2 sts, sc2tog) 6 times. (18 sc)
Round 10: (Sc, sc2tog) 6 times. (12 sc)
Stuff body.
Round 11: (Sc2tog) 6 times. (6 sc)
Fasten off and close. Sew head to body.
Arms (Make 2)
Round 1: 6 sc into magic ring. (6 sc)
Round 2: 2 sc in each st. (12 sc)
Rounds 3 through 6: Sc around. (12 sc)
Round 7: (Sc, sc2tog) 4 times. (8 sc)
Stuff lightly.
Round 8: (Sc2tog) 4 times. (4 sc)
Close and sew to sides of body.
Legs (Make 2)
Round 1: 6 sc into magic ring. (6 sc)
Round 2: 2 sc in each st. (12 sc)
Rounds 3 through 7: Sc around. (12 sc)
Round 8: (Sc, sc2tog) 4 times. (8 sc)
Stuff lightly.
Round 9: (Sc2tog) 4 times. (4 sc)
Close and sew to bottom of body.
Heart
With Color C (pink), make a magic ring.
Round 1: Into the ring, work: 3 sc, (2 dc in next st) 2 times, ch 1, sl st, ch 1, (2 dc in next st) 2 times, 3 sc.
Fasten off and close ring. Sew to bear’s paws so it looks like the bear is holding it.
Assembling the Bear
1. Sew muzzle flat to lower center of head
2. Embroider nose and mouth in dark brown
3. Sew ears to top of head
4. Sew head to body
5. Sew arms to sides at Round 2 of body
6. Sew legs to bottom
7. Attach heart between arms
8. Sew assembled bear to lower right front panel, about 1 inch above hem ribbing
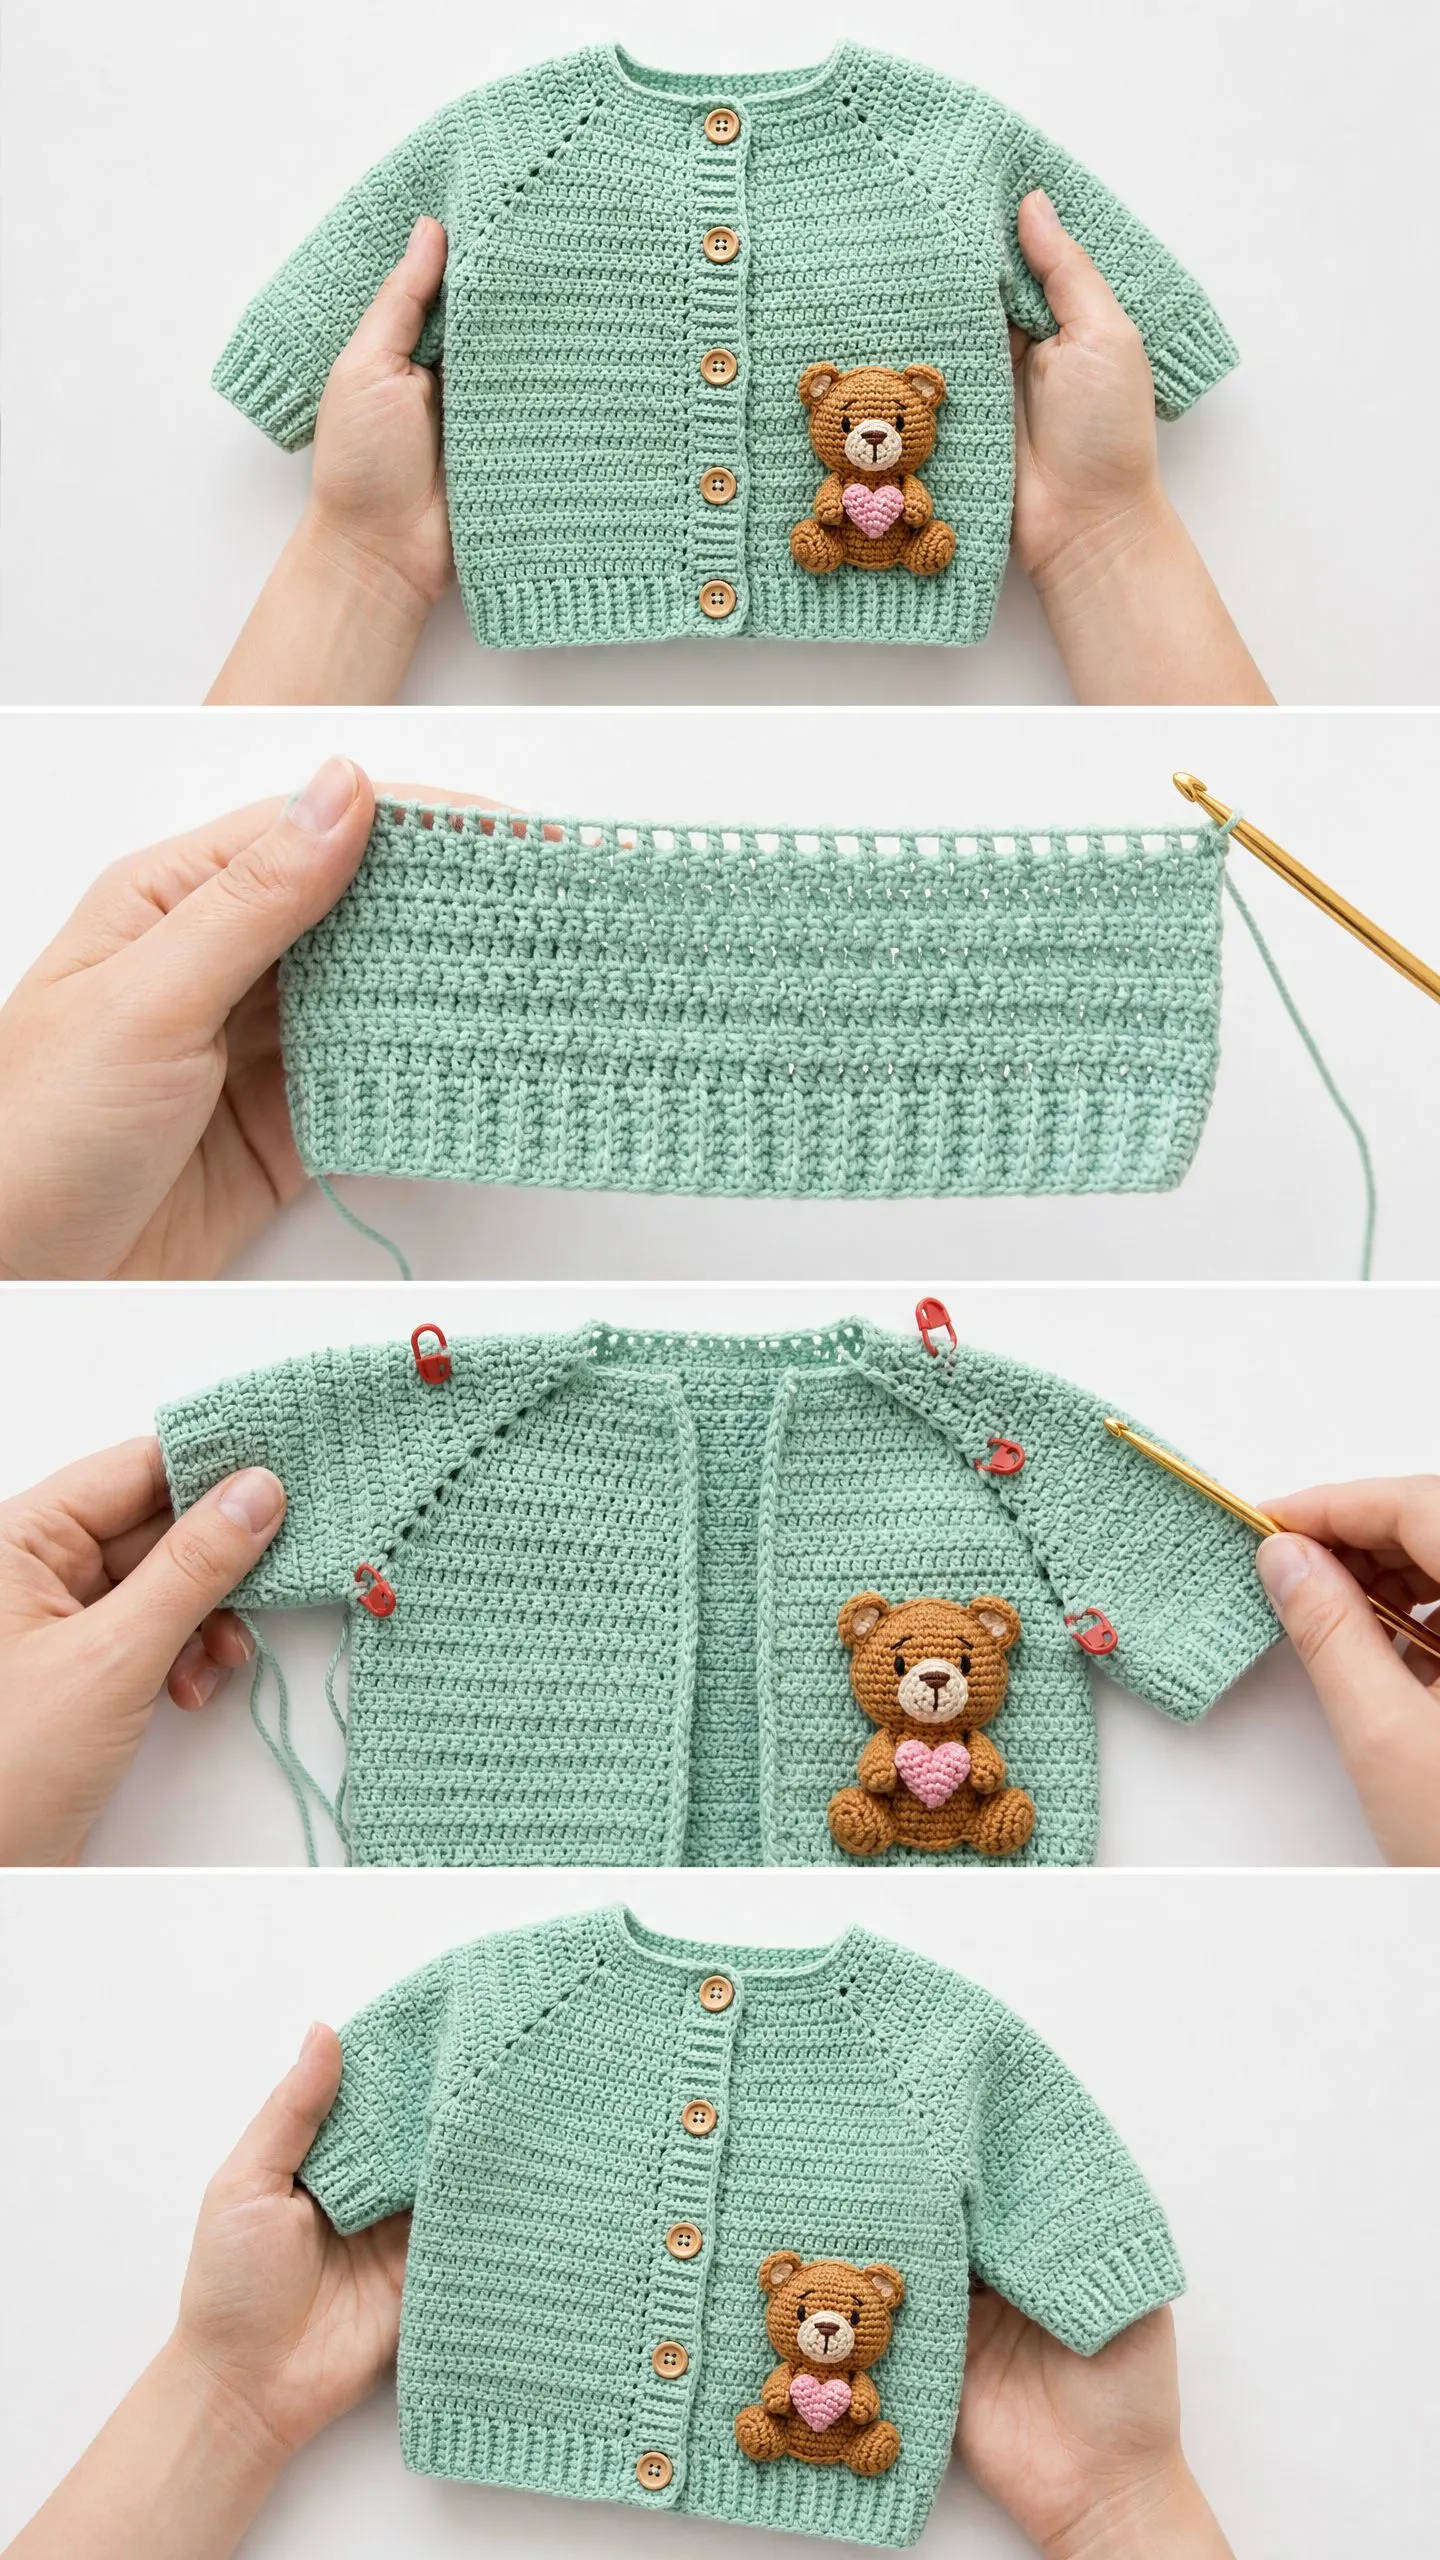
Final Touches and Care Instructions
Weave in all ends securely. Block the cardigan gently if needed, though acrylic yarn typically relaxes into shape after washing. For baby items, machine wash on gentle cycle and tumble dry low.
This little cardigan makes an incredible baby shower gift. The combination of the classic raglan construction and that sweet teddy bear detail creates something truly special. New parents will treasure it.
Thank you so much for making this pattern with me. I really hope your finished cardigan turns out beautifully. If you make one, I would absolutely love to see it! Tag me on Instagram or share a photo in my Facebook group.
If this pattern is going on your project list for later, go ahead and save it to your Pinterest boards so you can find it when you are ready. And if you do make this sweet little teddy bear cardigan, drop a comment below. I read every single one and they make my day.
You Might Also Like
- Lavender Garden Crochet Shorts Free Crochet Pattern
- Dusty Rose Fairy Bell Sleeve Top Free Crochet Pattern
- Ocean Breeze Ombre Braided Purse Free Crochet Pattern
- Watermelon Slice Couple Amigurumi Free Crochet Pattern