
Time to dig into that stash, friends. You know the one. That beautiful light blue cotton blend you’ve been saving for "the right project." This is it. The Winter Snowflake Crochet Hoodie combines an open mesh body with cozy ribbed trims and the most charming layered snowflake appliques. The construction is surprisingly straightforward. You’re working flat panels, seaming them together, then picking up stitches for the hood. Intermediate crocheters will feel right at home here, and ambitious beginners who have tackled a garment or two should absolutely give this a try.
Get the Ad-Free PDF Pattern
You can find the free pattern below, or you can purchase the ad-free printable PDF from my shop.
Get the Printable PDF →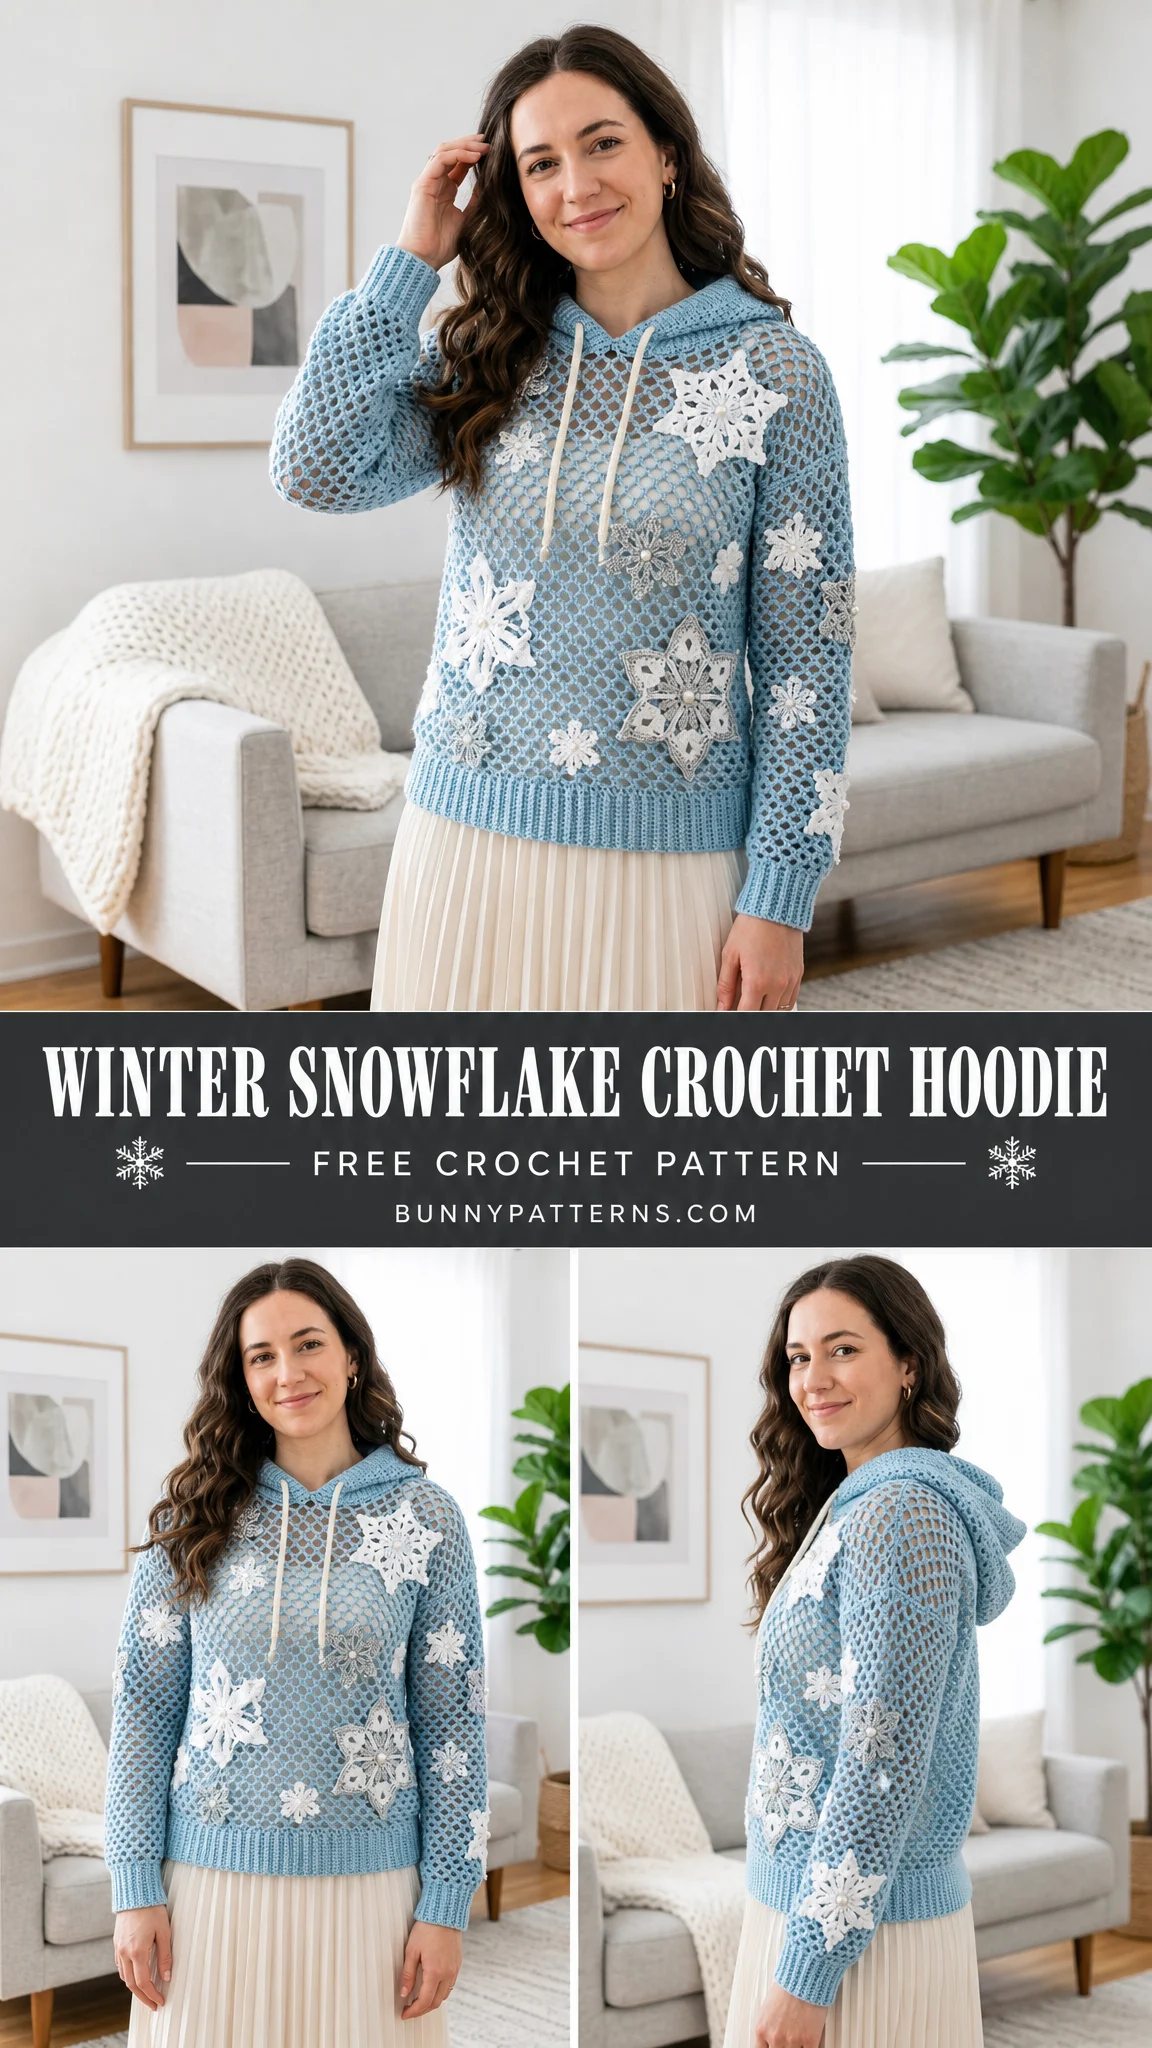
About This Crochet Pattern
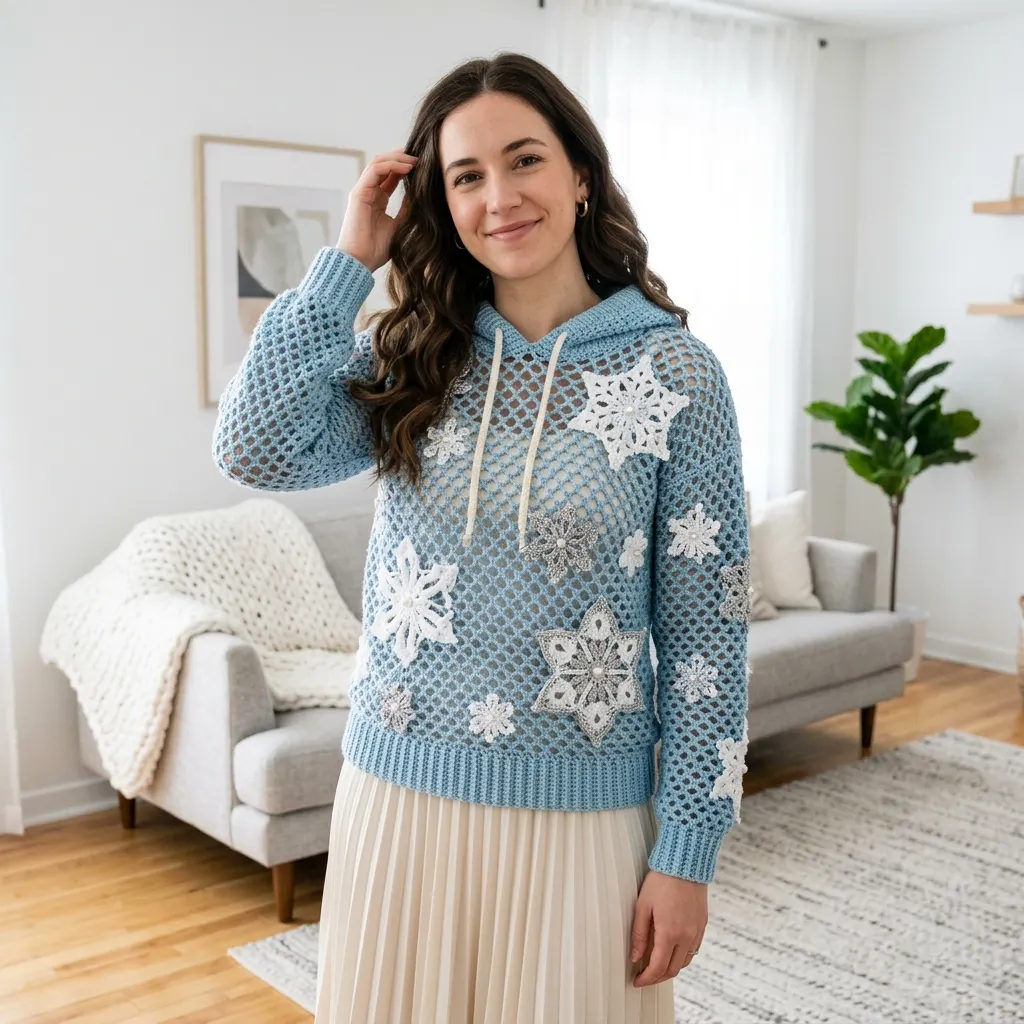
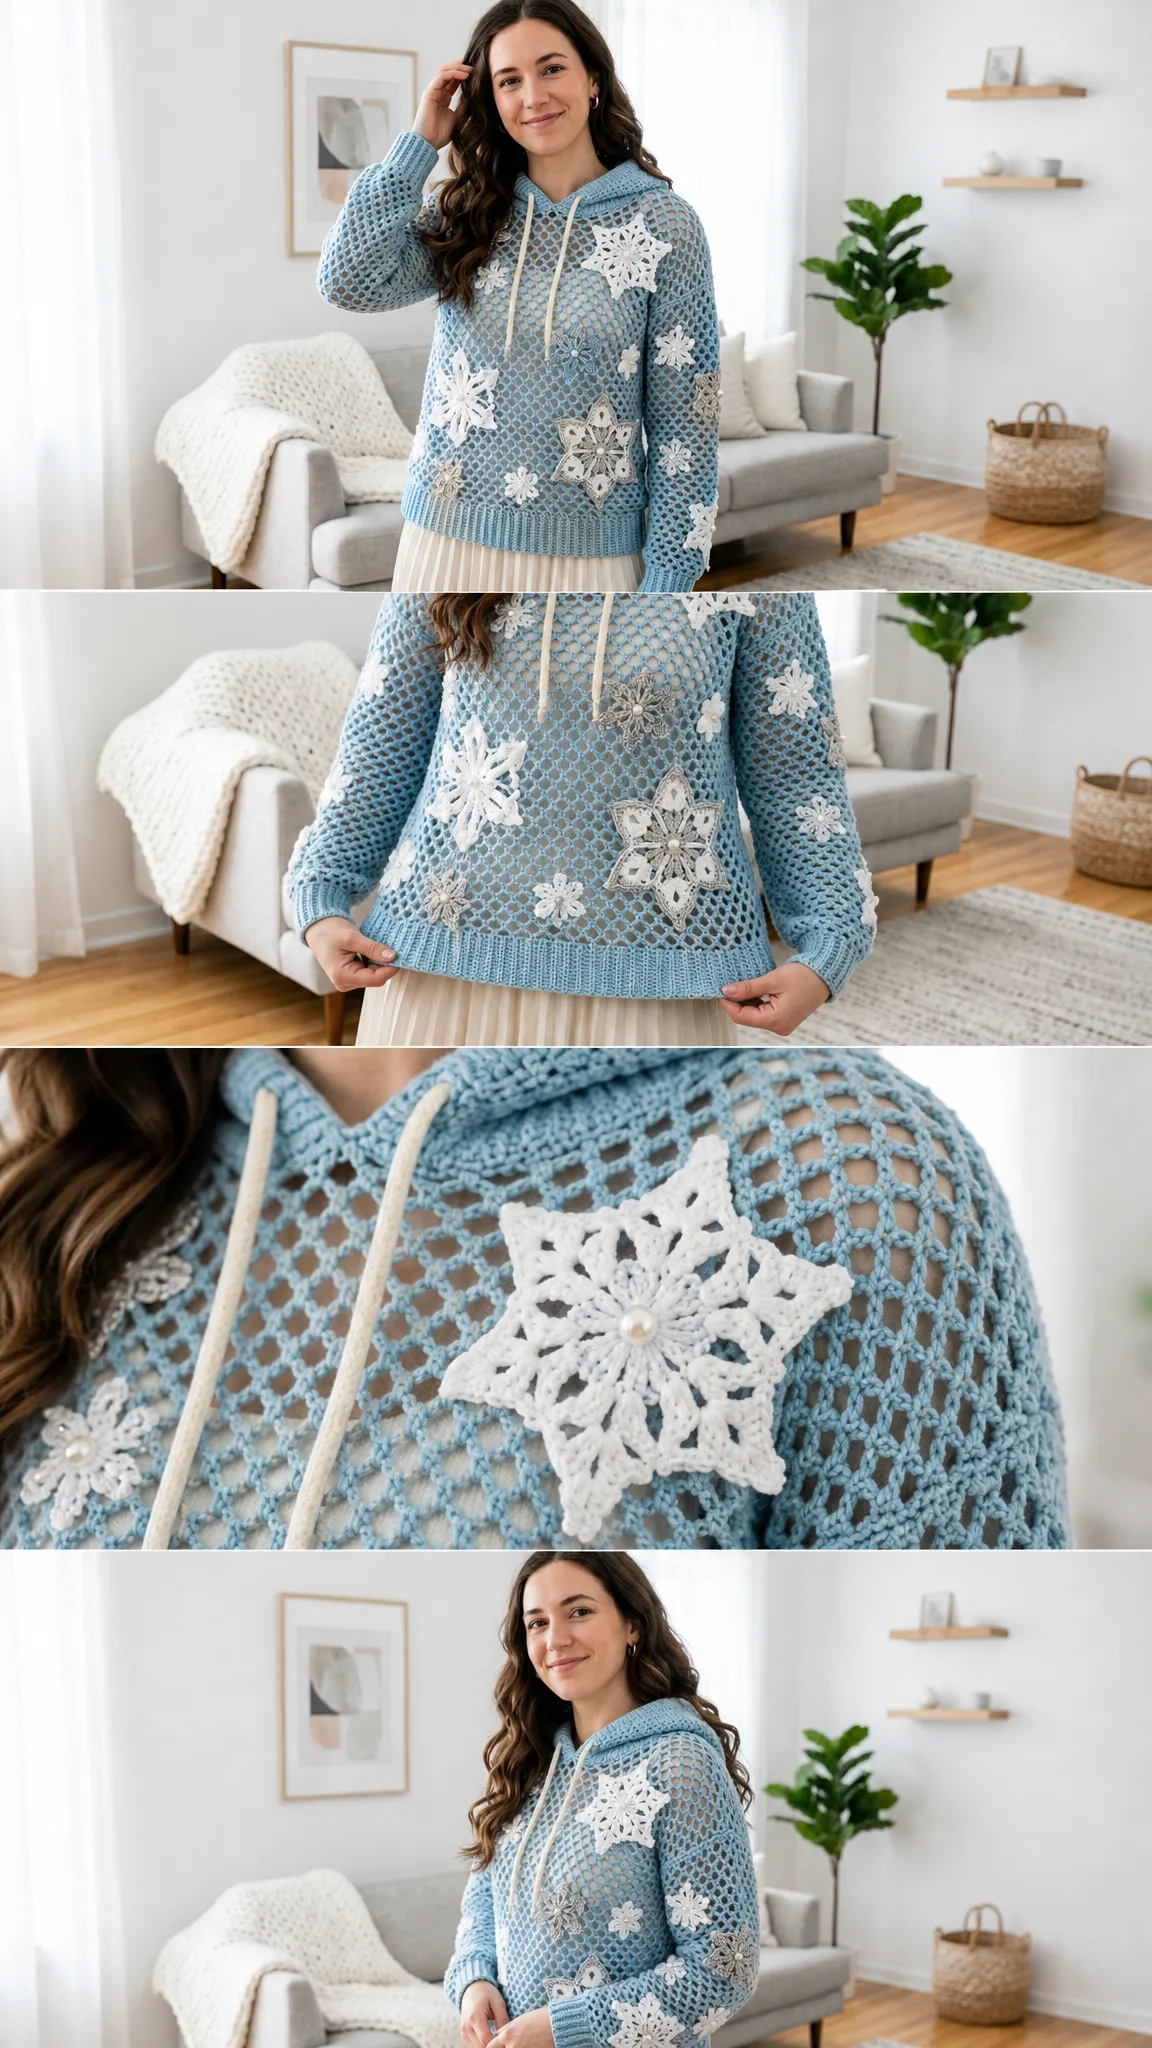
This breezy lace pullover features a cozy hood, ribbed trims at the hem and cuffs, and scattered snowflake motifs in white and silver-gray. The finished hoodie has a boxy cropped fit with about 5 to 7 inches of positive ease at the bust, making it comfortable and relaxed.
The garment uses simple rectangles and measured checkpoints rather than complex armhole shaping. Front and back lace panels are worked flat. Sleeves are tapered flat panels with ribbed cuffs. Shoulders and sides are seamed, then the hood is picked up and worked from the neckline. Snowflakes are stitched separately and appliqued after blocking.
Skill level: Intermediate
Time estimate: Approximately 16 to 22 hours total. That breaks down to 9 to 12 hours for garment pieces, 4 to 6 hours for motifs, and 2 to 4 hours for seaming, drawstring, and finishing.
Finished Measurements
| Measurement | Inches | Metric |
|---|---|---|
| Bust circumference | 41 in | 104 cm |
| Body length, shoulder to hem | 19 in | 48 cm |
| Sleeve length from underarm | 18 in | 46 cm |
| Upper sleeve circumference | 16 in | 41 cm |
| Hood height | 16 in | 41 cm |
Choose your size by finished bust measurement, not garment tag size. This pattern is written for Adult S/M.
Materials Needed for This Crochet Hoodie Pattern
Yarn:
Yarn suggestions: Lion Brand Coboo DK, Scheepjes Cotton 8 held lightly, or Hobbii Rainbow Bamboo. Substitute any smooth sport/DK yarn that blocks open and matches gauge.
Hooks:
Notions:
Gauge
Gauge is crucial for garment fit. Please swatch before starting.
Mesh stitch: 14 pattern stitches and 9 rows = 4 inches / 10 cm with larger hook, blocked.
Ribbing: 16 single crochet (sc) and 18 rows = 4 inches / 10 cm with smaller hook, relaxed.
Stitch Guide and Abbreviations
US Terms (this pattern uses US terminology):
UK crocheters: US sc = UK dc; US dc = UK tr.
Mesh Stitch
Worked over an even number of foundation stitches. Each row creates pairs of double crochet (dc) and chain 1 (ch-1) spaces. The listed count is shown as pattern stitches, with every dc and ch-1 space counted as 1 stitch.
Row: Ch 4 (counts as first dc and ch-1), skip first st or ch-1 sp, dc in next dc, *ch 1, skip next st or sp, dc in next dc; rep across. Turn.
Ribbed Band
Alternate front post dc (fpdc) and back post dc (bpdc) around an even stitch count. Keep the ribbing relaxed. If it cups, go up one hook size.
Snowflake Picot
Ch 3, sl st in the first ch made. This creates a small raised point at the end of a snowflake arm.
Left-handed note: Work the same instructions from left to right. Motif placement may mirror naturally. Keep the larger snowflakes balanced across front, back, and sleeves.
Body Panels
Back Panel
With larger hook, ch 73.
Row 1: Mesh across from the 5th ch from hook. (36 dc, 36 ch-1 sps = 72 pattern sts)
Rows 2-34: Mesh across. (72 pattern sts)
Fasten off.
Checkpoint: Panel measures about 20.5 inches / 52 cm wide and 15 inches / 38 cm tall before hem band.
Front Panel
With larger hook, ch 73.
Rows 1-30: Work mesh as for back. (72 pattern sts)
Row 31, right shoulder: Work 10 mesh units, turn; leave center 16 units and left shoulder unworked. (20 pattern sts)
Rows 32-34: Work even on right shoulder. (20 pattern sts)
Join yarn at opposite shoulder edge.
Rows 31-34, left shoulder: Work 10 mesh units for 4 rows. (20 pattern sts each row)
Shoulder Seams
Place front and back panels RS together. Seam outer 10 mesh units at each shoulder. Leave the center 16 mesh units open for the neckline.
Checkpoint after seaming: Neck opening measures about 18 inches / 46 cm around before hood pickup.
Side Seams
Seam from hem upward for 11 inches / 28 cm on each side, leaving an 8 inch / 20 cm armhole. Keep seams flexible and do not pull the mesh tight.
Body customization tip: To widen, add or subtract mesh units in pairs. Every 2 pattern stitches changes the width by about 0.57 inches / 1.45 cm at gauge. Keep front and back identical.
Sleeves
Make 2 sleeves. Cuff is worked after the mesh panel so the opening can be adjusted neatly.
Sleeve Mesh Panel
With larger hook, ch 33.
Row 1: Mesh across from the 5th ch from hook. (16 dc, 16 ch-1 sps = 32 pattern sts)
Rows 2-4: Mesh even. (32 sts)
Rows 5, 9, 13, 17, 21, 25, 29, 33, 37, 41, 45, 49: Increase 1 pattern st at each edge by working dc, ch 1, dc into the first and last dc of the row; maintain mesh between increases. (+2 sts each increase row)
Work all other rows even through Row 52.
Final row count: 56 pattern sts.
| Rows | End Count |
|---|---|
| 1-4 | 32 sts |
| 5-8 | 34 sts |
| 9-12 | 36 sts |
| 13-16 | 38 sts |
| 17-20 | 40 sts |
| 21-24 | 42 sts |
| 25-28 | 44 sts |
| 29-32 | 46 sts |
| 33-36 | 48 sts |
| 37-40 | 50 sts |
| 41-44 | 52 sts |
| 45-48 | 54 sts |
| 49-52 | 56 sts |
Cuff Ribbing
With smaller hook, join yarn at wrist edge and pick up 32 sc evenly. Join.
Rnds 1-5: Ch 2, *fpdc around next st, bpdc around next st; rep around*, join. (32 rib sts)
Fasten off.
Seaming the Sleeves
Fold each sleeve lengthwise RS together and seam from cuff to underarm. Set sleeve into armhole with the sleeve seam aligned to the side seam. Ease upper sleeve evenly into the 8 inch / 20 cm armhole and seam.
Hood and Trims
Hood
With garment RS facing and larger hook, pick up 64 sc around neckline: 32 sts across back neck and 32 sts across front neck opening.
Row 1: Ch 4, work mesh across. (32 dc, 32 ch-1 sps = 64 pattern sts)
Rows 2-36: Mesh even. (64 sts)
Fold hood in half with RS together and seam the top/back edge.
Checkpoint: Hood measures about 18 inches / 46 cm wide at neckline and 16 inches / 41 cm tall.
Hem Band
With smaller hook, join at side seam and pick up 144 sc evenly around lower body edge. Join.
Rnds 1-6: Ch 2, *fpdc around next st, bpdc around next st; rep around*, join. (144 rib sts)
Fasten off.
Hood Edging and Drawstring Channel
With smaller hook, work 1 rnd sc evenly around hood opening.
Next rnd: Ch 1, *sc in next 2 sts, ch 1, skip 1 st; rep around*, adjusting at corners to keep edge flat.
Final rnd: Sc in each sc and ch-1 sp.
Crochet a 52 inch / 132 cm chain drawstring; sl st back across the chain and weave through the eyelet round.
Checkpoint: After all trims, the hoodie should feel softly structured. Ribbed hem approximately 2 inches / 5 cm deep, cuffs approximately 1.5 inches / 4 cm deep, and hood opening large enough to sit loosely around the face.
Snowflake Motifs
Make 4 large white, 3 large silver-gray, 9 medium white, 5 medium silver-gray, and 10 small white snowflakes. Block motifs before sewing.
Large Six-Point Snowflake
Rnd 1: In MR, ch 3, 11 dc, join. (12 dc)
Rnd 2: *Sc in next dc, ch 6, sc in next dc, ch 3; rep from * 6 times, join. (6 long loops, 6 short loops)
Rnd 3: *In next ch-6 loop work sc, hdc, 2 dc, picot, 2 dc, hdc, sc; sc in next ch-3 loop; rep from * 6 times. Fasten off.
Medium Snowflower
Rnd 1: In MR, ch 3, 11 dc, join. (12 dc)
Rnd 2: *Sl st in next dc, ch 5, sl st in next dc; rep from * 6 times.
Rnd 3: In each ch-5 loop work sc, hdc, 3 dc, hdc, sc. Fasten off. (6 petals)
Small Snow Dot
Rnd 1: In MR, *sc, ch 3, sl st in first ch; rep from * 6 times, join to first sc. Fasten off. (6 tiny points)
Optional Bead Center
Sew a pearl or small bead to the center of selected motifs after washing instructions have been considered. For children or gifting, omit beads and use French knots instead.
Motif Placement and Finishing
Placement Map
Front: Place one large white snowflake high on right chest, one large white at lower left body, one large silver near lower right body, 4 medium motifs scattered, and 4 small motifs filling open areas.
Back: Place 1 large silver slightly right of center, 5 medium motifs, and 4 small motifs.
Sleeves: Place one large or medium motif near each forearm and scatter small motifs from upper arm to cuff.
Applique Method
Pin motifs with the garment lying flat. Sew around the outer points using matching thread or fine yarn, catching the mesh bars without distorting the fabric. Leave some point tips lightly raised for a layered snowflake effect.
Blocking
Steam or wet block the mesh pieces to the finished measurements before seaming. Block snowflakes separately until points are crisp. After applique, give the finished hoodie a light steam from the wrong side only.
Weaving Ends
Weave ends through solid ribs and motif centers whenever possible. On mesh, split the yarn tail and weave in two directions to keep ends invisible.
Design tip: The motif layout is intentionally organic. Balance large motifs first, then use medium and small snowflakes to fill negative space while keeping the lace airy.
Size Customization Tips
For a larger bust, add the same even number of pattern stitches to front and back panels.
For more length, add mesh rows before shoulder shaping.
For a shorter sleeve, remove even rows before the final increase section and keep both sleeves identical.
For a deeper hood, add rows before seaming the hood.
Troubleshooting Common Issues
| Issue | Fix |
|---|---|
| Mesh leans | Block gently and keep turning chains loose |
| Hem ripples | Use fewer pickup sts or smaller hook for ribbing |
| Hem pulls in too much | Use larger hook or add pickup sts in multiples of 2 |
| Sleeve too wide | Stop increases earlier, then work even to length |
| Motifs curl | Block pins into every point and let dry fully |
Care Instructions
Hand wash cool with mild soap. Roll in a towel to remove water. Lay flat and reshape, opening the mesh and snowflake points with your fingers. Do not hang while wet. Store folded.
Yarn Substitution Notes
Smooth plant fibers create the crisp open mesh shown. Wool or acrylic may work, but the snowflakes can appear puffier and the garment may hang differently. Always swatch and block before choosing final hook size.
Final Thoughts on This Crochet Hoodie Pattern
This Winter Snowflake Crochet Hoodie is such a rewarding project. The mesh works up quickly once you find your rhythm, and adding those snowflake motifs at the end feels like decorating a cake. Each one you sew on brings the whole piece to life. Whether you’re making this for yourself or as a gift for someone special, the finished hoodie is absolutely stunning.
Thank you so much for choosing this pattern. I genuinely hope you love making it as much as I loved designing it. If you complete your hoodie, I would absolutely love to see it. Tag me on Instagram or share a photo on Facebook. Seeing your finished projects is the best part of this whole thing.
If you found this crochet pattern helpful, save it to your Pinterest boards so you can find it easily when you’re ready to start. And please drop a comment below if you make this hoodie. I’d love to hear how it turned out for you!
Want a Quick & Easy Printable Version?
Get a clean, beautifully formatted PDF of this pattern — easy to follow step by step, ready to print or save on any device. No scrolling, no distractions, just the pattern.
Get the Printable PDF →You Might Also Like
- Arctic Ice Mermaid Plush Doll Free Crochet Pattern
- Coral Peach Tie Front Crochet Cardigan Free Pattern
- Ocean Breeze Ombre Braided Purse Free Crochet Pattern
- Blush Pink Crochet Mini Backpack Free Pattern