
A crochet rose appliqué turns a loose ring of looped petals into a small, sunny bloom that sits on a hat, a bag or a cushion without any fuss. The first thing the eye finds is its crowded, layered ring of loops.
The Crochet Rose Appliqué
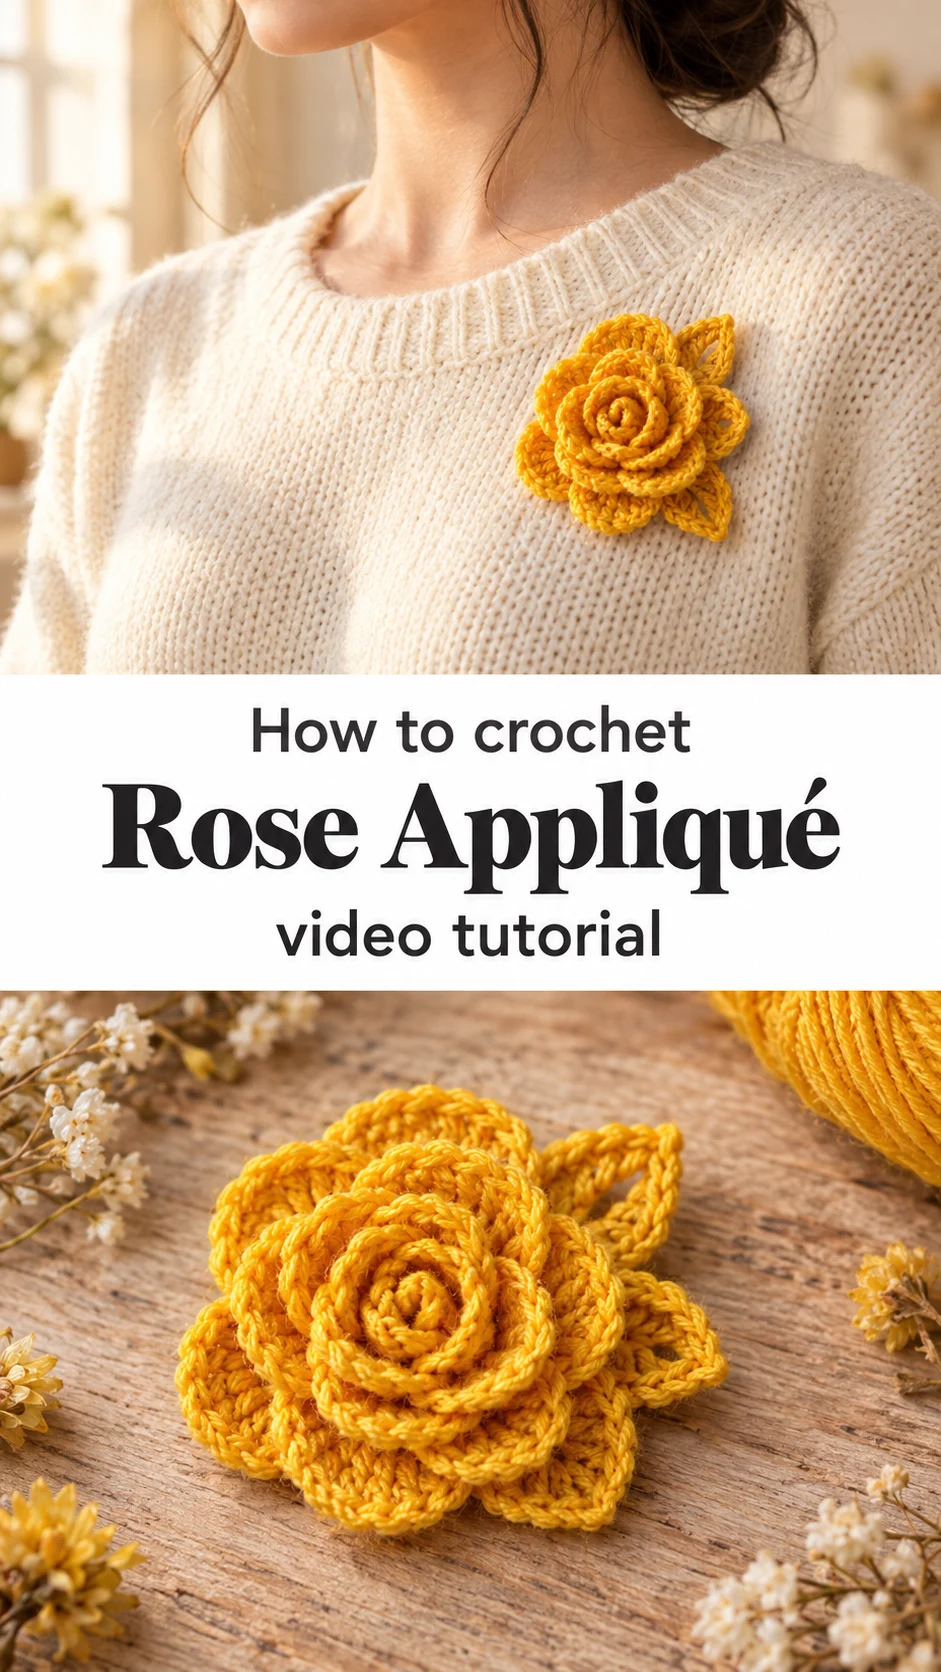
The crochet rose appliqué is a flat, round flower built from long chain loops that fan out from a central point. The loops are narrow and elongated, almost like daisy petals, and they overlap in several rings until the flower looks full and slightly ruffled. A soft pompom or tufted centre in a contrasting shade fills the middle and hides the join. The finished flower sits comfortably in the palm of a hand, so it works as a trim rather than a statement piece. What sets this design apart is its texture. Each petal is a plain chain, yet together they read as dense and sculptural. Sew it to a beanie, a tote or a baby blanket corner, and it adds colour without bulk.
Because the petals are only chains, the flower suits makers who want a quick win. It also makes a charming gift, since one flower can be stitched onto a hair clip, a brooch pin or a card. Making several in different colours is the natural next step. Small, fast, addictive.
Rose Appliqué Related Posts:
- Crochet Teddy Bear Bag: A Sweet and Charming Keepsake
- Crochet Market Tote: A Practical Everyday Essential
- Crochet Cable Stitch Blanket: A Timeless Textured Classic
- Crochet Snowflake Cardigan: A Festive Winter Essential
Materials
For a crochet rose appliqué like the ones shown, choose a smooth, medium-weight acrylic or cotton-blend yarn with a slight sheen, because glossy plies make the chain loops look rounded and crisp. The sample flowers appear to be worked in sunny golden yellow, white and turquoise, with a contrasting colour kept aside for the centre. A hook around 3 to 4 mm is a sensible general starting point, though the loops look firm enough that a hook half a size smaller than the yarn label suggests would keep them upright. Smooth yarn matters more than fibre here. A fuzzy mohair would blur the chain definition and make the petals collapse into one another. You will also need a tapestry needle for sewing the centre and securing the layers, scissors, and a little extra yarn for the pompom centre. If the flower will be attached to something, have matching sewing thread nearby.
Understanding the Petal Structure
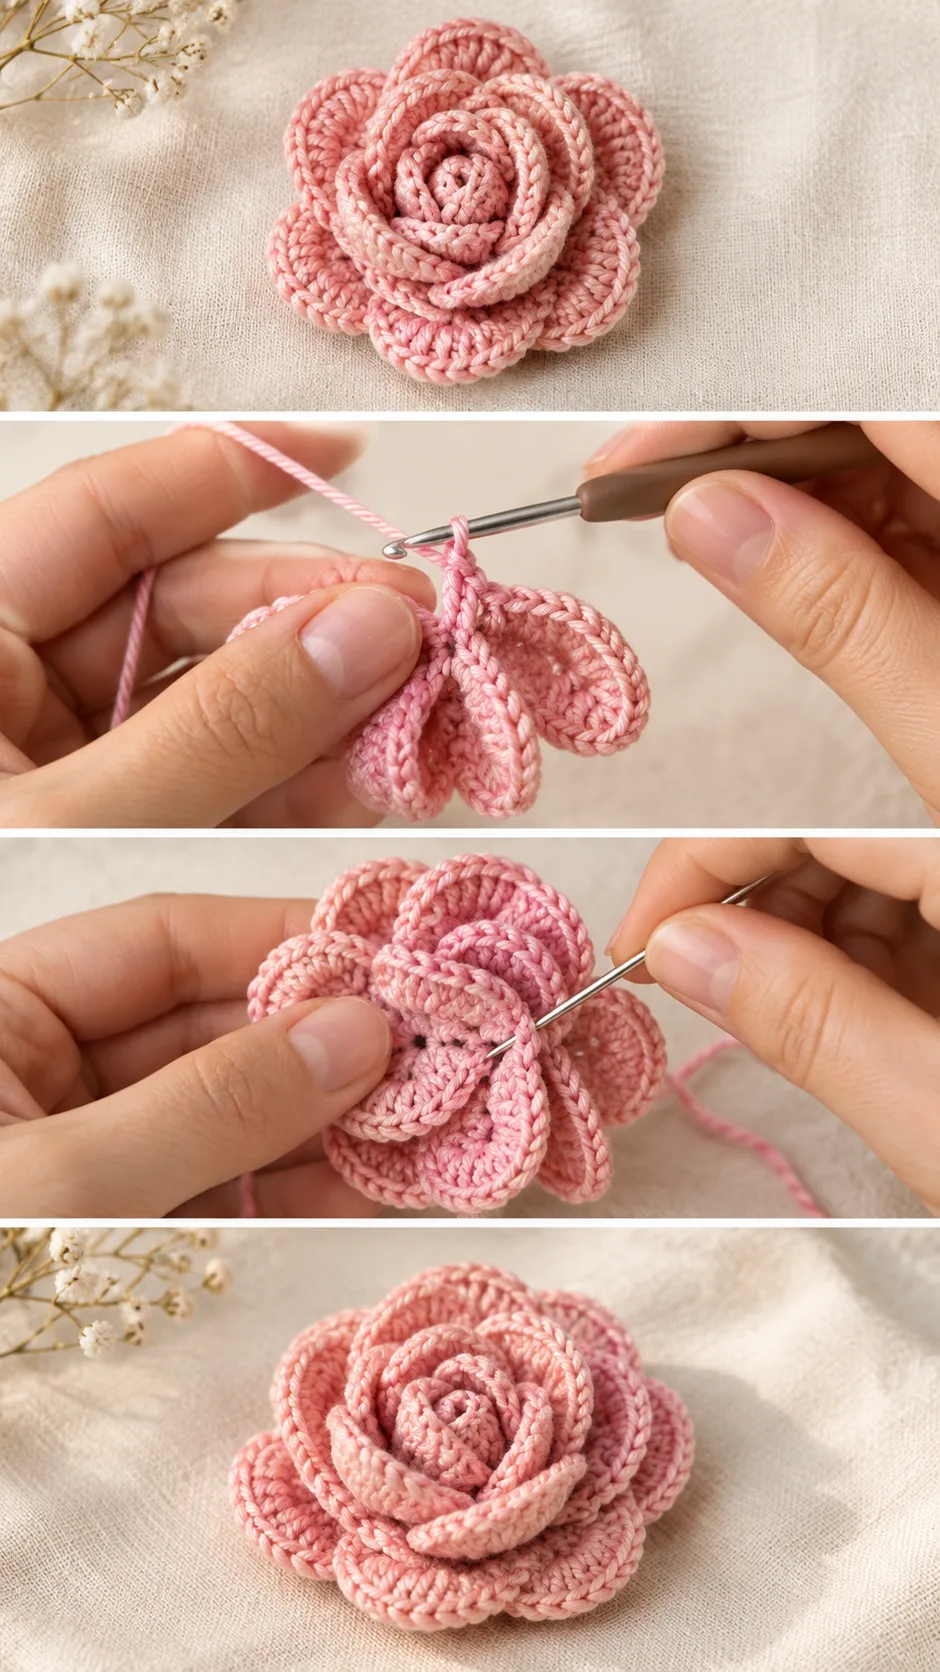
Every petal is a single long chain that is folded back and fastened at the centre, which is why the flower can be built in one continuous motion. The video shows a chain count announced on screen before each loop, so keep a pencil handy and follow those numbers exactly rather than guessing.
Loop length controls the entire look. Shorter chains give a tight, buttony bloom, while longer ones fall into the open, daisy-like shape seen in the photos. Whatever length you pick, make every loop match, or the ring will look lopsided.
The loops are anchored around a central ring, so the flower has no right or wrong side to speak of. Both faces are nearly identical, with the hook-side showing a tidy knot where the petals gather. That makes it easy to stitch down from either side.
The overlapping rings are the part that takes patience. As more petals are added, the centre becomes crowded and the stitches there tighten. Work with a relaxed hand and keep each new loop sitting beside the last rather than on top of it.
Choosing Yarn and Colours
Colour changes the personality of this flower more than any stitch could. Golden yellow with a white centre looks like a marigold, while white petals around a yellow centre read instantly as a daisy. A turquoise bloom with a white centre feels more playful and works well on children’s items.
Cotton gives the loops a matte, slightly stiffer finish that holds the shape well for years. Acrylic is softer and glossier, and it catches the light the way the sample flowers do. Both work, but pick the one that matches what the flower will be sewn onto, since a cotton flower on a stretchy acrylic hat can pull the fabric.
Avoid very thin, slippery yarns. The chains will look limp and the loops will flop sideways instead of standing in neat petals. If a yarn feels slick, use a slightly smaller hook to firm up the chain.
For the centre, choose a colour that contrasts clearly with the petals. White against yellow or turquoise gives the sharpest result, and the contrast also helps hide any untidy joining at the middle.
Making the Pompom Centre
The centre is a soft, tufted disc rather than a stitched circle. It is built from short strands of yarn wound or pulled through the middle and trimmed into a rounded cluster. Keep the trimming gentle, because cutting too short leaves a bald patch and cutting too aggressively makes the centre look spiky.
Secure the tuft with the tapestry needle, passing the tail through the back of the flower several times. If the centre feels loose, add a few extra stitches across the back. A small dab of fabric glue is an option for a flower that will be handled often, though sewing is safer for items that will be washed.
Assembling the Layers
Once the loops are finished, the flower is shaped and stitched into its final form with a needle. The video shows the needle going through the centre to pull the petals together. Pause there and watch how the yarn is passed through the middle, because that single movement decides how flat the flower sits.
If the petals twist, tug them gently into place before fastening off. A flower that cups upward usually means the centre was pulled too tight. Loosen the central stitches slightly and flatten the petals with your fingertips until they fan out evenly.
Weave in loose ends through the back of the central knot rather than through the petals. This keeps the loops clean and stops stray tails from poking through. Trim close, but leave a short length if you plan to sew the flower onto a project.
When attaching, stitch through the centre and a few petal bases rather than the loop tips. Tips are the most delicate part and will stretch if they carry the weight.
How to Style a Crochet Rose Appliqué
In the sample photos the flowers appear as individual pieces resting in the palm, ready to be used as decoration. The easiest way to show them off is to sew one onto a plain headband or beanie, where the loops stand out against a solid colour.
For bags, place one flower near the strap attachment on a canvas tote, or cluster three in different colours on a front pocket. On home textiles, a single yellow bloom on the corner of a cushion cover or a cotton hand towel adds a quiet touch of spring.
Gift ideas work well too. Pin-backs turn the flower into a brooch, and a hair clip version suits children. Pair a white daisy-style flower with a cardigan collar, or add several to a baby blanket border for a garden effect.
Tips for a Neat Flower
If the petals look uneven, the chain lengths probably drifted. Count each chain aloud as you work, and compare finished loops against the first one before moving on.
If the flower feels floppy, switch to a smaller hook or a firmer yarn. A little starch or fabric stiffener sprayed lightly and left to dry will also help the loops stand up, which is useful for flowers on hats or hair accessories.
If the centre looks messy, add more tufts rather than trimming harder. A fuller pompom hides a crowded middle, and a final gentle trim evens it out.
If the finished flower curls at the edges, press it flat under a damp cloth and let it dry. Cotton responds well to this, while acrylic should only be steamed lightly, never ironed directly.
A Small Handmade Bloom
The crochet rose appliqué is a small flower with a big effect, built from simple chains and finished with a soft centre. It rewards neat counting, even tension and a contrasting colour at the heart.
Match your chain lengths, pick a smooth yarn, and keep the centre loose enough that the petals can fan out. Get those three things right and every flower will come out cheerful.
Make one, then make a handful.
Video tutorial for the crochet rose appliqué by Ayşenin Örgü Modelleri on YouTube.
VIDEO
Follow us on Pinterest and subscribe to the Newsletter so you don’t miss a thing!
Tutorial and photos of this rose appliqué by: AYŞENİN ÖRGÜLERİ.