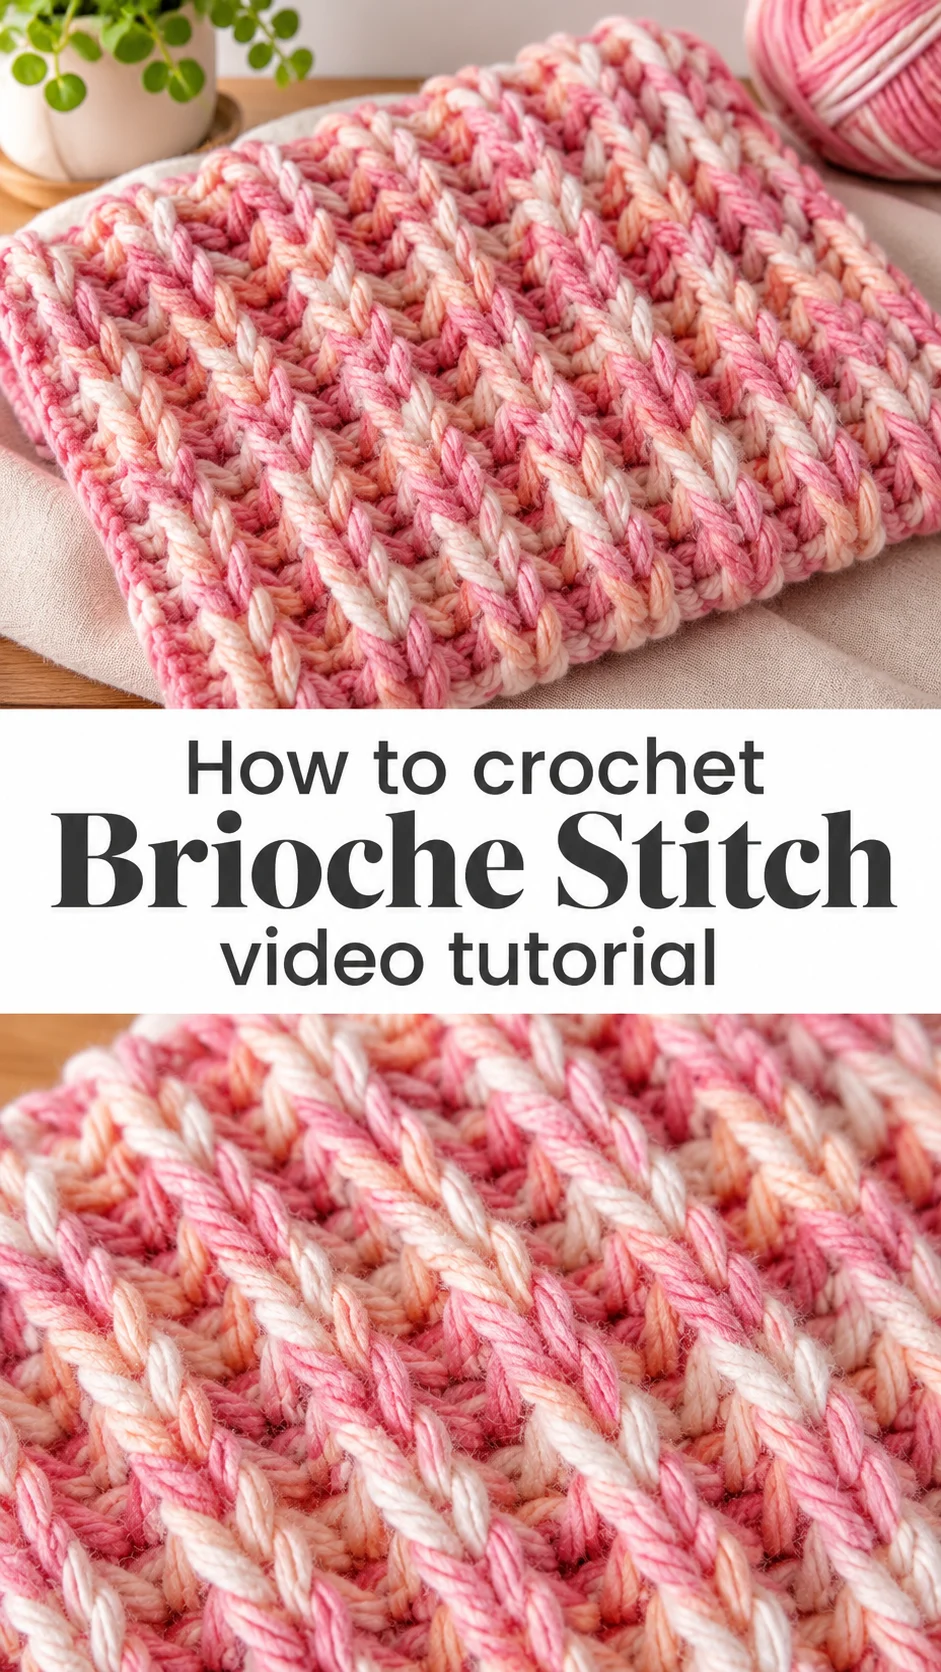
The crochet brioche stitch builds a springy, ribbed fabric that looks as if it was knitted, with plump vertical columns that lean gently to one side and a cushioned feel in the hand.
The Crochet Brioche Stitch
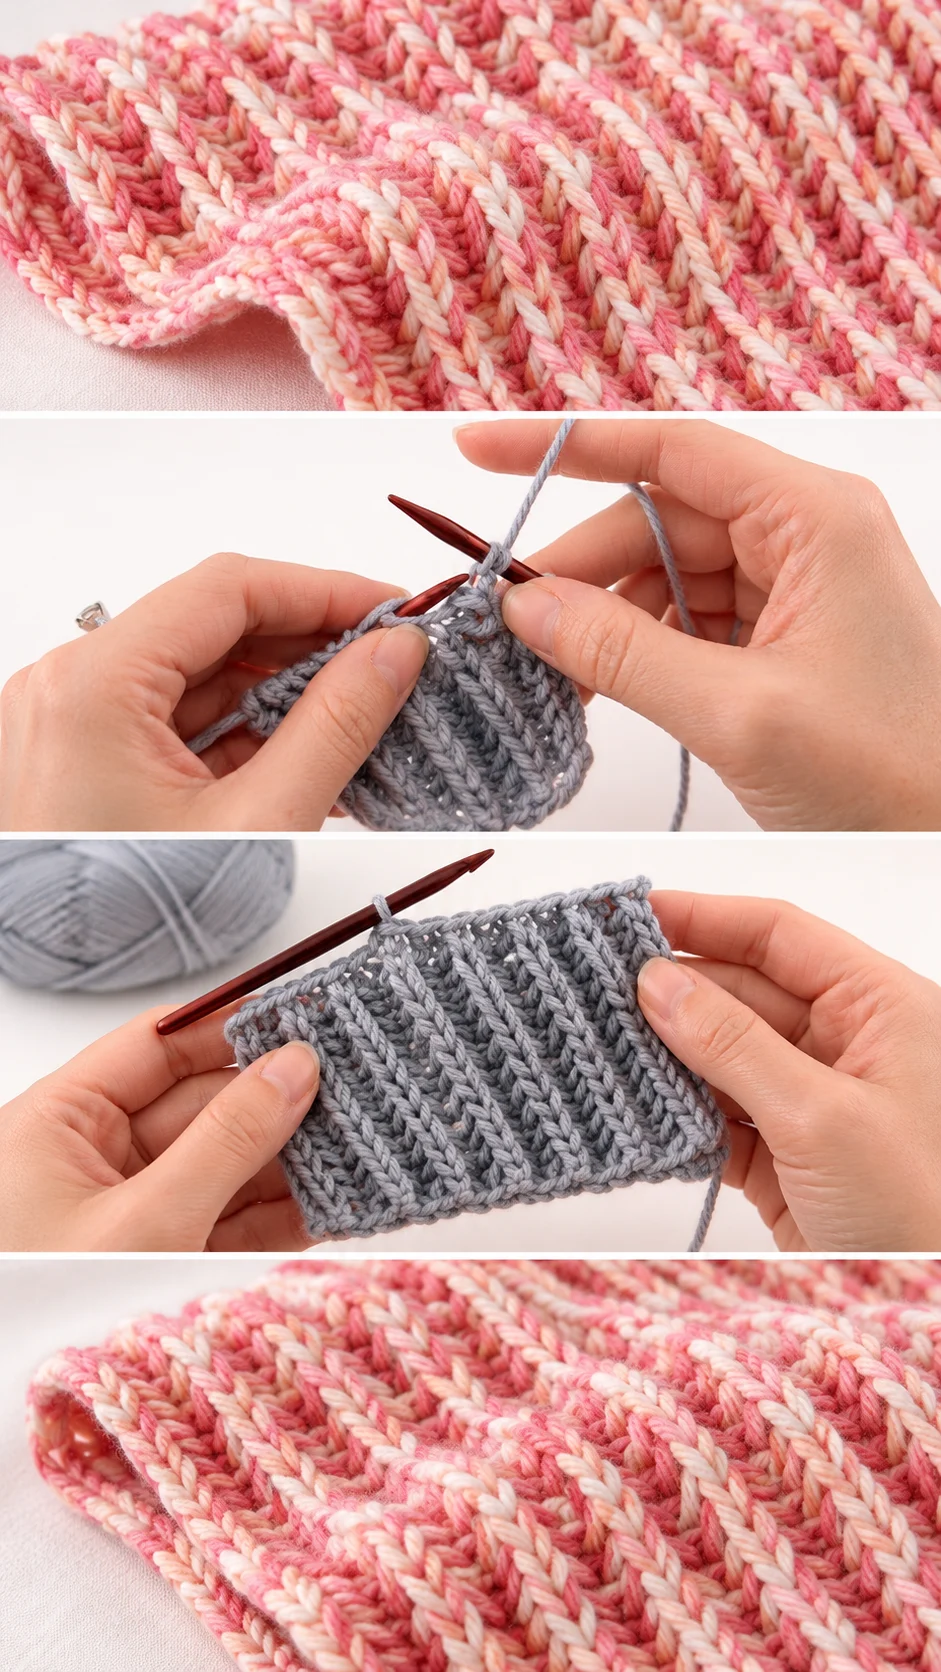
The crochet brioche stitch is a dense, stretchy rib worked in rows, and it is one of the most convincing knit imitations in the craft. The columns run vertically and look like tiny braids, each one slightly slanted. The first sample is worked in a variegated cotton that moves from coral pink through peach to cream, so every column seems to carry its own colour story. A second sample in soft grey shows the shape of the stitch without any colour to distract. The fabric looks reversible-ish, with ridges on both sides. It has real body, yet it stretches sideways like true ribbing. That makes it a favourite for cuffs, hats, cowls, scarves and anything that needs to hug and bounce back.
Beyond clothing, the stitch earns its place in home projects. Think of a cushion cover, a chunky headband or a washcloth with plenty of texture. It also teaches a useful skill: working into a specific part of the stitch below, which sharpens your sense of where each loop lives. Most makers find the rhythm settles in after a few rows.
Brioche Stitch Related Posts:
- Crochet Bikini Bottom: A Chic Summer Essential
- Crochet Tulip Pouch Bag: A Charming Floral Treasure
- Crochet Lace Doily: A Timeless Table Accent
- Crochet Girls Vest: A Charming Handmade Classic
Materials
For a crochet brioche stitch swatch or project, choose a smooth worsted-weight cotton or cotton blend, a hook sized to match the yarn label, a pair of scissors and a tapestry needle for weaving in ends. The grey sample appears to use a cotton yarn with a firm twist, and that is a smart choice because the plies stay crisp and the little braided columns read clearly. A variegated cotton, like the coral-to-cream yarn in the colourful sample, adds movement without any colour changes on your part. Wool works too, but it softens the definition and makes the fabric warmer and more elastic. Avoid very fuzzy yarns such as mohair blends, since they bury the column structure and make it hard to see where to insert your hook. A hook one step smaller than the label suggests gives a tighter, more knit-like fabric, while a larger hook makes it drapey.
Understanding the Stitch Structure
Every column in this fabric is made from a pair of loops that lean into each other, which is what creates the braided look. The work is done flat, turning at the end of each row, and the ridges sit side by side with small gaps that let the fabric stretch.
The slant matters. In the close-up samples the columns tilt rightward on the face, and that diagonal movement gives the whole piece a subtle sense of motion. If your columns suddenly stand straight or tilt the other way, you have likely inserted the hook into a different spot than in the previous row.
Think of the fabric as two alternating layers. One row builds the ridge and the next row sets it into place. Because both layers are needed to make a finished column, a swatch can look messy for the first few rows and then suddenly snap into shape.
Skill Level and the Tricky Part
This stitch suits an advanced beginner or an intermediate maker. The individual moves are simple, but the placement is picky. The hardest part is finding the correct loop on the row below, especially at the start of a row, where the turning chain can hide the first column.
Watch the hand position in the video closely. In the tutorial the creator holds the work with the fingertips pinching right under the hook, which keeps the loops open and visible. Pause at the moment the hook enters the fabric and replay it until you can predict where it lands.
If you lose track of the pattern, look at the face of the work. Each finished column has a clear braid, while the unfinished one looks flat and loose. Counting your columns after every row prevents the slow creep of an extra or missing stitch.
Best Yarns for a Crisp, Springy Rib
Cotton gives the sharpest result. The grey sample shows how well a firm cotton keeps each braided column distinct, and the stitches look almost sculpted. Cotton does not bounce back as much as wool, though, so a very large piece may stretch with wear.
A wool or wool-blend yarn adds elasticity. If you plan a hat or a fitted cuff, this is the better pick because the rib will spring back after being pulled. The trade-off is that the texture reads a little softer and more rounded.
Variegated and gradient yarns are especially rewarding. The coral, peach and cream sample shows how each short colour section lands in a different column, producing a loose, watercolour stripe effect. Very high-contrast variegation can look busy, so choose gentle shifts if you want the texture to remain the star.
Avoid slippery, splitty yarns such as thin acrylic with loose plies. The hook must enter a very specific spot, and a yarn that frays at the tip makes that frustrating. If your fabric feels stiff, go up a hook size; if it looks gappy, go down.
Projects That Suit the Stitch
The stretch and thickness make this stitch ideal for wearables that need to hold their shape. A cowl worked in a long strip and seamed into a loop shows off the ridges from every angle. Headbands, ear warmers and fingerless mitts benefit from the same elasticity.
For home use, try it for a pot holder or a scrubby dishcloth. The ridges grip, and the double layer is thick enough to handle warm pans. A cushion cover also works, though the fabric is dense, so plan for more yarn than you would for a lacy stitch.
Scarves and Cowls
A scarf makes the perfect first project, since the repeat is the same from the first row to the last. Choose a gradient cotton and let the colour changes do the decorating. Both sides look good, so no wrong side shows when it wraps around the neck.
How to Keep Edges and Tension Even
Because the fabric is dense, small tension changes show up quickly as wavy edges or columns that lean too far. Aim for the same relaxed grip throughout, and stop to rest your hands if you notice yourself tightening.
If the edges ripple, you are probably adding stitches in the turning chain. Count your columns after each row and place a marker in the first stitch until the habit is automatic. If the fabric curls inward, a light steam press or a gentle block will relax it.
If the swatch feels like a board, increase your hook size slightly. If it is floppy and the columns look loose, drop down. A swatch of a few inches costs very little yarn and answers the question before you commit to a full scarf.
Tips for a Neat Finish
Weave in ends along the column lines rather than across them, so the tails vanish inside the ridges. With a variegated yarn, take care when joining a new ball: try to start at a similar colour so the transition looks natural.
Block lightly. Pin the piece to size, mist with water and let it dry flat. This evens out the columns and relaxes the slant. Avoid heavy stretching, since the stitch is meant to keep its bounce.
When following the tutorial, work along with the creator on a small swatch first. Replay the setup row until the base feels comfortable, because everything after it depends on that foundation.
A Cozy Handmade Classic
The crochet brioche stitch rewards patience with a fabric that is plush, stretchy and quietly impressive. Its braided columns look knitted, yet every loop comes from a single hook.
Four things decide how well it turns out: a smooth, firm yarn, a hook size matched to the stretch you want, careful loop placement at the start of each row, and a light block at the end.
Swatch, count, relax. The ridges will follow.
Video tutorial for the crochet brioche stitch by BHooked Crochet.
Follow us on Pinterest and subscribe to the Newsletter so you don’t miss a thing!
Tutorial and photos of this brioche stitch by: B.Hooked Crochet.