
This pattern is STUNNING and I am SO excited to share it with you! If you have been dreaming of a showstopping cardigan that looks like it belongs in a boutique, this is your project. The Sage Garden Lace Cardigan combines a gorgeous lace yoke, cheerful color blocking, and the sweetest sunflower granny squares along the hem and cuffs. It works up faster than you might think, and the finished piece is absolutely breathtaking. Trust me when I say this one will have everyone asking where you bought it!
Get the Ad-Free PDF Pattern
You can find the free pattern below, or you can purchase the ad-free printable PDF from my shop.
Get the Printable PDF →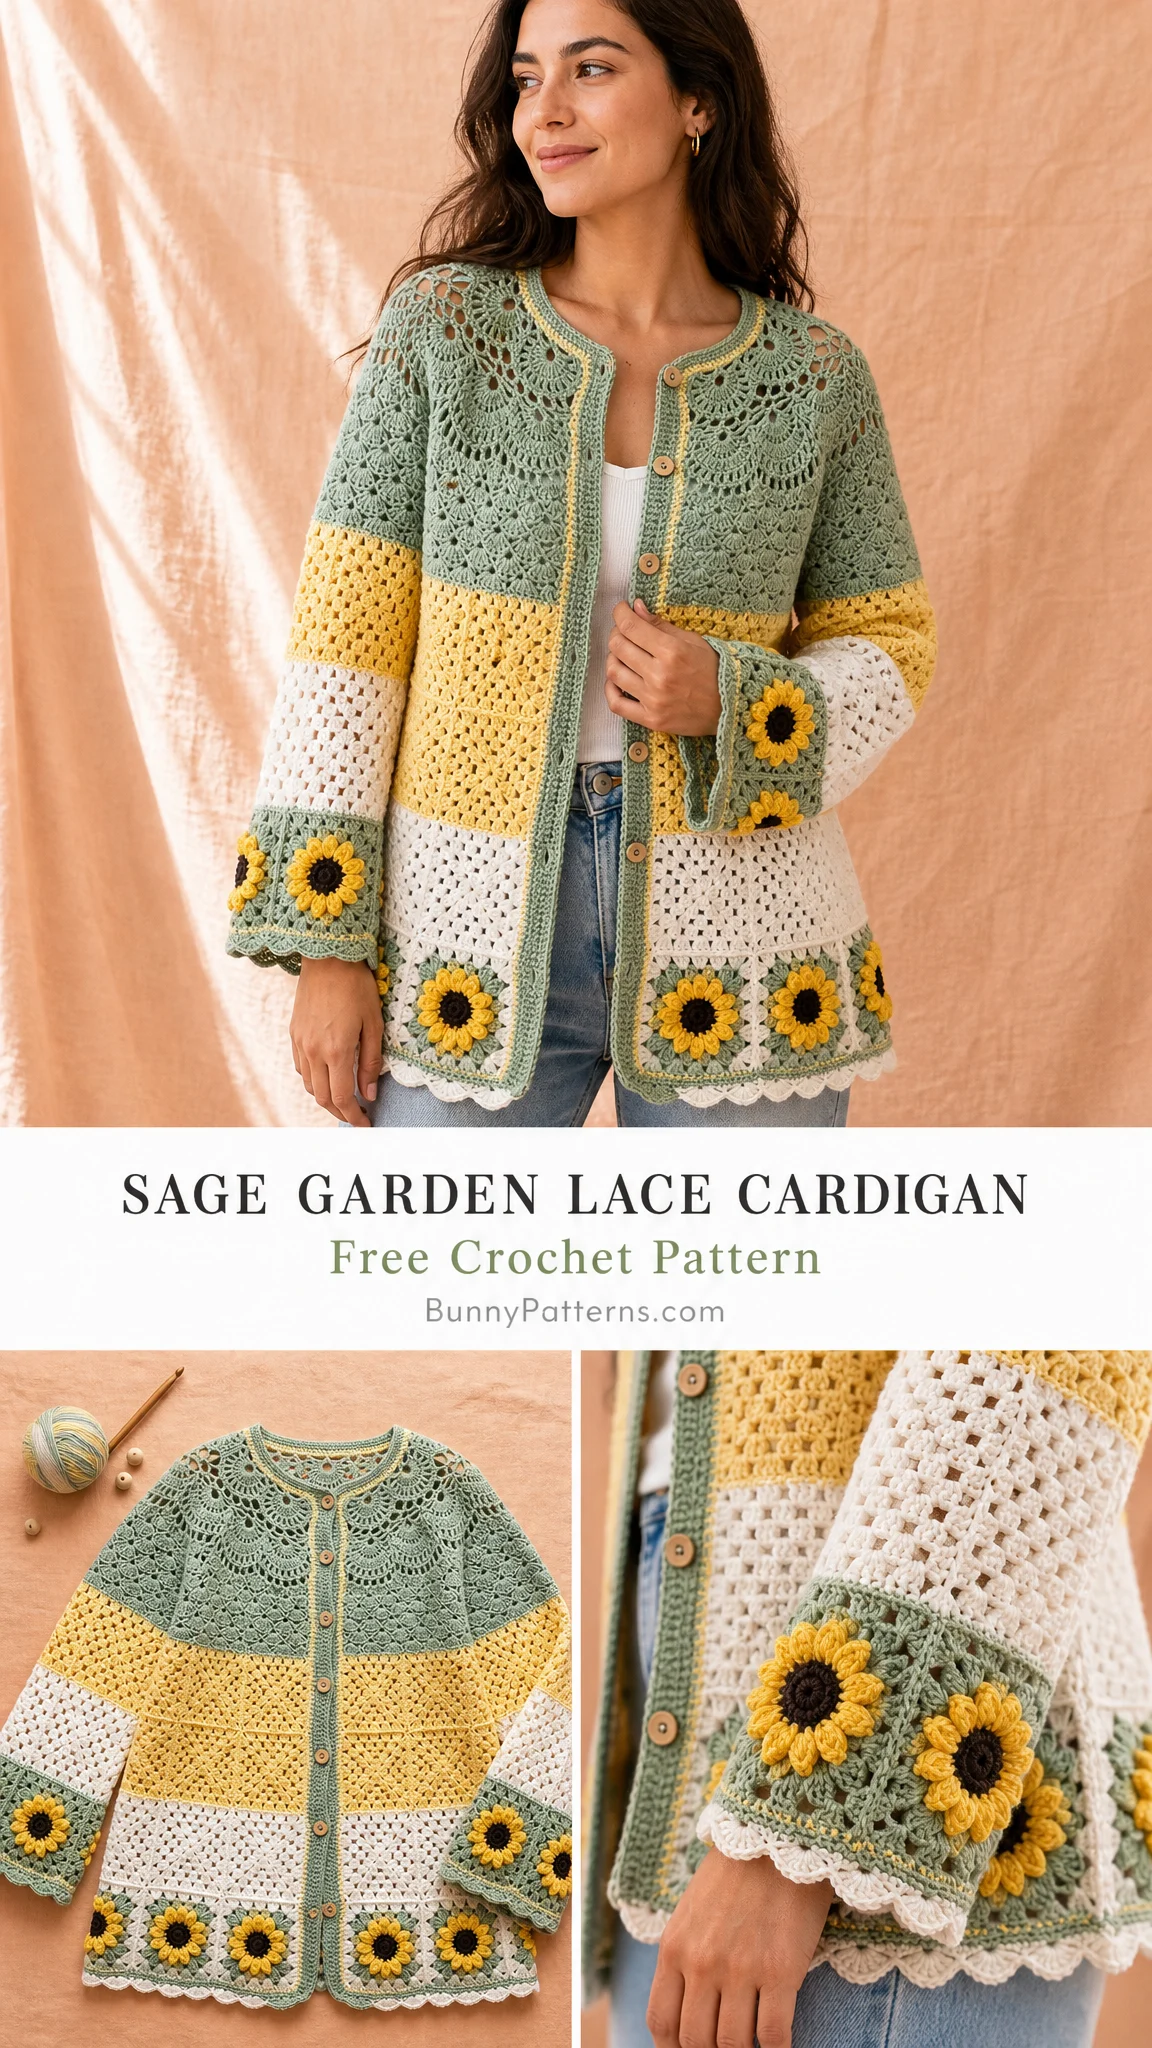
About This Beautiful Crochet Cardigan Pattern
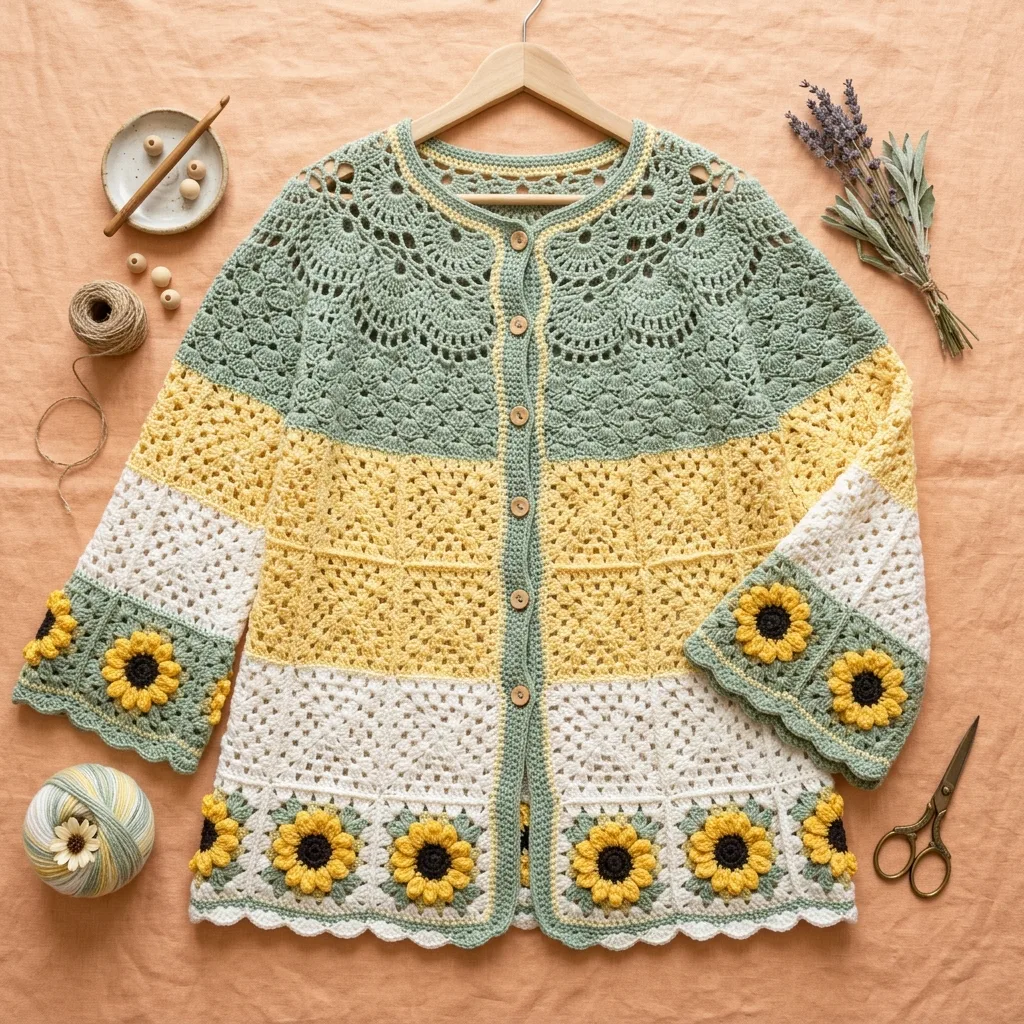
This dreamy cardigan is worked from the neckline down in turned rows, starting with a rounded raglan style lace yoke. Once you reach the underarms, you separate the body and sleeves, then continue the body with airy A-line lace stripes in butter yellow and cream. The real magic happens at the hem, where a row of hand crocheted sunflower granny motifs creates that unforgettable garden border effect.
The sleeves follow the same approach. You work them from the armholes toward the cuff, adding matching sunflower motifs and a sweet scalloped edge to finish everything off beautifully.
Finished measurements:
This pattern uses US crochet terms throughout. There is one relaxed adult size with detailed customization notes so you can adjust the width and length to fit your body perfectly.
Skill Level
This crochet cardigan pattern is rated intermediate. You should be comfortable with lace repeats, color changes, motif joining, and basic garment finishing techniques. If you have made a few garment projects before and understand how raglan shaping works, you will do wonderfully with this pattern.
Do not let the word intermediate scare you! The pattern includes checkpoints throughout so you can verify your stitch counts and measurements as you go. If something looks off, you will catch it early.
Materials You Will Need
Yarn: DK weight or light worsted cotton, or a cotton bamboo blend. You will need approximately 1,120 yards / 1,025 meters total.
Color breakdown:
Yarn suggestions: Paintbox Cotton DK, Lion Brand Coboo, or Scheepjes Catona held to gauge. You want a smooth plant fiber yarn that blocks open nicely and shows the lace clearly.
Hook: US H-8 / 5 mm, or whatever size you need to achieve gauge.
Additional supplies:
UK crocheters: US double crochet (dc) equals UK treble (tr). US single crochet (sc) equals UK double crochet (dc).
Gauge Information
Getting gauge right is essential for garment projects, so please swatch before diving in!
Blocked gauge in lace: 12 double crochet (dc) and 8 rows equals 4 inches / 10 cm.
One sunflower square after blocking: 4 inches / 10 cm across.
Match both your stitch gauge and row gauge before starting. If your swatch is too big, try a smaller hook. If it is too small, go up a hook size.
Helpful checkpoints:
Abbreviations and Stitch Definitions
Let me walk you through every abbreviation used in this pattern. Even if you know these already, it helps to have everything in one place!
beg = beginning
ch = chain (wrap yarn over hook and pull through the loop on your hook)
ch-sp = chain space (the gap created by a chain in the previous row)
dc = double crochet (yarn over, insert hook, pull up a loop, yarn over and pull through 2 loops, yarn over and pull through remaining 2 loops)
fdc = foundation double crochet (creates a chain and double crochet row at the same time)
hdc = half double crochet (yarn over, insert hook, pull up a loop, yarn over and pull through all 3 loops)
rep = repeat
rnd = round
RS = right side
sc = single crochet (insert hook, pull up a loop, yarn over and pull through both loops)
sl st = slip stitch (insert hook, pull yarn through stitch and loop on hook)
sk = skip
sp = space
st/sts = stitch/stitches
tr = treble crochet
WS = wrong side
yo = yarn over
Special Stitches for This Cardigan Pattern
Foundation Double Crochet (fdc): This clever technique creates your starting chain and first row of double crochet at the same time, giving you a stretchy, flexible edge. Chain 3, yarn over, insert hook in the first chain, pull up a loop, chain 1, yarn over and pull through 2 loops, yarn over and pull through 2 loops. For each following stitch, insert your hook under the chain 1 base of the previous stitch and complete a double crochet.
V-stitch: Work (dc, ch 1, dc) in the same stitch or space. This creates a little V shape.
Shell: Work 5 dc in the same stitch or space. Shells create beautiful scalloped texture.
Picot: Chain 3, slip stitch in the third chain from hook. This creates a tiny decorative bump.
Scallop Edging: In the indicated space, work (sc, hdc, 3 dc, hdc, sc). This creates a lovely rounded scallop shape.
Note for left handed crocheters: You can work these same instructions in the opposite direction. Your marker positions and stitch counts will remain the same.
The Yoke: Worked Flat
Using sage yarn, foundation double crochet 70 stitches. Place markers after 11 stitches, 12 stitches, 24 stitches, and 12 stitches. You will have 11 stitches remaining for the second front. Turn after every row. The chain 3 counts as 1 dc throughout the yoke.
Row 1: Dc across, keeping markers between sections. (70 dc total: 11 | 12 | 24 | 12 | 11)
Rows 2 through 15: Work in lace pattern to each marker. In each marker space, work (dc, ch 2, dc) for your raglan increases.
Yoke lace rhythm explained:
Stitch count progression:
Checkpoint after Row 15: Fronts should have 25 stitches each, sleeves 40 stitches each, and back 52 stitches. Total: 182 dc.
Separating the Body and Working the Lace Stripes
Body setup row (RS): Work 25 front stitches, chain 12 for underarm, skip 40 sleeve stitches, work 52 back stitches, chain 12 for underarm, skip 40 sleeve stitches, work 25 front stitches. Turn. (126 body sts)
Body Row 1: With butter yellow, dc across and increase 18 stitches evenly by working 2 dc in every 7th stitch or chain 18 times. (144 dc)
Rows 2 through 8 (Butter Yellow): Repeat lace row: *dc in next 2, ch 1, sk 1, dc in next 3; repeat from * across. (144 sts)
Rows 9 through 18 (Cream): Continue the same lace repeat, working dc into dc and chain spaces on return rows. (144 sts)
Rows 19 through 20 (Sage): Dc in each stitch and chain space to create a firm joining band. (144 dc)
Body checkpoint: The body from underarm to lower edge should measure about 10 inches / 25.5 cm before adding motifs. Your lower edge should have exactly 144 dc, which divides perfectly into 12 stitches for each of your 12 body motifs.
Button Band and Neck Band
With sage, join yarn at the lower right front. Work 1 sc in each row end up the right front, 2 sc in each neck corner, 1 sc in each fdc around the neck, and 1 sc in each row end down the left front. Work 2 more sc rows.
Buttonhole row on right front: Sc to lower edge position, *ch 2, sk 2, sc evenly for about 2 inches / 5 cm; repeat from * for 6 buttonholes; sc to neck.
Next row: Sc in each sc and 2 sc in each ch-2 space.
Pick up ratio tip: Use approximately 3 sc for every 4 row ends along front edges. If your band ripples, use fewer picked up stitches. If it pulls in, use more.
Sunflower Granny Motif Pattern
Make 12 motifs for the body hem and 8 motifs for the sleeve cuffs. Block each motif to 4 inches / 10 cm square. Each side ends with 12 sc for clean joining.
Round 1 (Dark Brown): In a magic ring, ch 2, 12 hdc in ring, sl st to join. (12 hdc)
Round 2 (Dark Brown): Ch 1, 2 sc in each stitch around, sl st to join. (24 sc)
Round 3 (Sunflower Yellow): *Sl st in next st, ch 3, 3 dc in same st, ch 3, sl st in same st, sl st in next st; repeat from * around. (12 petals)
Round 4 (Sage): Join behind petals. *Sc between petals, ch 4; repeat from * around, sl st to join. (12 ch-sps)
Round 5 (Sage): Ch 3, 2 dc in same sp, *3 dc in next sp; repeat around, placing (3 dc, ch 2, 3 dc) in every third space for corners. (48 dc plus corners)
Round 6 (Cream): Sc in each dc, working (sc, ch 2, sc) in each corner. (12 sc per side)
Joining the motifs: Join body motifs into a strip of 12 squares using mattress stitch or a flat slip stitch join. Pin one motif side to every 12 body stitches, then whipstitch or slip stitch through matching loops. Join sleeve cuff motifs into two strips of 4 squares each.
Flower placement tip: Center the first body flower at the lower front edge, then continue evenly around the hem so the motifs form a continuous garden border.
Working the Sleeves
Return the held sleeve stitches to your hook with RS facing. Join sage at center underarm. Work 12 dc into the underarm chain and 40 dc across held sleeve stitches. Join with sl st for rounds. (52 dc)
Rounds 1 through 4 (Sage): Dc in each stitch around. (52 dc)
Round 5: Dc2tog over first 2 stitches, dc to last 2 stitches, dc2tog. (50 dc)
Rounds 6 through 9: Dc in each stitch around. (50 dc)
Round 10: Dc2tog over first 2 stitches, dc to last 2 stitches, dc2tog. (48 dc)
Rounds 11 through 12 (Cream): Work lace repeat *dc in next 2, ch 1, sk 1, dc in next 3; repeat around. (48 sts)
Round 13 (Sage): Dc in each stitch and chain space. (48 dc)
Join one strip of 4 sunflower motifs to each cuff, matching 12 sleeve stitches to the top side of each motif. Seam the motif strip into a ring, then join to the sleeve. Repeat for the second sleeve.
Scalloped Edge
With sage, work around the lower hem and cuffs: *sc in next corner or motif join, sk 1, shell in next st, sk 1; repeat around, adjusting at corners to keep the edge flat. Work a picot at the center dc of every other shell if desired.
Symmetry check: Both sleeves use the same decrease rounds and the same 4 motif cuff strip, so your cuffs will match in circumference and flower spacing.
Finishing and Blocking Your Cardigan
Weave in all ends by color area. Sew buttons opposite the buttonholes.
Wet block the cardigan flat: Open the lace gently, square the motif strip, and pin the front bands straight. Let it dry completely before wearing. This step makes a huge difference in how professional your finished cardigan looks!
Care Instructions
Hand wash in cool water with gentle wool or cotton wash. Roll in a towel to remove excess water. Lay flat to dry. Store folded to protect the lace yoke and flower motifs.
Size Customization Notes
Adjusting width: For more bust width, add body increases after separation in multiples of 12 stitches. Each 12 stitches adds about 4 inches / 10 cm and allows one extra motif. For less width, reduce Body Row 1 increases by 12 stitches and remove one body motif for each 12 stitches removed.
Adjusting length: Add or remove body lace rows before the sage joining band. Two rows change the length by about 1 inch / 2.5 cm. For longer sleeves, add plain dc rounds before Round 10, keeping the final cuff count at 48 stitches.
Troubleshooting Common Issues
Yoke cups or ripples: Block first. If still rippled, use a smaller hook for yoke rows or reduce looseness in corner chain spaces.
Body lace repeat will not line up: Check Body Row 1 count. It must be 144 stitches, which is divisible by both 6 and 12.
Motif strip too long: Re-block motifs to exactly 4 inches / 10 cm, or remove one body width repeat and one motif.
Front band waves: Use the 3 stitches per 4 row ends pick up ratio and steam block lightly.
Quick Stitch Count Reference
Keep this handy as you work through your cardigan:
Construction Order Summary
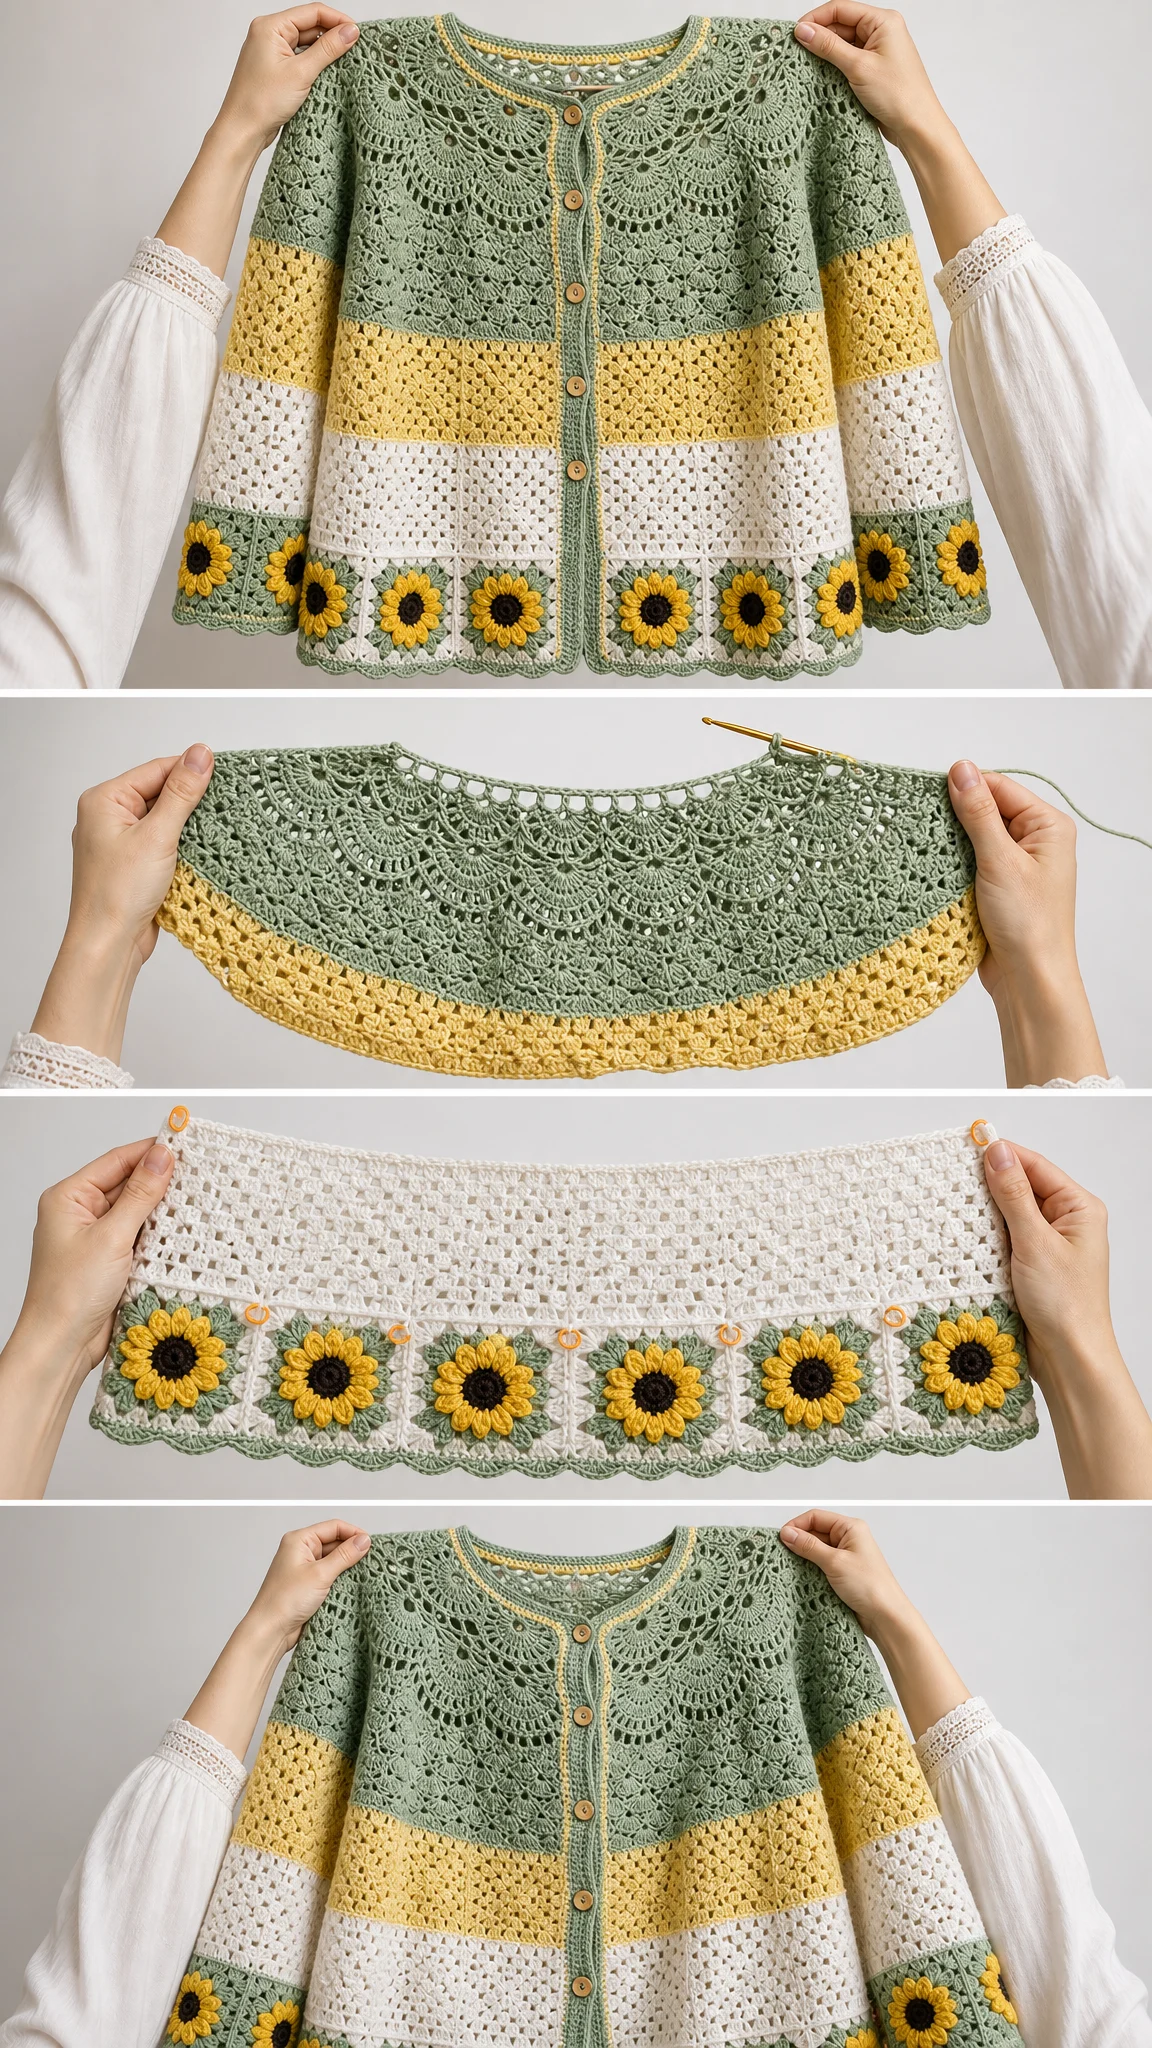
1. Work the sage yoke flat from the neckline down
2. Separate sleeves and body at the underarm chains
3. Work yellow and cream body lace stripes, then a sage joining band
4. Make and block sunflower motifs
5. Join body motif strip to lower edge
6. Work sleeves down, decrease to cuff count, and join cuff motifs
7. Add front bands, buttonholes, scallops, buttons, and blocking
I really hope you love making this Sage Garden Lace Cardigan as much as I loved designing it! If you make one, please save this pattern to your Pinterest boards so you can find it again easily, and I would absolutely love to see your finished cardigan in the comments below. Happy crocheting!
Want a Quick & Easy Printable Version?
Get a clean, beautifully formatted PDF of this pattern — easy to follow step by step, ready to print or save on any device. No scrolling, no distractions, just the pattern.
Get the Printable PDF →You Might Also Like
- Blush Pink Floral Crochet Gladiator Sandals Free Pattern
- Dusty Rose Cable Cuff Slipper Boots Free Crochet Pattern
- Dusty Rose Open Weave Crochet Bolero Free Pattern
- Sage Green Mesh Tie Cardigan Free Crochet Pattern