
I’ve been looking for the perfect textured handbag pattern for months, and this one has become my absolute favourite. The bobble stitch creates such a gorgeous quilted effect, and that coral colour paired with cream trim? Chef’s kiss. This is the kind of project that looks incredibly impressive but comes together more smoothly than you’d expect.
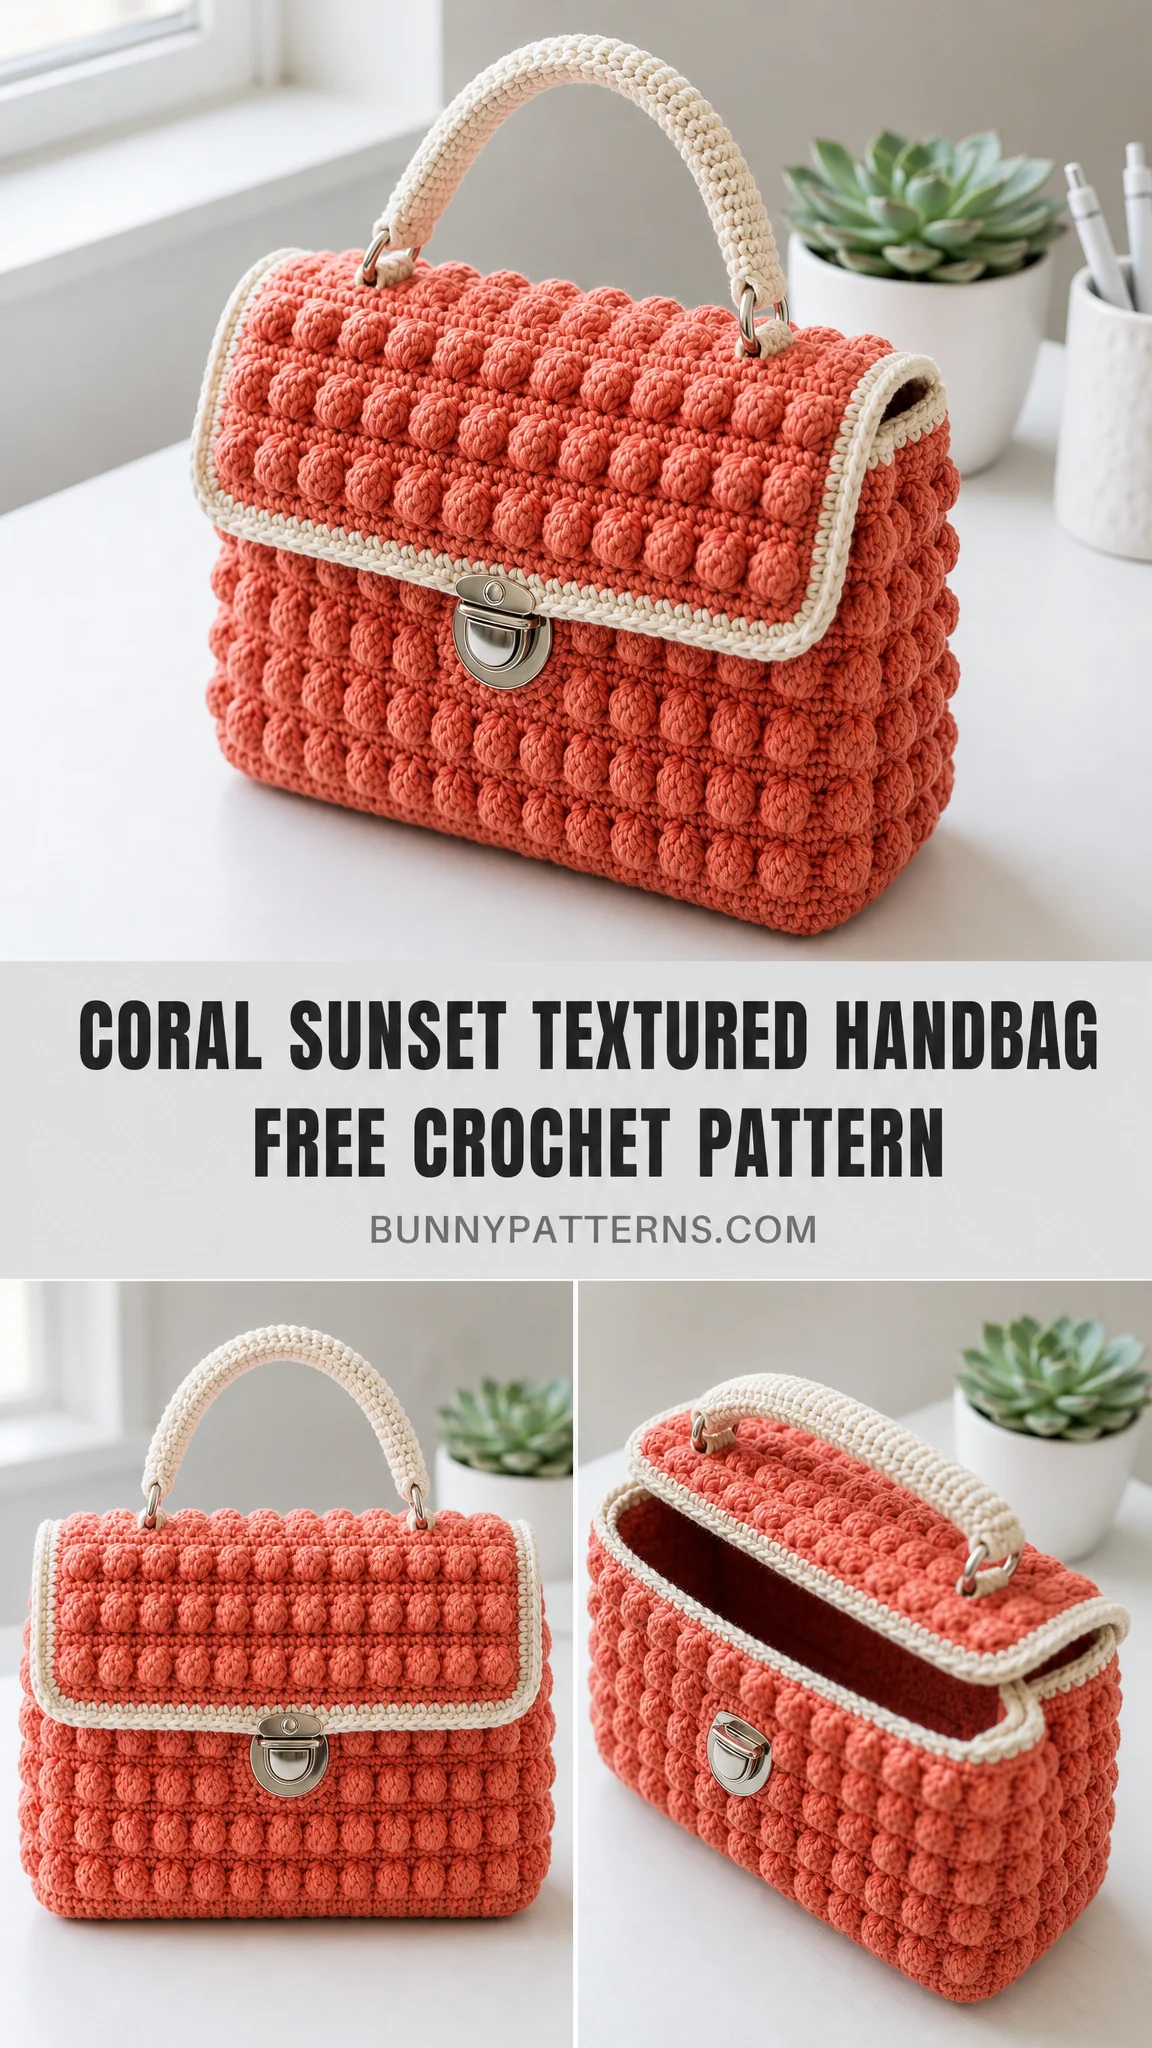
If you’ve ever wanted to crochet your own handbag with actual structure and hardware, this is the pattern to try. The construction is clever, working from a rectangular base up through the sides, then adding a textured flap and sturdy handle. It’s intermediate level, yes, but I’ll walk you through every step so you feel confident the whole way.
What Makes This Handbag Special
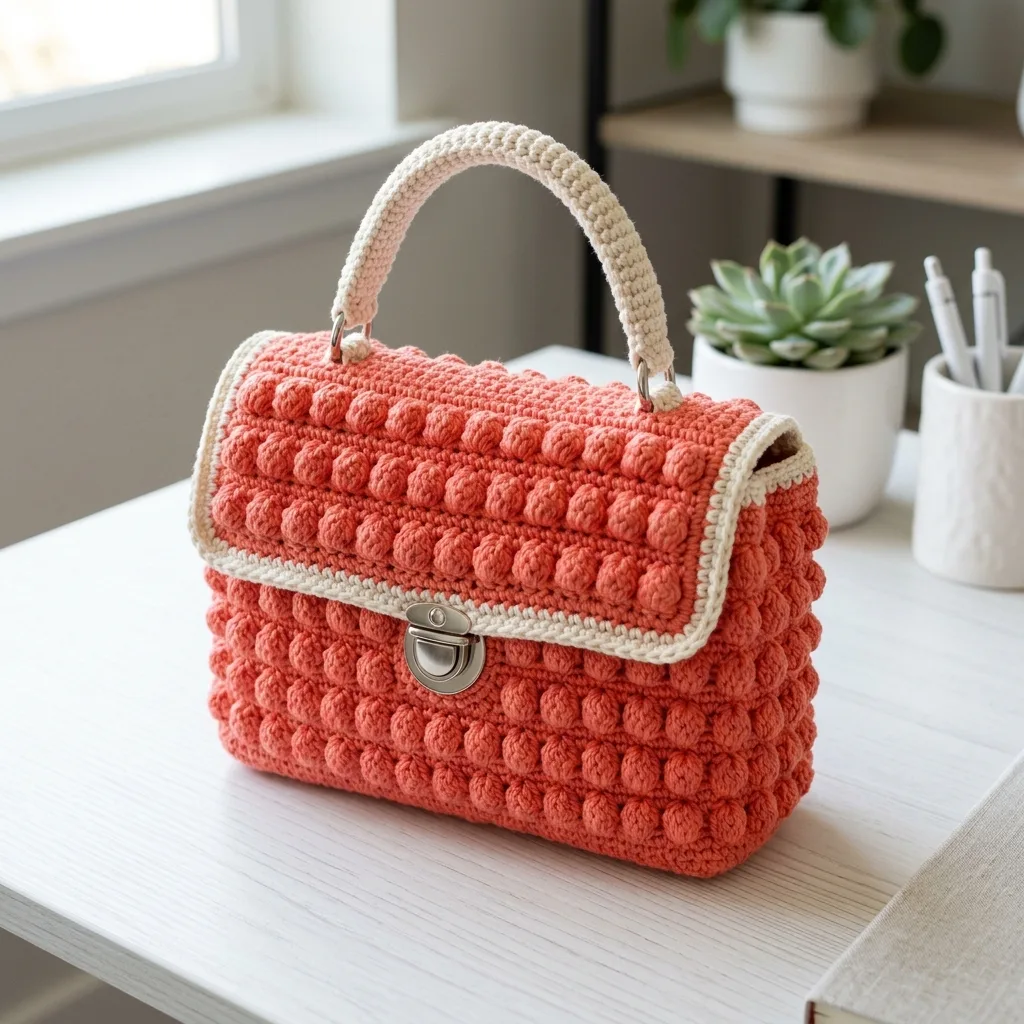
The bobble stitch is the star here. Those little textured bumps catch the light beautifully and give the bag a luxurious, almost designer feel. Combined with the structured shape, metal clasp closure, and cream contrast trim, this handbag looks like something you’d find in a boutique.
The finished bag measures approximately 20 x 15.5 x 8 cm (7.9 x 6.1 x 3.1 inches), which is the perfect size for everyday essentials. It’s roomy enough for your phone, wallet, keys, and a few extras without being bulky.
Materials You’ll Need
Before you start, gather everything so you’re not hunting for supplies mid-project. Here’s your complete list:
Yarn:
Tools:
Hardware:
Cotton yarn works best for bags because it holds its shape and doesn’t stretch out over time. A cotton blend would work too, but avoid anything too soft or slippery.
Gauge Information
Getting your gauge right matters here because it affects the final size and structure of your bag.
18 single crochet stitches x 20 rows = 4 inches (10 cm)
Work a small swatch in single crochet before you begin. If your swatch is too big, try going down a hook size. If it’s too small, go up. Taking five minutes to check gauge saves hours of frustration later.
Stitch Abbreviations and Definitions
Let me break down every stitch you’ll use in this pattern:
ch = chain: Wrap yarn over hook, pull through loop on hook. This creates your foundation.
sc = single crochet: Insert hook into stitch, yarn over and pull up a loop (2 loops on hook), yarn over and pull through both loops.
yo = yarn over: Wrap the yarn around your hook from back to front.
bo = bobble stitch: This is your special texture stitch. Here’s exactly how to work it: *Yarn over, insert hook into stitch, pull up a loop, yarn over and draw through 2 loops.* Repeat this sequence five times in the same stitch. You’ll have 6 loops on your hook. Yarn over and draw through all 6 loops at once. The bobble will pop out on the opposite side of your work.
st(s) = stitch(es)
rnd(s) = round(s)
R = row
This pattern uses US crochet terminology. If you typically work from UK patterns, remember that US single crochet equals UK double crochet.
Pattern Notes Before You Begin
A few things to keep in mind as you work:
The stitch counts are shown at the end of each row or round in parentheses. Always count your stitches to make sure you’re on track.
The body texture (bobble stitch) is worked on the visible rows only. Support rounds of single crochet alternate with the textured rounds.
All seams are joined using whip stitch for a clean finish.
The base is worked flat in rows, then you’ll work around the entire rectangle to build up the sides in continuous rounds.
Step by Step Instructions
The Base
The base forms the bottom of your handbag and creates the foundation for everything else.
Foundation: Chain 37.
Row 1: Single crochet in the 2nd chain from hook and in each chain across. (36 sts)
Rows 2 through 10: Single crochet in each stitch across. (36 sts)
At the end of Row 10, you should have a neat rectangle. This is your bag bottom.
Building the Body
Now you’ll work around the entire base rectangle to create the bag walls.
Setting up the round: Work around the rectangle, increasing 3 single crochet stitches in each corner. You’re establishing 92 stitches around the entire perimeter.
To do this, work across the long edge (36 sts), then 3 sc in the corner stitch, work up the short edge, 3 sc in the next corner, across the second long edge (36 sts), 3 sc in the corner, up the remaining short edge, and 3 sc in the final corner. Place a stitch marker to mark the beginning of your round.
Rounds 1 through 16: Work in the bobble pattern, alternating with single crochet support rounds.
For the bobble rounds, you’ll work: *sc in first stitch, bobble in next stitch* and repeat around. The support rounds are simply single crochet in every stitch.
Checkpoint: After completing the 16 rounds, your bag body should measure approximately 15.5 cm (6.1 inches) in height. If you’re significantly off, check your gauge and tension.
Creating the Flap
The flap extends from the back panel and folds over to close with the clasp.
Work across 36 stitches on the back panel only. You’ll now be working in rows rather than rounds.
Rows 1 through 14: Continue in bobble texture stitch, maintaining 36 stitches in each row.
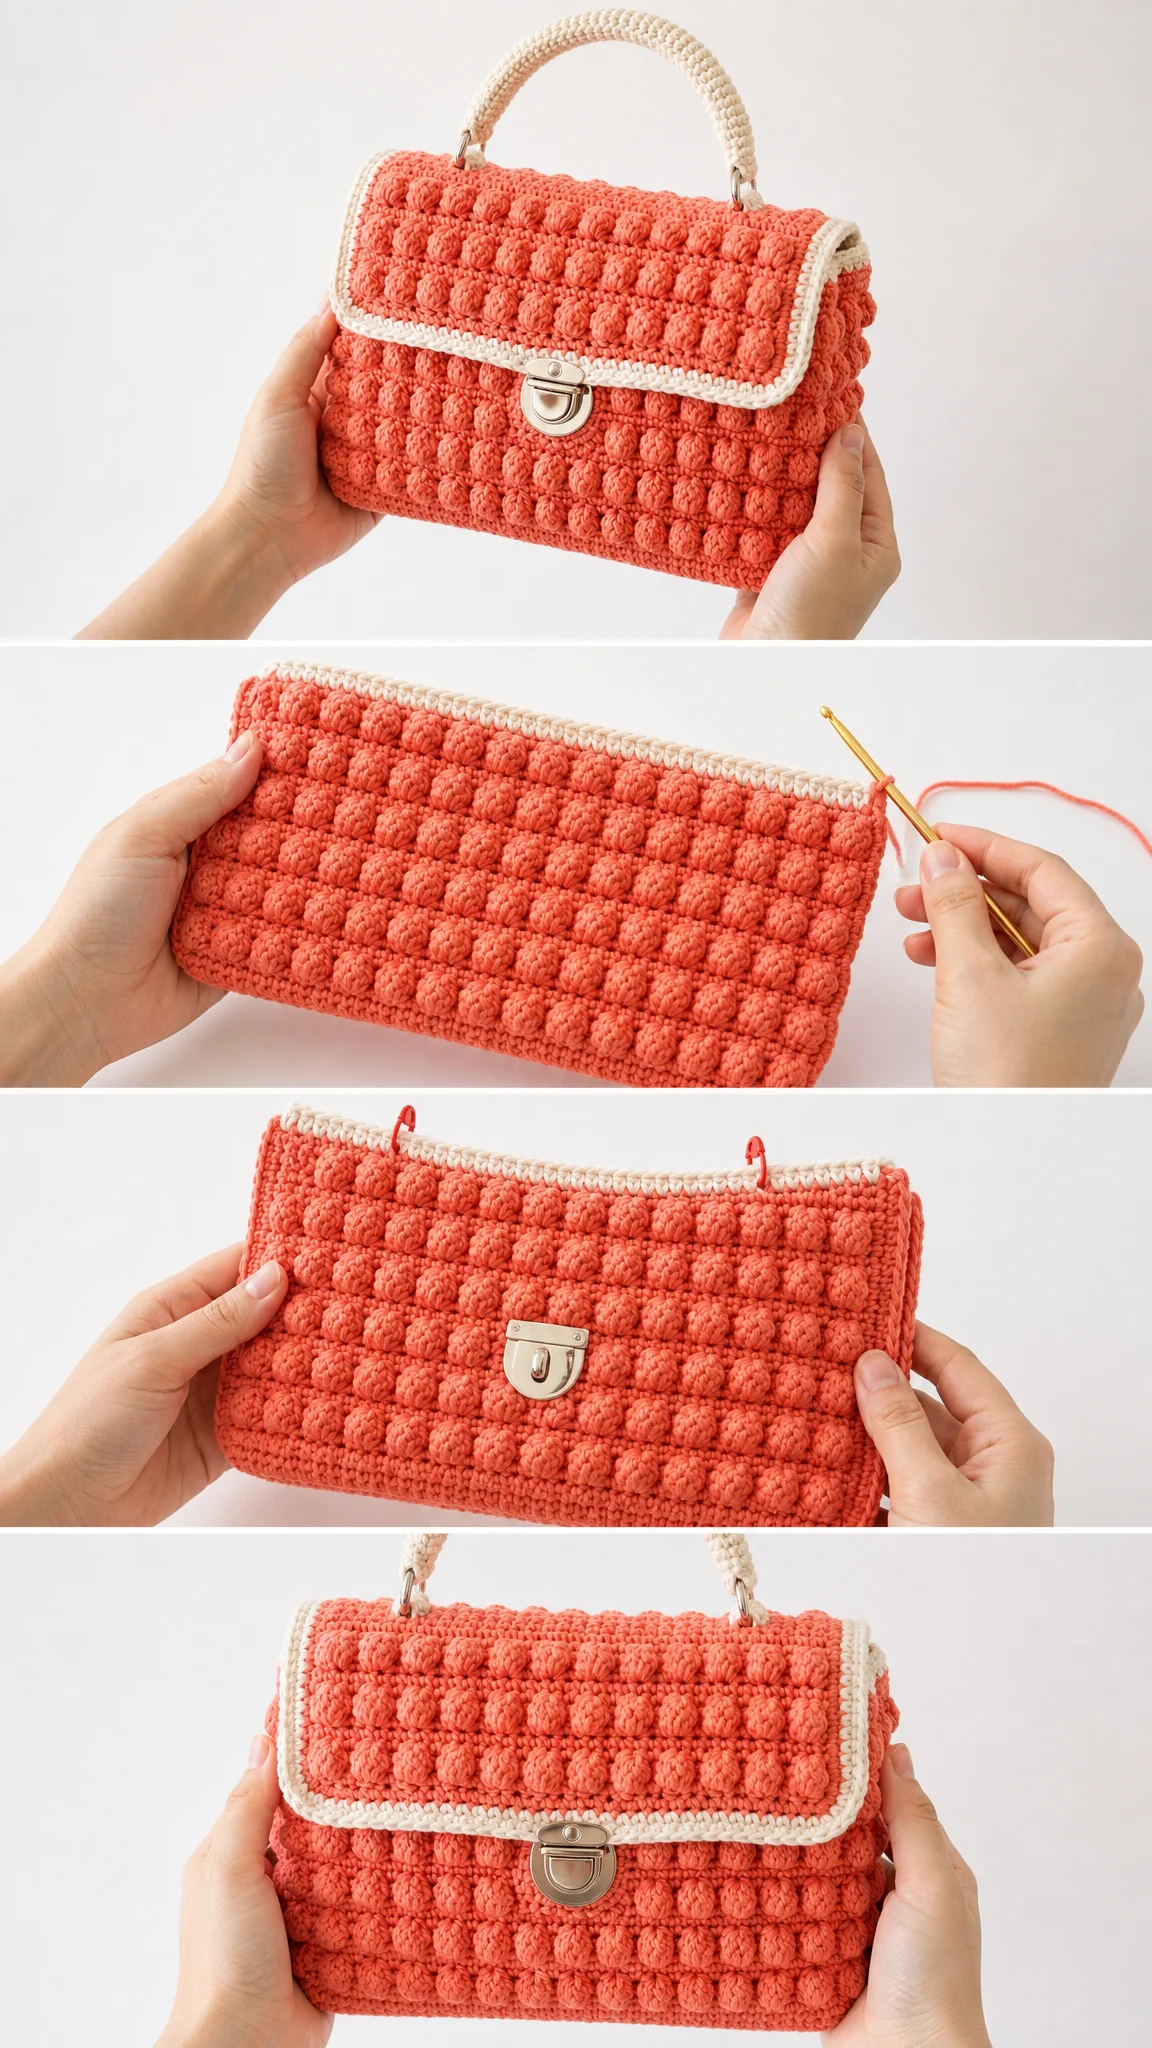
Border: Join cream yarn and work 1 round of single crochet around the entire flap edge. This creates that beautiful contrast trim you see in the photos.
Making the Handle
The handle is worked separately, then attached to the D-rings.
Foundation: Chain 61 with cream yarn.
Work 60 single crochet stitches around the chain, creating a tube shape. Some crocheters like to work over a cord or rope core for extra sturdiness. This is optional but recommended if you plan to carry heavier items.
Attach each end of the handle securely to your D-rings.
Assembly
This is where your handbag really comes together.
1. Seam the gussets: Use whip stitch to close any gaps at the side panels where the corners meet.
2. Attach the D-rings: Secure them firmly to the top edges of the side gussets. Make sure they’re positioned evenly on both sides.
3. Install the metal clasp: Position the bottom half of the clasp on the front panel, aligned with where the flap naturally falls. Attach the top half to the underside of the flap.
4. Attach the handle: Loop the handle ends through the D-rings and secure firmly.
5. Weave in all ends: Take your time with this. Loose ends can work themselves free with use, so weave them through several stitches and trim close.
Finishing Touches
Blocking: Give your finished bag a light steam block to even out the stitches. Don’t press directly on the bobbles or you’ll flatten that gorgeous texture.
Lining (optional): For a more polished interior and added structure, cut fabric to fit inside the bag and hand stitch it in place. This also prevents items from poking through the crochet fabric.
Helpful Tips for Success
Tension matters. For bags, you want your tension slightly tighter than usual. This prevents gaps and helps the bag hold its shape.
Count often. Especially during the bobble rounds, it’s easy to accidentally skip a stitch. Count at the end of every round until you’re confident in the rhythm.
Mark your rounds. Use a stitch marker at the beginning of each round. Move it up as you go.
Practice the bobble first. If you’ve never made a bobble stitch, work a few practice ones before starting the bag. You want them to look consistent.
Hardware placement. Before permanently attaching the clasp, test the flap closure a few times. Make sure everything lines up naturally.
Customization Ideas
Want to make this pattern your own? Here are some ideas:
Switch the coral for any bold colour that speaks to you. Navy, mustard, sage green, or terracotta would all look stunning.
Add a longer strap in addition to the top handle for crossbody wear. Simply crochet a longer strip and attach it to the D-rings alongside the shorter handle.
Skip the bobble stitch on the sides for a smoother look, working them in single crochet only while keeping the bobble texture on the front, back, and flap.
Care Instructions
Cotton yarn is pretty forgiving, but treat your handmade bag gently.
Spot clean when needed with mild soap and cool water. Let it air dry completely, reshaping while damp if necessary. Store stuffed with tissue paper to help it keep its shape.
The metal hardware should stay looking great, but avoid leaving the bag in direct sunlight for extended periods as the coral colour may fade over time.
I really hope you love making this textured handbag as much as I do. The bobble stitch takes a little practice, but once you find your rhythm, it’s almost meditative. And the finished product? Absolutely worth every stitch.
If you make this bag, I would genuinely love to see it. Save this pattern to your Pinterest boards so you can find it when you’re ready to start, and please leave a comment below if you give it a try. Seeing your finished projects is honestly the best part of sharing patterns. Happy crocheting!
You Might Also Like
- Sage Green Mesh Tie Cardigan Free Crochet Pattern
- Ocean Wave Candy Bolster Pillow Free Crochet Pattern
- Sage Green Tiered Wall Planter Free Crochet Pattern
- Arctic Ice Mermaid Plush Doll Free Crochet Pattern