
I call this little design "Rosie the Rabbit Romper," and she’s been living in my pattern notebook for almost two years now. I originally sketched her out when my best friend announced she was expecting, and I wanted to create something that felt special without being fussy. The combination of that dusty rose color and the sweet bunny face just made my heart melt.
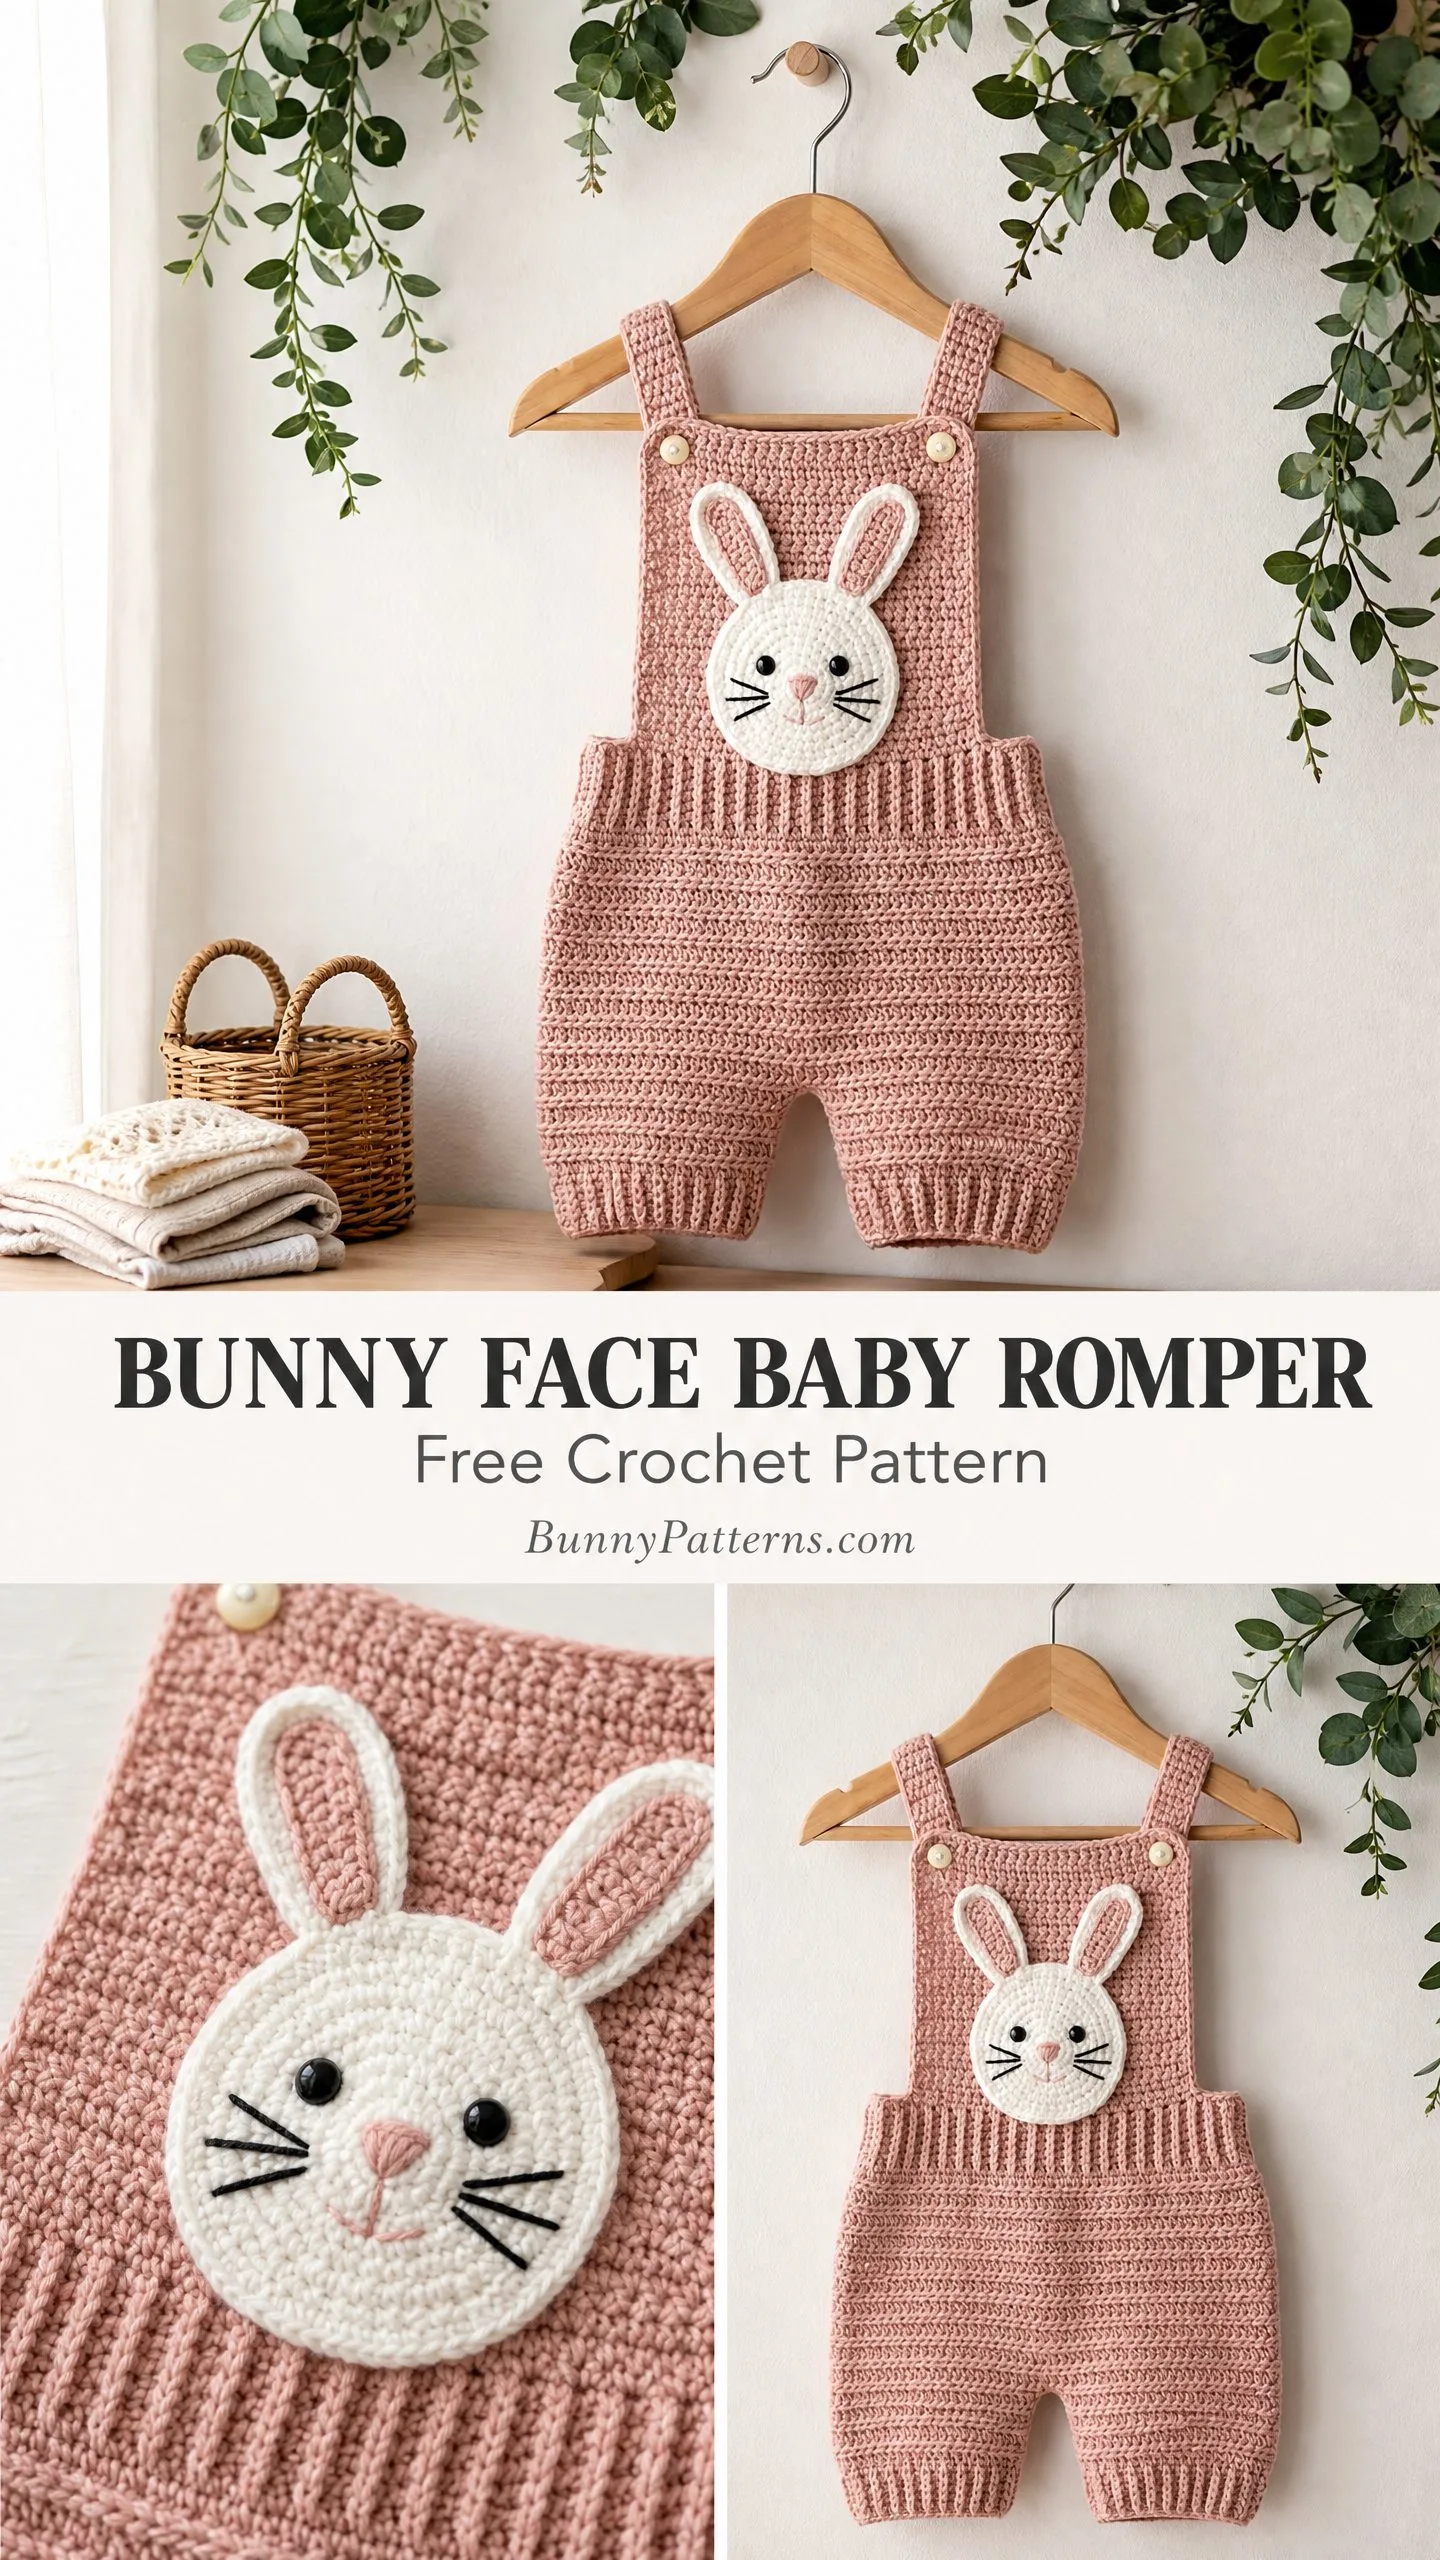
When I finally sat down to work out all the details, I spent hours getting the proportions just right. The bib needed to be tall enough to showcase that adorable bunny face, but not so tall that it overwhelmed a tiny baby. The straps had to be adjustable for diaper changes. And those ribbed leg openings? They needed enough stretch to be comfortable without being saggy.
This romper fits babies 3 to 6 months and works up in about 12 to 16 hours. It’s an intermediate level project, so you’ll want to be comfortable working in rows, seaming panels together, and adding applique pieces. If you’ve completed at least two garments before, you can absolutely tackle this pattern with a little patience.
Why This Crochet Baby Romper Pattern Works So Well
The construction method makes this romper much easier than it looks. You’re essentially working flat panels and then seaming them together, which means no complicated shaping or confusing decreases. The body uses half double crochet (hdc) throughout, creating that lovely horizontal texture you see in the finished piece.
The bunny face applique is worked separately and attached at the very end. This means you can take your time perfecting those sweet little ears and embroidered whiskers without worrying about messing up the garment itself.
I’ve also included button closures on the straps for easy diaper access. Trust me, new parents will thank you for this thoughtful detail.
Materials You’ll Need
Yarn: Worsted weight yarn, category 4. You’ll need approximately 350 yards (320 meters) in your main color (that gorgeous dusty rose shade) and 60 yards (55 meters) in white or cream for the bunny applique.
Some yarn suggestions that work beautifully:
Hooks:
Additional Materials:
Gauge
Getting gauge right is crucial for baby garments. A small difference adds up fast across the width of a romper.
With US J-10 (6.0 mm) hook and MC yarn: 14 stitches and 16 rows = 4 inches (10 cm) in half double crochet, measured after light blocking.
With US I-9 (5.5 mm) hook and MC yarn: 16 stitches and 18 rows = 4 inches (10 cm) in single crochet ribbing worked in back loops only.
Please make a gauge swatch. I know it’s tempting to skip, but this step saves heartache later.
Finished Measurements
Abbreviations and Stitch Definitions
Let me break down every stitch you’ll encounter:
Special Techniques
Half Double Crochet Ribbing: This creates that stretchy ribbed effect at the leg openings. You’ll work every stitch in the back loop only, which produces a flexible, textured fabric.
Invisible Join: When finishing rounds, cut yarn leaving a 6 inch tail. Thread onto yarn needle, skip the first stitch of the round, insert needle from front to back through both loops of the second stitch, then bring needle back down through the back loop only of the last stitch worked. Pull gently to match surrounding tension.
Pattern Instructions
Back Body Panel
The back panel forms the entire back of the romper, worked flat from the bottom up.
Foundation Chain: With MC and J-10 hook, ch 30.
Row 1 (WS): Hdc in 3rd ch from hook and in each ch across. Turn. (28 hdc)
Note: The turning ch-2 counts as your first hdc throughout this pattern.
Rows 2-22: Ch 2, hdc in each st across. Turn. (28 hdc)
Fasten off and weave in ends. Your piece should measure approximately 6.25 inches wide and 5.5 inches tall.
Front Body Panel
This panel is identical to the back panel.
Foundation Chain: With MC and J-10 hook, ch 30.
Row 1 (WS): Hdc in 3rd ch from hook and in each ch across. Turn. (28 hdc)
Rows 2-22: Ch 2, hdc in each st across. Turn. (28 hdc)
Fasten off and weave in ends.
Body Assembly
Now comes the satisfying part where everything comes together.
Side Seams: Place front and back panels with wrong sides together. Using MC and yarn needle, whipstitch the left side edges together from top down, then repeat for right side. Leave the top 2 inches (about 8 rows) of each side open for armholes.
Crotch Seam: With garment right sides together, fold so bottom edges meet. Whipstitch approximately 3 inches in from each outer edge, leaving the center 2.5 inches open as the crotch gap.
Turn right side out. Both leg openings should measure roughly 8 inches around.
Leg Ribbing
Each leg gets a stretchy ribbed border.
With MC and I-9 hook, join yarn at the inner crotch seam of one leg opening with sl st.
Rnd 1: Ch 1 (does not count as st), sc evenly around the entire leg opening, placing approximately 28 sc around. Sl st to first sc to join. (28 sc)
Rnds 2-4: Ch 2 (counts as first hdc), hdc in blo of each st around. Sl st to top of t-ch to join. (28 hdc)
Fasten off and weave in ends. Repeat for second leg opening.
Front Bib Panel
Foundation Chain: With MC and J-10 hook, ch 24.
Row 1 (WS): Hdc in 3rd ch from hook and in each ch across. Turn. (22 hdc)
Rows 2-18: Ch 2, hdc in each st across. Turn. (22 hdc)
Edging Row: Ch 1, sc evenly around the entire bib perimeter, placing 3 sc in each corner. Sl st to first sc to join. Fasten off.
Bib Attachment
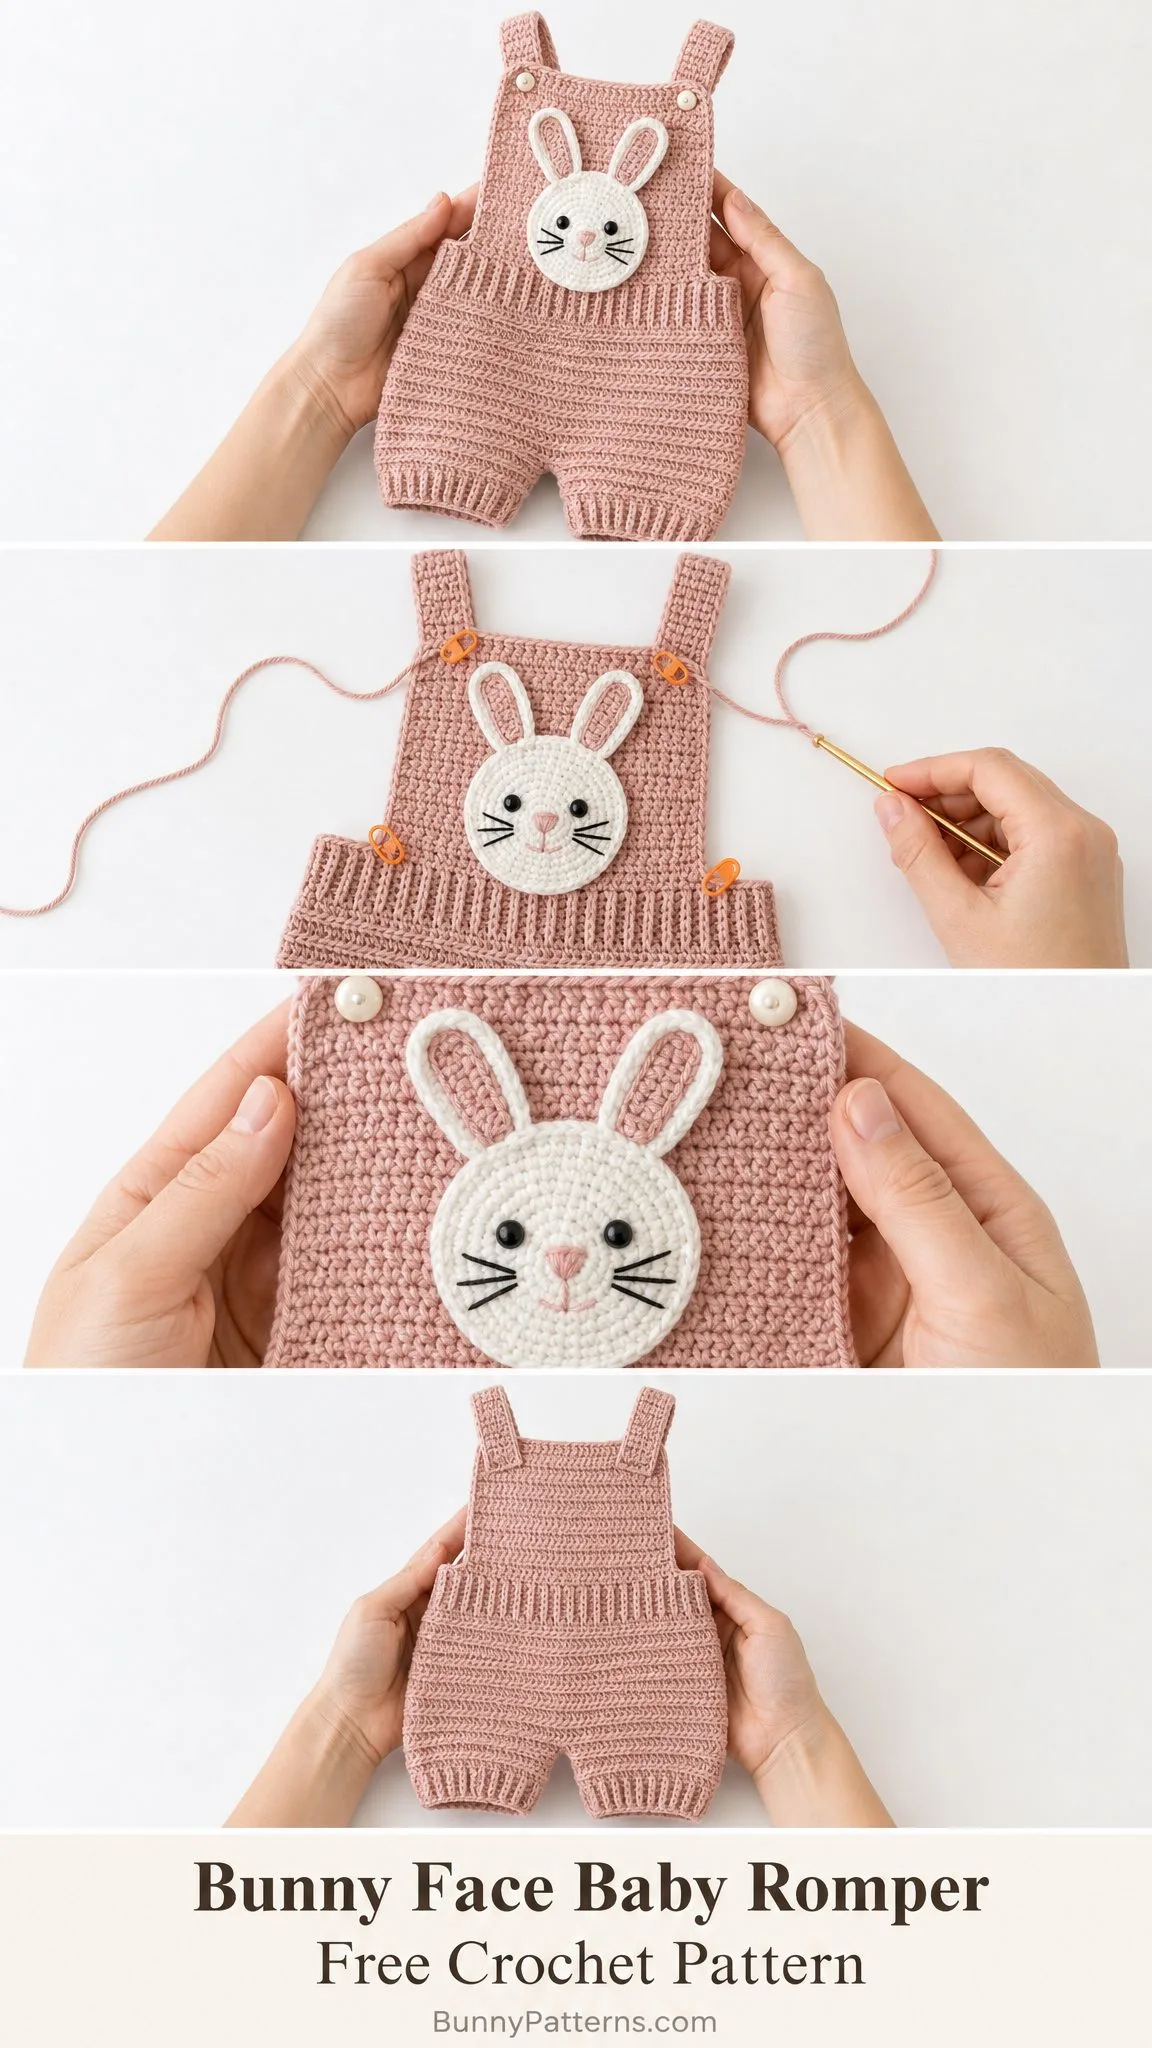
Center the bib on the front body, positioning the bottom edge at the top edge of the front panel. Whipstitch the bottom edge of the bib to the front body across all 22 stitches. Seam the lower side edges of the bib to the upper front corners at the side seams.
Shoulder Straps (Make 2)
Foundation Chain: With MC and J-10 hook, ch 7.
Row 1: Sc in 2nd ch from hook and in each ch across. Turn. (6 sc)
Row 2: Ch 1, sc in each st across. Turn. (6 sc)
Repeat Row 2 until strap measures 9 inches (approximately 36 rows).
Button Loop: At the end of the final row, ch 1, sc in each sc across to the last 2 sts, ch 4, sl st to the last sc of the row to form a small loop. (6 sc, 1 button loop)
Fasten off. Make a second strap.
Strap Attachment
Measure 5 stitches in from each side of the back top edge. Sew the flat end of each strap securely to these points on the wrong side. Bring straps over the shoulders to the front bib. Sew one button to each bib top corner and two buttons to the back top edge above the strap attachment points.
Bunny Face Applique Instructions
Bunny Head Circle
With CC and I-9 hook, make a magic ring.
Rnd 1: Ch 1, 6 sc into magic ring. Pull ring closed. Sl st to first sc. (6 sc)
Rnd 2: Ch 1, 2 sc in each st around. Sl st to first sc. (12 sc)
Rnd 3: Ch 1, (sc in next st, 2 sc in next st) around. Sl st to first sc. (18 sc)
Rnd 4: Ch 1, (sc in next 2 sts, 2 sc in next st) around. Sl st to first sc. (24 sc)
Rnd 5: Ch 1, (sc in next 3 sts, 2 sc in next st) around. Sl st to first sc. (30 sc)
Rnd 6: Ch 1, (sc in next 4 sts, 2 sc in next st) around. Sl st to first sc. (36 sc)
Rnd 7: Ch 1, sc in each st around. Sl st to first sc. (36 sc)
Fasten off, leaving a 12 inch tail. Circle should measure approximately 3 inches diameter.
Bunny Ears (Make 2)
With CC and I-9 hook, ch 9.
Row 1: Sc in 2nd ch from hook and in each ch across. Turn. (8 sc)
Row 2: Ch 1, sc2tog, sc in next 4 sts, sc2tog. Turn. (6 sc)
Row 3: Ch 1, sc2tog, sc in next 2 sts, sc2tog. Turn. (4 sc)
Row 4: Ch 1, sc2tog twice. Turn. (2 sc)
Row 5: Ch 1, sc2tog. (1 sc)
Fasten off, leaving a 10 inch tail.
Bunny Face Assembly
Position ears at the top of the head circle, centered about 0.75 inches apart. Sew ear bases to the back of the head circle.
Using black embroidery floss (3 strands), embroider two small oval eyes, each about 0.3 inches tall and spaced 0.75 inches apart.
Using pink embroidery floss, embroider a small triangular nose at center below the eyes.
Using black floss, embroider three whisker lines radiating from each side of the nose, each about 0.5 inches long.
Using pink floss, add a small upward curve below the nose for the mouth.
Applique Attachment
Center the bunny face on the front bib, positioning the center about 2 inches down from the top edge. Pin in place. Whipstitch around the entire head circle perimeter using CC. The ears will extend slightly above the bib top.
Size Adjustments
For 0 to 3 months: Reduce body panel chains by 4 (to ch 26, giving 24 hdc). Reduce bib chain by 2 (to ch 22, giving 20 hdc). Reduce body panel rows by 4. Shorten straps by 1 inch.
For 6 to 12 months: Increase body panel chains by 4 (to ch 34, giving 32 hdc). Increase bib chain by 4 (to ch 28, giving 26 hdc). Add 4 rows to each body panel. Lengthen straps by 1.5 inches. Increase leg ribbing to 32 sc per opening.
Finishing and Care
Weave in all ends securely. Check button attachments by gently pulling each strap.
For blocking, wet block by submerging in cool water for 10 to 15 minutes, then lay flat to dry. For acrylic yarns, steam block by holding a steamer about 1 inch above the fabric.
Machine wash on gentle cycle in cold water. Use baby safe detergent. Lay flat to dry. Do not tumble dry.
I really hope you love making this sweet little romper as much as I loved designing it. If you create your own Rosie the Rabbit Romper, please save this pattern to your Pinterest boards so you can find it easily later. And I would absolutely love to see your finished projects, so drop a comment below or tag me on social media. Seeing your creations truly makes my day!
You Might Also Like
- Ocean Wave Granny Square Bag Free Crochet Pattern
- Autumn Fox Lace Crochet Sweater Free Pattern
- Pastel Rainbow Granny Square Toddler Set Free Crochet Pattern
- Ivory Pineapple Lace Girl Dress Free Crochet Pattern