
A crochet bag strap turns a plain purse into something personal, and this slim, open-worked band in oatmeal and coral pink takes only a short evening to understand and a little longer to finish.
The Crochet Bag Strap
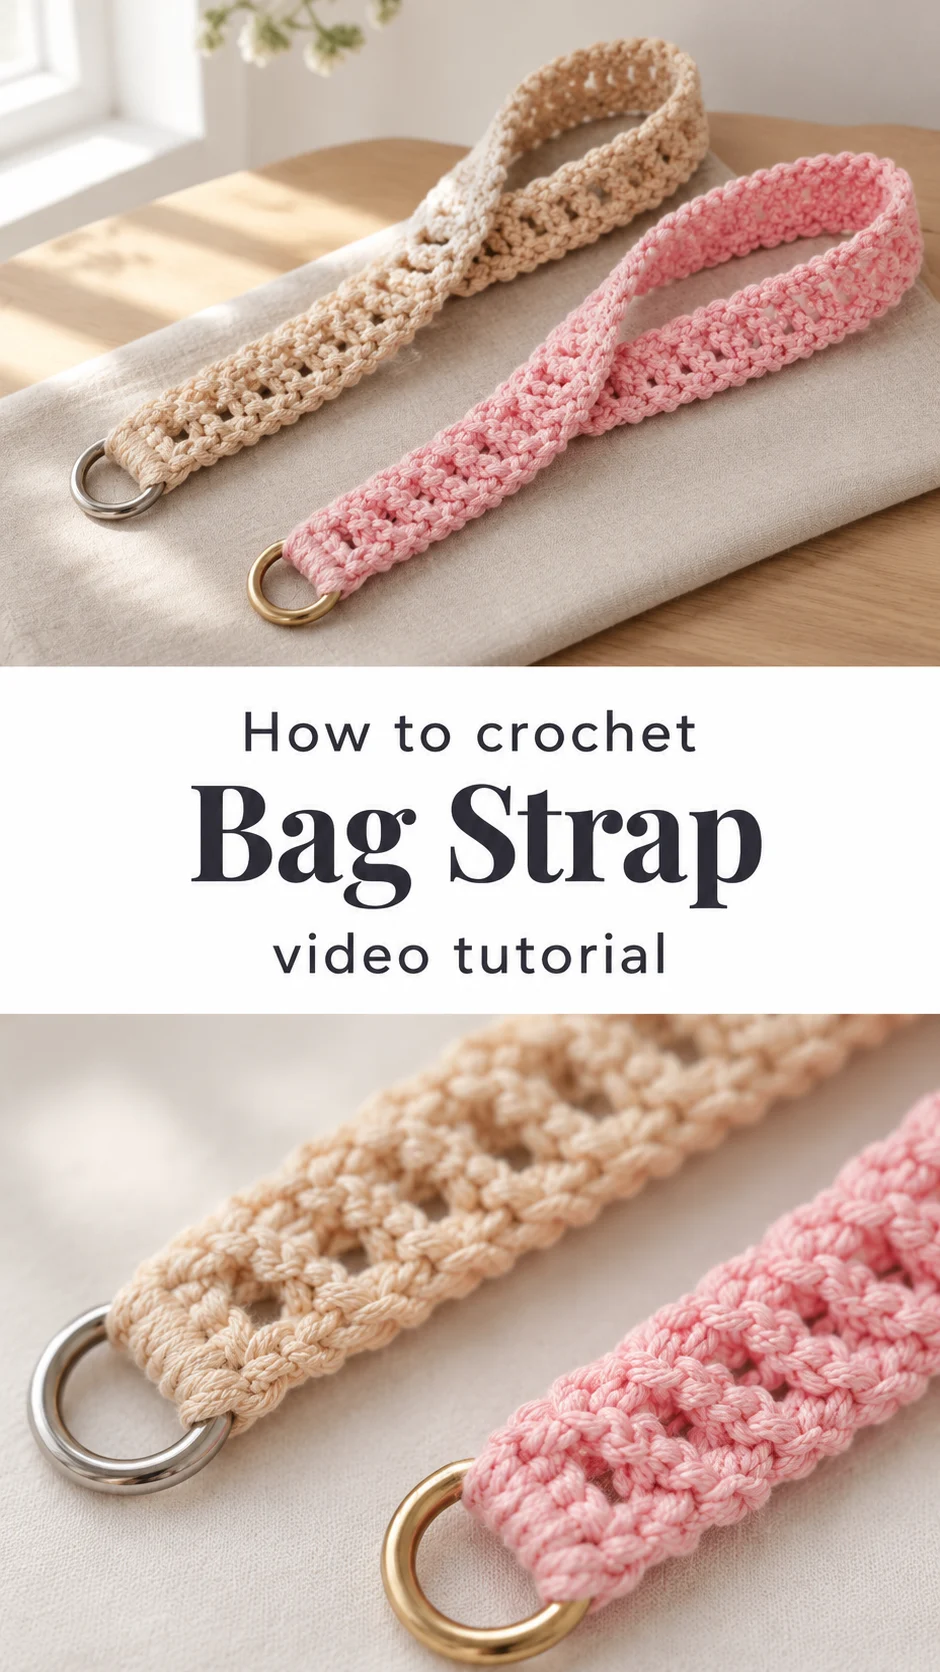
This crochet bag strap is a narrow band with a ladder-like look, built from rows of twisted, slanting stitches that frame small open windows along its length. Each end is finished around a metal ring, so the strap clips straight onto a bag, a pouch or a phone case. The fabric is flat, slim and slightly ropy, which gives it a handmade look without any bulk. The yarn appears smooth and matte, with enough body to hold the stitch definition. Two colourways show how far the design stretches: a warm oatmeal with gunmetal rings, and a soft coral pink with antique brass rings. It is a small project, yet it changes the whole character of whatever it is attached to. Short versions work as wristlets, and longer ones become shoulder or crossbody straps.
Think of it as a quick win with a real use. It suits anyone with a plain bag and a leftover ball of yarn, and it makes a thoughtful gift because the colour can be matched to the person. It also builds a useful skill: working a long, narrow strip with even edges. Short, neat, done.
Bag Strap Related Posts:
- Crochet Pillow Cover: A Charming Home Décor Accent
- Crochet Star Granny Square: A Bold Decorative Accent
- Crochet Table Motif Bedspread: A Chic Timeless Accent
- Crochet Baby Blanket: A Gorgeous and Timeless Keepsake
Materials
For a crochet bag strap like this one, choose a smooth, medium-weight cotton or cotton blend, because the stitch windows stay crisp and the band resists stretching under the weight of a bag. A hook of about 3.5 to 4 mm is a sensible general starting point, though the right size is the one that gives a firm, springy fabric when you test a short swatch. You will also need two metal rings, one for each end, in a finish that suits the colour: gunmetal looks sharp against oatmeal, while brass warms up pink. Pick rings with a solid, welded body rather than split rings, since a split ring can open under load. A tapestry needle for weaving in ends and small scissors complete the kit. If the strap will carry anything heavy, avoid very soft acrylic or fluffy yarns, because they stretch over time and the open windows lose their shape.
Understanding the Structure
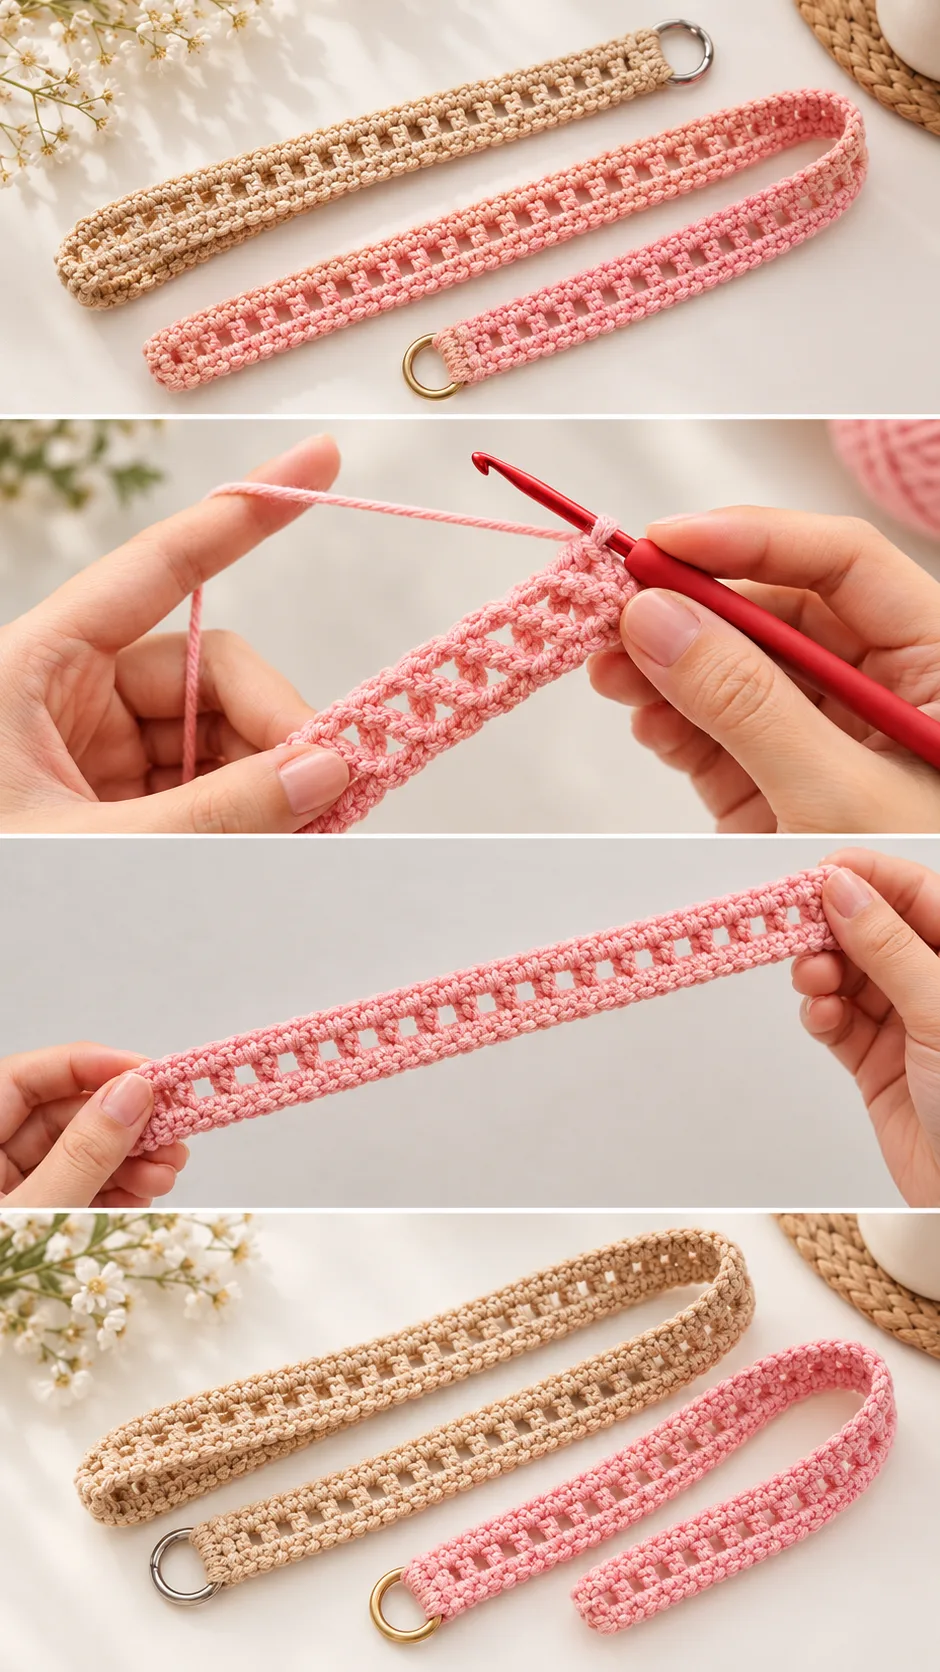
The strap is worked as one long, narrow strip, and the ladder pattern comes from a repeat that crosses over itself row after row. The slanting stitches lean in a consistent direction, which creates the diagonal rhythm you can see along both edges. The openings between them are small and evenly spaced, so the band reads as lacy but still behaves like a firm tape.
Each end wraps around a metal ring and is secured to itself, so the ring becomes part of the strap rather than a separate attachment. This matters because the join takes all the strain when the bag is carried. A loosely stitched join will gape, while a snug one stays flat against the ring.
Because the strip is narrow, its length is simply the number of repeats you work. Measure against the bag you plan to use, holding the strip against your body if it is a shoulder strap. Stretch is the variable to plan for: a band that measures right when laid flat can grow once loaded.
Stitch Texture and Tension
The open windows are the signature of this strap, and tension decides whether they look tidy or sloppy. In the photos, the windows are small and almost triangular, with the surrounding stitches sitting tight against one another. That tells you the maker worked firmly and consistently.
If your windows look uneven, the usual cause is tension drifting as you work. Check the first few repeats against the ones you have just finished, and rework early if they differ. If the strip begins to flare or narrow, count the stitches at the end of each row before moving on, so the width stays constant.
If the fabric feels floppy rather than springy, go down half a hook size. A strap that holds a bag needs more density than a decorative band. If it feels stiff and curls, go up slightly or loosen your grip on the yarn.
Keeping the Edges Straight
Long, narrow strips tend to wander at the edges. Place the turn of each row the same way every time, and avoid pulling the yarn tight at the start of a row, which creates a waist in the band. Pin the finished strip flat and look down its length: a wavy edge usually means uneven turning stitches rather than a wrong hook.
Attaching the Rings
The ring ends are the detail that makes this a working accessory. Fold the strip around the ring and join it back onto the band so the fold sits snug against the metal. Watch the video closely at this stage, pausing where the maker brings the strip around the ring, because the way the yarn is anchored decides how neat the end looks.
You have a choice between matching and contrasting hardware. Dark gunmetal rings give the oatmeal strap a modern, slightly industrial edge, while brass makes the pink version feel vintage and warm. Whichever you choose, test the ring with the clip of your bag before you commit, since the opening must be wide enough for the hardware it will meet.
If the join looks bulky, trim the tail close and weave it flat along the back of the band instead of leaving it to sit on top. If the ring wobbles in its loop, the fold was left too loose and the end is worth redoing.
How to Style a Crochet Bag Strap
The photos show the strap as a standalone band, which hints at its versatility. At full length, it works as a crossbody strap for a small canvas or leather bag, where the open texture adds softness against a plain surface.
Shorter versions make a charming wrist strap for a clutch or a camera, or a lanyard-style band for keys and an ID card. An oatmeal strap pairs well with linen, denim and neutral totes, while the coral pink adds a playful accent to a white or black bag.
Make two in different colours and swap them to change a bag’s look through the seasons. A strap in a shade pulled from a printed lining also ties an outfit together without any extra effort.
Tips for a Neat Finish
Weave in the yarn tails along the back of the band, following the direction of the stitches, so the ends stay hidden and do not poke through the windows. Work in at least two directions for security, since a carried strap is handled constantly.
Press the finished band lightly with a damp cloth, or steam it from a distance, to even out the stitches. Avoid heavy stretching while it is damp. If the strap will carry real weight, stitch a few reinforcing passes at each ring join.
Before attaching it to a favourite bag, load it with something heavy for a day. If it lengthens more than you like, a tighter hook size is the fix for the next one.
Following the Tutorial
The video shows the strap built from start to finish, so watch it once through before picking up your hook. On the second viewing, pause at the repeat that creates the windows and copy it slowly, because the rhythm of that sequence is the whole pattern.
Work a short test length first. A few repeats will tell you whether your tension matches the look in the video, and it costs almost nothing in yarn. Replay the ring section as often as you need.
A Small Handmade Accent
This crochet bag strap is a slim, open-worked band that carries a lot of charm for very little yarn. Its success rests on a few things: a smooth yarn with some body, even tension, a firm join at each ring, and a length tested against the bag it will serve.
Make one, then make another in a second colour. Small things add up.
Video tutorial by 小师妹手作, who shows how to make this crochet bag strap step by step. Watch the original video on the creator’s channel.
VIDEO
Follow us on Pinterest and subscribe to the Newsletter so you don’t miss a thing!
Tutorial and photos of this bag strap by: 小师妹手作.