
A crochet flat circle is the humble building block behind coasters, hats, baskets and rugs, and a bright pink disc worked in a dense, spiralling fabric shows exactly why it never goes out of style.
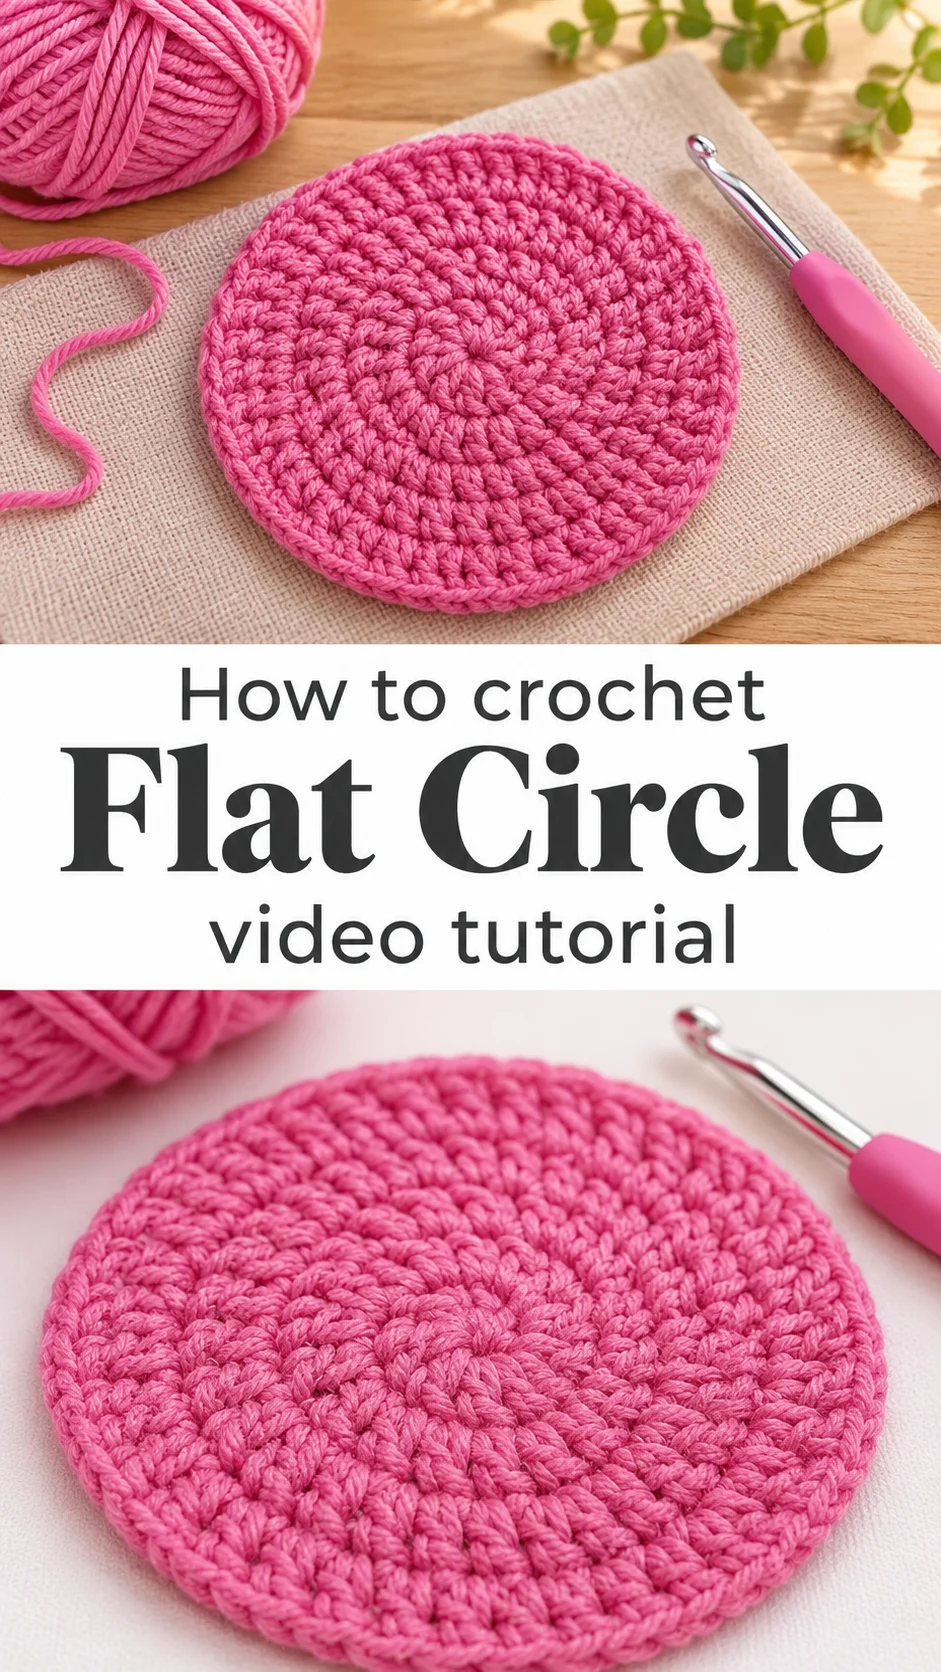
The Crochet Flat Circle
The crochet flat circle is one of the first shapes a maker learns, and one of the last she stops using. This version is worked in a bold bubblegum pink, with tight stitches that spiral out from a small centre and sit in neat concentric rounds. The fabric looks firm and slightly raised, closer to a sturdy coaster than a floppy doily. The edge is smooth and even, with no ruffling and no cupping. That is the whole challenge of the shape, and it is done well here. A flat circle can become a trivet, a pot mat, a hat crown, the base of a bag or a seat pad. Make one and you have a pattern you will reuse for years.
Think of it as a practice piece that earns its keep. Working a circle trains your eye for increases, teaches you to read your own stitches and gives you a finished object in an evening. It also makes a quick gift, especially when you make a set in matching colours.
Flat Circle Related Posts:
- Crochet Girls Vest: A Charming Handmade Classic
- Crochet Bunny Ear Beanie: A Whimsical Winter Delight
- Crochet Granny Square Crop Top: A Sweet Summer Staple
- Crochet Square Motif Runner: A Timeless Lace Classic
Materials
For a crochet flat circle like this one, choose a smooth, medium-weight acrylic or cotton yarn in a saturated colour. The yarn in the sample is plump and matte, with a plied structure that keeps the stitches crisp, and that definition is what makes the spiral rounds so easy to read. Pair it with a hook that feels comfortable in the hand; an ergonomic handle, like the soft-grip hook in the photos, helps when you work tight stitches for a long stretch. A hook size or two below what the yarn label suggests gives the dense, stand-up fabric you see here, while a larger hook produces a looser disc that tends to ripple. You will also need sharp scissors and a yarn needle for weaving in the tail. A stitch marker is optional but useful for tracking the start of each round.
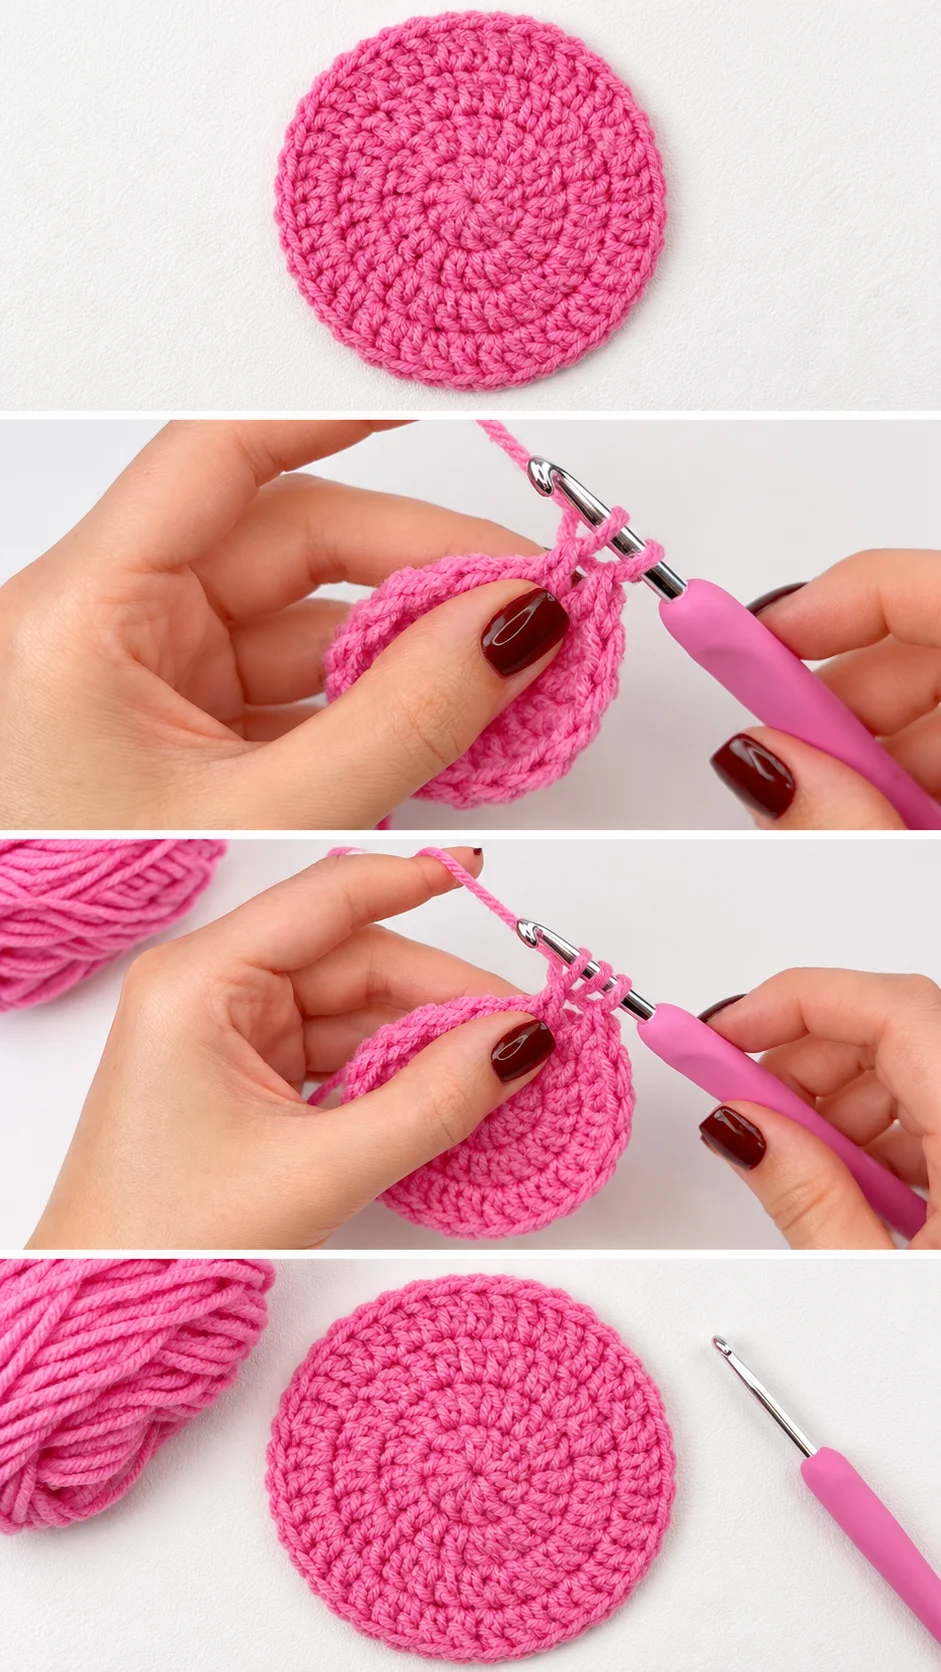
Understanding the Shape
A flat circle grows from the centre outward. Every round is longer than the one before, so each one needs extra stitches to cover the added distance.
The sample appears to be worked in a continuous spiral, judging by the way the rounds wind outward without a visible seam line. The stitches lean in one direction, and that gentle slant is typical of spiral work. It also means there is no join to hide, which gives a cleaner surface.
The extra stitches are not scattered at random. They fall in the same set of places each round, and those places slowly shift, which is why the fabric looks like it has faint spokes radiating from the middle. Even spacing is what keeps the circle round instead of turning it into a hexagon.
Reading Your Increases
If the shape starts to look like a polygon with corners, your increases are stacking directly above one another. Stagger them slightly as you go. If the circle begins to ruffle at the edge, you have added too many stitches; undo the round and place fewer. If it bowl-shapes upward, you have added too few.
Choosing the Best Yarn for a Firm Disc
Yarn decides whether a circle lies flat, holds heat or slumps. Cotton gives a matte, grippy surface that suits coasters and pot holders because it tolerates heat and absorbs spills. Acrylic, as in the glossy-soft pink shown, is easy to wash and holds saturated colour well, but it should not be used under hot pans.
A wool blend produces a springy disc that suits hat crowns, though it will feel thicker. Avoid very fuzzy or mohair-style yarns for this shape. They hide the stitches, make the increases hard to see and almost guarantee uneven rounds.
For colour, a single vivid shade like this pink reads as modern and playful. Soft neutrals such as oatmeal or sage give a calmer result. If you want stripes, change colour at the start of a round so the spiral stays tidy.
Following the Tutorial
The video is most valuable at the very beginning. Watch how the starting ring is formed and closed, because a loose centre leaves a hole that no amount of later neatness will fix. Pause when the first round is worked into the ring and replay it until your hand position feels natural.
Then watch where the increases land in the second and third rounds. Once you see the rhythm, you can predict every following round without counting aloud. Keep the sample in view and compare your own work against it after every round or two.
The tricky moment is the early rounds, when the piece is tiny and the stitches feel crowded. Hold the work flat between thumb and finger and keep your tension steady. It gets easier with every round.
How to Use a Crochet Flat Circle
In the photos, the pink disc sits as a simple standalone piece, and that is already a fine use: a bright coaster or a desk mat for a mug. Scale it up with more rounds and it becomes a trivet or a small table mat.
Stack several in different colours for a set of coasters, or join a few to form a bolder runner. Work extra rounds without increases afterward and the circle turns into the sides of a basket or a hat. A dense circle also makes a sturdy bag base, because the firm fabric keeps the bottom from sagging under weight.
As a gift, a trio in coordinating shades wrapped with a ribbon looks thoughtful and takes little yarn. Pair it with a mug or a small plant for a quick present.
Tips for a Neat Finish
Finish the last round with a very short slip stitch or a flat join so the edge does not step out of line. Cut the yarn with a generous tail, then thread it through a needle and weave it invisibly along the back of the last round in one direction, then back the opposite way to lock it.
If the disc curls slightly, steam it lightly or press it flat under a damp cloth and let it dry. Acrylic should be steamed from a distance, never pressed hard, or it loses its bounce. Cotton can be blocked more firmly with pins and left to dry completely.
If the centre shows a small gap, run the starting tail through the stitches around the hole and pull gently to close it. Do this before weaving the other end so you can adjust the tension. Check the front and back after each fix, as the surface should look equally tidy from both sides.
A Simple Handmade Classic
This crochet flat circle proves that a basic shape, done carefully, looks polished. The firm pink fabric, the even spiral and the clean edge come from a few small decisions rather than anything complicated.
Pick a smooth yarn, work it a little tighter than usual, stagger your increases and finish the edge neatly. Those four choices decide whether the disc lies flat and looks crisp.
Make one tonight, and you will find a dozen uses for it by tomorrow.
Follow us on Pinterest and subscribe to the Newsletter so you don’t miss a thing!
Tutorial and photos of this flat circle by: ElyseCrochets 💌.