
A crochet ripple blanket in cream, crimson and sage green turns a simple stack of stripes into a cosy, traditional throw that feels as warm to make as it does to wrap around your shoulders.
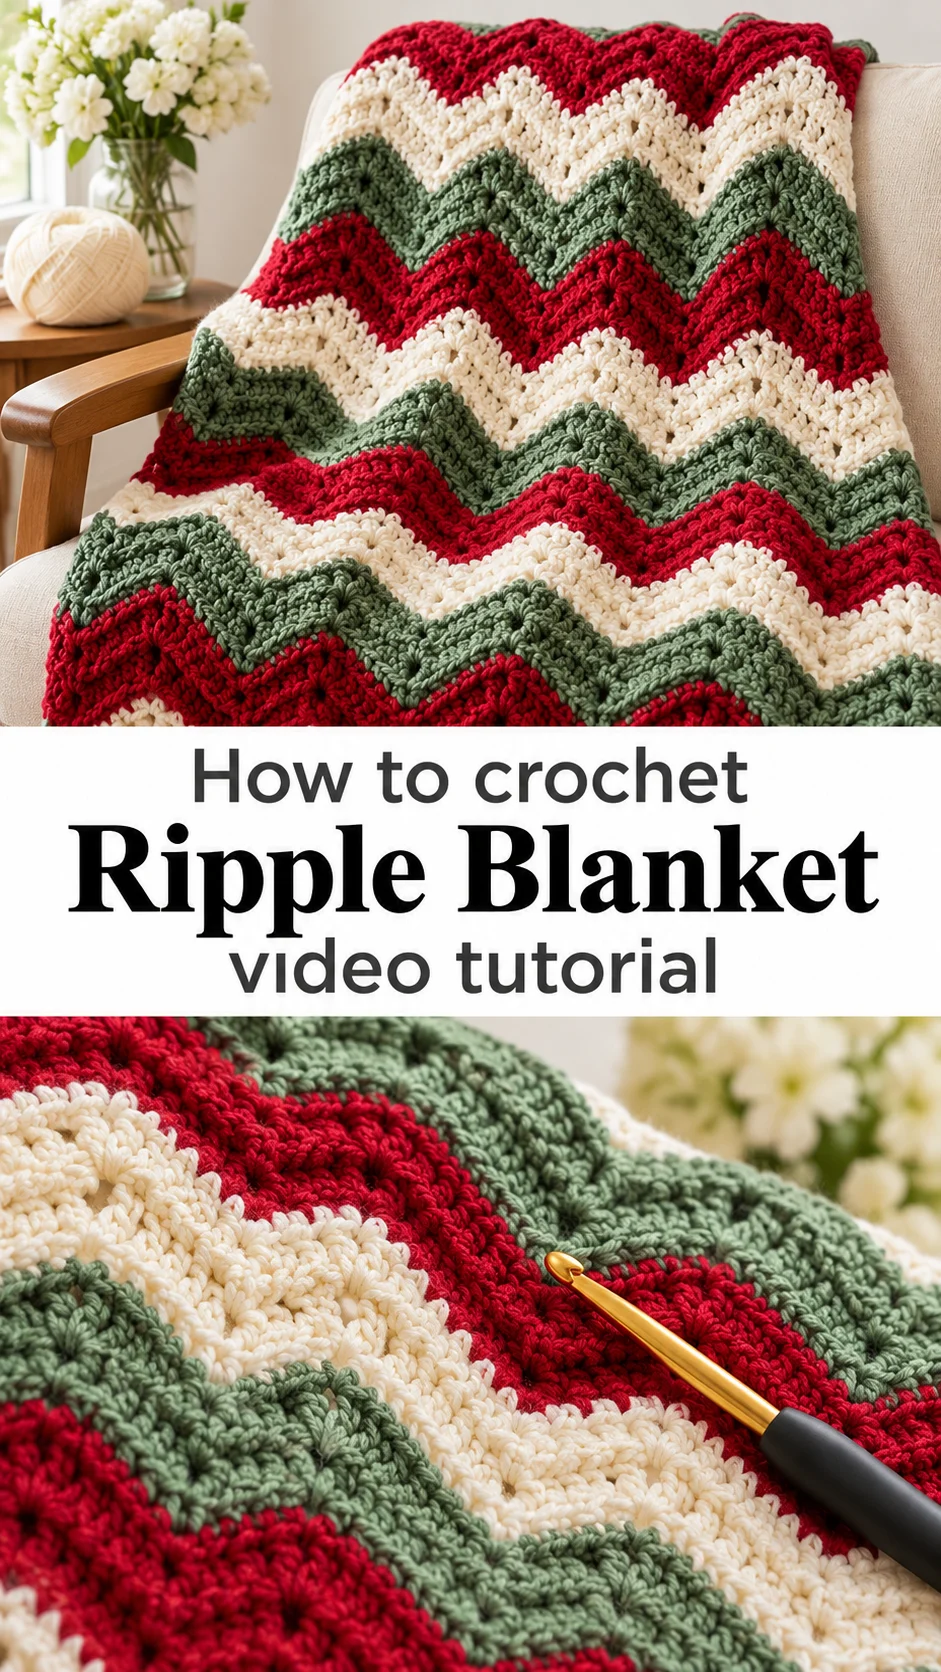
The Crochet Ripple Blanket
The crochet ripple blanket is one of those designs that never goes out of fashion, and this version shows why. It is worked in broad bands of cream, deep crimson and soft sage green, each one lying flat against the next in a clean horizontal stripe. Look closely and the fabric is not plain at all. Clusters of tall stitches fan out in repeating groups, with small gaps between them that let light through and give the surface a gentle, lacy rhythm. The edges of each stripe are finished with tight, dense stitches, so the colour changes look crisp rather than ragged. The yarn has a smooth, slightly soft sheen and a medium weight, which keeps the stitches rounded and full. A blanket like this suits the back of a sofa, the foot of a bed or a nursery chair. It reads as festive in these colours, yet it would sit happily in a living room all year round.
The stripe format also makes this a generous project for anyone who likes to see progress. Each colour change feels like a small reward. It works well as a gift, since the colours can be swapped to match any room, and it quietly teaches rhythm, tension and neat colour changes along the way.
Ripple Blanket Related Posts:
- Crochet Fur Tote Bag: A Chic Winter Essential
- Crochet Blooms: A Charming Gift for Every Occasion
- Crochet Chunky Bean Stitch Hat: A Warm Winter Essential
- Crochet Mini Duckling: A Tiny and Charming Keepsake
Materials
For a crochet ripple blanket like this one, choose a smooth, medium-weight yarn in three colours, and buy more than you think you need, because a throw eats yarn quickly. The stitches in the photos look plump and even, which points to a soft acrylic or an acrylic blend with a little sheen. That kind of yarn keeps the fan clusters crisp, survives repeated washing and holds its colour. Pure cotton would make a heavier, less forgiving fabric that tends to droop under its own weight. Pair the yarn with a hook in the mid-range for that weight, typically around 4 to 5 mm, and check the ball band for guidance. A comfortable ergonomic handle helps a great deal on a project this long, as your hand will be working for many hours. You will also need a yarn needle for weaving in ends and a pair of sharp scissors. Stitch markers are useful for marking the edges of the rows so the sides stay even.
Understanding the Stitch Repeat
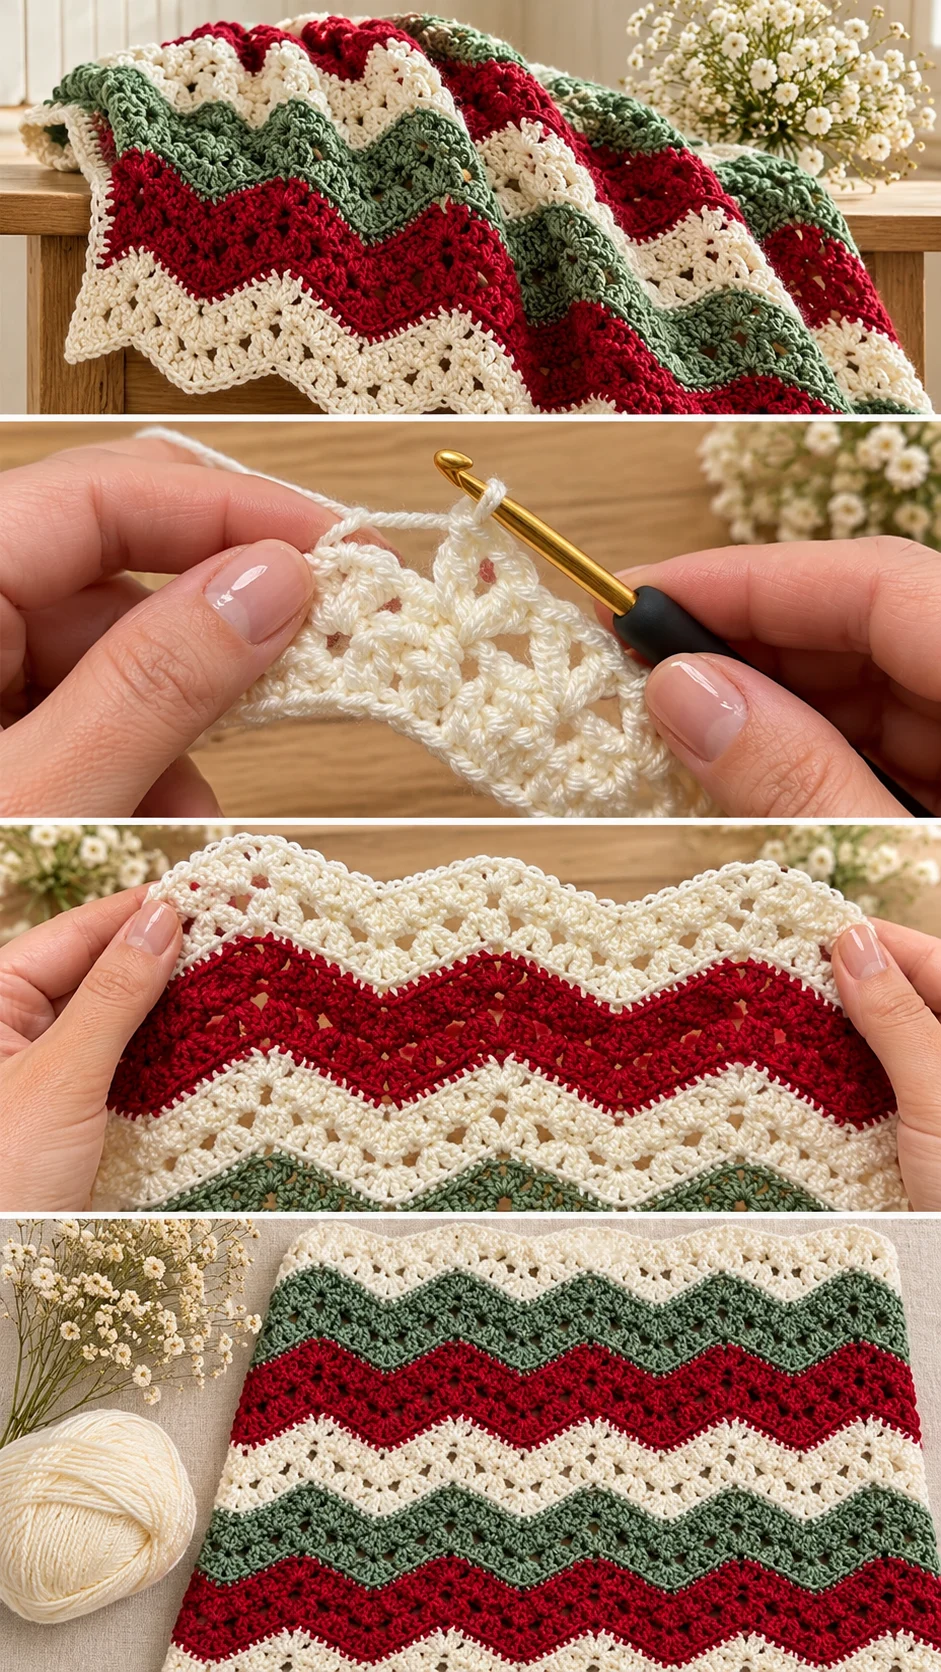
The texture here comes from groups of tall stitches worked into the same spot, which spread outward like small fans. Between each fan sits a slim opening, and those openings are what give the blanket its airy, patterned look. The fans in one row sit above the gaps of the row below, so the whole fabric interlocks like a brick wall.
That staggering matters. If a cluster lands in the wrong place, the pattern drifts and the little windows no longer line up in tidy columns. The tutorial shows the placement clearly, so pause the video at the start of each repeat and count where the hook enters.
Different stripes show slightly different textures. The cream band looks fuller and more sculptural, the crimson band shows longer, slimmer fans, and the green band has a more open, airy feel. This suggests the pattern shifts a little from row to row within the repeat, so a few rows of practice before the real thing is time well spent.
Keep your tension relaxed when you work the clusters. Pulling too tight closes the gaps and makes the fabric stiff, while very loose stitches leave the fans floppy and uneven.
Planning Colour and Yarn Quantity
The palette of cream, crimson and sage is a classic Christmas combination, and the proportions matter. Each stripe in the photos is about the same width, which gives the blanket a calm, balanced look. Repeating the three colours in the same order down the length keeps it tidy and predictable.
If you prefer a quieter look, try oatmeal, dusty rose and slate blue. For a nursery, pale mint, soft grey and buttercream would stay gentle. Keep one colour noticeably darker than the others, as the deep crimson does here, so the stripes stay distinct from across the room.
Yarn planning is where many blankets go wrong. Work out your finished size first, then buy all the yarn for each colour at once, checking that the dye lot numbers match. A small difference in dye lot can show up as a visible band across a large throw. If you run short, the mismatch will be obvious.
Avoid very fuzzy or heavily textured yarns for this design. They hide the fan clusters and fill in the little gaps, which are the whole point of the stitch.
Keeping Edges Straight and Neat
The sides of this blanket look remarkably clean, and that is no accident. A stitch pattern with clusters and gaps tends to wander, because some rows are slightly wider than others. If your edge begins to ripple or the blanket narrows, you have probably skipped a stitch at the turn or counted a gap twice.
The fix is simple. Mark the first and last stitch of every row with a removable marker, and compare the width to your first rows every few stripes. If the piece is growing wider, you are adding stitches at the edge. If it is shrinking, you are missing the last stitch of the row.
The dense, tight stitches along the top of each stripe in the photos act almost like a border, giving every colour a firm, straight edge. Keep them even and your colour changes will look sharp. Loose, loopy stitches here will make the stripes look blurry.
Change colour at the end of a row, not mid-row, and carry the new yarn up neatly so no tail hangs on the front. Weave in ends as you go, since a blanket with dozens of stripes leaves a pile of tails to deal with at the finish.
Finishing the Last Stripes
The final stripe in sage green sits slightly open and lacy compared with the dense lines beneath it. Finish with the same care as the beginning. A gentle steam or damp block settles the fans into place and evens out any small differences in tension, so lay the blanket flat, shape it to its measurements and let it dry completely.
How to Style a Crochet Ripple Blanket
In the photos the blanket is shown as a folded band of colour, which is exactly how it looks best on a sofa arm or draped over the end of a bed. The cream, crimson and green stripes bring instant seasonal warmth to a neutral room.
For a cosy reading corner, fold it in thirds over an armchair so all three colours show. In a bedroom, lay it across the foot of the bed against white or grey linen, where the red becomes a confident accent. In a nursery, a smaller version in soft shades works as a pram cover or a play mat.
It also makes a lovely photo prop. Pair it with pale flowers or a wooden surface, as in the tutorial setting, and the stripes glow. Keep other textiles simple so the stitch pattern stays the star of the room.
As a gift, roll it and tie it with a ribbon in one of the three colours. The handmade texture does the rest.
Caring for Your Blanket
A blanket with this much yarn deserves a sensible care routine. Wash it gently, in cool water on a delicate cycle or by hand, because heat and rough agitation can fuzz the fibres and relax the fan clusters. Use a mild detergent, as strong products can dull the reds.
Wash a first time on its own. Deep crimson can bleed into cream in the early washes, and a cream stripe stained pink is hard to rescue. A colour-catching sheet in the wash is a cheap safeguard.
Dry it flat on a towel, reshaping it with your hands, rather than hanging it, since the weight of wet yarn will stretch the length. If you use a dryer, choose the lowest heat, and only if the yarn label allows it.
Store the blanket folded loosely in a cotton bag or on a shelf. Avoid long periods in plastic, which traps moisture and can leave a musty smell.
A Cosy Handmade Classic
The crochet ripple blanket is a long project, but a rewarding one. Three colours, one stitch repeat and a steady rhythm are all it asks of you.
Whether it turns out well comes down to a few choices: a soft, smooth yarn that shows off the fans, relaxed tension in the clusters, straight and tidy edges, and colours that sit well together. Watch the video closely at the start of each repeat, pause often and replay the tricky placement until it feels natural.
Make it once, and it will warm a home for years.
Video tutorial by Massive Crochet, with free patterns at massivecrochet.com, showing how to make this crochet ripple blanket stitch by stitch.
VIDEO_PLACEHOLDER
Follow us on Pinterest and subscribe to the Newsletter so you don’t miss a thing!
Tutorial and photos of this ripple blanket by: Massive Crochet.