
A crochet striped blanket in dusty rose, coral, blush and cream turns a few simple stitch bands into a throw that feels soft, cheerful and a little bit vintage.
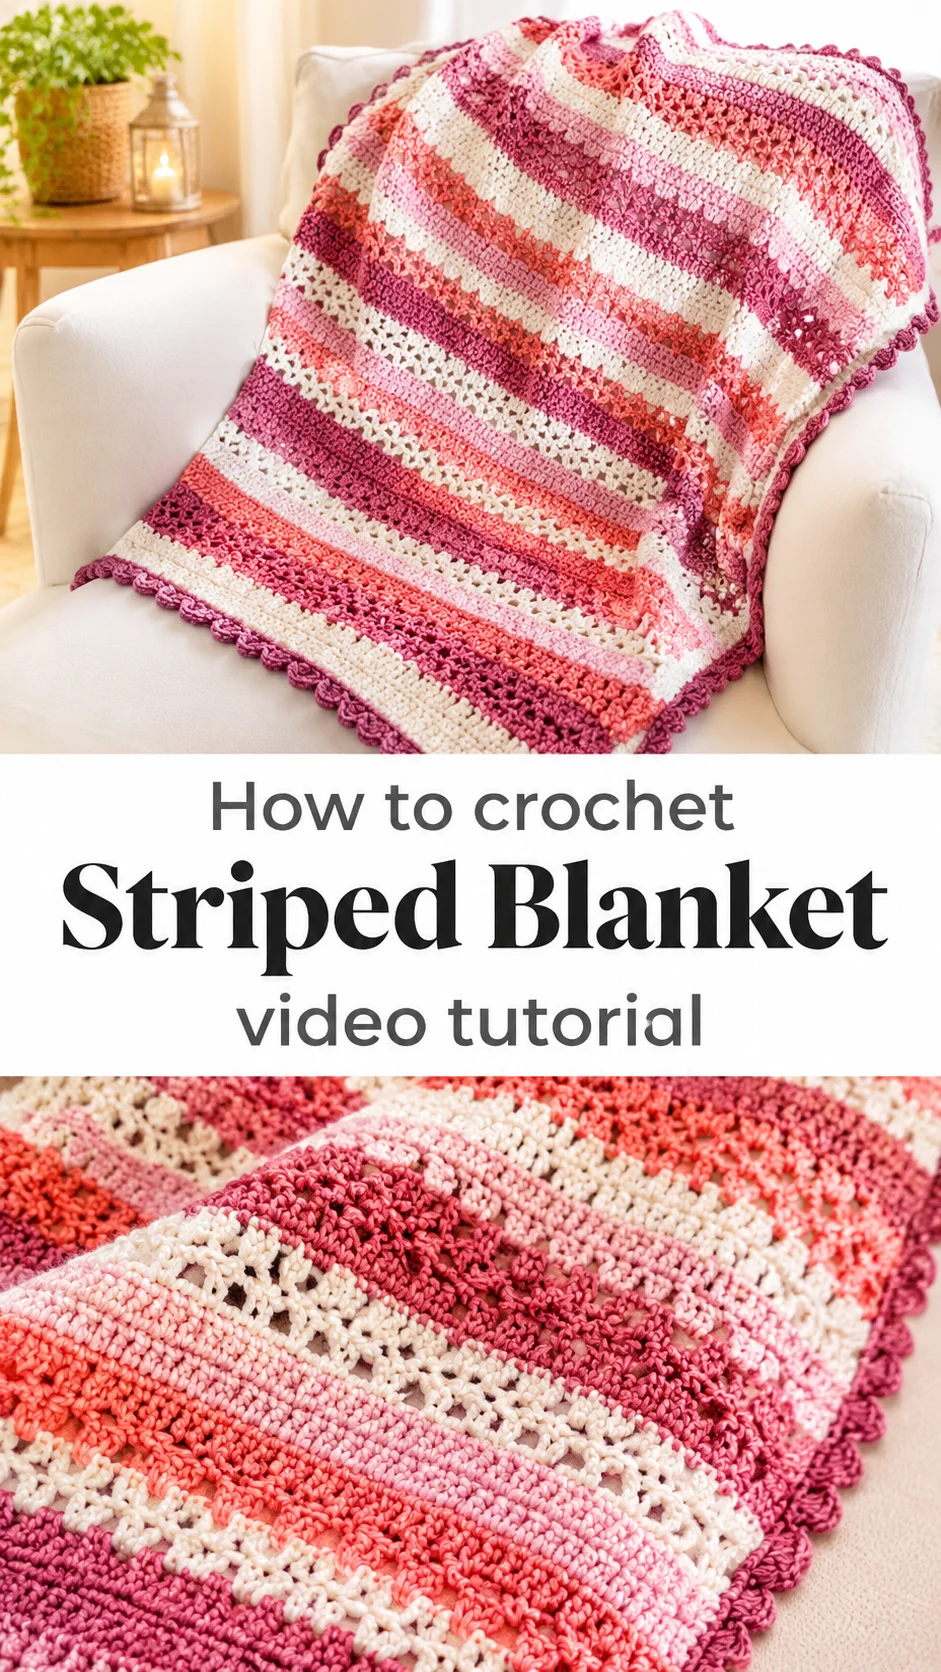
The Crochet Striped Blanket
This crochet striped blanket is built from horizontal bands that change in colour and in texture. Dense, solid rows in raspberry and cream sit beside airy bands of crossed V-stitches in coral and pink. The open bands look like tiny lattice windows, and the solid ones give the fabric body. Every few rows the colour shifts, so the eye keeps travelling across the piece. A scalloped shell border in deep rose frames the whole blanket and softens the straight edges. The look is sweet without being fussy. It suits a sofa arm, the foot of a bed, a nursery rocker or a cosy reading corner. Draped over a cream cushion, it adds colour while still feeling calm.
It also makes a fine gift. A baby shower, a housewarming or a birthday for a friend who loves pink all fit nicely. The project teaches colour planning and stitch variety without asking for anything exotic. Stripes keep the work moving. Change the colour, and it feels like a fresh start.
Striped Blanket Related Posts:
- Crochet Drawstring Bag: A Chic Handcrafted Essential
- Crochet Wrap Baby Slippers: A Sweet and Timeless Treasure
- Crochet Mini Heart: A Sweet and Charming Keepsake
- Crochet Girls Vest: A Charming Handmade Classic
Materials
For a crochet striped blanket like this, choose a smooth, medium-weight yarn with a soft sheen, such as a cotton blend or a cotton-acrylic mix. The stitches in the photos look clean and slightly glossy, which suggests a tightly plied yarn that shows off the crossed V-stitches. You will need about five colours: a deep raspberry or dusty rose, a warm coral, a pale blush pink, a light rose and a creamy white. A hook in the mid-range, roughly 4 to 5 mm, is a sensible starting point for this kind of fabric, but let your gauge swatch decide. Cotton blends give crisp stitch definition and a gentle drape, while a wool-heavy yarn would make the openwork bands puff and blur. Add a pair of scissors, a yarn needle for weaving ends and plenty of stitch markers if you like to count edges.
Understanding the Stripe and Stitch Repeat
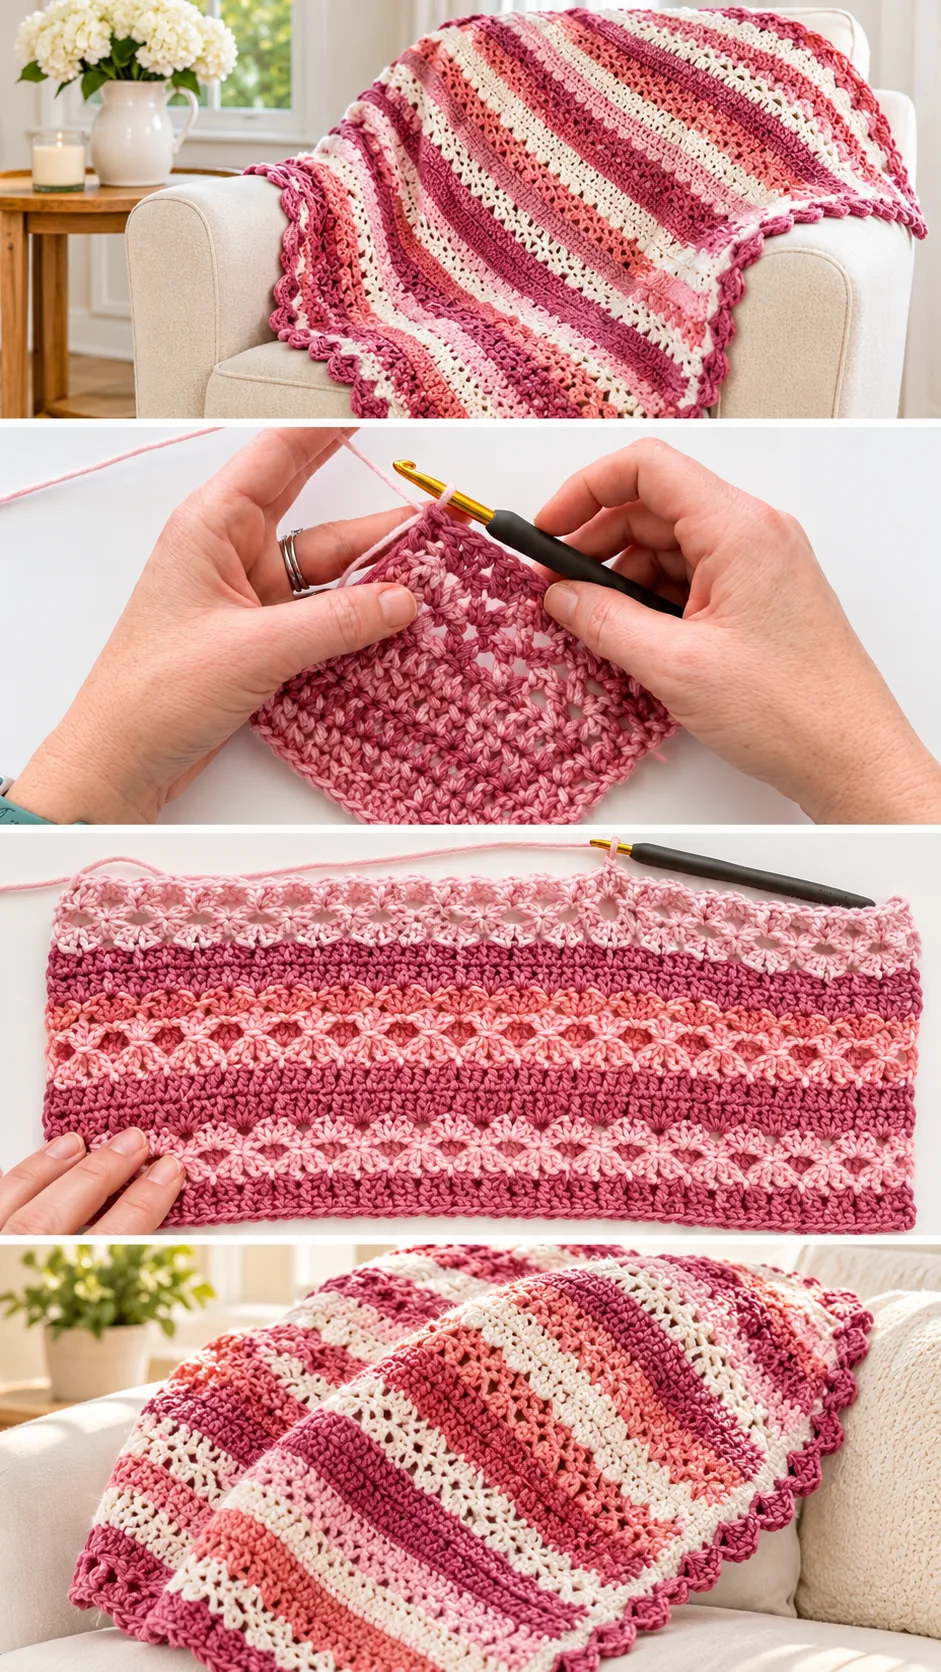
The blanket is worked flat, in rows, with the stripes running across the width. The bands fall into two families. Solid bands look like tight, even rows of double crochet or a similar close stitch. Lacy bands show crossed stitches that leave small diamond-shaped gaps below them.
Each band is only a few rows deep. That is why the blanket looks so varied while the construction stays simple. You repeat a short sequence, then swap colour and stitch type.
The contrast between open and solid is what gives the throw its character. The lacy rows let light through and make the fabric lighter. The solid rows keep it warm and stop it from looking flimsy.
Watch the video closely when the crossed stitches begin. Pause where the hook skips ahead and returns, because the order of those stitches decides how neatly the cross sits. Replay it until your hands know the rhythm.
Colour Planning for Gentle Stripes
The palette in the photos moves through warm pinks, from raspberry to coral to pale blush, with cream between them. Cream acts as a resting place. It keeps the stronger colours from crowding each other.
Lay your skeins side by side before you start and sketch the order on paper. Place the darkest shade near the borders and bottom edge if you want a grounded look. If two colours sit too close in tone, the stripe will vanish from a distance, so add a lighter band between them.
For other moods, try sage, mustard and cream for a farmhouse feel. Navy, grey and white give a crisp, modern throw. Avoid very dark yarn beside very pale yarn in the lacy bands, because the darker colour can show through the gaps and look muddy.
Plan how you will carry colours too. If a shade returns every few bands, you can carry it up the side only when the gap is short. For longer gaps, cut and weave in. Loose carried strands tug the edge and make it pucker.
Keeping the Edges Straight
Straight sides make a stripe blanket look professional. The edges in the photos are neat and even, which is a good sign of consistent turning chains.
Count your stitches at the end of each stripe change, since that is when extra stitches sneak in. If the sides start to flare, you probably added a stitch at the turn. Pull out the last row and recount.
If the sides pull in, your turning chain is too tight. Chain a little looser or go up half a hook size for just that chain.
The Scalloped Border
The border is the finishing touch. It is a row of shell-style scallops in the deep rose shade, each one a fan of stitches that bends outward and creates a gentle wave along the edge.
Because the blanket is rectangular, the corners need extra care. Work a slightly fuller shell at each corner so the border turns without cupping. Space the shells evenly along each side. If you reach a corner with leftover stitches, adjust the spacing a little earlier instead of squeezing the last shell.
Use the darkest colour for the border, as in the photos. It outlines the stripes and makes the lighter bands look brighter. A pale border can work, but it will make the blanket look softer and less defined.
Check the video for how the creator joins each shell to the edge. Pause at the first scallop and watch where the hook enters. That one placement sets the pattern for the whole border.
How to Style a Crochet Striped Blanket
In the photos, the blanket spills over the arm of a white sofa beside warm wood and soft cream cushions. The pinks look fresh against the neutral upholstery, and the scalloped edge catches the eye as it hangs.
Try it folded over the end of a bed with white linen, where the stripes read as a band of colour. In a nursery, drape it across a rocking chair or use it as a stroller cover. Over a grey sofa, the coral and raspberry tones add warmth.
For a gift, roll it loosely and tie it with a ribbon in the border colour. Add a card with care instructions so the recipient knows how to treat the yarn.
Tips for a Neat Finish
Weave in ends as you go if you can. With many colour changes, leaving them all until the end becomes a long chore. Run each tail along the stitches of its own colour for a few inches, then back again, so it disappears.
If the finished fabric feels stiff, the hook was likely too small. Next time, go up half a size, or block the piece gently to relax the stitches. If the lacy bands look pinched, steam or wet block them and pin the edges flat to open the diamonds.
If the blanket ends up smaller than you hoped, add extra stripes at the top before you begin the border. Because the design is built from bands, you can lengthen it without disturbing the pattern. Just keep the colour order in mind so the ends balance.
Wash gently. Cotton blends usually accept a cool machine cycle on a delicate setting, but check your yarn label. Dry flat and reshape the scallops with your fingers while the border is damp. This keeps the edge crisp and stops it from curling.
A Soft Handmade Keepsake
This crochet striped blanket combines solid bands, lacy crossed stitches and a rounded shell border into one gentle throw. It is simple enough to work in front of the television and pretty enough to give away.
Four things decide how it turns out: a smooth yarn that shows the stitches, a calm colour order, even edges and a carefully spaced border. Get those right and the rest follows.
Pick your pinks, start with a stripe and let the blanket grow.
Follow us on Pinterest and subscribe to the Newsletter so you don’t miss a thing!
Tutorial and photos of this striped blanket by: Daisy Cottage Designs.