
I don’t know about you, but I have a serious weakness for bags that look way harder to make than they actually are. There’s just something about pulling out a handmade bag covered in dimensional flowers and watching people’s jaws drop.
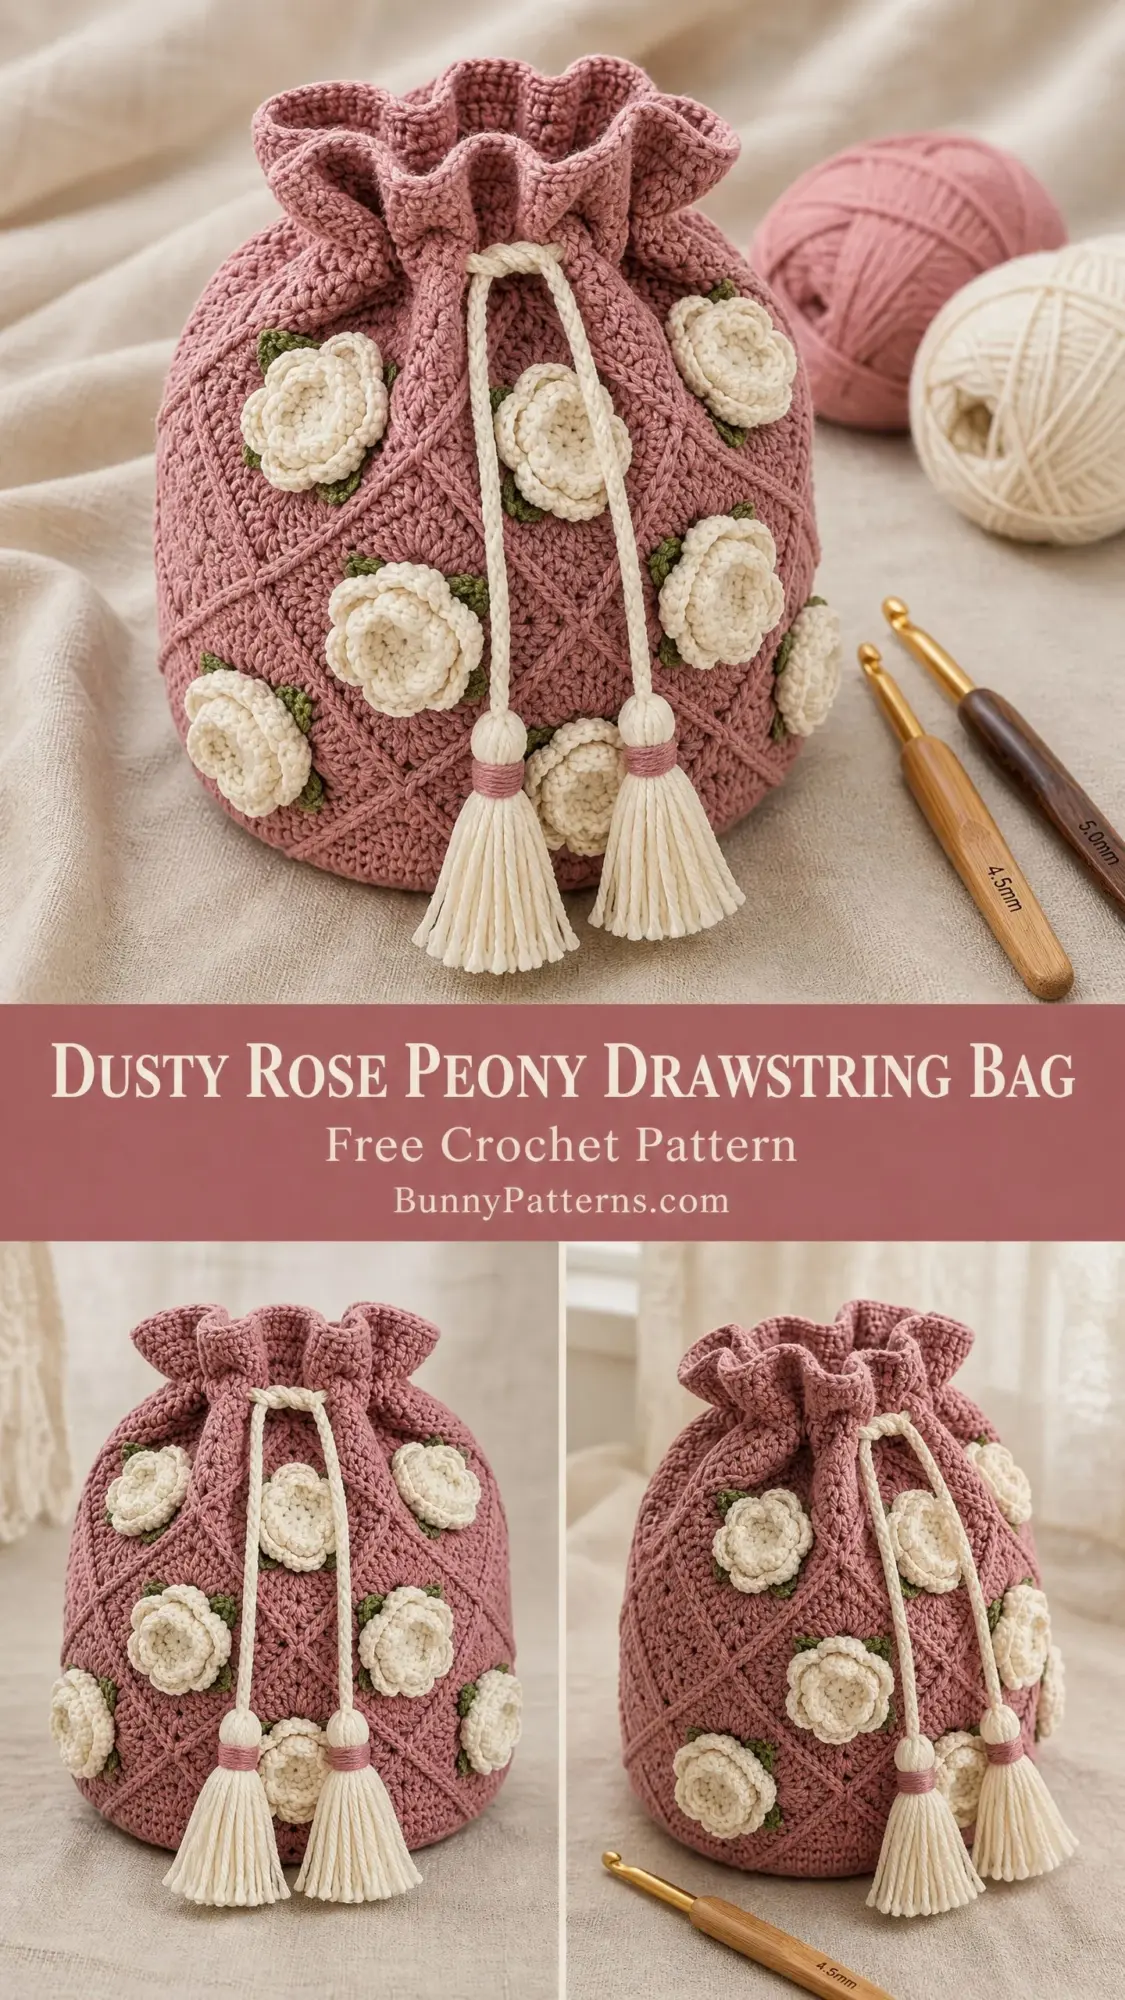
This dusty rose drawstring bag with its creamy peony appliques hits that sweet spot perfectly. It looks like you spent weeks on it, but the construction is genuinely straightforward once you understand the rhythm of the stitches.
The diamond lattice texture creates visual interest without complicated colorwork, and those layered peonies? They’re built in simple stages that even an ambitious beginner could tackle with a little patience.
About This Crochet Pattern
This charming bucket-style bag is worked from the bottom up in continuous rounds. You’ll start with a flat circular base, transition into a textured diamond lattice body, and finish with a soft ruffle at the top. The dimensional peony flowers are crocheted separately and sewn on at the end, which means you can make them while watching your favorite show.
The finished bag stands approximately 9 inches tall with a circumference of about 22 inches when the drawstring is relaxed and 26 inches at its widest point. The base measures about 6 inches across, giving you plenty of room for yarn projects, makeup, snacks for a day out, or whatever else you need to carry.
This is an intermediate level pattern. You should be comfortable working in continuous rounds, reading stitch counts carefully, and constructing separate applique pieces. If you’ve never made layered flowers before, don’t panic. I’ll walk you through every step, and the peony construction is actually pretty intuitive once you get going.
Time estimate: Plan for 12 to 18 hours if you’re an experienced intermediate crocheter. The peony motifs alone take about 4 to 6 hours, so if this is your first time making layered applique flowers, add another 3 to 5 hours to your timeline.
Materials You’ll Need
Gather these supplies before you start:
Yarn:
Hooks:
Notions:
Yarn Suggestions
Option 1: Lion Brand 24/7 Cotton in Rose, Ecru, and Sage. This 100% mercerized cotton holds stitch definition beautifully and is machine washable.
Option 2: Paintbox Yarns Simply DK in Dusty Rose, Paper White, and Leaf Green. Note that DK weight at a tighter gauge produces a smaller bag, about 8 inches tall, perfect as a cosmetics pouch.
Option 3: WeCrochet Dishie in Blush, Cream, and Pistachio. The smooth cotton blocks beautifully and gives excellent stitch definition for the lattice pattern.
Substitution tip: Choose a smooth, plied yarn. Avoid fuzzy or textured yarns because they’ll hide that gorgeous diamond lattice texture you’re working so hard to create. Cotton or cotton blends work best since they hold the structured shape without needing a lining.
Gauge
18 stitches and 20 rounds = 4 inches in single crochet worked in continuous rounds with the G-6 hook, after blocking.
For the diamond lattice section, one full diamond repeat (6 stitches wide by 6 rounds tall) measures approximately 1.33 inches wide by 1.2 inches tall.
Always work a gauge swatch. If your swatch is larger than stated, go down a hook size. If smaller, go up a hook size. Trust me on this one. Taking ten minutes to check gauge will save you hours of frustration later.
Abbreviations
Before we dive in, here’s every abbreviation you’ll see in this pattern:
Special Stitches
Diamond Lattice Stitch
This is the star of the show. It creates a raised diagonal grid that looks like quilted diamonds. Here’s how it works:
For a right-leaning cross: Skip 1 stitch, work 1 hdc in the next stitch, then work 1 hdc in the skipped stitch. You’re essentially crossing two stitches over each other.
The lattice is built in two alternating rounds:
Lattice Round A: (Skip 1 st, hdc in next st, hdc in skipped st) repeat around. Your stitch count stays the same.
Lattice Round B: Hdc in first st (this offsets everything), (skip 1 st, hdc in next st, hdc in skipped st) repeat until 1 st remains, hdc in last st.
These two rounds together form one complete diamond repeat. You’ll alternate them throughout the bag body, and the offset creates those beautiful interlocking diamonds.
Peony Flower (make 9)
Each peony has three layers: a small center, a middle ring of petals, and a large outer ring. Don’t be intimidated. Take it one layer at a time.
Center Ring:
Round 1: MR, ch 1, work 6 sc into ring, join with sl st to first sc. (6 sc)
Round 2: Ch 3 (counts as first dc), work 2 dc in same st, (work 3 dc in next st) 5 times, join with sl st to top of ch-3. (18 dc)
Round 3: Working in BLO, sc in each st around, join with sl st. (18 sc)
Fasten off leaving a 10-inch tail for sewing.
Middle Petal Layer:
Join Yarn B in any front loop of Round 2.
Round 1: Working in FLO of Round 2 sts, (ch 4, 3 tr in same st, ch 4, sl st in same st, sl st in next st) 9 times. (9 petals formed)
Fasten off leaving a 10-inch tail.
Outer Petal Layer:
With Yarn B, ch 30.
Row 1: Sc in second ch from hook and in each ch across. (29 sc)
Row 2: Ch 1, turn, sc in first st, (skip 1 st, 5 dc in next st, skip 1 st, sc in next st) 7 times. (7 fan petals)
Fasten off leaving a 12-inch tail. Roll this strip into a loose spiral and sew the base to the center unit. This creates those gorgeous ruffled outer petals.
Leaf Applique (make 18)
Using Yarn C, ch 8.
Row 1: Sl st in second ch from hook, sc in next ch, hdc in next ch, dc in next ch, hdc in next ch, sc in next ch, sl st in last ch.
Do not turn. Working on the opposite side of the foundation chain: sl st in first ch, sc in next ch, hdc in next ch, dc in next ch, hdc in next ch, sc in next ch, sl st in last ch. (14 sts total around leaf)
Fasten off leaving an 8-inch tail.
Tassel (make 2)
Cut 40 strands of Yarn B, each 6 inches long. Hold all strands together and fold in half. Use a separate 12-inch strand to tie tightly around the folded center, about 0.5 inches from the fold. Wrap several times and knot securely. Trim the bottom ends even.
Twisted Drawstring Cord (make 2)
Cut 6 strands of Yarn B, each 60 inches long. Hold all 6 together and knot at both ends. Attach one end to a doorknob or other fixed point. Twist clockwise until very tightly twisted and beginning to kink. Fold in half and allow it to twist back on itself. Knot both ends. The finished cord will be about 24 inches long.
Step-by-Step Pattern Instructions
Section 1: Bag Base
Work in continuous rounds with Yarn A and G-6 hook. Place a stitch marker at the beginning of each round and move it up as you work.
Round 1: MR, ch 1, work 6 sc into ring. (6 sc)
Round 2: Work 2 sc in each st around. (12 sc)
Round 3: (Sc in next st, 2 sc in next st) 6 times. (18 sc)
Round 4: (Sc in next 2 sts, 2 sc in next st) 6 times. (24 sc)
Round 5: (Sc in next 3 sts, 2 sc in next st) 6 times. (30 sc)
Round 6: (Sc in next 4 sts, 2 sc in next st) 6 times. (36 sc)
Round 7: (Sc in next 5 sts, 2 sc in next st) 6 times. (42 sc)
Round 8: (Sc in next 6 sts, 2 sc in next st) 6 times. (48 sc)
Round 9: (Sc in next 7 sts, 2 sc in next st) 6 times. (54 sc)
Round 10: (Sc in next 8 sts, 2 sc in next st) 6 times. (60 sc)
Round 11: (Sc in next 9 sts, 2 sc in next st) 6 times. (66 sc)
Round 12: (Sc in next 10 sts, 2 sc in next st) 6 times. (72 sc)
Checkpoint: Your base should be a flat circle measuring about 6 inches across. It must lie flat without cupping or ruffling. If it cups, your tension is too tight. If it ruffles, your tension is too loose.
Section 2: Lower Body Transition
Continue with Yarn A. Work in BLO for Round 13 only. This creates a crisp fold line between the base and body.
Round 13: Sc in BLO of each st around. (72 sc)
Round 14: Sc in each st around. (72 sc)
Round 15: Sc in each st around. (72 sc)
Note: 72 stitches divides evenly by 6, which is required for the diamond lattice pattern. Count your stitches before moving on.
Section 3: Diamond Lattice Body
Here’s where the magic happens. Work Lattice Round A and Lattice Round B alternately throughout this section. All rounds maintain 72 stitches.
Round 16 (Lattice Round A): (Skip 1 st, hdc in next st, hdc in skipped st) 36 times. (72 hdc)
Round 17 (Lattice Round B): Hdc in first st, (skip 1 st, hdc in next st, hdc in skipped st) 35 times, hdc in last st. (72 hdc)
Round 18 (Lattice Round A): (Skip 1 st, hdc in next st, hdc in skipped st) 36 times. (72 hdc)
Round 19 (Lattice Round B): Hdc in first st, (skip 1 st, hdc in next st, hdc in skipped st) 35 times, hdc in last st. (72 hdc)
Continue alternating Lattice Round A and Lattice Round B through Round 33.
Rounds 20-33: Continue the A/B pattern exactly as established above.
Checkpoint: After Round 33, the bag body from Round 13 should measure approximately 6.5 to 7 inches tall. You should see clear diagonal lines creating diamond shapes.
Section 4: Upper Body and Taper
The bag tapers gently toward the top. Work decrease rounds in plain sc.
Round 34: Sc in each st around. (72 sc)
Round 35: (Sc in next 10 sts, sc2tog) 6 times. (66 sc)
Round 36: Sc in each st around. (66 sc)
Round 37: (Sc in next 9 sts, sc2tog) 6 times. (60 sc)
Round 38: Sc in each st around. (60 sc)
Round 39: (Sc in next 8 sts, sc2tog) 6 times. (54 sc)
Round 40: Sc in each st around. (54 sc)
Checkpoint: The bag opening should measure approximately 12 inches in circumference.
Section 5: Eyelet Drawstring Channel
The eyelets allow two drawstring cords to enter from opposite sides, creating a cinching closure.
Round 41: Sc in first 26 sts, ch 2, skip 2 sts, sc in next 24 sts, ch 2, skip 2 sts, sc in last 2 sts. (50 sc + 4 ch = 54 sts total)
Round 42: Sc in each st and each ch around, working 2 sc into each ch-2 sp. (54 sc)
Section 6: Top Edge and Ruffle
Round 43: Sc in each st around. (54 sc)
Round 44: Sc in each st around, join with sl st to first sc. (54 sc)
Ruffle Round 45: Ch 1, working in FLO, work 2 sc in each st around, join with sl st to first sc. (108 sc)
Ruffle Round 46: Ch 3 (counts as dc), working in both loops, dc in same st, 2 dc in each st around, join with sl st to top of ch-3. (216 dc)
Ruffle Round 47: Ch 1, sc in same st, sc in each st around, join with sl st to first sc. (216 sc)
Fasten off and weave in all ends.
Checkpoint: The ruffle should be soft and gathered, standing upward loosely. Total bag height from base to top of ruffle should be about 9 to 9.5 inches.
Assembly Instructions
Blocking
Block all 9 peonies and 18 leaves flat before sewing. Lightly spray with water, pin to shape, and allow to dry completely. This step makes a huge difference in how professional your finished bag looks.
Peony Placement
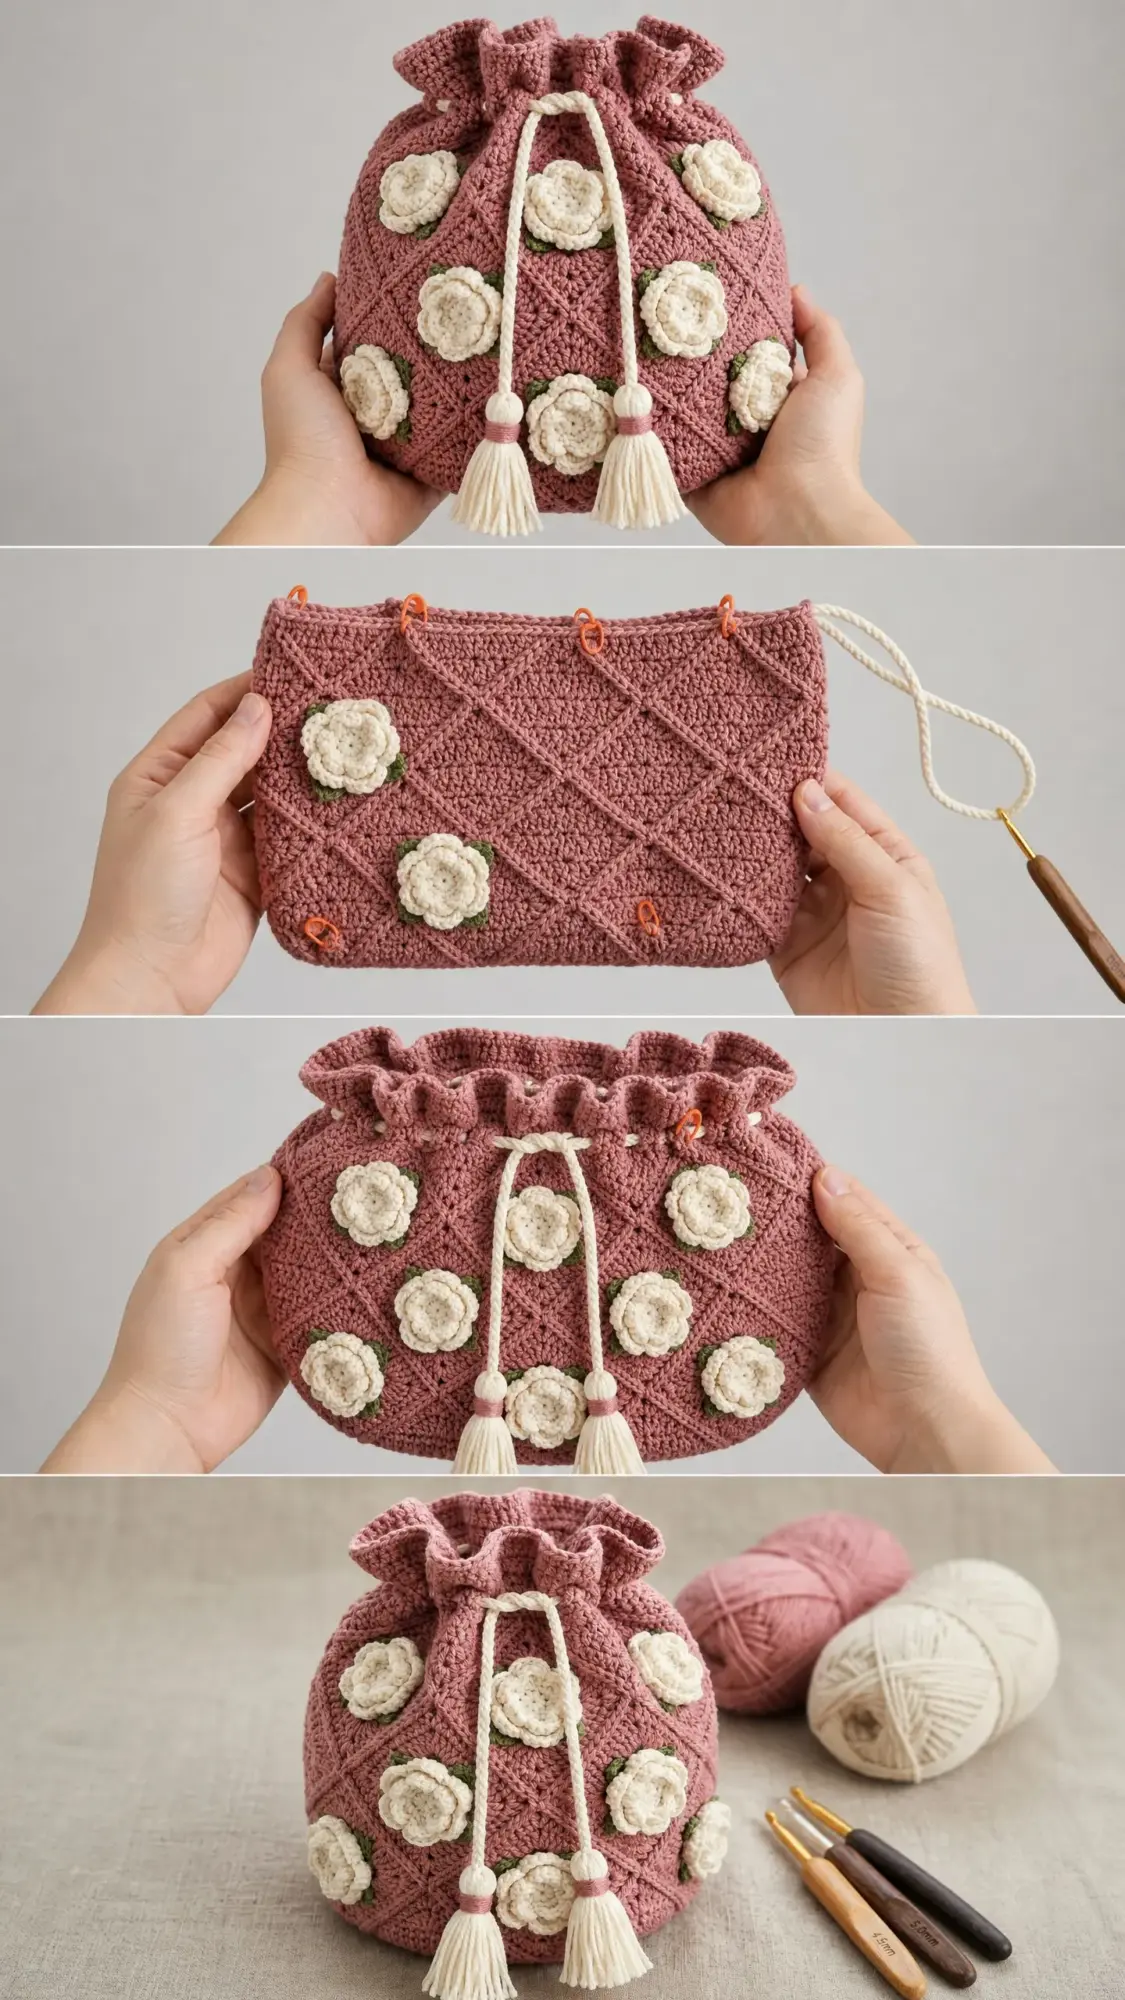
Divide the bag body into 3 vertical columns, each about 24 stitches wide. Within each column, place 3 peonies at evenly spaced heights:
Offset the middle column so its peonies fall at the gaps between the first and third columns. This staggered arrangement places the flowers at the diamond intersection points of the lattice.
Sew each peony using the long tails and a yarn needle, stitching through the back loops of the bag body.
Place 2 leaves per peony, one at approximately the 7 o’clock position and one at the 5 o’clock position. Sew each leaf using its tail.
Drawstring Assembly
Attach one tassel to one end of each cord. Thread Cord 1 through the eyelet channel beginning at the right-side eyelet, going all the way around, and exiting from the same right-side eyelet. Both ends of Cord 1 will hang from the right side.
Thread Cord 2 beginning at the left-side eyelet, going all the way around, and exiting from the same left-side eyelet.
Wrap a short length of Yarn A tightly around both cords together about 1 inch above the tassel body. Wrap 6 to 8 times and knot. This creates the pink wrapped band visible at the base of the tassel group.
Care Instructions
Machine wash on gentle cycle in cold water inside a mesh laundry bag. Lay flat to dry. Do not tumble dry, as heat will distort the dimensional peonies.
If the bag loses its shape after washing, lightly dampen, re-stuff with a bowl to hold the shape, and air dry.
Final Thoughts on This Crochet Tutorial
This dusty rose peony drawstring bag is one of those projects that delivers maximum wow for reasonable effort. The diamond lattice stitch becomes almost meditative once you get into the rhythm, and those layered peonies are genuinely satisfying to assemble. Plus, the finished bag is practical enough for everyday use while being pretty enough to display.
Whether you make this for yourself or as a gift, I hope you enjoy every stitch. The combination of textured stitches, dimensional flowers, and that soft ruffle at the top creates something truly special.
If you loved making this bag, I’d be thrilled to see your finished project. Tag me on Instagram or share it in our Facebook group. Seeing your makes is honestly the best part of sharing patterns.
Don’t forget to save this dusty rose peony drawstring bag crochet pattern to your Pinterest boards so you can find it when you’re ready to start. And if you make one, please drop a comment below. I love hearing how your projects turn out and seeing the color combinations you choose.
You Might Also Like
- Dusty Rose Spiral Flap Backpack Free Crochet Pattern
- Sage Wildflower Crochet Backpack Free Pattern
- Terracotta Desert Shell Purse Free Crochet Pattern
- Ocean Blue Coastal Granny Square Backpack Crochet Pattern