
I don’t know about you, but I have a soft spot for anything that makes a table look like it belongs in a cottage garden. There’s something about lavender and sage green together that just feels like a deep breath and a cup of tea.
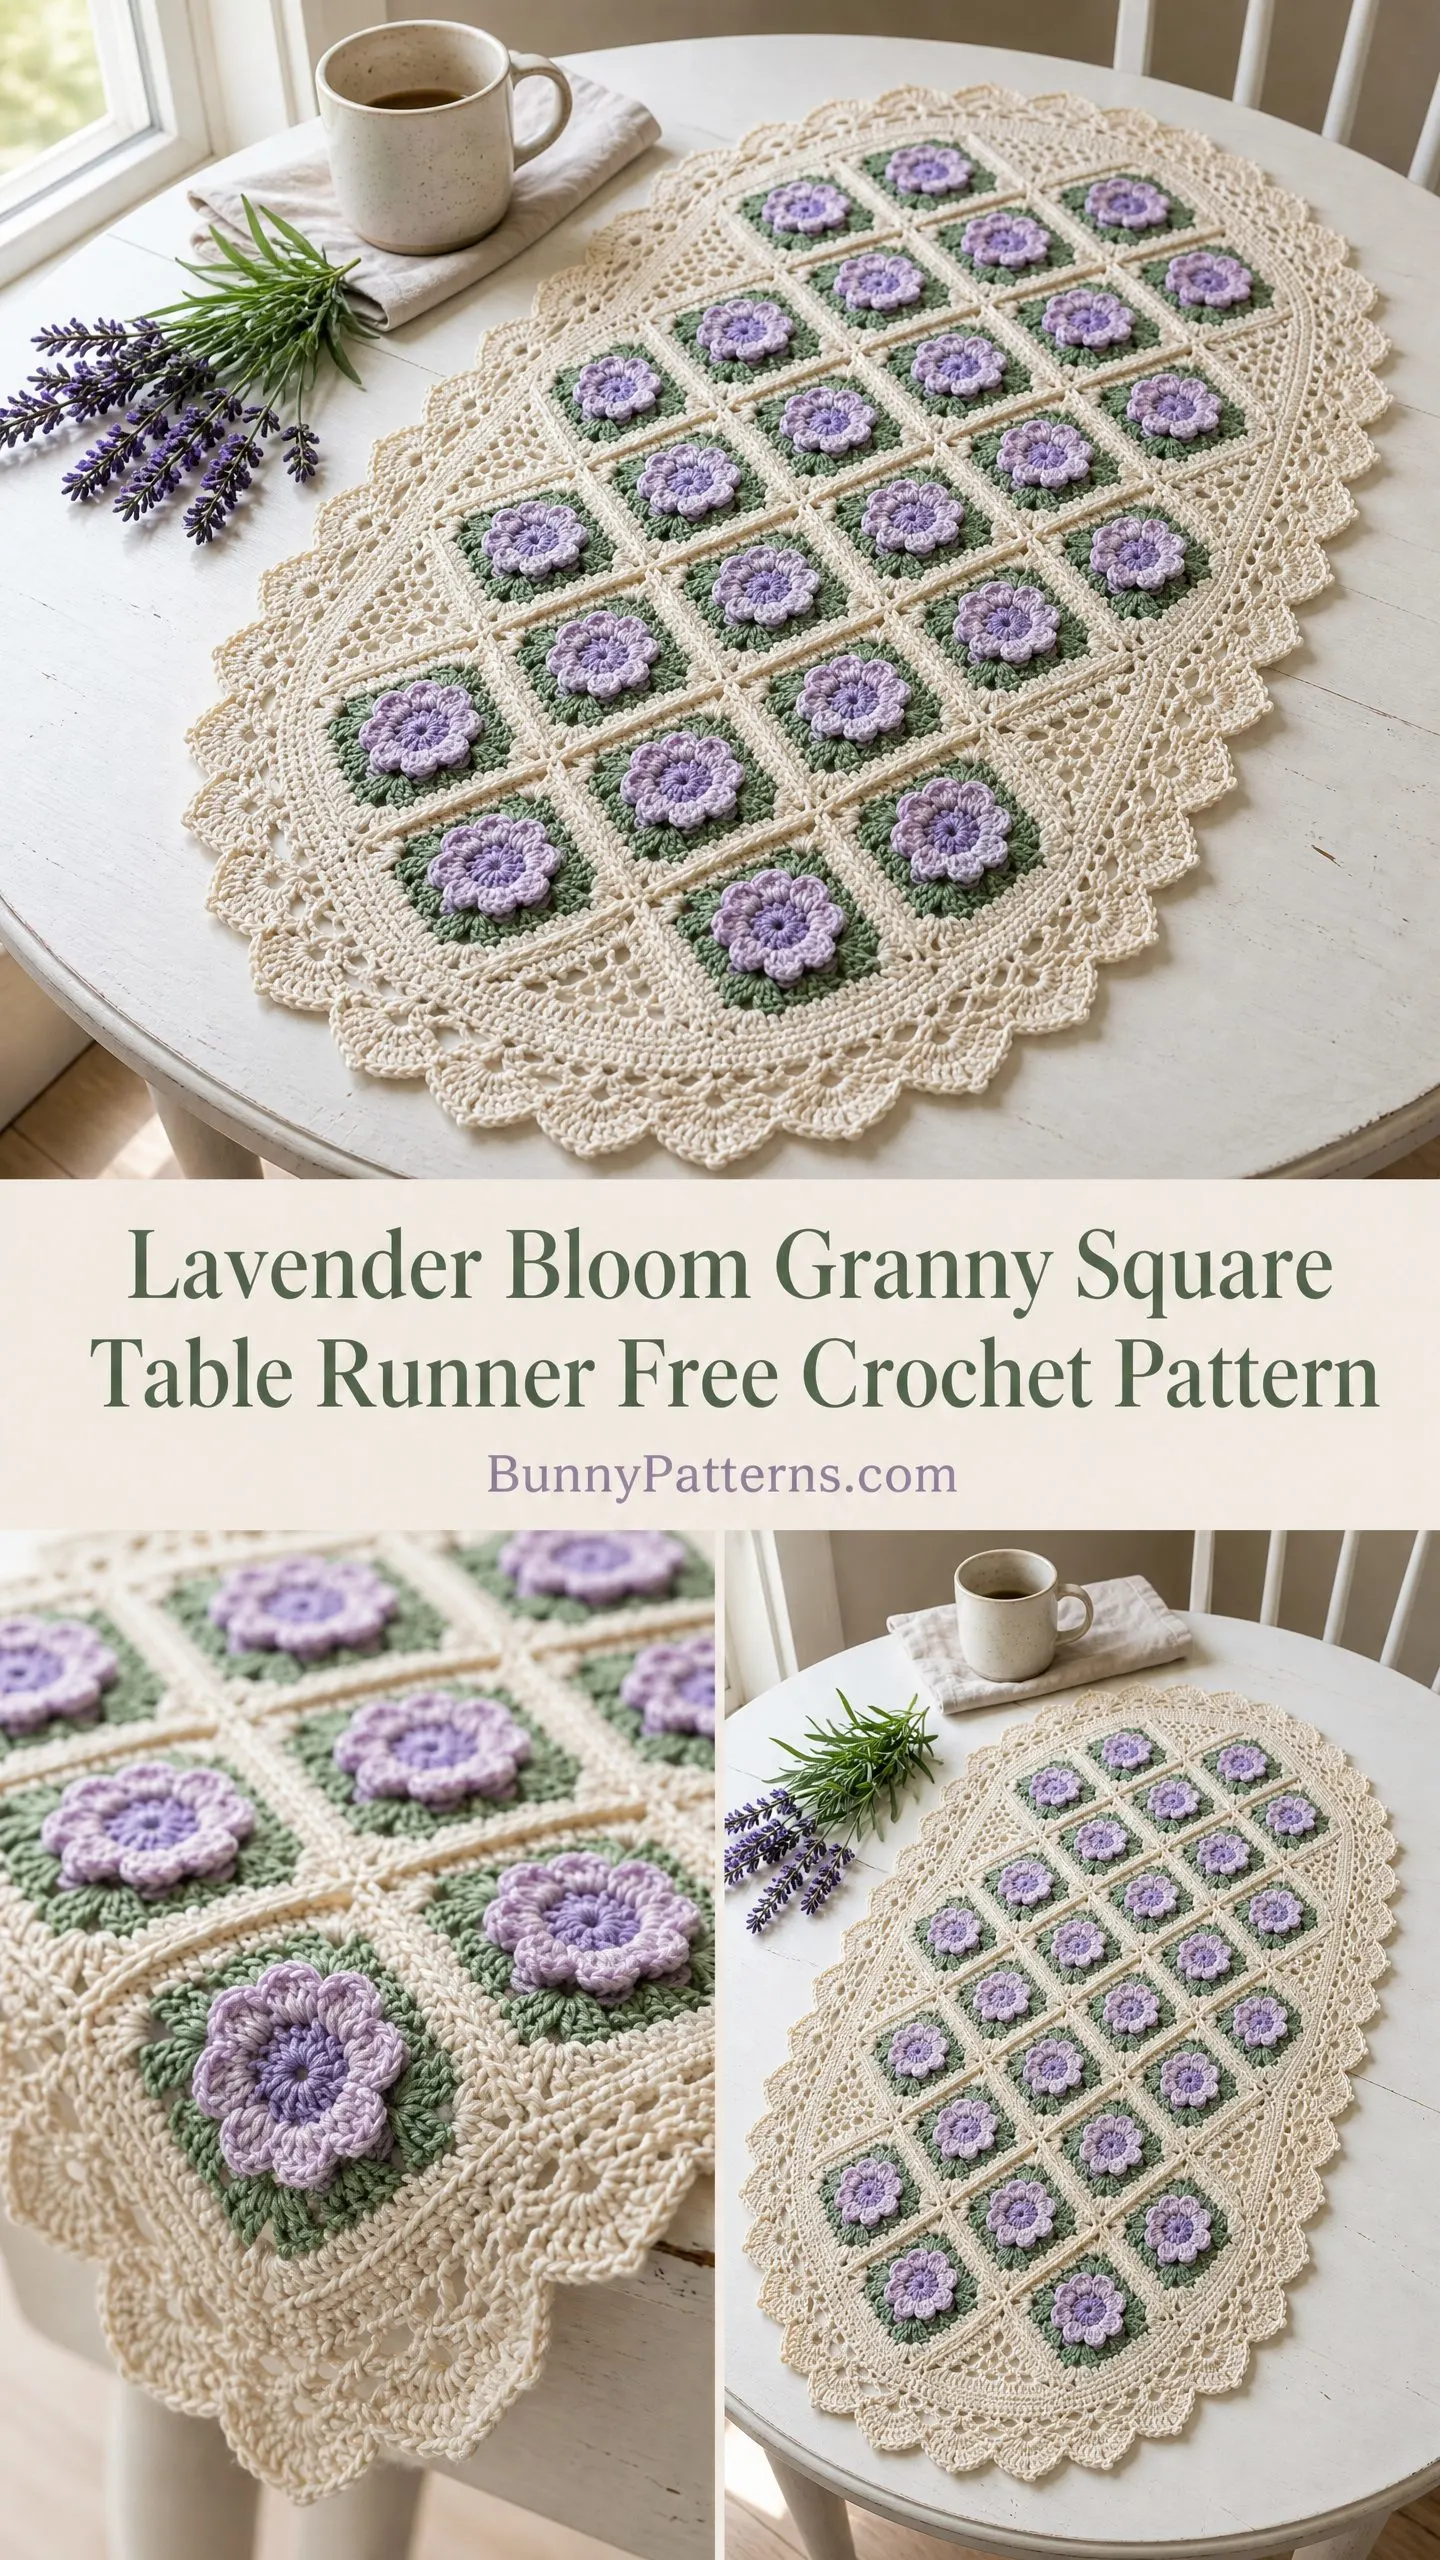
This table runner scratches that itch perfectly. It combines the satisfying rhythm of granny squares with a dimensional flower center that pops right off the surface. And that scalloped lace border? It transforms a simple rectangle into an elegant oval that looks far fancier than the stitches would suggest.
If you’ve been wanting to level up your granny square skills without diving into anything too intimidating, this is your project. You’ll learn join-as-you-go assembly, three-dimensional flower petals, and lace edging all in one beautiful piece.
About This Crochet Pattern
This oval table runner is built from 24 classic granny squares arranged in a 4-column by 6-row rectangle. Each square features a raised three-dimensional flower center worked in soft lavender, surrounded by a sage green round, and finished with cream outer rounds. The squares connect using a flat slip-stitch join-as-you-go method, which means no sewing at the end.
Once your rectangle is complete, a two-round scalloped lace border wraps around the entire perimeter. Extra corner clusters at the short ends transform the rectangular shape into that gorgeous oval silhouette you see in the photos.
The finished piece measures approximately 14 inches wide by 22 inches long, including the border. It’s perfect for dining tables, sideboards, dressers, or anywhere that needs a touch of vintage charm.
Skill Level
This pattern is rated intermediate. You should be comfortable working in the round, changing colors within a motif, and following multi-step instructions.
Specifically, you’ll need experience with:
If you’re a confident beginner who has completed several granny square projects, you can absolutely tackle this with patience. Just take it one round at a time.
Time Estimate
Plan for 12 to 18 hours total, depending on your speed with motif joining and color changes. Breaking it into sessions works well since you can complete a few squares at a time.
Materials Needed
Yarn
You’ll need three colors of size 10 crochet thread or fingering weight cotton:
Yarn Suggestions
1. Aunt Lydia’s Classic Crochet Thread Size 10 in Ecru, Lavender, and Sage Green. This is 100% mercerized cotton with 350 yards per ball. It’s widely available and produces crisp, well-defined stitches that are ideal for the lace border.
2. DMC Traditions Crochet Thread Size 10. Also 100% mercerized cotton with 350 yards per ball. It has a slightly softer hand than Aunt Lydia’s, creating a drapier finished piece. Colors are vibrant and colorfast.
3. Paintbox Yarns Cotton DK (as a fingering-weight option). This is 100% cotton with 273 yards per 100g ball. If you prefer a softer, more fabric-like runner that’s easier to work with, this is an excellent substitution. Use a US B-1 (2.25 mm) hook and verify gauge before beginning.
Substitution note: Any size 10 mercerized cotton thread or cotton fingering weight may be substituted. Avoid wool or acrylic blends for this project since the piece requires firm blocking to achieve the lacy, flat finish. Always confirm gauge before starting.
Hook
See gauge note below.
Additional Materials
Gauge
One completed granny square (after 4 rounds) equals approximately 2.75 inches by 2.75 inches (7 cm by 7 cm), blocked.
The border adds approximately 1.5 inches (3.8 cm) to each long side and approximately 2 inches (5 cm) to each short end due to the oval-shaping extra clusters.
Gauge swatch: Work one complete granny square through Round 4. Block it. Measure. Adjust hook size up or down as needed. Do not skip this step. The join-as-you-go method means that if your squares are off-size, the finished runner will not lie flat.
Abbreviations (US Terms)
Before we dive into the pattern, let’s cover all the abbreviations you’ll encounter:
Special Stitches
These techniques give the runner its distinctive look. Don’t worry if they’re new to you. I’ll walk you through each one.
3D Popcorn Flower Petal
Work 5 dc into the same stitch or space. Remove hook from working loop. Insert hook from front to back through the top of the first dc of the group. Pick up the working loop and pull it through to the front. Ch 1 to close.
This creates one raised, three-dimensional petal that pops forward from the fabric.
Puff Stitch (Optional Alternative)
Yo, insert hook into st or sp, yo and pull up a loop to approximately 0.5 inch height. Repeat this (yo, insert, yo, pull up loop) 2 more times in the same st or sp so you have 7 loops on hook. Yo and pull through all 7 loops. Ch 1 to close.
Shell
(2 dc, ch 2, 2 dc) all worked into the same st or sp.
Picot
Ch 3, sl st into the third ch from hook. This creates a small decorative bump.
V-stitch
(dc, ch 2, dc) all worked into the same st or sp.
Corner Shell
(3 dc, ch 2, 3 dc) all worked into the same ch-2 corner sp.
Large Corner Shell
(3 dc, ch 2, 3 dc, ch 2, 3 dc) all worked into the same ch-2 corner sp. This is used at the short ends of the border to create the oval shape.
Scallop
(sc, hdc, 3 dc, hdc, sc) all worked into the same st or sp. This creates the pretty wavy edge.
Pattern Notes
Read these before starting. They’ll save you confusion later.
1. The table runner is constructed in three stages: individual granny squares (24 total), join-as-you-go assembly into a 4-wide by 6-long rectangle, then a two-round lace and scallop border.
2. All rounds are worked on the right side. Do not turn at the end of rounds unless specifically instructed.
3. Color changes: Each square uses Color B for Round 1 (flower), Color C for Round 2 (green round), and Color A for Rounds 3 and 4 (cream outer rounds and joining round). Fasten off each color after its round unless instructed otherwise.
4. JAYG method: The first square in each row is completed fully through Round 4 with no joining. Every subsequent square is joined during Round 4 at the shared side(s) by replacing the ch-2 corner sp or the ch-1 side sp with a sl st join into the corresponding sp of the already-completed neighboring square.
5. The grid is 4 squares wide (short dimension) and 6 squares long (long dimension), giving 24 squares total.
6. After all squares are assembled, the lace border is worked continuously around the entire outer perimeter.
7. Weave in all yarn tails before working the border.
8. Block aggressively after finishing. Pin to measurements and mist with water, or submerge and pin flat. Blocking is essential for the lace border to open up correctly.
9. All turning chains are counted as noted per section. In granny squares, the ch-3 at the start of a dc round counts as the first dc.
Step-by-Step Instructions
Section 1: The Granny Square (Make 24 Total)
Instructions below produce one complete square. Rounds 1 and 2 use a magic ring. Work all rounds on RS.
Round 1 (Color B, Lavender, Flower)
Make a magic ring. Ch 1. Work 16 sc into ring. Join to first sc. (16 sc)
Work petals into front loops only: (3D Popcorn Flower Petal into next sc, sk 1 sc) 8 times. (8 petals worked into 8 alternate sc; 8 sc remain in back loops)
Join. Fasten off Color B.
Round 2 (Color C, Sage Green)
Join Color C with sl st into the back loop of any free sc (the ones skipped in Round 1).
Ch 3 (counts as dc). Work as follows into the 8 free back-loop sc:
Join to top of ch-3. Fasten off Color C.
Stitch count: 4 corner ch-2 sps, 4 side ch-1 sps, 8 clusters of 3 dc = 24 dc + ch-3 start
Round 3 (Color A, Cream)
Join Color A into any corner ch-2 sp.
Ch 3 (counts as first dc of corner shell throughout).
Join to top of ch-3 with sl st. Do not fasten off.
Stitch count: 4 corner shells x 6 dc = 24 dc, 4 side clusters x 3 dc = 12 dc. Total: 36 dc. Corner ch-2 sps: 4. Ch-1 sps: 8
Round 4 (Color A, Continued)
Continue directly from join:
Ch 3 (counts as dc), 2 dc into same corner ch-2 sp, ch 2, 3 dc into same sp (corner shell)
Rep twice more to complete remaining two sides and corners.
Join to top of ch-3 with sl st. Fasten off Color A.
Stitch count: Per side (between two corners): 3 clusters of 3 dc + 3 ch-1 sps = 9 dc per side. 4 sides: 36 dc. 4 corner shells: 24 dc. Total: 60 dc. Corner ch-2 sps: 4. Ch-1 sps: 16 total.
One complete square measures approximately 2.75 inches x 2.75 inches blocked.
Checkpoint 1: After completing one full square, block it and measure. It should measure 2.75 in / 7 cm on each side. If smaller, go up one hook size. If larger, go down one hook size. Re-swatch before proceeding.
Section 2: Join-As-You-Go Assembly
The grid is 4 squares wide (columns) and 6 squares long (rows). Total: 24 squares.
Work squares in rows, left to right, top to bottom.
Square 1 (Row 1, Column 1)
Work Rounds 1 through 4 completely. Fasten off. This is your reference square.
Square 2 (Row 1, Column 2)
Work Rounds 1 through 3 completely.
Begin Round 4. Work the first corner shell, then work along the side that will join to Square 1.
JAYG on shared left side:
Complete the remaining three sides of Round 4 normally. Fasten off.
Squares 3 and 4 (Row 1, Columns 3 and 4)
Work as Square 2, joining to the previous square on its left side.
Row 1 complete (4 squares joined in a horizontal strip).
Checkpoint 2: After Row 1 (4 squares), the strip should measure approximately 11 inches wide by 2.75 inches tall (28 cm x 7 cm). Check that all joins are flat and that corner ch-2 sps are clearly visible.
Rows 2 Through 6
Each new row requires squares to join on the top side (to the row above) and the left side (to the square in the same row to the left), except for Column 1 squares which join only on the top.
Square at Row 2, Column 1:
Work Rounds 1 through 3.
Round 4 JAYG: Join top side to the bottom side of Row 1, Column 1 square.
At the top two corners and along the top side, use the JAYG method (ch 1, sl st, ch 1 for corners; sl st for ch-1 sps).
Complete remaining three sides normally. Fasten off.
Squares at Row 2, Columns 2 through 4:
Join along both the top edge (to corresponding Row 1 square) and left edge (to same-row square to the left).
At the shared corner where four squares meet, the ch-1, sl st, ch-1 junction must connect to the point where the adjacent already-joined squares share their corner. Sl st into the existing join point to connect all four corners neatly.
Repeat this process for Rows 3, 4, 5, and 6, always working left to right within each row, and working rows top to bottom.
Checkpoint 3: After all 24 squares are joined, the assembled rectangle should measure approximately 11 inches wide by 16.5 inches long (28 cm x 42 cm) before the border. The seam lines should be barely visible from the front. If any joins pucker, pin flat and block before continuing to the border.
Section 3: Lace Border
The border is worked in two rounds around the entire outer perimeter of the assembled rectangle. Round 1 is a structured dc/ch round. Round 2 adds the scallops and picots. The border is worked in Color A throughout.
Before beginning: Join Color A with sl st into any corner ch-2 sp of the assembled rectangle. Work with RS facing throughout.
Border Round 1
This round establishes the framework. On the short ends (4-square ends), extra fan clusters are worked to begin the oval shaping. On the long sides (6-square sides), the work proceeds in standard granny fashion.
Begin at one short-end center corner sp:
Into first short-end corner ch-2 sp:
Ch 4 (counts as dc + ch 1).
(3 dc, ch 2, 3 dc, ch 2, 3 dc) into same sp. Ch 1. (Large Corner Shell with 3 clusters, 2 ch-2 sps)
Along the short end:
Into each ch-1 sp along the short end: (3 dc, ch 1) into each ch-1 sp. (3 side clusters for the 3 internal sps)
Into the corner ch-2 sp at the far end of this short end:
(3 dc, ch 2, 3 dc) into this sp. (standard corner shell)
Along the long side:
Ch 1.
Into each ch-1 sp along this long side: (3 dc, ch 1) into each sp.
Work into every visible sp along the edge, working 3 dc, ch 1 into each sp.
Into the far rectangle corner ch-2 sp of this long side:
(3 dc, ch 2, 3 dc) into sp. (standard corner shell)
Ch 1.
Work into each sp along the second short end the same as the first short end:
3 side clusters of (3 dc, ch 1) into each ch-1 sp.
Into the center corner of this second short end: (3 dc, ch 2, 3 dc, ch 2, 3 dc, ch 1). Large Corner Shell.
Then into the last remaining rectangle corner:
(3 dc, ch 2, 3 dc).
Ch 1.
Work along the second long side same as first.
Join to top of ch-4 from beginning with sl st.
Checkpoint 4: After Border Round 1, the piece should have a clear oval-ish silhouette when laid flat, with the extra clusters at the short ends beginning to flare the ends outward. The total width at the widest point of the short ends should be approaching 14 inches (35.5 cm). The long sides should lie straight.
Border Round 2 (Scallop and Picot Round)
This round covers the entire perimeter with alternating scallops, turning all ch-1 sps into scallop points and all ch-2 sps into picot-topped shell points.
Join Color A into any ch-1 sp of Border Round 1.
Into each ch-1 sp around: work one Scallop = (sc, hdc, 3 dc, hdc, sc) into the ch-1 sp.
After each Scallop, sl st into the top of the next dc cluster to travel to the next sp.
Into each ch-2 sp (standard corners and large corner sps): work (3 dc, Picot, 3 dc) = (3 dc, ch 3, sl st into 3rd ch from hook, 3 dc) into the ch-2 sp.
Work continuously around all four sides and all corner/large corner sps.
Join to first sc with sl st. Fasten off Color A.
Checkpoint 5: After Border Round 2, the piece should have a full scalloped edge all the way around, with the scallops creating a gently ruffled oval silhouette. The short ends should be noticeably more curved and fuller than the long sides. Lay flat and pin before weaving in final ends.
Finishing and Blocking
Weave in all remaining yarn tails securely using a tapestry needle, burying ends in the backs of dc clusters.
Wet Blocking Method (Strongly Recommended)
Submerge the finished runner in cool water. Gently press out excess water. Do not wring. Roll in a clean towel and press to remove moisture. Lay flat on blocking board. Pin to finished measurements: 14 inches wide by 22 inches long (35.5 cm by 56 cm). Pin each scallop point individually, stretching the lace border open. Allow to dry completely (12 to 24 hours) before unpinning.
Spray Blocking Alternative
Pin dry piece to measurements and mist thoroughly with water. Pat scallops open. Allow to dry completely.
Starch (Optional)
For a stiffer, crisper finish, lightly spray with fabric starch before blocking. This helps the scalloped border hold its shape in use.
Size Customization Tips
To make the runner longer: Add columns of squares in multiples of 2 (to keep the proportional grid). Each additional column of 4 squares adds approximately 5.5 inches (14 cm) in length. Adjust Color A yardage by approximately 40 yards per additional row of 4 squares.
To make the runner wider: Add rows of squares to the 4-column width. Each additional column adds approximately 2.75 inches (7 cm) in width. Increase Color A, B, and C quantities proportionally.
To make a placemat: Use a 2-column by 3-row grid (6 squares). Finished size approximately 7 inches x 9 inches (18 cm x 23 cm) before border, or approximately 10 inches x 13 inches (25.5 cm x 33 cm) with border.
To make a tablecloth: Scale up to a 6-column by 10-row grid (60 squares). Multiply all yarn quantities by approximately 2.5.
Care Instructions
This runner is made from 100% cotton. Machine wash on a gentle cycle in cool water, or hand wash. Lay flat to dry. Do not tumble dry, as heat can shrink cotton and distort the lace. Do not iron directly. Steam from a distance is acceptable to freshen the piece. Store folded (not rolled) to prevent permanent crease lines. If starch was applied, rewash before storing to prevent yellowing.
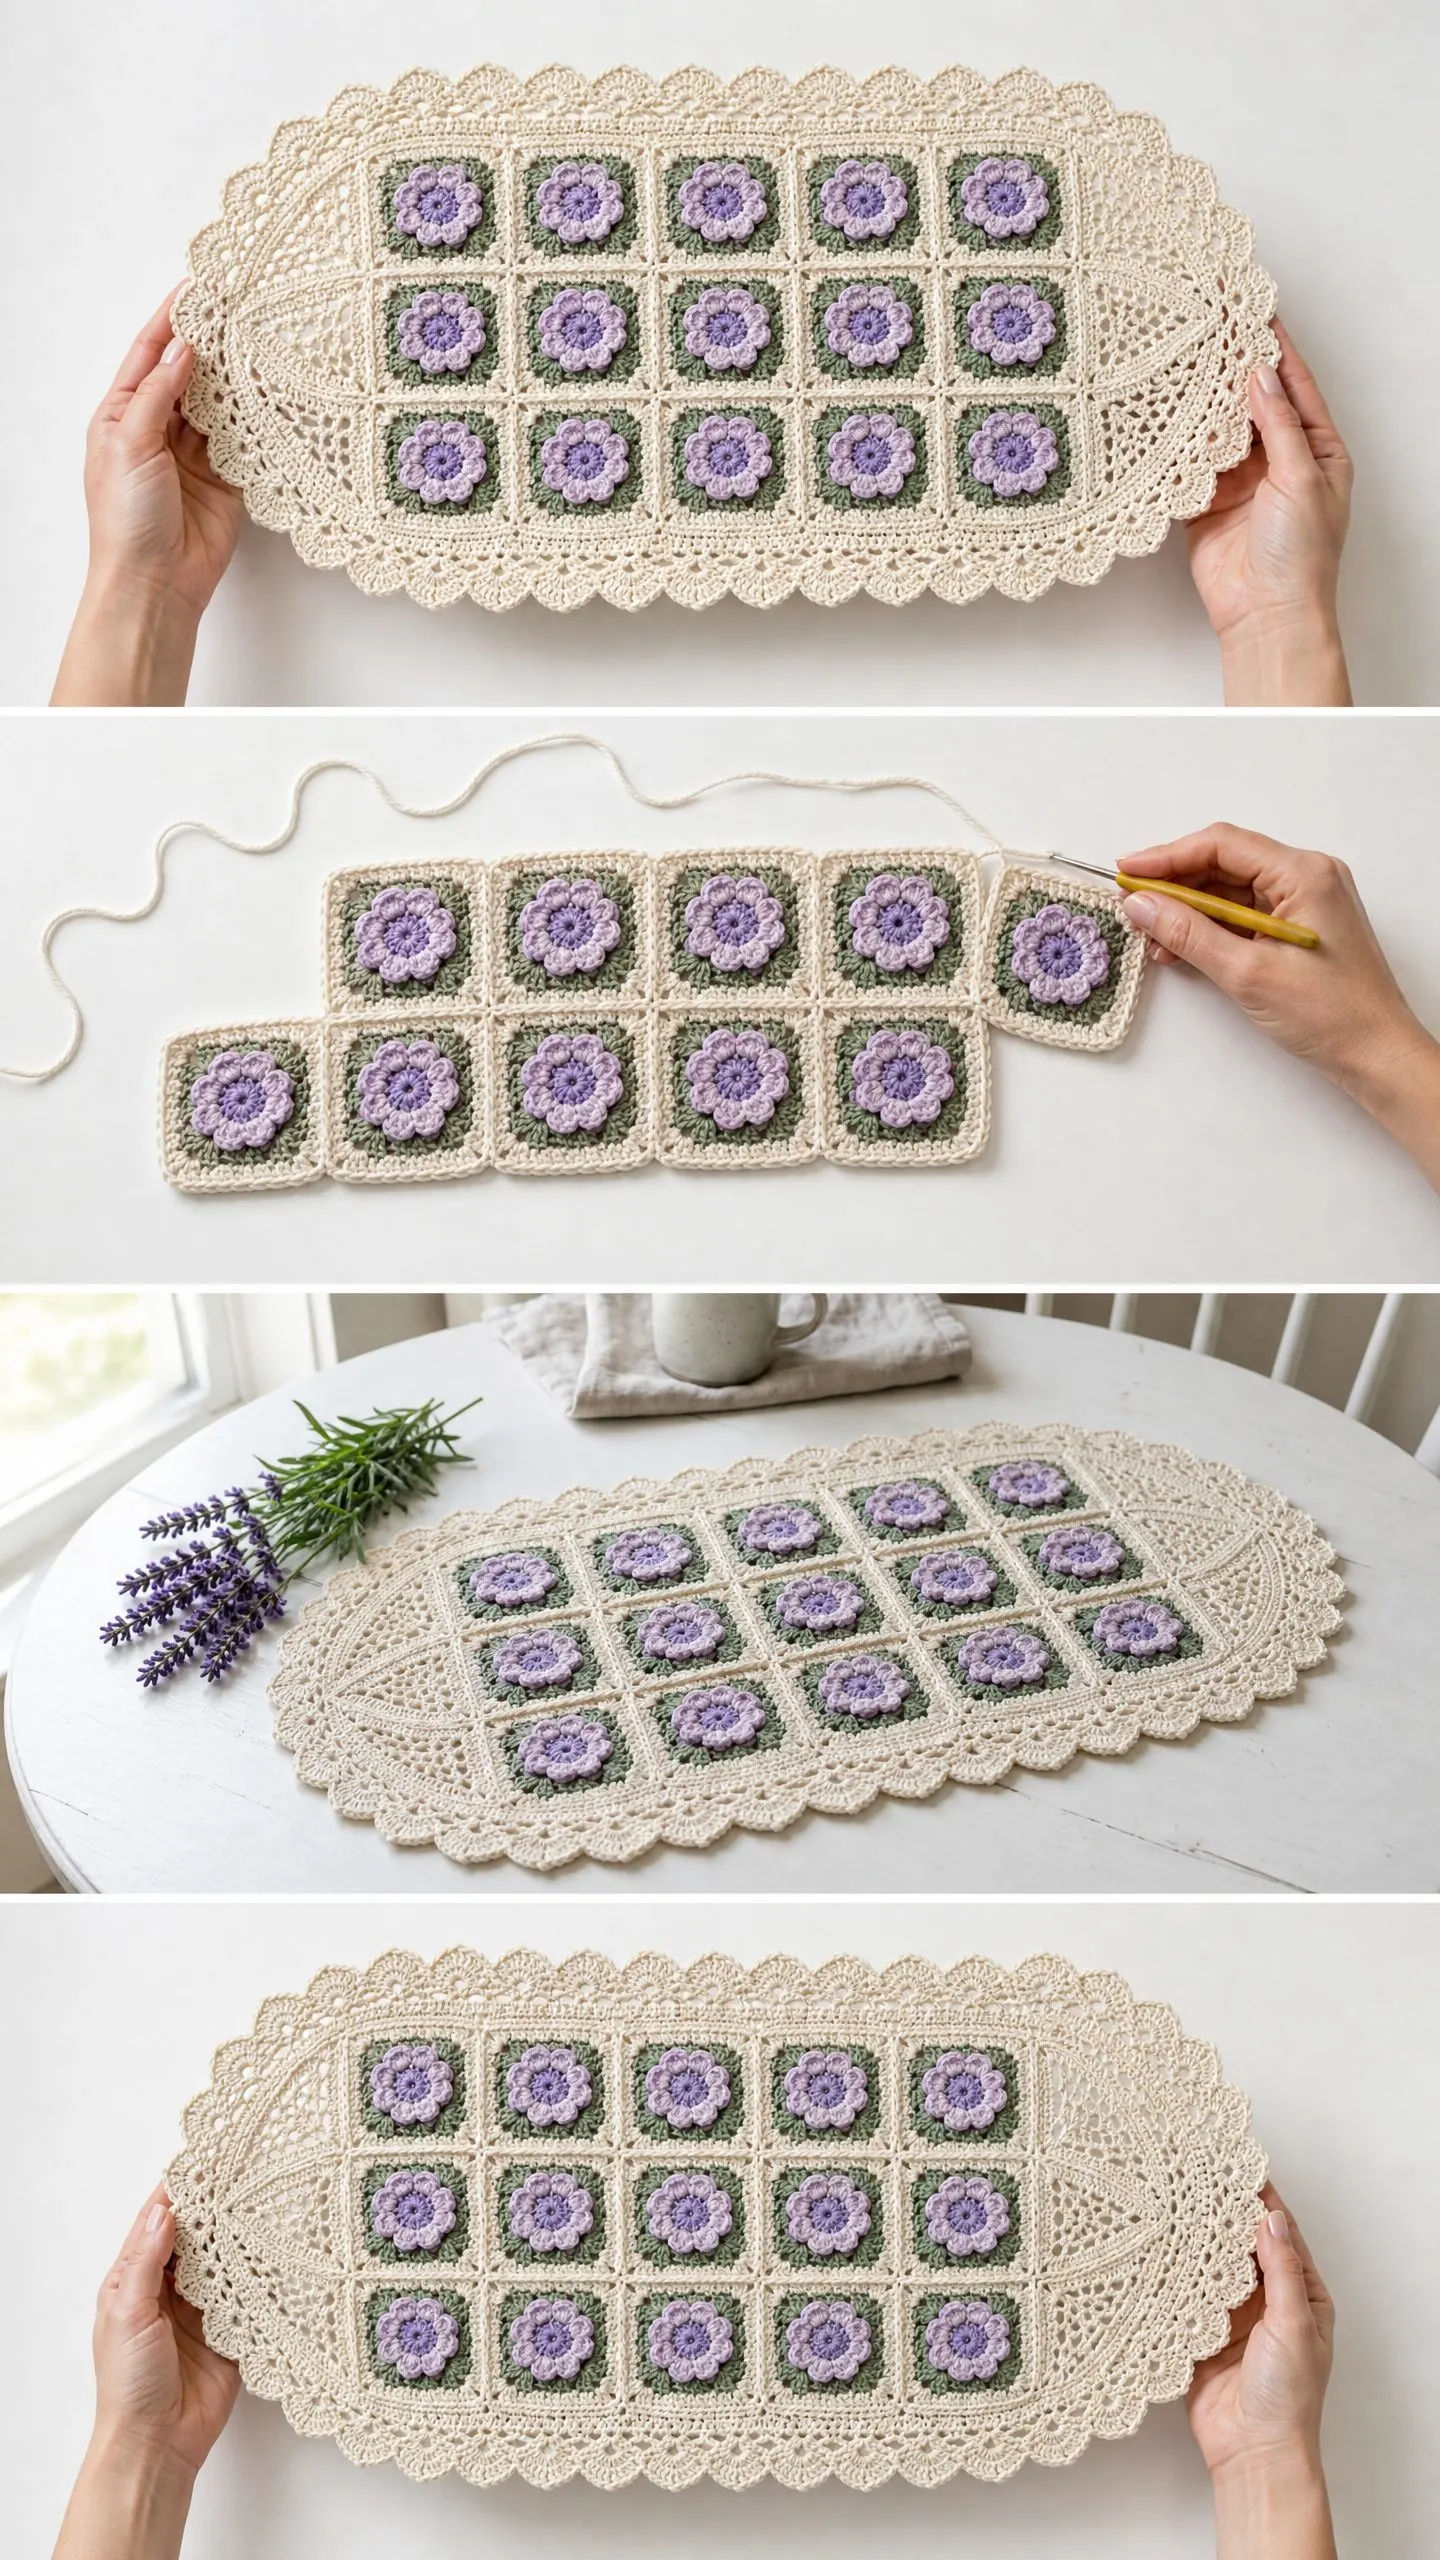
You Did It!
Thank you so much for choosing this Lavender Bloom Granny Square Table Runner crochet pattern. I hope the process was as relaxing as the finished piece is beautiful. There’s something deeply satisfying about watching those little flower squares come together into something elegant enough to display on your best table.
If you make this runner, I would absolutely love to see it! Tag me on Instagram or share your finished piece in our Facebook group. Seeing your color choices and styling ideas is genuinely one of the best parts of sharing patterns.
If this pattern caught your eye, go ahead and save it to your Pinterest boards so you can find it when you’re ready to start. And please drop a comment below if you make one. I love hearing how projects turn out and seeing the creative color combinations you all come up with!
You Might Also Like
- Ocean Wave Granny Square Bamboo Tote Free Crochet Pattern
- Sage Green Mandala Market Bag Free Crochet Pattern
- Ocean Blue Mermaid Plush Doll Free Crochet Pattern
- Lavender Dream Tiered Baby Dress Free Crochet Pattern