
Go ahead and dig into that yarn stash. You know the one. Those pretty cotton skeins you’ve been saving for "the right project"? This is it.
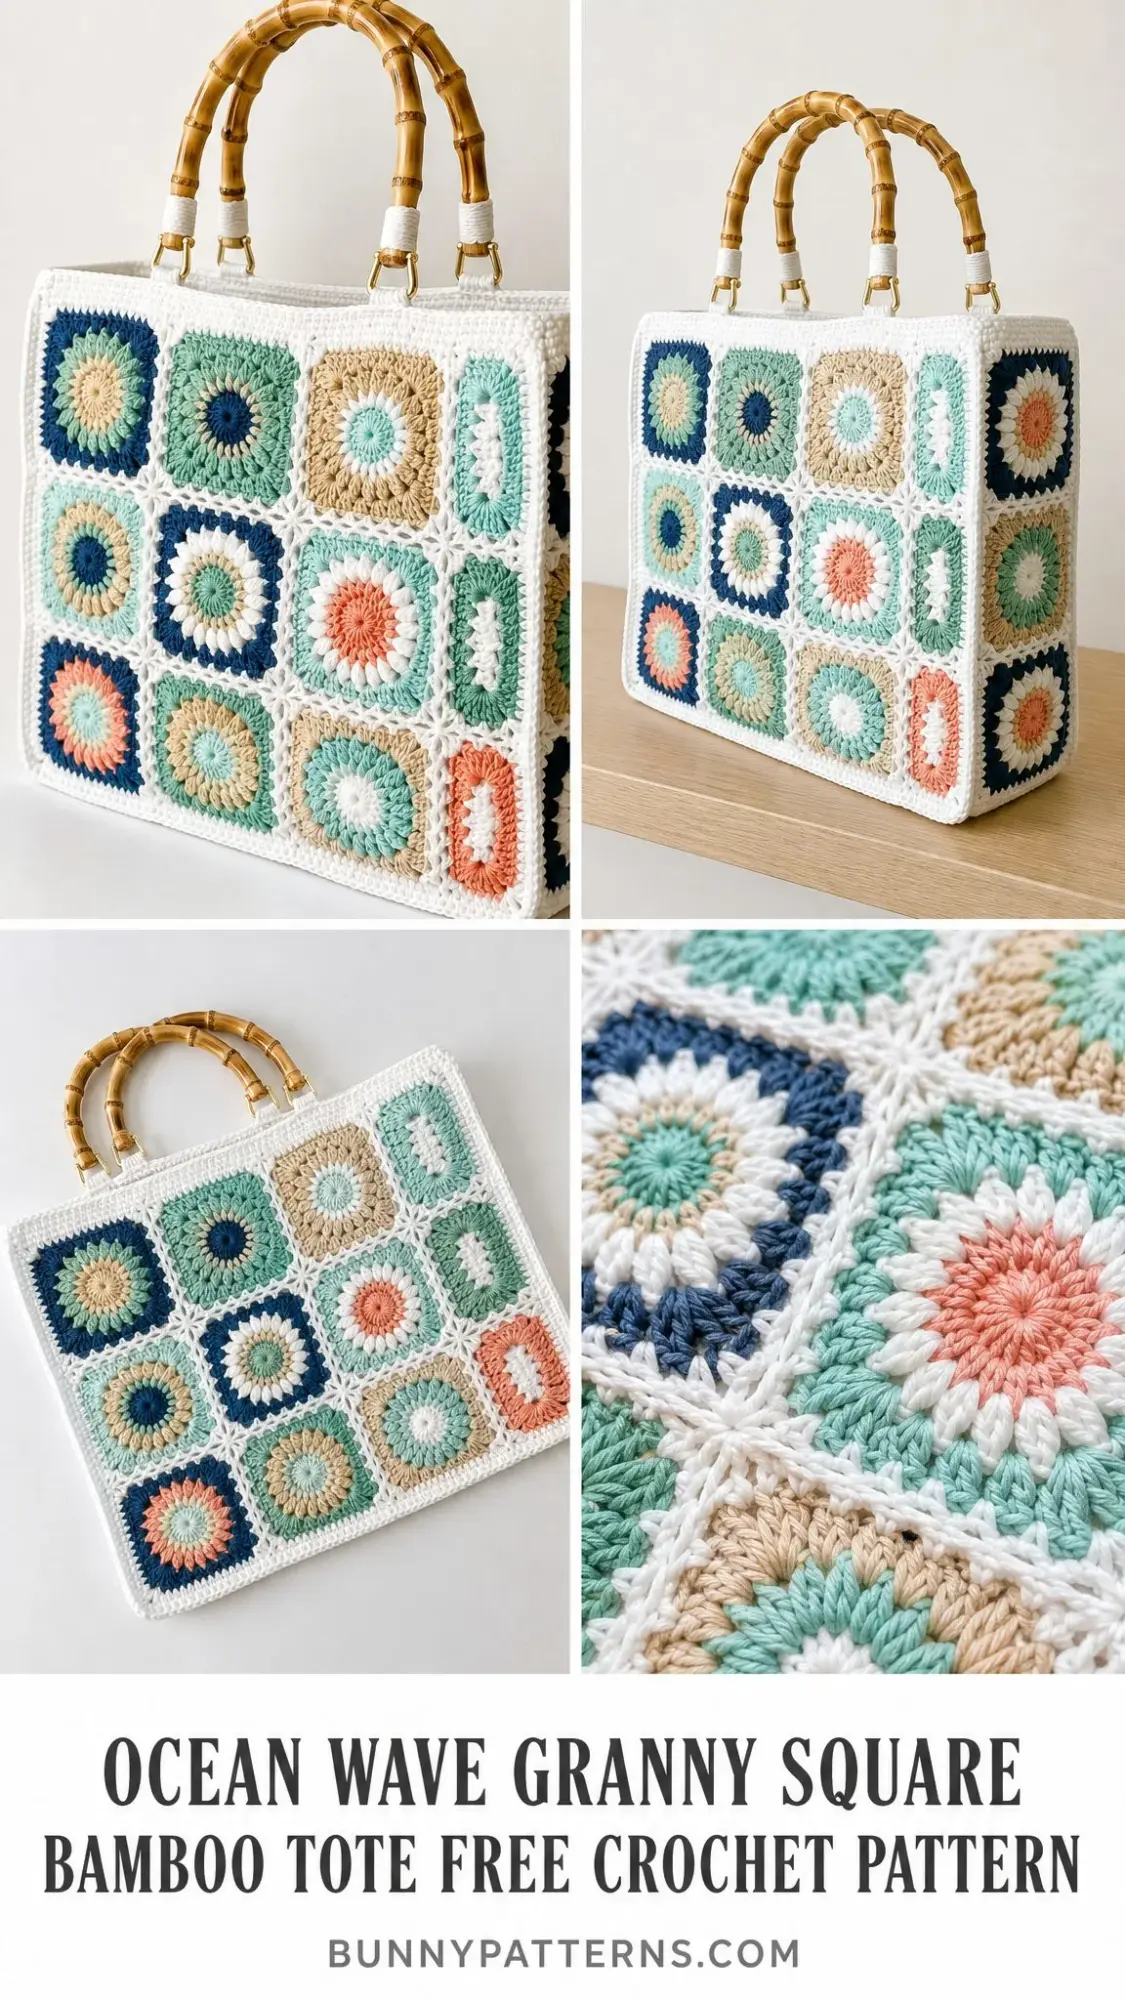
The Ocean Wave Granny Square Bamboo Tote combines cheerful sunburst motifs with a scrappy ocean palette that makes every square a little different. The construction is straightforward. You’ll work 27 individual granny squares, join them into panels, and assemble a structured tote with real depth and shape. The bamboo handles give the whole thing a polished, summery look.
This pattern is rated Easy Plus, so you should be comfortable with basic stitches and working in the round. If you’ve made a granny square before, you can absolutely make this bag. The only tricky part is keeping your tension even on Round 2, and I’ll walk you through that.
About This Pattern
This roomy tote measures approximately 12 inches wide by 13 inches tall by 4 inches deep when finished. The bamboo handles add another 5 inches of height. Each sunburst square blocks to 4 inches, so sizing adjustments are easy to calculate.
The design uses a scrappy approach to color. You’ll pick two different accent colors for the center rounds of each square, then finish every square with the same white border. This creates a cohesive look while letting each motif feel unique. The suggested palette includes deep navy, sea teal, soft sage, pale mint, warm sand, cream, and a pop of coral.
The pattern takes approximately 10 to 14 hours to complete, depending on your speed and how much time you spend arranging your color combinations.
Materials You Will Need
Yarn:
Hook:
Hardware:
Notions:
Yarn Suggestions:
Any worsted or aran weight (#4) cotton that blocks to gauge will work beautifully. Good options include Paintbox Cotton Aran, Scheepjes Catona held double, or Lily Sugar’n Cream for a sturdy budget-friendly bag.
Gauge
One finished sunburst square should measure 4 inches (10 cm) across after blocking. If your square is larger, try dropping down a hook size. If it’s smaller, size up. Hitting that 4 inch measurement matters more than matching a specific stitch count.
Abbreviations and Stitch Definitions
This pattern is written in US crochet terms. UK equivalents are noted in parentheses.
Special Stitches
Corner group: Work (2 dc, ch 2, 2 dc) all into the same stitch or space. This creates the corner increase that shapes your square.
Magic ring: An adjustable loop used for Round 1. Make the ring, work your stitches into it, then pull the tail tight to close the center hole completely.
Pattern Notes Before You Begin
1. The beginning chain 3 counts as the first double crochet (dc) throughout the pattern unless stated otherwise.
2. Join each round with a slip stitch (sl st) to the top of the beginning chain 3.
3. Change colour in the final yarn over of the last stitch before a new round. This creates clean colour lines.
4. Weave in ends as you go. Block each square before joining for the crisp white lattice effect shown in the photos.
The Sunburst Square
Make 27 squares total. Rounds 1 and 2 form the sunburst center. Rounds 3 and 4 square it off with white.
Use Colour A for the center, Colour B for the sunburst ring, and white for the squaring and border rounds.
Round 1 (Colour A)
Make a magic ring. Chain 3 (this counts as your first dc). Work 15 dc into the ring. Join to the top of the beginning ch-3 with a slip stitch. Pull the ring closed tightly.
Stitch count: 16 dc
Round 2 (Colour B)
Join Colour B in any stitch. Chain 3, dc in the same stitch, then work 2 dc in each stitch around. Join to the top of the beginning ch-3.
Stitch count: 32 dc
Tip: Round 2 is where the "rays" of your sunburst appear. Keep your tension even so the sunburst sits flat. If your circle cups or buckles, give it a gentle steam before moving to Round 3.
You now have a flat two-colour circle. The next rounds will square it off.
Round 3 (White)
Join white in any stitch. Chain 3, dc in the next 2 stitches. Work (2 dc, ch 2, 2 dc) in the next stitch for your corner, dc in the next 7 stitches. Repeat from * twice more. Work the 4th corner in the next stitch, dc in the next 4 stitches. Join.
Stitch count: 44 dc and 4 corner spaces
Round 4 (White)
Chain 3, dc in each dc to the first corner. Work (2 dc, ch 2, 2 dc) in the corner ch-2 space, dc in each dc to the next corner. Repeat around. Join and fasten off.
Stitch count: 60 dc and 4 corner spaces
Square Check
Each finished side should have 15 dc counted from corner space to corner space, including the corner dc. All four sides should match, which allows squares to join neatly in any direction.
Blocking Your Squares
Pin each square to 4 inches (10 cm), spritz with water, and let dry completely. This single step makes the difference between a wobbly bag and the clean grid you see in the photos. Don’t skip it.
Colour Play and Square Count
The look of this tote is happily scrappy. Pick two different colours for Rounds 1 and 2 of each square, keep the white constant for Rounds 3 and 4, and let combinations repeat at random.
The Ocean Palette
How Many Squares for Each Panel
| Panel | Squares |
|---|---|
| Front panel | 9 squares (3 × 3) |
| Back panel | 9 squares (3 × 3) |
| Two sides | 6 squares total (1 × 3 each) |
| Base | 3 squares (3 × 1) |
| Total | 27 squares |
Colour tip: Use coral sparingly. Just three or four squares with coral will let it read as an accent rather than a theme. Navy works well as the most repeated centre colour to anchor the spread.
Building the Panels
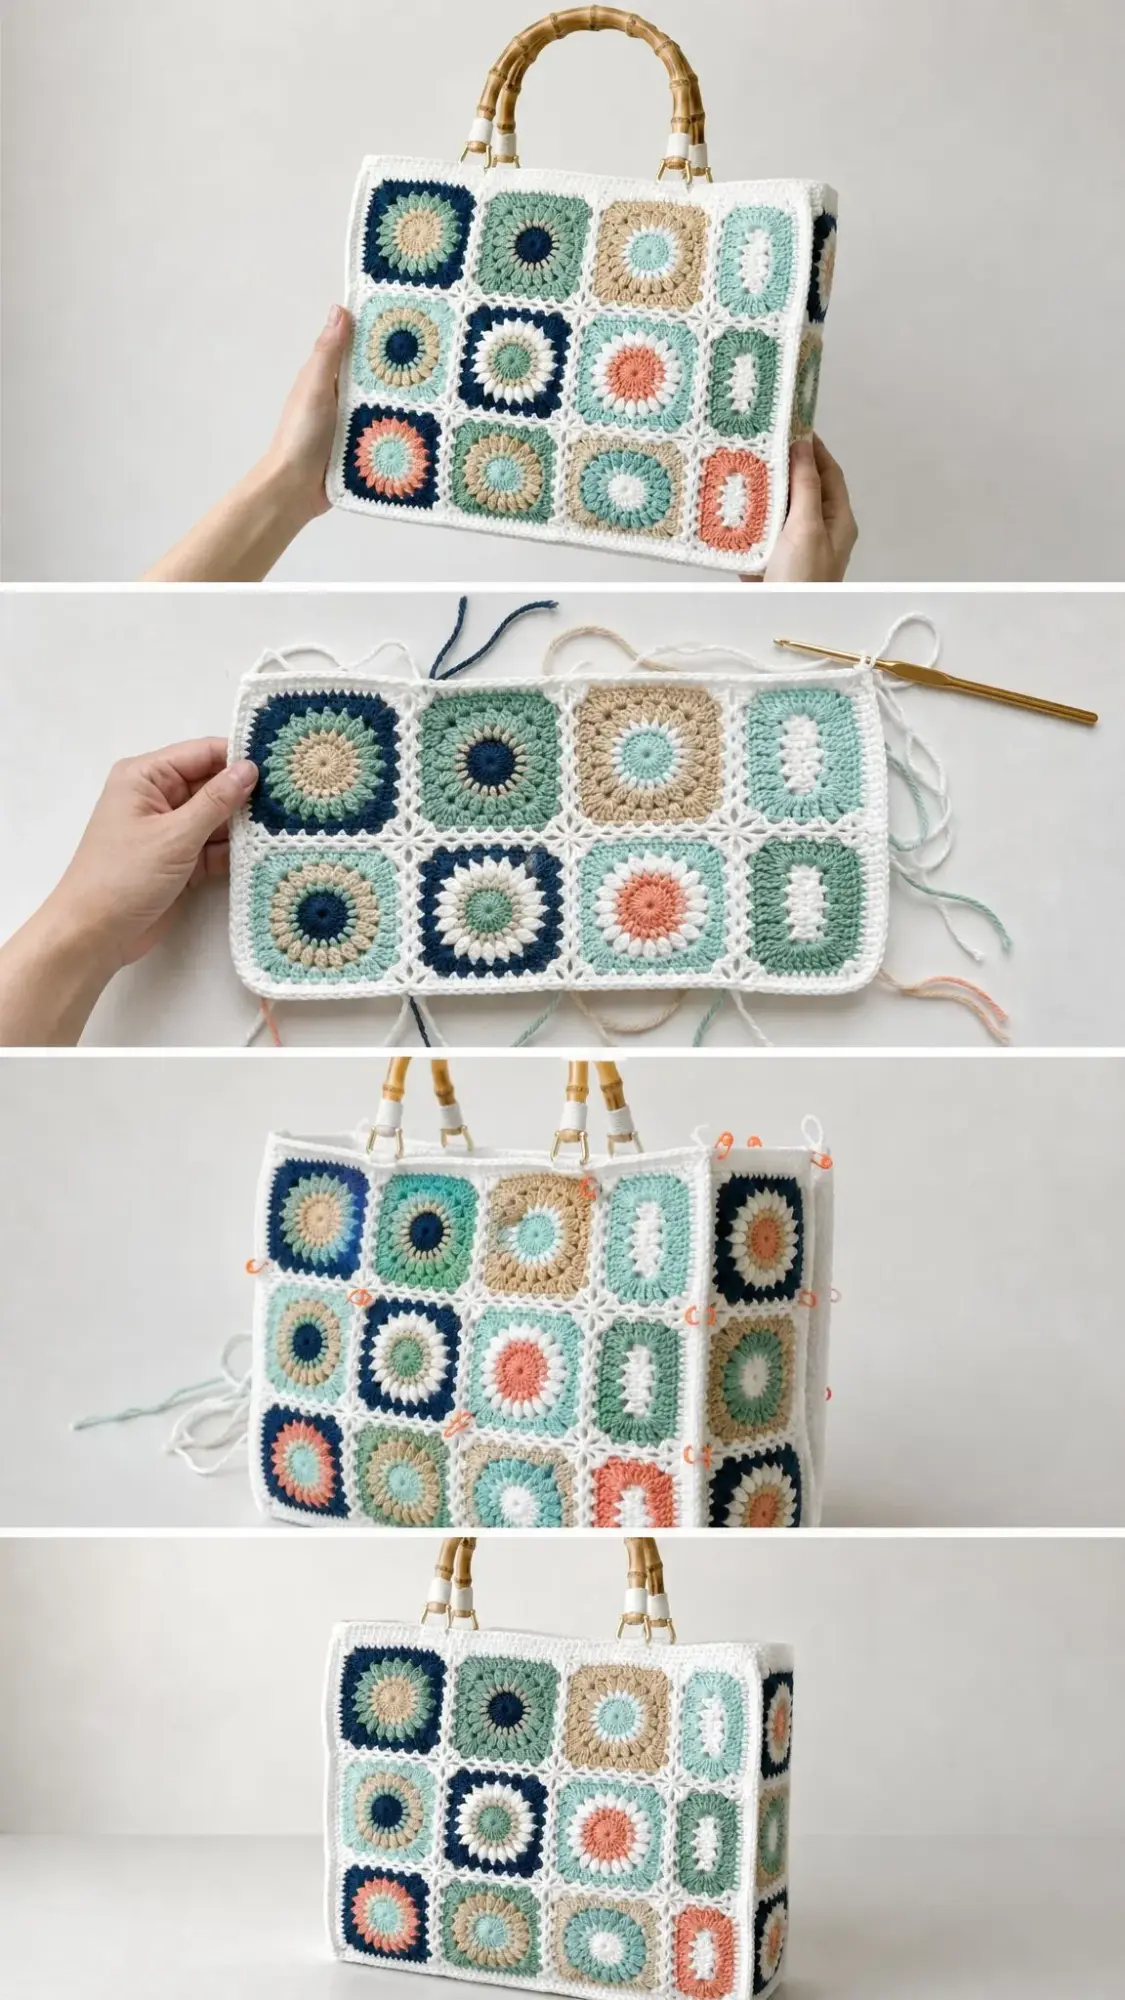
Lay your squares out before joining and balance the colours by eye. Move things around until you’re happy with the distribution.
Joining Squares
1. Place two squares right sides together. If you prefer a visible ridge on the outside (as shown in the photos), place them wrong sides together instead.
2. With white yarn, single crochet (sc) through both back loops along one side. Work 1 sc per stitch and 1 sc into each corner ch-2 space.
Stitch count per seam: 17 sc
3. Join all rows of a panel first, then join the rows together the same way to complete the 3×3 grid.
4. Make 2 large panels (front and back), 2 side strips, and 1 base strip.
Joining the Bag
The base strip and side strips give the tote its boxy, structured shape.
1. Single crochet the base strip (3 squares) to the bottom edge of the front panel.
Stitch count: 53 sc
2. Single crochet the opposite long edge of the base to the bottom of the back panel.
Stitch count: 53 sc
3. Single crochet a side strip down one short edge of the front, across the end of the base, and up the back. Repeat on the other side.
Stitch count: 53 sc per side
4. You now have an open box. Turn right side out and ease the corners into shape.
Optional Lining
For a tote that holds its shape beautifully and hides your essentials, add a fabric lining. Cut fabric measuring 12 × 13 inches plus a 4 inch gusset. Add ½ inch seam allowance on all sides. Sew the lining, then hand-stitch it inside the top edge of the bag before adding the border.
Top Border and Handles
Top Border
Round 1 (White): Join white at a top back corner. Single crochet evenly around the entire top opening, keeping a steady 1 sc per stitch. Join.
Stitch count: 106 sc
Rounds 2 through 5: Chain 1, sc in each stitch around, join. Repeat for four rounds total to build a firm, clean rim.
Stitch count: 106 sc each round
Fasten off and weave in all ends.
Attaching the Handles
Step 1: Make 4 short white tabs. Chain 8, sc back along the chain, then work sc in rows until approximately 1.5 inches long.
Stitch count: 7 sc per row
Step 2: Thread each tab through a gold D-ring, fold in half, and sew securely to the inside of the top rim. Position two tabs spaced for each handle.
Step 3: Clip the bamboo handle’s swivel clasps onto the D-rings. Wrap the handle bases with white yarn for the polished finished look shown in the photos.
Handle Placement
Position tabs about 2.5 inches (6 cm) in from each top corner. This placement ensures the handles hang straight and the bag sits square when carried.
Care Instructions
1. Hand wash in cool water with a gentle detergent. Cotton can lose shape in hot water.
2. Don’t wring. Press water out gently and reshape flat to dry.
3. Dry away from direct heat and sunlight to keep colours bright.
4. Remove bamboo handles before washing and dry them separately.
Make It Your Size
Bigger beach bag: Work front and back at 4×4 squares and lengthen the base and sides to 4 squares long.
Mini grab bag: Drop to 2×3 panels with a 2-square base for an evening clutch size.
Taller tote: Add a 5th and 6th sc round to the top border, or join an extra row of squares to each panel.
Every square added in any direction changes the size by 4 inches (10 cm). Count squares, multiply by four, and you have your finished measurement in inches. Simple math for endless customization.
Tips for Success
Block before joining. I know I’ve said it already, but this really is the key to a professional looking finished bag. Blocked squares join evenly and create that satisfying grid pattern.
Use stitch markers. Mark your corners as you work Round 3 and Round 4. It helps you stay on track, especially when you’re making 27 squares.
Don’t stress about colour placement. The beauty of this scrappy design is that it looks intentional no matter how you arrange things. Trust your eye.
Weave ends as you go. With 27 squares and multiple colour changes, you’ll have a lot of ends. Weaving them in as you finish each square keeps the job manageable.
Thank you so much for choosing this pattern for your next project. I hope you love making your Ocean Wave Bamboo Tote as much as I loved designing it. The combination of those cheerful sunburst motifs and the warm bamboo handles creates something truly special.
If you make this tote, I would absolutely love to see it. Save this pattern to your Pinterest boards so you can find it when you’re ready to start, and please leave a comment below to share your finished bag. Your photos make my day!
You Might Also Like
- Pastel Rainbow Kitty Tote Bag Free Crochet Pattern
- Lavender Dream Bow Crochet Vest Free Crochet Pattern
- Ocean Wave Granny Square Bag Free Crochet Pattern
- Sunset Ombre Granny Square Poncho Free Crochet Pattern