
A handmade bag that actually holds its shape and looks polished enough for everyday use? That’s exactly what this pattern delivers. The Ocean Wave Sunburst Hobo Bag features a stunning radiating pinwheel design worked in puff stitches, creating a textured, eye-catching accessory that’s practical for carrying your essentials.
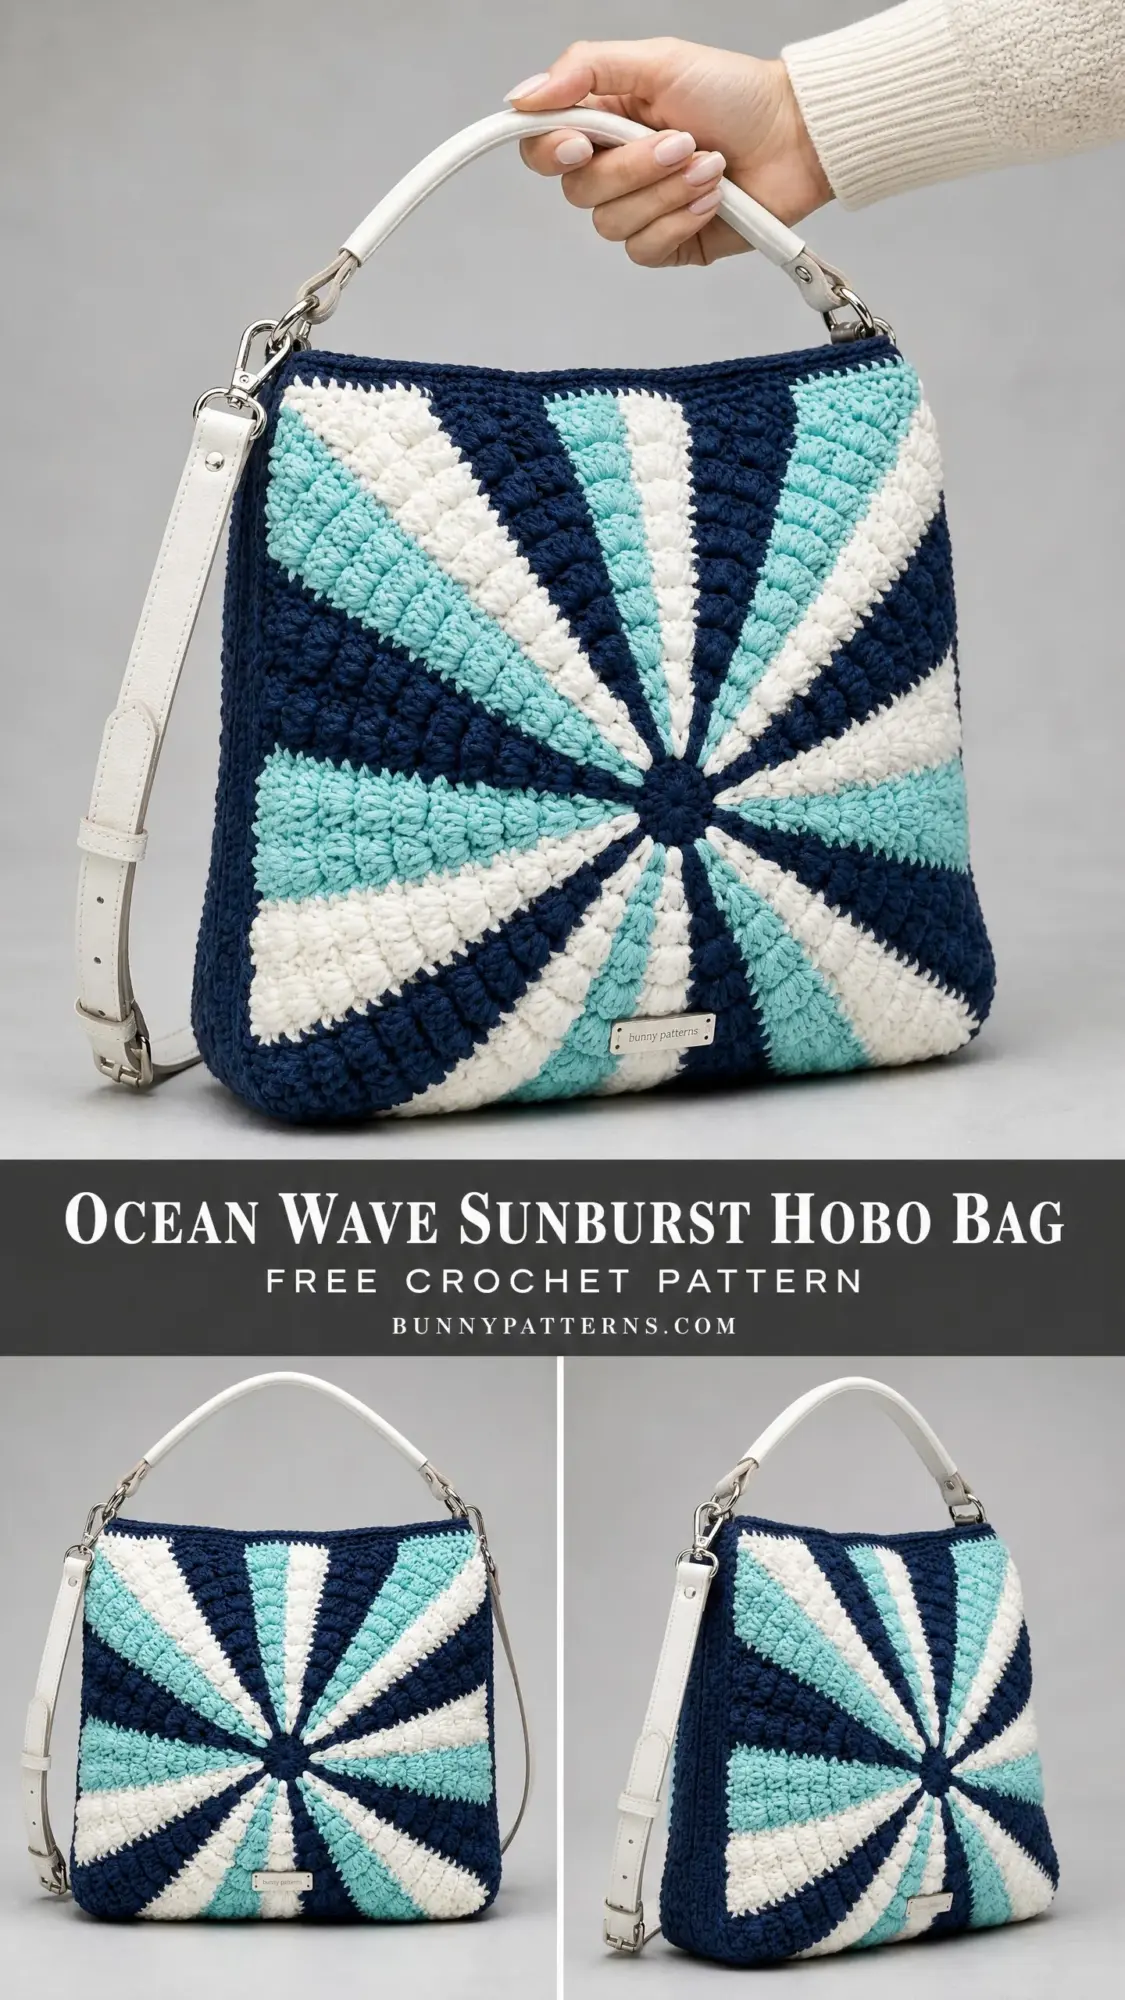
This hobo bag uses three colors, navy blue, aqua, and cream, to create that dramatic sunburst effect you see fanning out from the center. The construction involves working from a central point outward, then squaring off the panels to achieve that clean rectangular silhouette. With a structured lining and quality hardware, this bag sits flat, holds its shape, and looks professionally made.
Whether you’re crafting this for yourself or as a gift for someone who appreciates unique handmade accessories, this project delivers impressive results. It works up at an advanced intermediate level, so you’ll want some experience with colorwork and puff stitches before diving in. But don’t worry. I’ll walk you through every single step.
Why This Crochet Bag Pattern Stands Out
Most crocheted bags have one fatal flaw: they stretch out and lose their shape after a few uses. This pattern solves that problem through smart construction choices. The dense puff stitch texture creates a sturdy fabric. The structured lining provides interior support. And the blocking process ensures clean, professional edges.
The sunburst motif is genuinely stunning. Ten wedges radiate from a central point, alternating between navy, aqua, and cream in a repeating sequence that creates movement and visual interest. Each panel (front and back) features an identical design, so your bag looks gorgeous from every angle.
The white leather hardware adds a modern, polished finish. You’ll attach D-rings at the top corners, then clip on both a short top handle and an adjustable crossbody strap. This gives you versatility in how you carry your bag.
Finished Dimensions
Your completed bag will measure approximately 14 inches wide by 13 inches tall by 3.5 inches deep. That’s a generous size for daily essentials, a tablet, a small planner, and all the usual purse items.
The handle drop from the top edge to the top of the handle arc is approximately 5 inches. The crossbody strap adjusts from about 22 to 42 inches, giving you plenty of flexibility.
Materials You’ll Need
Yarn:
Yarn Weight: Bulky weight (Weight 5), or two strands of worsted held together throughout for body density and structure.
Hook: US K/10.5 (6.5 mm) or size needed to obtain gauge.
Notions:
Yarn Suggestions
Lion Brand Pound of Love in Navy, Robin Egg Blue, and White works beautifully. This yarn has excellent stitch definition and holds its shape well after blocking.
Paintbox Yarns Simply Chunky in Slate Blue, Seafoam Blue, and Paper White produces crisp puff stitches and is widely available.
WeCrochet Brava Bulky in Navy, Pool, and White is an affordable option with consistent yardage and clear stitch visibility.
Avoid fuzzy, hairy, or chenille yarns. They’ll obscure the puff stitch texture you’re working so hard to create.
Gauge
Using US K/10.5 (6.5 mm) hook and bulky weight yarn: 12 puff stitches and 10 rows = 4 inches by 4 inches in puff stitch pattern worked flat.
Gauge matters here. A tighter gauge produces a smaller, stiffer bag. A looser gauge creates a larger, floppier bag that won’t hold its shape. Take time to check your gauge before starting.
To make a gauge swatch: Chain 16. Work puff stitches across in rows for 12 rows. Block lightly and measure the center 4 inches by 4 inches.
Abbreviations
Special Stitches for This Crochet Pattern
Puff Stitch (ps)
This is the star of the show. The puff stitch creates that gorgeous, textured, almost cloud-like surface you see in the finished bag.
Step 1: Yarn over, insert hook into the indicated stitch or space.
Step 2: Yarn over and pull up a loop to a height of approximately 3/4 inch. You now have 3 loops on the hook.
Step 3: Yarn over, insert hook into the same stitch or space again.
Step 4: Yarn over and pull up a loop to the same height. You now have 5 loops on the hook.
Step 5: Yarn over, insert hook into the same stitch or space a third time.
Step 6: Yarn over and pull up a loop to the same height. You now have 7 loops on the hook.
Step 7: Yarn over and draw through all 7 loops on the hook. One loop remains.
Step 8: Chain 1 to close and lock the puff stitch.
Each completed puff stitch counts as 1 stitch in all stitch counts. The closing chain-1 is part of the stitch unit.
Wedge Increase
Work 2 puff stitches into the same stitch or space, placing the closing chain-1 between them. This creates a visible "V" spread that widens each wedge section as you work outward.
Color Join
When changing colors, complete the final yarn-over of the last stitch in the current color using the new color. This creates clean color transitions. Carry unused colors loosely along the wrong side of work.
Step-by-Step Instructions
Front Panel (Make 1)
The back panel is identical, so you’ll make two of these.
Begin with a magic ring using Color A.
Round 1: Chain 2 (does not count as stitch here or throughout unless specified). Work 10 ps into the magic ring. Join with sl st to top of first ps. Pull magic ring tail to close center hole. (10 ps)
Place a stitch marker in the first and sixth puff stitches to help track wedge divisions.
Round 2: Chain 1, work 2 ps into each ps around. Join with sl st to first ps. (20 ps)
Color placement for Round 2 and onward:
The 20 ps are divided into 10 pairs, each pair forming the base of one wedge. Assign colors as follows:
Join new colors at the start of each wedge’s pair using the color join method.
Round 3: Chain 1. Working in established color pattern, work 1 ps in first ps of each wedge pair, then 2 ps in second ps of each wedge pair (inc in last st of each wedge). Join with sl st. (30 ps)
Round 4: Chain 1. Work 2 ps in first ps of each wedge group, then 1 ps in each remaining ps of the group to last ps, then 1 ps in last ps. For each wedge, the wedge now has 3 ps: work 2 ps into first st, 1 ps in second st, 1 ps in third st. (40 ps)
By Round 4, each of the 10 wedges has 4 puff stitches. The motif now measures approximately 2.5 inches across.
Round 5: Chain 1. For each wedge (4 ps per wedge): work 1 ps in first ps, 1 ps in second ps, 1 ps in third ps, 2 ps in fourth ps. Join. (50 ps)
Round 6: Chain 1. For each wedge (5 ps per wedge): work 2 ps in first ps, 1 ps in each remaining 4 ps. Join. (60 ps)
Round 7: Chain 1. For each wedge (6 ps per wedge): work 1 ps in each of first 5 ps, 2 ps in last ps. Join. (70 ps)
Round 8: Chain 1. For each wedge (7 ps per wedge): work 2 ps in first ps, 1 ps in each of remaining 6 ps. Join. (80 ps)
Round 9: Chain 1. For each wedge (8 ps per wedge): work 1 ps in each of first 7 ps, 2 ps in last ps. Join. (90 ps)
Round 10: Chain 1. For each wedge (9 ps per wedge): work 2 ps in first ps, 1 ps in each remaining 8 ps. Join. (100 ps)
CHECKPOINT: After Round 10, count 100 puff stitches total (10 per wedge, 10 wedges). The circular motif should measure approximately 8 to 9 inches across. The pinwheel of color should be clearly visible.
Squaring Off the Panel
The motif is now approximately circular. To transform it into a square panel, you’ll work additional rows in a flat back-and-forth method along the top arc.
Identify the top center of the motif. Count 5 wedges to the left and 5 wedges to the right of top center. This is your working zone. Place markers at the outer edge of the 3rd ps from the outer point of the left 5th wedge and the equivalent position on the right.
Squaring Row 1 (RS): Join Color A at left marker. Chain 1. Work 1 sc across the outer arc of the top 6 wedges, working 1 sc into each ps across those wedges. Turn. (60 sc)
Squaring Row 2 (WS): Chain 1. 1 sc in each sc across. Turn. (60 sc)
Squaring Row 3 (RS): Chain 1. Sc2tog over first 2 sts, 1 sc in each sc to last 2 sts, sc2tog. Turn. (58 sc)
Squaring Row 4 (WS): Chain 1. 1 sc in each sc across. Turn. (58 sc)
Squaring Row 5 (RS): Chain 1. 2 sc in first sc (inc), 1 sc in each sc to last sc, 2 sc in last sc (inc). Turn. (60 sc)
Squaring Rows 6 through 10: Chain 1. 1 sc in each sc across. Turn. (60 sc each row)
Squaring Row 11: Chain 1. Inc in first sc, 1 sc in each sc to last sc, inc in last sc. Turn. (62 sc)
Squaring Rows 12 through 14: Chain 1. 1 sc in each sc across. Turn. (62 sc each row)
Squaring Row 15: Chain 1. Inc in first sc, 1 sc in each sc to last sc, inc in last sc. Turn. (64 sc)
Squaring Rows 16 through 18: Chain 1. 1 sc in each sc across. Turn. (64 sc each row)
Squaring Row 19 (top edge): Chain 1. 1 sc in each sc across. Do not turn. Do not fasten off. (64 sc)
CHECKPOINT: After Squaring Row 19, the front panel should measure approximately 14 inches wide and 13 inches tall. If your panel is too short, add 1 to 3 additional plain sc rows before the final top edge row.
Fasten off Color A. Weave in ends.
Back Panel
Work back panel identically to front panel.
Side Gusset (Method 2, Worked Gusset Strip)
Using Color A, chain 11.
Gusset Row 1: 1 sc in second ch from hook, 1 sc in each ch across. Turn. (10 sc)
Gusset Rows 2 through 106: Chain 1. 1 sc in each sc across. Turn. (10 sc)
The gusset strip should measure approximately 42 inches long. Pin to check length against your panels before fastening off.
Fasten off. Weave in ends.
Assembly Instructions
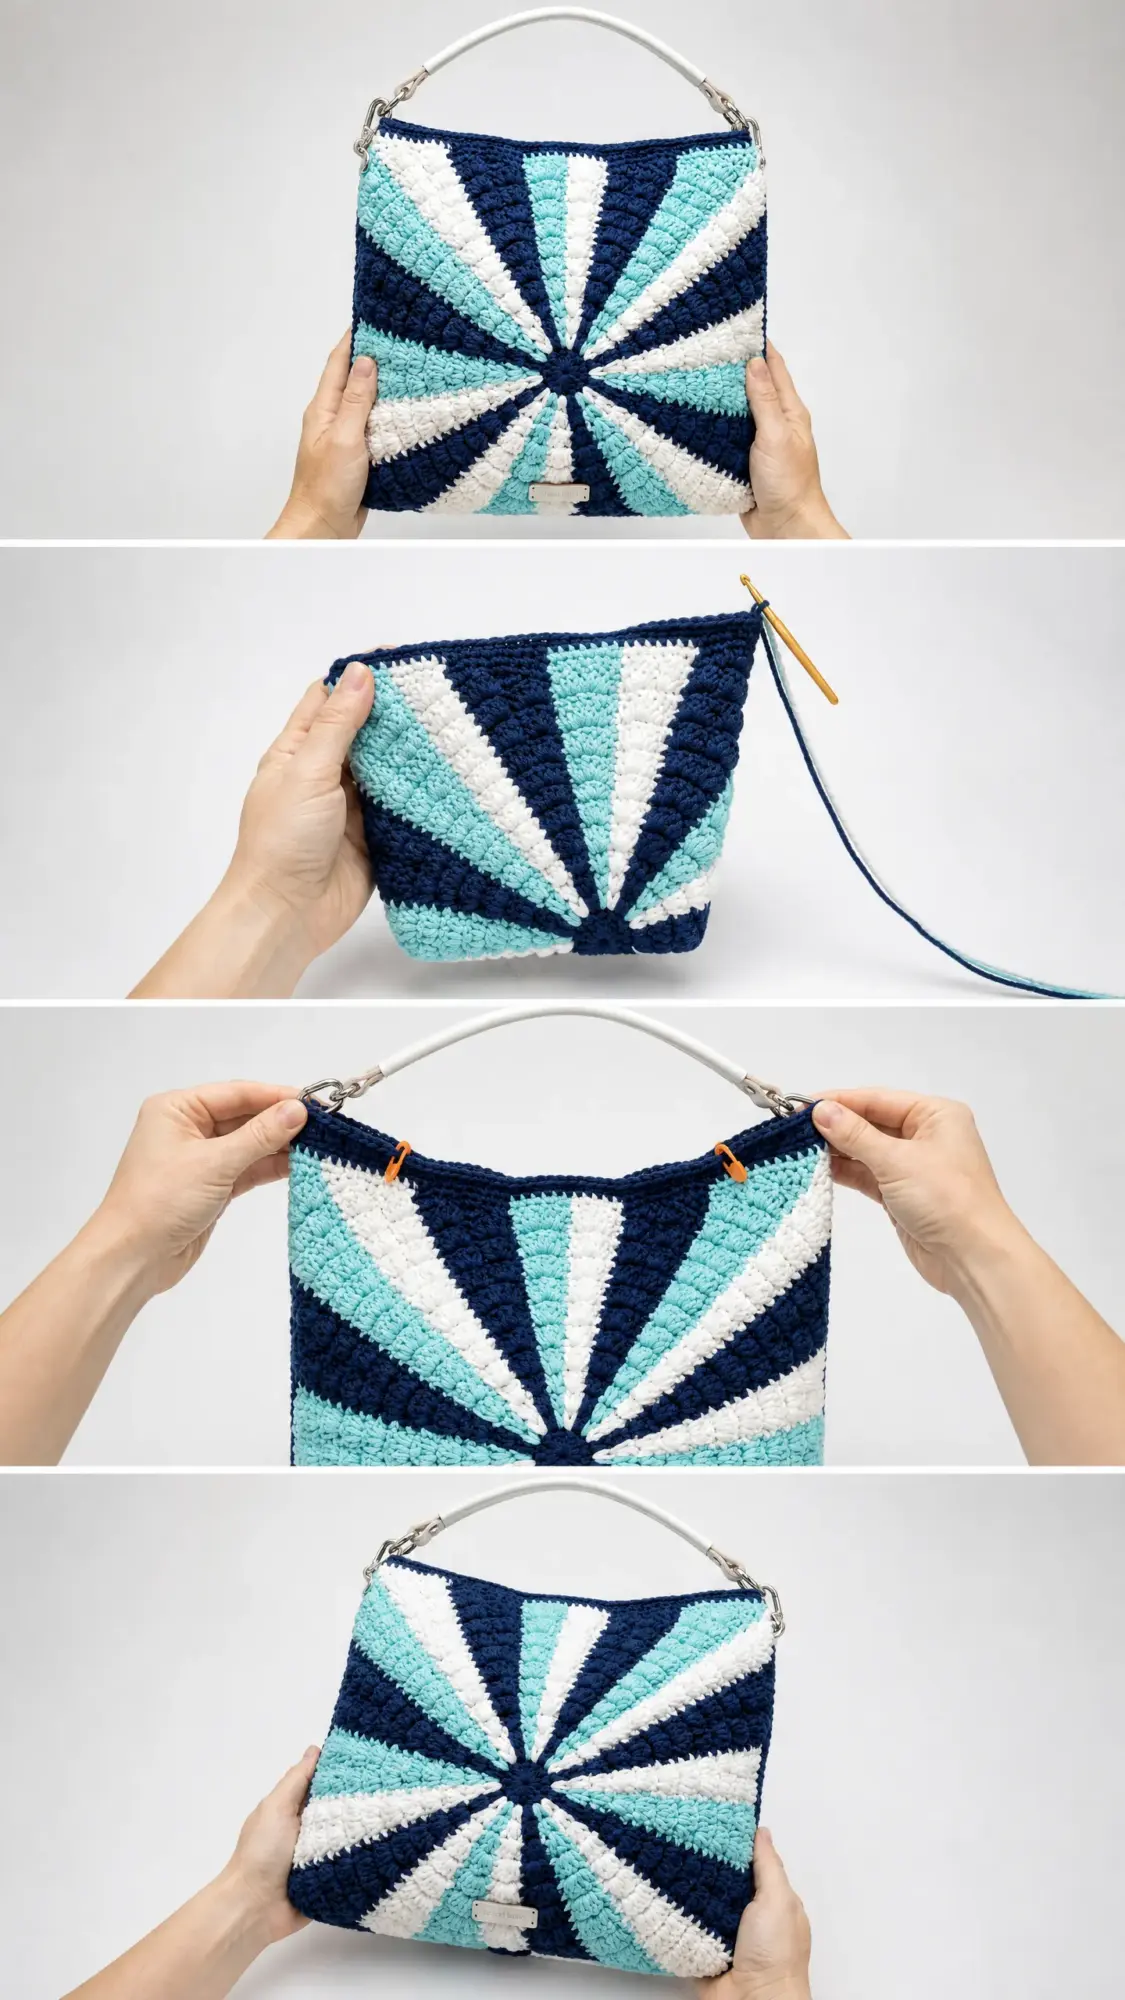
Step 1: Block both panels. Wet block or steam block each panel to 14 inches wide by 13 inches tall. Pin to a foam blocking mat and allow to dry fully. This step is critical for achieving that clean square silhouette.
Step 2: Pin the gusset strip to the outer three edges of the front panel (bottom and two sides), easing around corners. Join with a firm whip stitch or mattress stitch using Color A. Repeat on the back panel side.
Step 3: With RS facing and Color A, join yarn at top right corner. Work 1 round of sc around the top opening, working 1 sc into each stitch across the front top edge, 1 sc into each gusset end stitch at each corner, and 1 sc into each stitch across the back top edge. Join with sl st. (approximately 140 sc)
Step 4: Work a second top edging round: chain 1, 1 sc in each sc around, join. Fasten off.
Handle Attachment
Step 1: Fold each D-ring tab in half around a D-ring. Position one folded tab at each top corner, centered over the side seam.
Step 2: Either rivet the tabs through all crochet layers, or hand sew with heavy waxed thread using a box stitch pattern.
Step 3: Clip the short top handle’s attachment loops onto the left and right D-rings.
Step 4: Clip the crossbody strap’s swivel hooks onto the same D-rings beneath the handle loops.
Lining Your Hobo Bag
Step 1: Cut two rectangles of lining fabric measuring 15 inches wide by 14 inches tall.
Step 2: Cut one lining gusset strip 4.5 inches wide by 43 inches long.
Step 3: With right sides together, sew front lining to gusset strip, then back lining to gusset strip on three sides. Leave top edge open. Press seams. Turn to right side.
Step 4: Insert lining into the crocheted bag. Fold the top raw edge down by 1/2 inch, press, and hand stitch to the inside top edge of the crochet bag.
Care Instructions
Hand wash in cool water with mild detergent. Do not wring. Press gently in a clean towel to remove excess water. Reshape and lay flat to dry away from direct sunlight.
Do not tumble dry. Do not bleach. Do not iron directly on the crochet surface.
Store stuffed with tissue paper to maintain the rectangular shape.
Tips for Success with This Crochet Tutorial
Take your time with the puff stitches. Consistency in loop height is key to achieving that beautiful, even texture.
Use plenty of stitch markers. With 10 wedges and multiple color changes, markers will save you from counting errors.
Block before assembly. I can’t stress this enough. Blocking transforms your panels from lumpy circles into crisp, professional-looking squares.
If you’re nervous about the colorwork, practice on a small swatch first. Work a few rounds with all three colors to get comfortable with the color join technique.
I hope you love making this Ocean Wave Sunburst Hobo Bag as much as I enjoyed designing it. It’s a showstopper project that results in something truly useful and beautiful.
If this pattern caught your eye, save it to your Pinterest boards so you can find it when you’re ready to start. And please, if you make one, drop a comment below or tag me on social media. I absolutely love seeing your finished projects come to life!
You Might Also Like
- Autumn Burnt Orange Maple Leaf Earrings Free Crochet Pattern
- Lavender Sunflower Granny Square Baby Blanket Free Pattern
- Lavender Dream Kitty Tote Bag Free Crochet Pattern
- Ivory Cream Lace Baby Dress Free Crochet Pattern