A crochet basket weave scarf turns a simple band of yarn into something that looks woven, with raised cream bars crossing over each other in a soft, tactile rhythm that is a pleasure to make and wear.
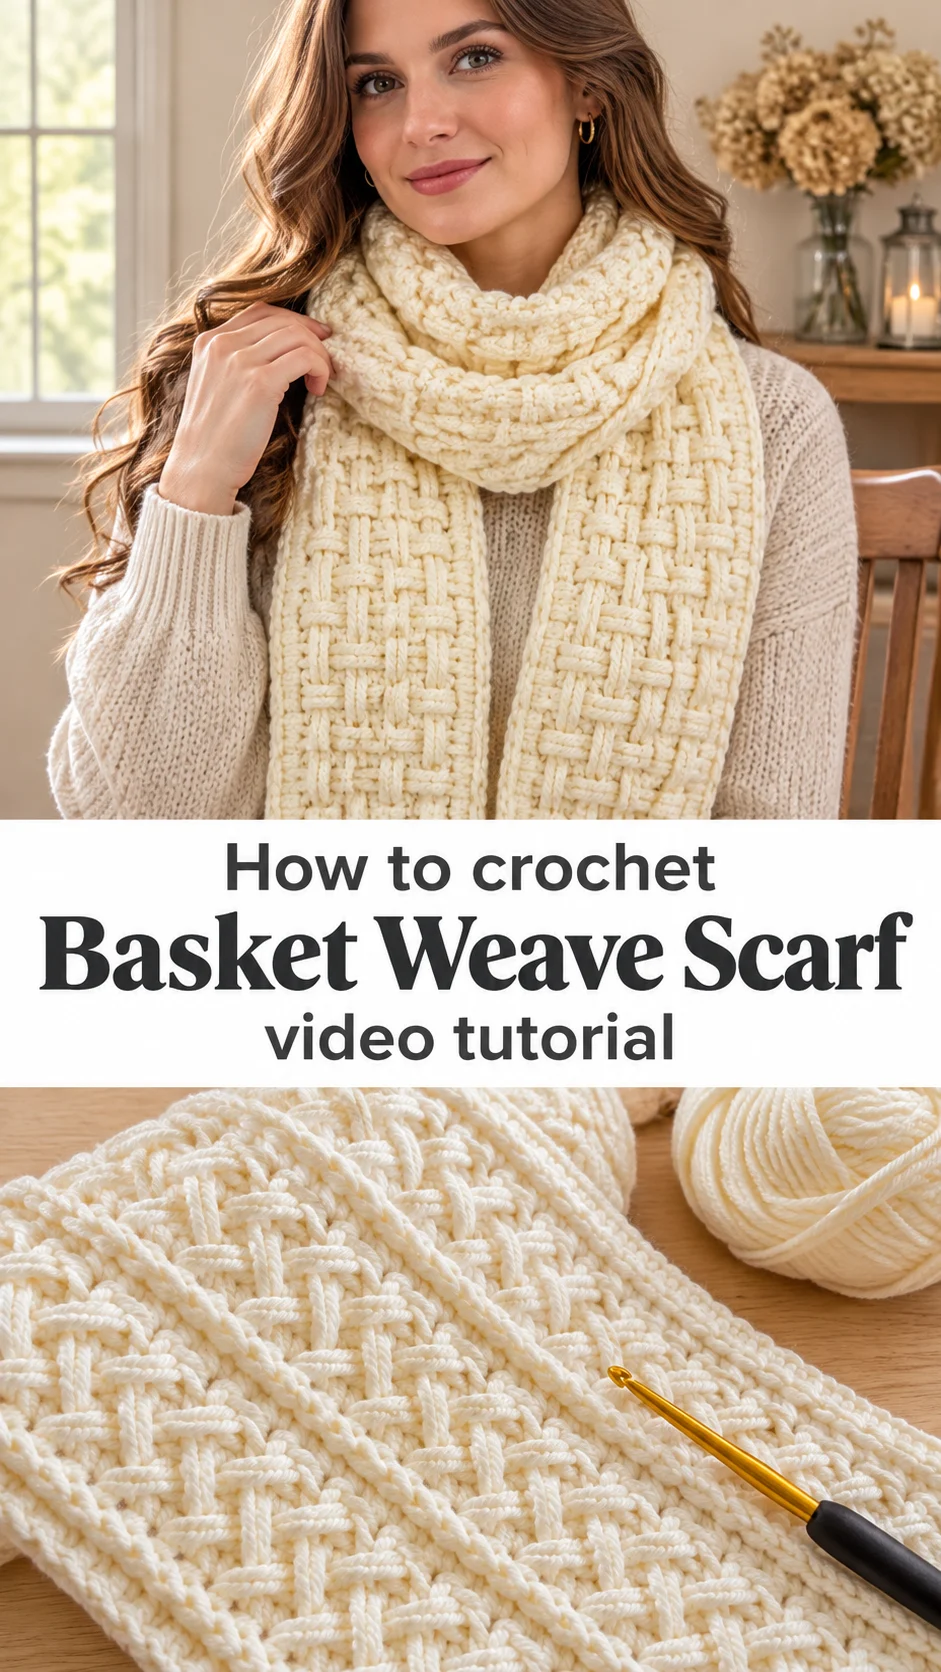
The Crochet Basket Weave Scarf
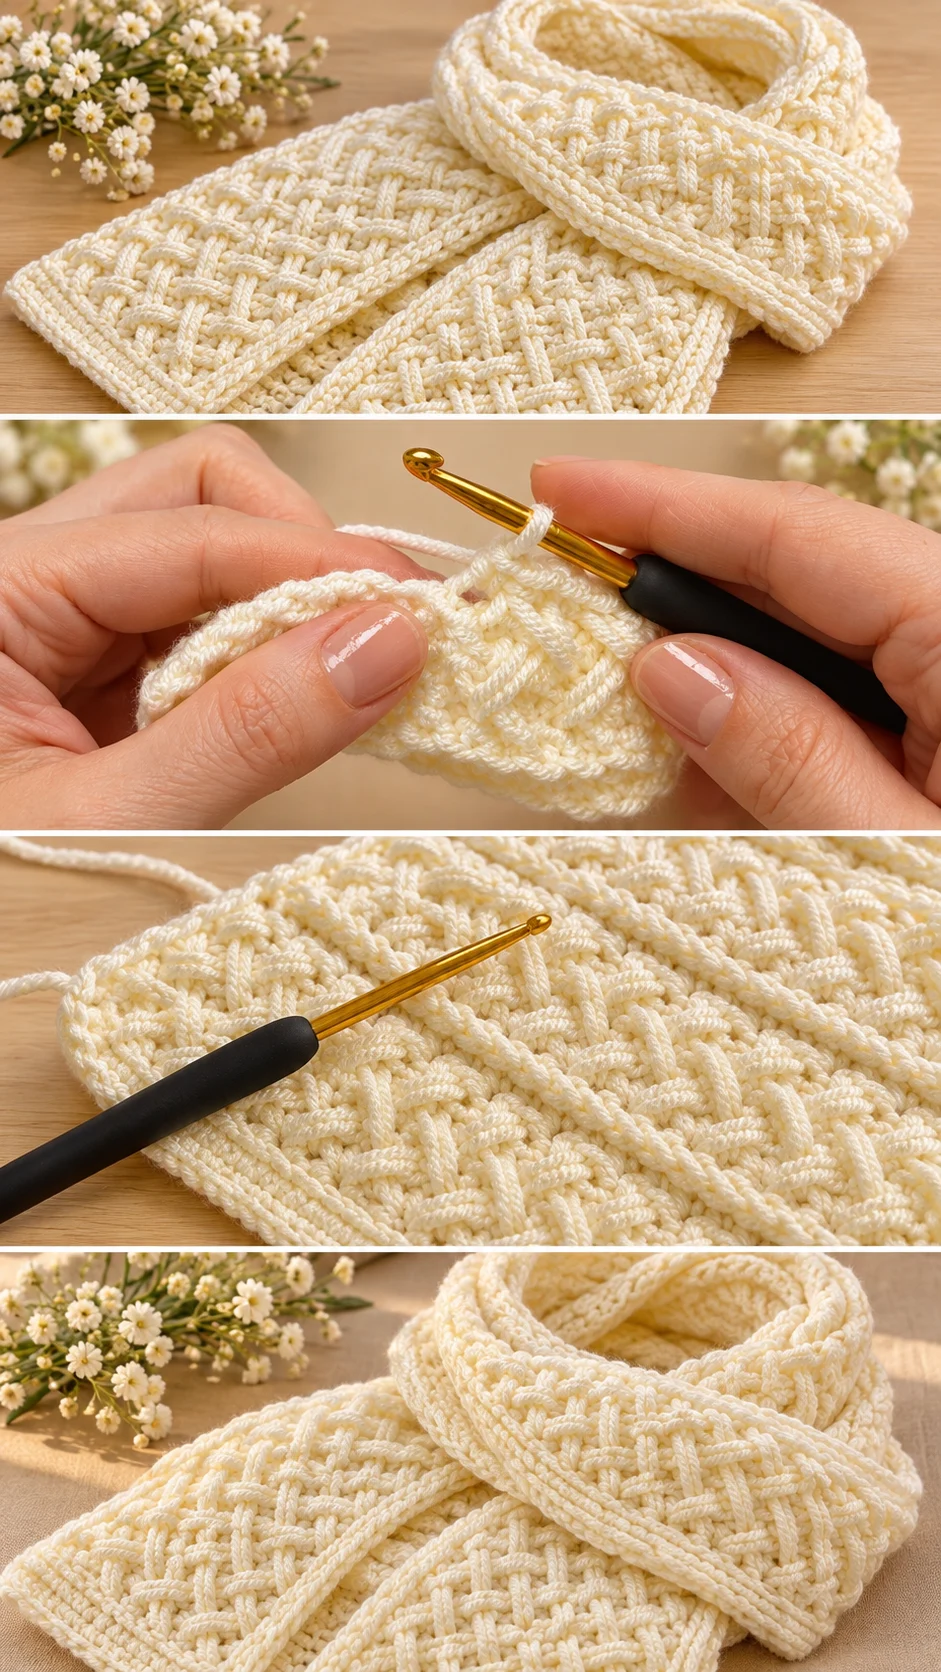
The crochet basket weave scarf is a long, narrow band worked in a creamy ivory yarn, and its texture is the whole story. Raised bars lean in alternating directions, so the surface reads like woven ribbon rather than ordinary crochet. Between the woven panels, slim rope-like ridges run the length of the scarf and divide it into neat lanes. The edges are finished with a firm, rolled border that keeps the shape tidy. The stitches stand proud of the fabric, which gives it real depth and a little weight. Small gaps show between the bars, so the fabric breathes instead of feeling like a solid slab. It suits cold mornings, coat collars and gift boxes alike. One colour is all it needs.
Wrapped twice around the neck, the scarf shows off its lanes and ridges like a braided collar. Worn long and loose, it falls in a clean vertical line. It makes a thoughtful gift for anyone who likes quiet, classic texture. It also teaches a lot: working around stitches from earlier rows is a skill that carries straight into cables, ribbing and other dimensional work.
Weave Scarf Related Posts:
- Crochet Granny Square: A Charming Timeless Classic
- Crochet Leaf Stitch Blanket: A Timeless Nursery Treasure
- Crochet Lace Motif Cloth: A Timeless Delicate Treasure
- Crochet Bear Bag: A Cute and Whimsical Accessory
Materials
For a crochet basket weave scarf, choose a smooth, round, tightly plied yarn in a light colour, such as the soft cream shown here. A DK or light worsted weight in a wool-acrylic or cotton-blend suits this fabric, and a hook of about 3.5 to 4.5 mm is a sensible general range, though the yarn label and your own swatch should decide. Smooth plies matter because each raised bar needs a clean outline. A fuzzy or heavily brushed yarn blurs the weave, and a splitty one catches the hook when it enters older stitches. Wool blends hold the bars upright, while pure cotton gives crisper definition but less stretch. You will also need a tapestry needle for weaving in ends and, if you plan to block, a few pins and a towel.
Understanding the Weave Texture
Look closely and the scarf is built from two kinds of marks. Short, plump bars sit on the surface like ribbon, and a flatter, finer fabric lies underneath them. The bars tilt one way in one row and the opposite way in the next, which is what creates the woven, herringbone-like zigzag.
The bars appear to be worked around or into stitches from earlier rows, rather than simply into the row below. That is why they stand up so clearly and why the fabric feels cushioned.
Tiny open spaces between the bars let the colour of whatever sits underneath peek through. Against a dark coat they make the cream look lacy.
Because the pattern repeats across the width, the panels line up in columns. Keep that alignment in mind as you work, since a drifted stitch is easy to spot in a design this orderly.
The Ridges: The Detail That Frames the Weave
The slim, rounded ridges running the length of the scarf are its signature detail. They divide the weave into separate lanes and give the piece a tailored, banded look. Each ridge looks like a firm cord lying on the surface, and the same finish appears to edge the long sides.
Their job is practical as well as pretty. They stop the textured panels from rolling and keep the scarf’s width steady.
The choice you face is how snug to work them. Tight ridges look crisp but can pull the scarf narrower than the panels around them. Loose ridges sag and lose their cord-like line.
Check the width every few rows against your first finished section. If one lane starts to pinch, relax your tension slightly on the ridge rows only.
Shape and How It Grows
This is a straight scarf, so there is no shaping to puzzle over. The rows appear to run across the narrow width, building the length one band at a time. The long edges are the clean, finished-looking sides, which suggests the ridges are worked as part of the rows rather than added afterwards.
That kind of construction rewards patience. Nothing changes from row to row, so the scarf grows slowly but predictably.
Decide on your length early. A scarf that wraps twice needs noticeably more yarn than one worn once and tucked in. Textured stitches that cross over earlier rows also use more yarn than plain fabric, so buy an extra ball rather than risk a colour mismatch from a different dye lot.
If the scarf starts to curve or ripple along an edge, the tension at the edge stitches is usually the cause. Loosen it slightly, and block the piece flat at the end.
Skill Level and Techniques
Expect an advanced beginner to intermediate project. The individual stitches are not exotic, but working around and over earlier stitches takes concentration. The part that asks for the most patience is the first few repeats, when the pattern has not yet shown itself and each row feels like guesswork.
Treat the video as your guide here. Watch where the hook enters for each raised bar, and pause and replay the moment the yarn is pulled up and worked around the previous row. The hand position is easier to copy than to describe.
Stitch markers help. Place one at the start of each repeat so you can see at a glance whether the columns still line up.
If a bar ends up crooked or twisted, pull the stitch out back to that row. A raised stitch cannot be fixed afterwards without showing, and one mistake in a pattern this regular will catch the eye.
Choosing the Best Yarn for Definition
Yarn decides how sharp the weave looks. A smooth wool blend gives plump, springy bars and a scarf that bounces back after wearing. A mercerized cotton gives the crispest lines, but the fabric will be heavier and less forgiving around the neck. A soft acrylic is budget friendly and easy to wash, though very slick types can let the raised bars slump.
Avoid mohair, boucle and other fuzzy yarns. They hide the very detail that makes this scarf special.
For colour, cream shows the texture beautifully because shadows pool between the bars. Oatmeal, soft grey and dusty rose also work. A dark colour or a speckled yarn will hide the weave, so save those for plainer stitches.
How to Style a Crochet Basket Weave Scarf
Show the weave off in plain company. Over a camel wool coat, the cream band looks like part of a tailored outfit, and the ridges echo the coat’s seams.
Wrapped once and left loose, it pairs well with a denim jacket on a cool spring day. A navy or charcoal top lets the texture stand out.
For a cosier look, loop it twice and tuck the ends under a chunky cardigan. The panels stay visible in the front fold.
Try it as a gift, too. Rolled loosely and tied with ribbon, the lanes of texture show through the wrapping, and a cream scarf suits nearly every wardrobe.
Tips for a Neat Finish
Weave in ends along the ridges rather than through the weave panels. The firm cords hide a tail well, and the open spaces between the bars would show it.
Block the scarf gently. Pin it flat to its natural width, mist it with water or steam it lightly, and let it dry. Steam from a distance, never pressing, since pressure flattens the raised bars you worked so hard to build.
If the finished fabric feels stiff, try a larger hook next time or relax your tension on the surface stitches. If it feels floppy, go down half a hook size.
Wash by hand in cool water and dry flat. A wool blend dried on a radiator loses its bounce, and a hanging wet scarf will stretch lengthwise.
A Classic Handmade Scarf
The crochet basket weave scarf is a quiet showpiece: one colour, one long band, and a texture that looks far more complicated than it feels once the rhythm settles in.
Four things decide how it turns out. Choose a smooth yarn, keep your tension even, mark your repeats, and block it gently.
Pause the video at the tricky moments and the pattern will start to make sense by itself.
Soft, woven, and made to be worn.
Video tutorial by Massive Crochet. Watch the original on their channel for the full stitch demonstration, and visit massivecrochet.com for more free patterns.
Follow us on Pinterest and subscribe to the Newsletter so you don’t miss a thing!
Tutorial and photos of this basket weave scarf by: Massive Crochet.