
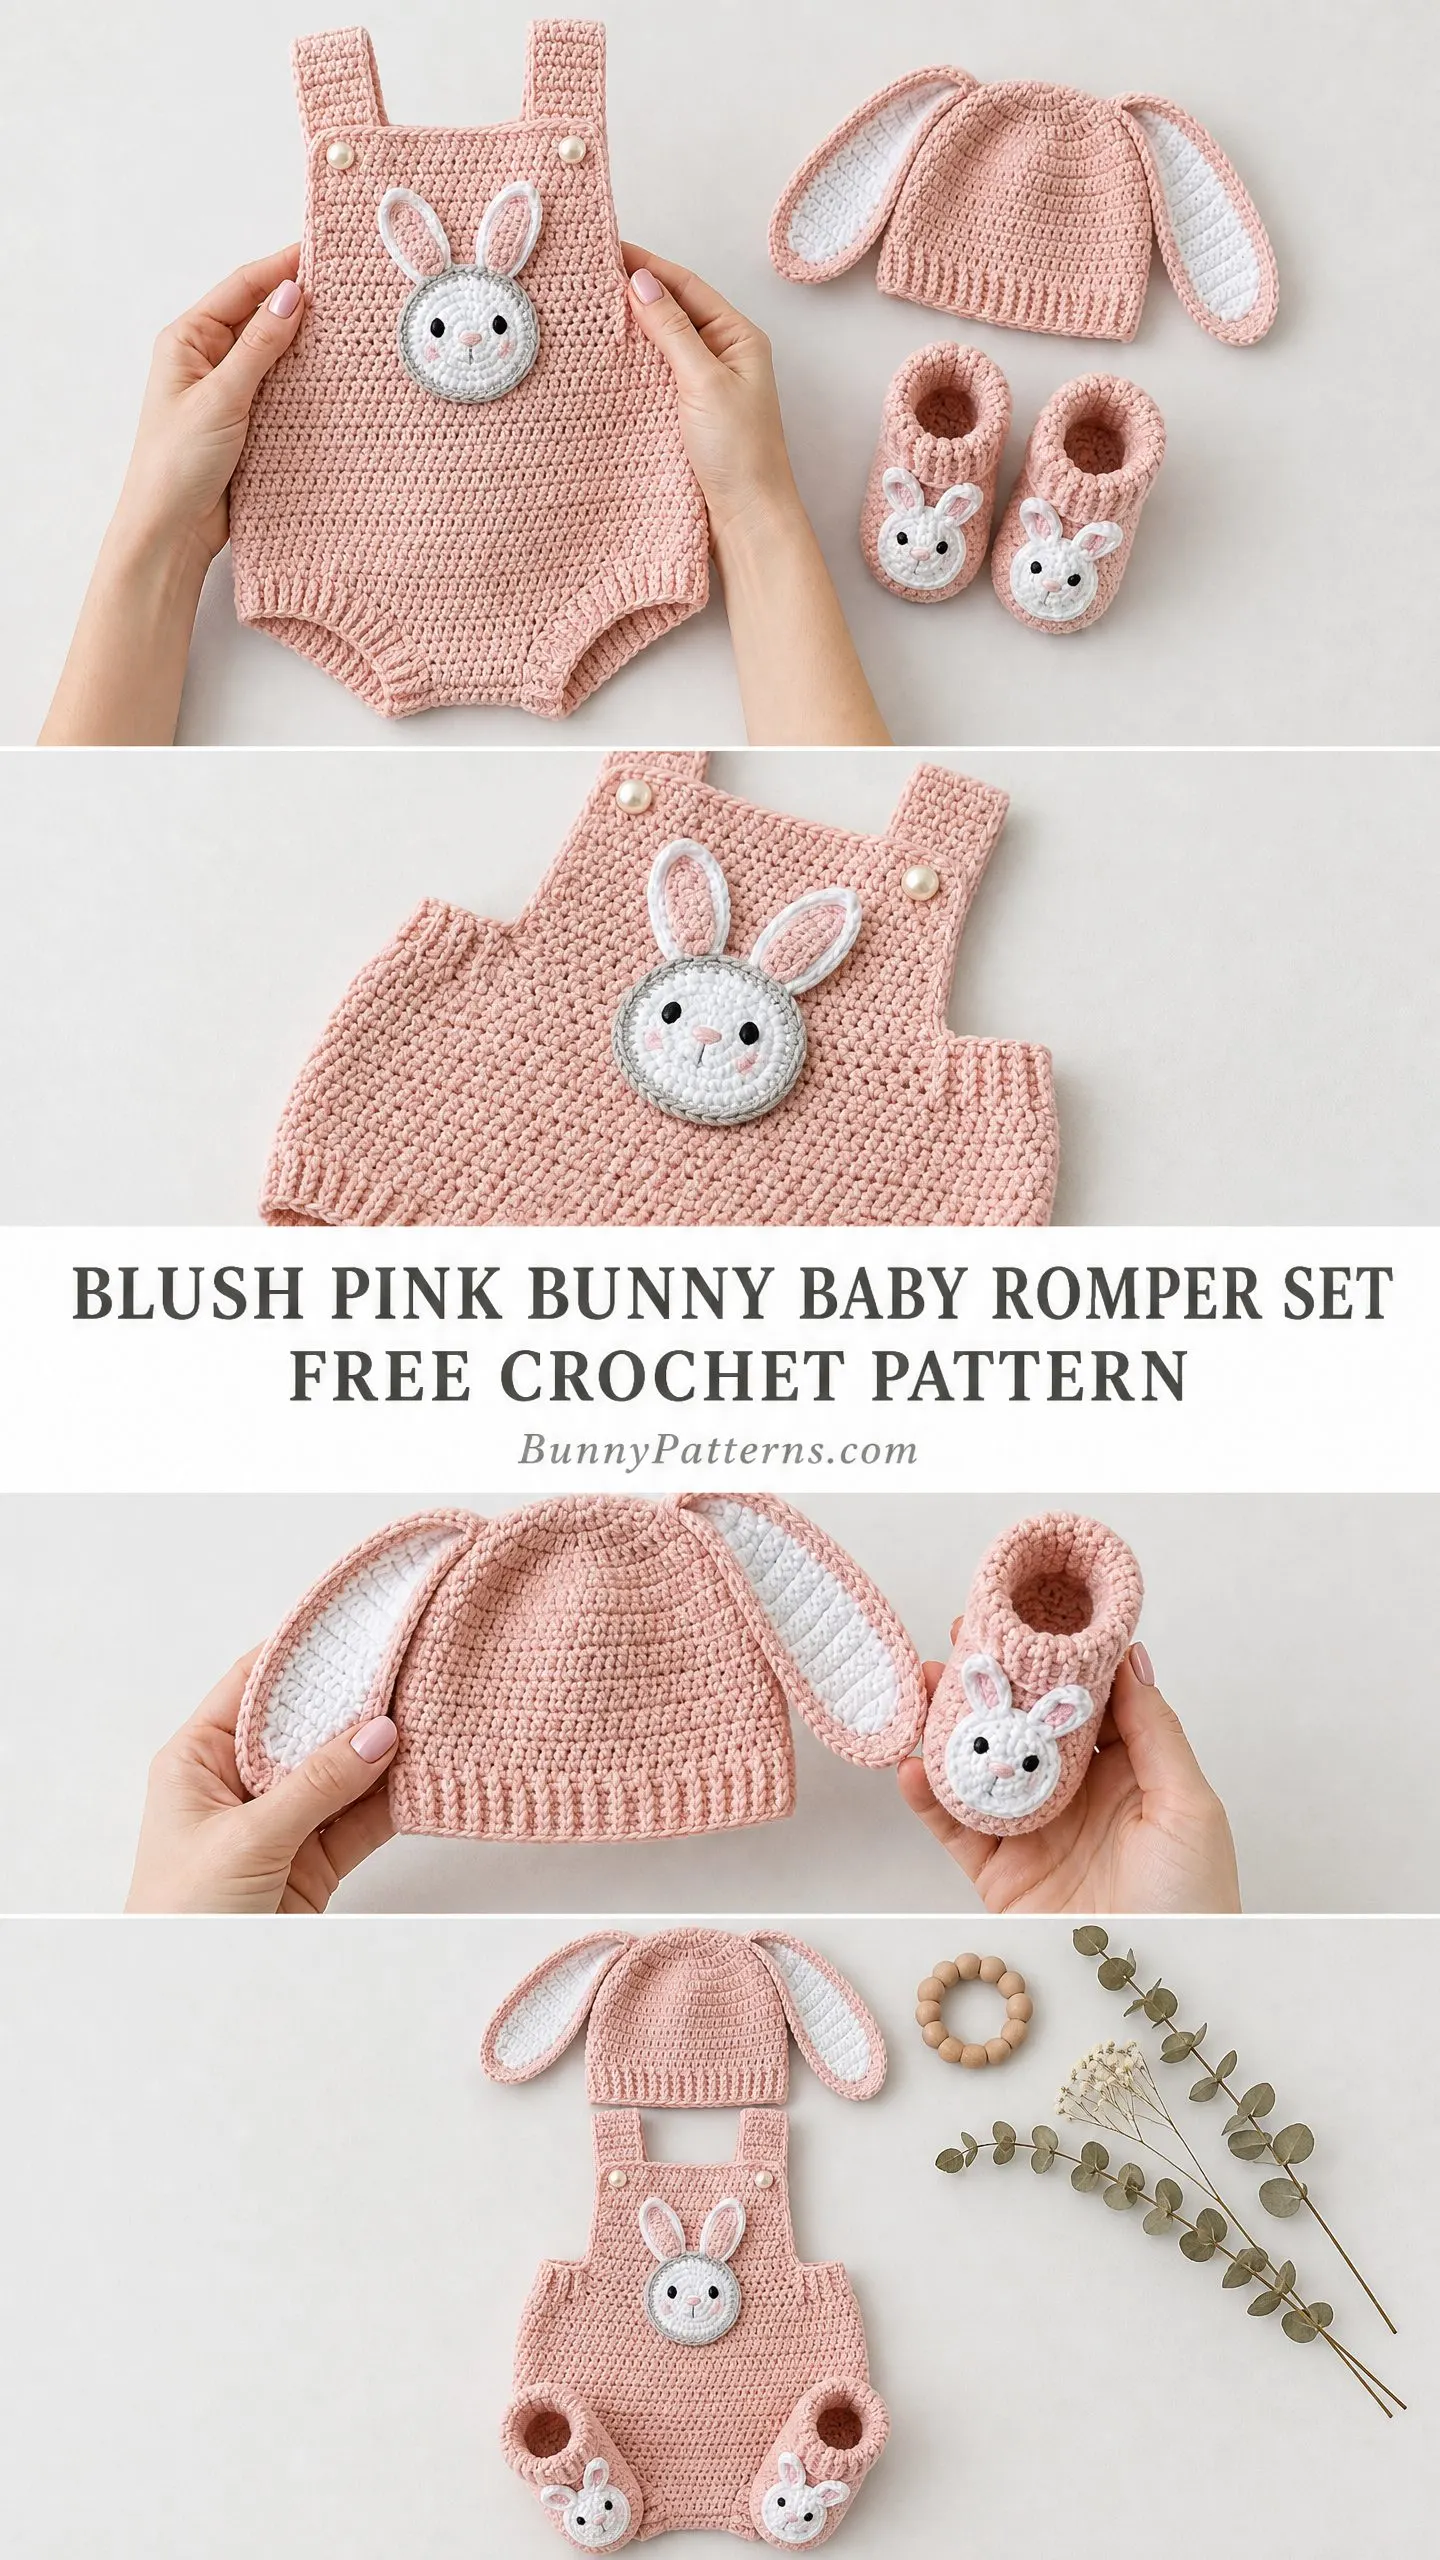
This is a complete three-piece baby set. You get a bubble romper with bunny applique, a matching hat with floppy ears, and booties with tiny bunny faces. The whole thing uses single crochet. If you can work basic stitches in rows and rounds, you can make this.
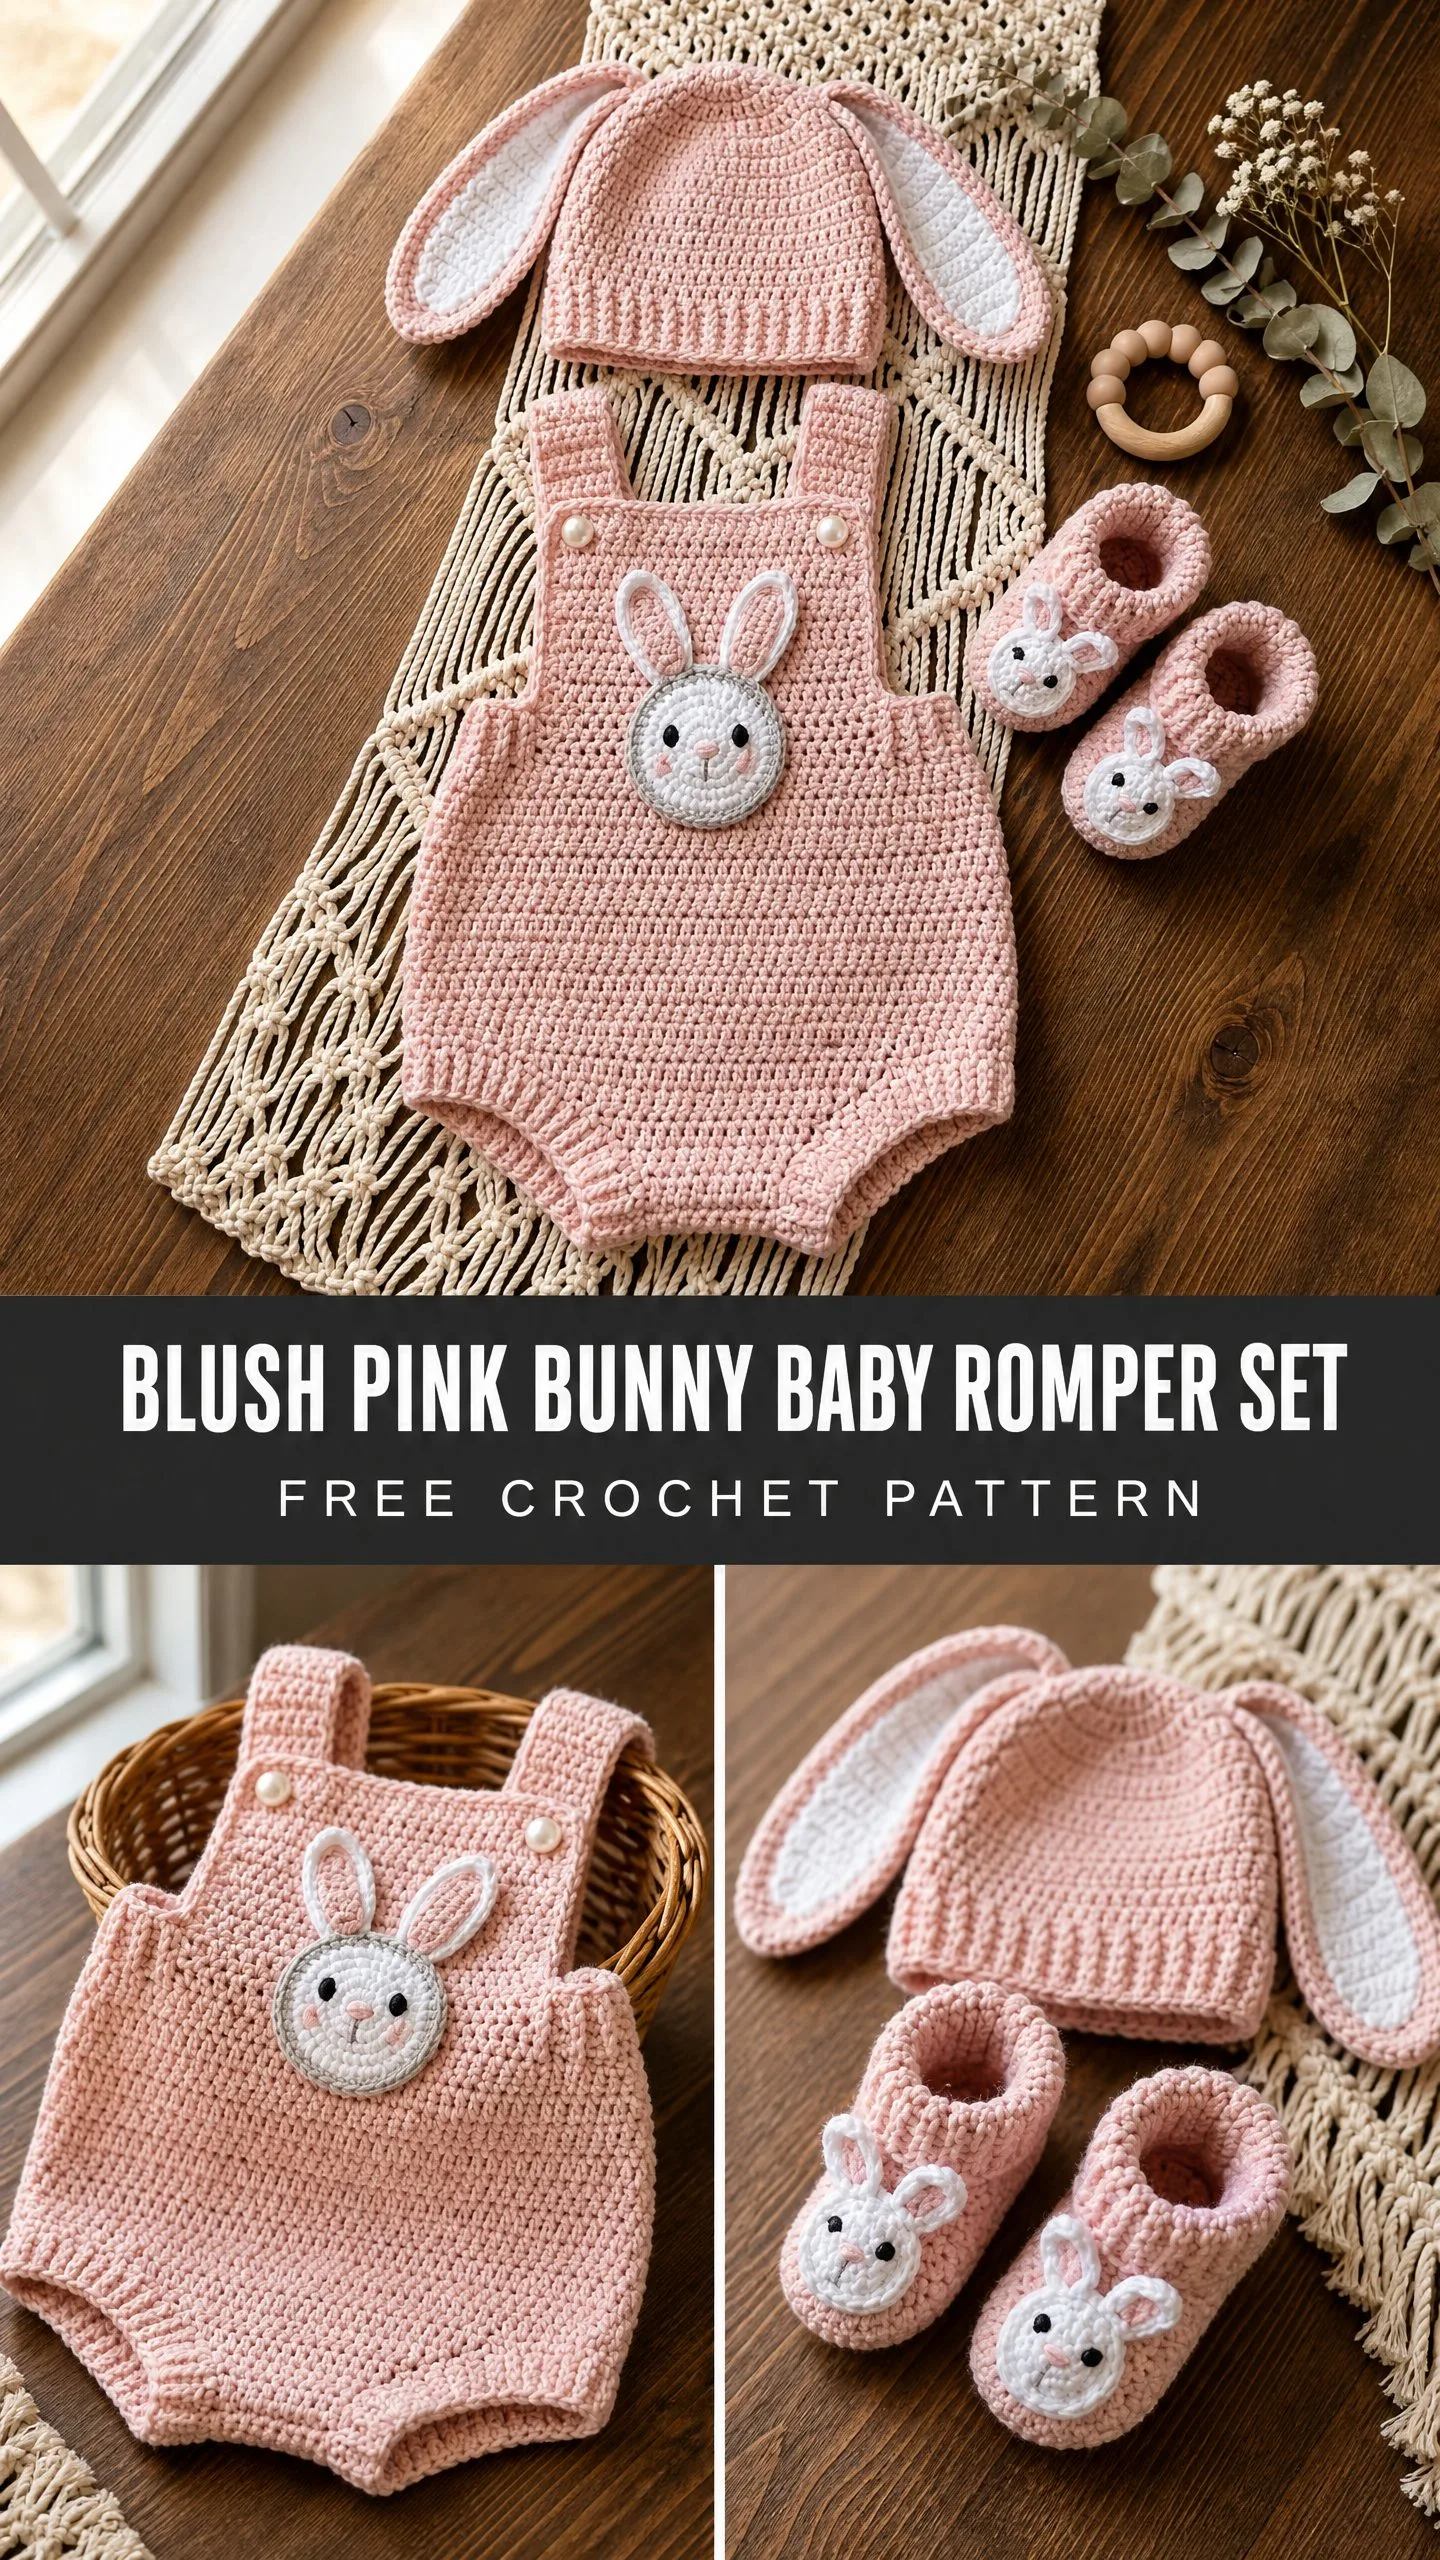
The romper construction is straightforward. You work two flat panels, seam them together, then add the bib and straps. The hat starts with a ribbed brim and works upward in continuous rounds. Booties begin at the sole and build up.
I would call this an intermediate project. Not because the stitches are hard, but because you are managing multiple pieces and assembling them into a cohesive garment. Take it one section at a time and you will be fine.
Why This Bunny Baby Romper Set Works So Well
The blush pink color photographs beautifully for newborn sessions. The texture from all that single crochet creates a dense, structured fabric that holds its shape wash after wash. And those bunny ears on the hat? They flop just right.
This crochet pattern produces a romper set sized for newborn to 3 months or 3 to 6 months. Instructions are written for the smaller size with the larger size adjustments in parentheses throughout. One pattern, two size options.
The construction method keeps things manageable. Instead of working the romper in one complicated piece, you make a front panel and a back panel separately. Then you seam them at the sides and add the finishing details. Breaking it into smaller pieces makes the whole project less overwhelming.
Materials You Will Need
Yarn: Worsted weight yarn in blush pink as your main color. You need approximately 200 to 250 yards total. Small amounts of white and light gray for the appliques. A tiny bit of dusty rose for the bootie cuffs if you want contrast.
Hook: US size G-6 / 4.0 mm crochet hook
Notions:
Yarn Suggestions That Work Great
Lion Brand Vanna’s Choice in Dusty Rose, White, and Silver Gray works perfectly. It is machine washable, easy to find, and gives excellent stitch definition.
Paintbox Yarns Simply DK held double brings a DK weight up to worsted gauge. The blush and ivory shades in this line are gorgeous.
Cascade 220 Superwash in a soft pink gives a more premium feel with beautiful drape. It is machine washable on gentle.
Any worsted weight yarn (weight category 4) that meets gauge will work. For baby items, stick with machine washable fibers. Avoid fuzzy or novelty yarns because you need clean stitch definition for the ribbing and applique details.
Gauge Information
Getting gauge right matters for fit. This is a garment, not a blanket.
18 single crochet stitches and 22 rows equals 4 inches / 10 cm when working flat.
18 single crochet stitches and 18 rounds equals 4 inches / 10 cm when working in the round.
To check your gauge, chain 24. Work single crochet in rows for 26 rows. Block lightly and measure the center 4 by 4 inch area. If your swatch is too big, go down a hook size. Too small, go up a hook size.
Finished Measurements
Newborn to 3 months:
3 to 6 months:
Abbreviations and Stitch Definitions
blo means back loop only. Instead of inserting your hook under both loops of the stitch, you go under only the back loop. This creates a stretchy ribbed texture.
ch means chain. Wrap yarn over hook, pull through the loop on your hook.
sc means single crochet. Insert hook into stitch, yarn over, pull up a loop (2 loops on hook), yarn over, pull through both loops.
sc2tog means single crochet two together. This is your decrease stitch. Insert hook into next stitch, yarn over, pull up a loop. Insert hook into the following stitch, yarn over, pull up a loop. You now have 3 loops on your hook. Yarn over and pull through all 3 loops. You just turned 2 stitches into 1.
inc means increase. Work 2 single crochet stitches into the same stitch.
sl st means slip stitch. Insert hook, yarn over, pull through both the stitch and the loop on your hook in one motion.
RS means right side. The front of your work.
WS means wrong side. The back of your work.
MC is your main color, the blush pink.
CC1 is contrast color 1, white.
CC2 is contrast color 2, light gray.
CC3 is contrast color 3, dusty rose.
Pattern Notes Before You Start
The turning chain (chain 1 at the start of each row) does NOT count as a stitch. When the pattern says 32 stitches, you should have 32 actual single crochet stitches, not 31 plus a chain.
When working in rows, chain 1 and turn at the beginning of each row.
The romper front and back are worked separately, then seamed. The bib is worked directly from the top of the front panel.
Keep track of your right side and wrong side. The ribbing looks different on each side.
Romper Front Panel Instructions
Foundation: Using MC, ch 33 (37).
Row 1 (WS): Sc in second ch from hook and in each ch across. Turn. (32, 36 sts)
Rows 2 through 6: Ch 1, sc in blo of each st across. Turn. (32, 36 sts)
These 6 rows create your bottom ribbing band.
Row 7 (RS): Ch 1, sc in both loops of each st across. Turn. (32, 36 sts)
Rows 8 through 30 (8 through 33 for larger size): Ch 1, sc in each st across. Turn. (32, 36 sts)
Checkpoint: Your front panel should measure approximately 5.5 inches (6 inches for larger size) from the bottom of the ribbing.
Armhole Shaping for Front Panel
Row 31 (34): Ch 1, sc in first 2 sts. Sc2tog. Sc across to last 4 sts. Sc2tog. Sc in last 2 sts. Turn. (30, 34 sts)
Row 32 (35): Ch 1, sc in first 2 sts. Sc2tog. Sc across to last 4 sts. Sc2tog. Sc in last 2 sts. Turn. (28, 32 sts)
Rows 33 through 36 (36 through 39): Ch 1, sc in each st across. Turn. (28, 32 sts)
Set the front panel aside. Do not fasten off.
Romper Back Panel Instructions
Work the back panel exactly like the front panel, from Foundation through Row 36 (39). After completing Row 36 (39), fasten off and weave in ends.
Romper Bib Instructions
Continue working from the top of your front panel. The bib builds upward from the front panel top edge.
Bib Row 1 (RS): Ch 1. Sc across all 28 (32) sts. Turn. (28, 32 sts)
Bib Row 2: Ch 1. Sc in first 2 sts. Sc2tog. Sc across to last 4 sts. Sc2tog. Sc in last 2 sts. Turn. (26, 30 sts)
Bib Row 3: Ch 1. Sc across. Turn. (26, 30 sts)
Bib Row 4: Ch 1. Sc in first 2 sts. Sc2tog. Sc across to last 4 sts. Sc2tog. Sc in last 2 sts. Turn. (24, 28 sts)
Bib Row 5: Ch 1. Sc across. Turn. (24, 28 sts)
Bib Row 6: Ch 1. Sc in first 2 sts. Sc2tog. Sc across to last 4 sts. Sc2tog. Sc in last 2 sts. Turn. (22, 26 sts)
Bib Rows 7 through 11 (7 through 13): Ch 1. Sc across. Turn. (22, 26 sts)
Fasten off. Leave a long tail for seaming if you like.
Shoulder Straps (Make 2)
Using MC, ch 5.
Row 1: Sc in second ch from hook and in each ch across. Turn. (4 sts)
Repeat Row 1 until strap measures 5 inches (5.5 inches for larger size).
Fasten off, leaving a 12 inch tail for sewing.
Assembling the Romper Body
Step 1: Hold front and back panels with wrong sides together. Whipstitch or mattress stitch the side edges from bottom ribbing up to the armhole shaping on each side.
Step 2: Fold the piece so front and back bottom edges meet at center. Seam the center bottom opening for approximately 2.5 inches (2.75 inches) from each side, leaving leg openings open.
Step 3: For leg openings, attach MC at inside leg seam. Work 1 round of sc evenly around. Slip stitch to join. Turn. Work 3 rows of blo sc, slip stitching to join and turning after each row. Fasten off. Repeat for second leg.
Step 4: Sew strap ends to top corners of back panel. Sew buttons to top corners of bib. The straps cross over the shoulders and button to the front.
Step 5: Work 1 round of sc evenly around each armhole. Slip stitch to join. Fasten off.
Large Bunny Face Applique for Romper
Using CC2 (light gray), make a magic ring.
Rnd 1: Ch 1. Work 6 sc into ring. Pull ring closed. Sl st to join. (6 sts)
Rnd 2: Ch 1. Inc in each st around. Sl st to join. (12 sts)
Rnd 3: Ch 1. (Sc in next st, inc in next st) around. Sl st to join. (18 sts)
Rnd 4: Ch 1. (Sc in next 2 sts, inc in next st) around. Sl st to join. (24 sts)
Rnd 5: Ch 1. (Sc in next 3 sts, inc in next st) around. Sl st to join. (30 sts)
Rnd 6: Ch 1. (Sc in next 4 sts, inc in next st) around. Sl st to join. (36 sts)
Change to CC1 (white).
Rnd 7: Ch 1. (Sc in next 5 sts, inc in next st) around. Sl st to join. (42 sts)
Fasten off, leaving a long tail.
Inner Ears (Make 2)
Using CC1, ch 5. Sc in second ch from hook, sc in next 2 chs, 3 sc in last ch. Work along opposite side: sc in next 2 chs, sc in last ch. Sl st to join. (10 sts) Fasten off.
Outer Ears (Make 2)
Using CC2, ch 6. Sc in second ch from hook, sc in next 3 chs, 3 sc in last ch. Work along opposite side: sc in next 3 chs, sc in last ch. Sl st to join. (12 sts) Fasten off.
Sew inner ears to outer ears. Attach completed ears to top of medallion. Embroider eyes and mouth with black floss, nose with pink floss. Sew applique to romper front about 1 inch below bib base.
Bunny Ear Hat Instructions
Foundation: Using MC, ch 59 (65).
Row 1 (WS): Sc in second ch from hook and in each ch across. Turn. (58, 64 sts)
Rows 2 through 6: Ch 1. Sc in blo of each st across. Turn. (58, 64 sts)
Row 7 (RS): Ch 1. Sc in both loops across. Turn. (58, 64 sts)
Join into a round by slip stitching the last stitch to the first stitch. Place a stitch marker at the join.
Rnds 8 through 22 (8 through 24): Sc in each st around. (58, 64 sts)
Crown Shaping for Newborn to 3 Months
Rnd 23: (Sc in next 7 sts, sc2tog) around. (52 sts)
Rnd 24: (Sc in next 6 sts, sc2tog) around. (46 sts)
Rnd 25: (Sc in next 5 sts, sc2tog) around. (40 sts)
Rnd 26: (Sc in next 4 sts, sc2tog) around. (34 sts)
Rnd 27: (Sc in next 3 sts, sc2tog) around. (28 sts)
Rnd 28: (Sc in next 2 sts, sc2tog) around. (21 sts)
Rnd 29: (Sc in next st, sc2tog) around. (14 sts)
Rnd 30: Sc2tog around. (7 sts)
Fasten off, leaving an 8 inch tail. Thread through remaining stitches, pull tight, weave in.
Hat Ears
Work outer ears in MC and inner ears in CC1 following the detailed ear instructions in the pattern. The outer ears are larger, worked from a chain of 7 with shaping increases over 10 rows. Inner ears start from chain 5. Sew inner to outer, then attach completed ears to hat top, angled slightly outward.
Bunny Booties Instructions (Make 2)
Sole Foundation: Using MC, ch 9 (11).
Rnd 1: Sc in second ch from hook. Sc in next 6 (8) chs. Work 3 sc in last ch. Work along opposite side: sc in next 6 (8) chs. Work 2 sc in first ch. Sl st to join. (18, 22 sts)
Rnd 2: Ch 1. Inc in first st. Sc in next 6 (8) sts. Inc in next st. Inc in next st. Inc in next st. Sc in next 6 (8) sts. Inc in last st. Sl st to join. (24, 28 sts)
Rnd 3: Ch 1. Sc in each st around. Sl st to join. (24, 28 sts)
Rnd 4: Ch 1. Sc in blo of each st around. Sl st to join. (24, 28 sts)
Rnds 5 and 6: Ch 1. Sc in each st around. Sl st to join. (24, 28 sts)
Rnd 7: Ch 1. Sc in first 7 (9) sts. Sc2tog 5 times. Sc in remaining 7 (9) sts. Sl st to join. (19, 23 sts)
Rnd 8: Ch 1. Sc in first 6 (8) sts. Sc2tog 3 times. Sc in remaining 7 (9) sts. Sl st to join. (16, 20 sts)
Change to CC3 or continue in MC.
Rnds 9 through 12: Work cuff rounds in blo for first two rounds, then both loops for remaining rounds. Sl st to join each round. (16, 20 sts)
Fasten off. Make and attach small bunny appliques to each toe.
Care Instructions
Machine wash cold on gentle cycle if using acrylic. Lay flat to dry or tumble on low. For superwash wool, hand wash in cool water with wool wash and lay flat to dry.
Check buttons and seams before each use. Inspect regularly for loose threads.
Time to Complete
Plan for 12 to 18 hours total. The romper body takes 6 to 8 hours. The hat needs 2 to 3 hours. Booties take another 2 to 3 hours. Appliques and finishing add 1 to 2 hours.
Work in sessions. Maybe tackle one piece per day over a week. This crochet tutorial breaks into natural stopping points.
I hope you love making this blush pink bunny baby romper set as much as I loved putting it together. It makes such a thoughtful handmade gift for baby showers or newborn photos. If you want to find this pattern again later, pin it to your favorite Pinterest board so it is always there when you need it. And please drop a comment below if you make one. I would love to see your finished sets and hear which color combinations you chose!
You Might Also Like
- Winter Snowflake Crochet Hoodie Free Crochet Pattern
- Sunshine Daisy Book Cover Free Crochet Pattern
- Lavender Purple Dreamy Tassel Clutch Free Crochet Pattern
- Ivory Pearl Bridal Lace Choker Free Crochet Pattern